
Plug & Play Upgrade Kits
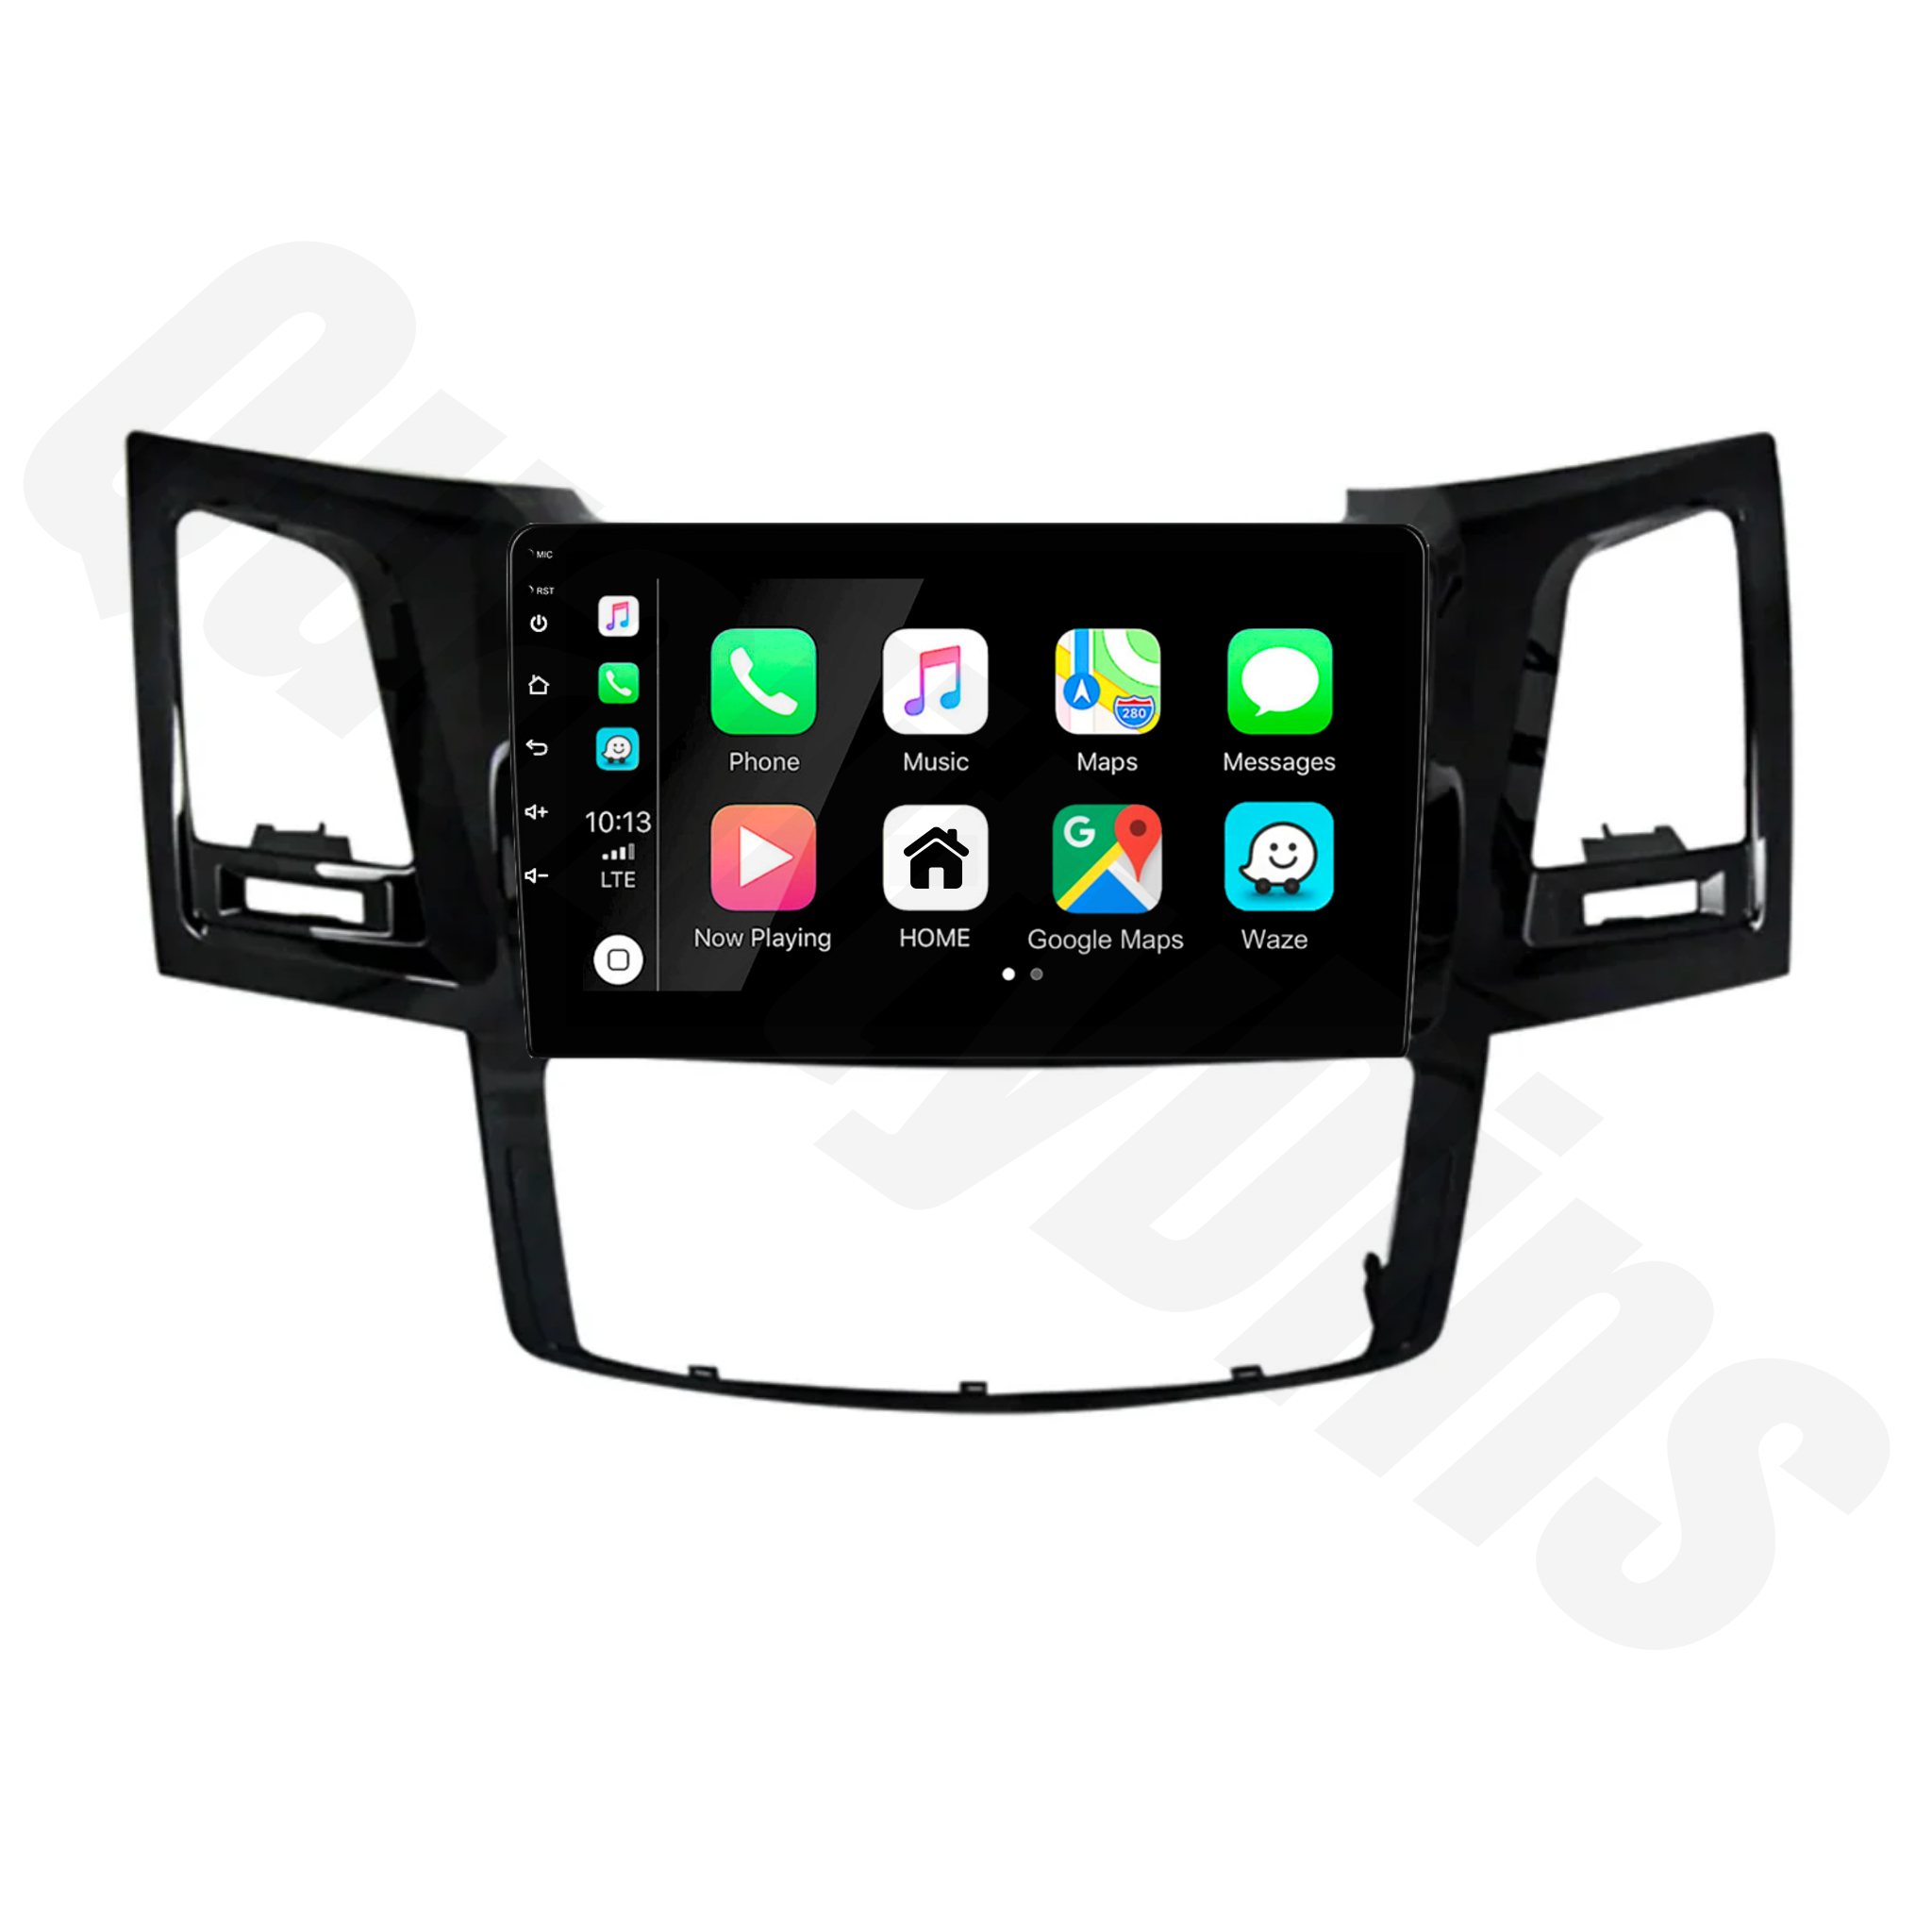
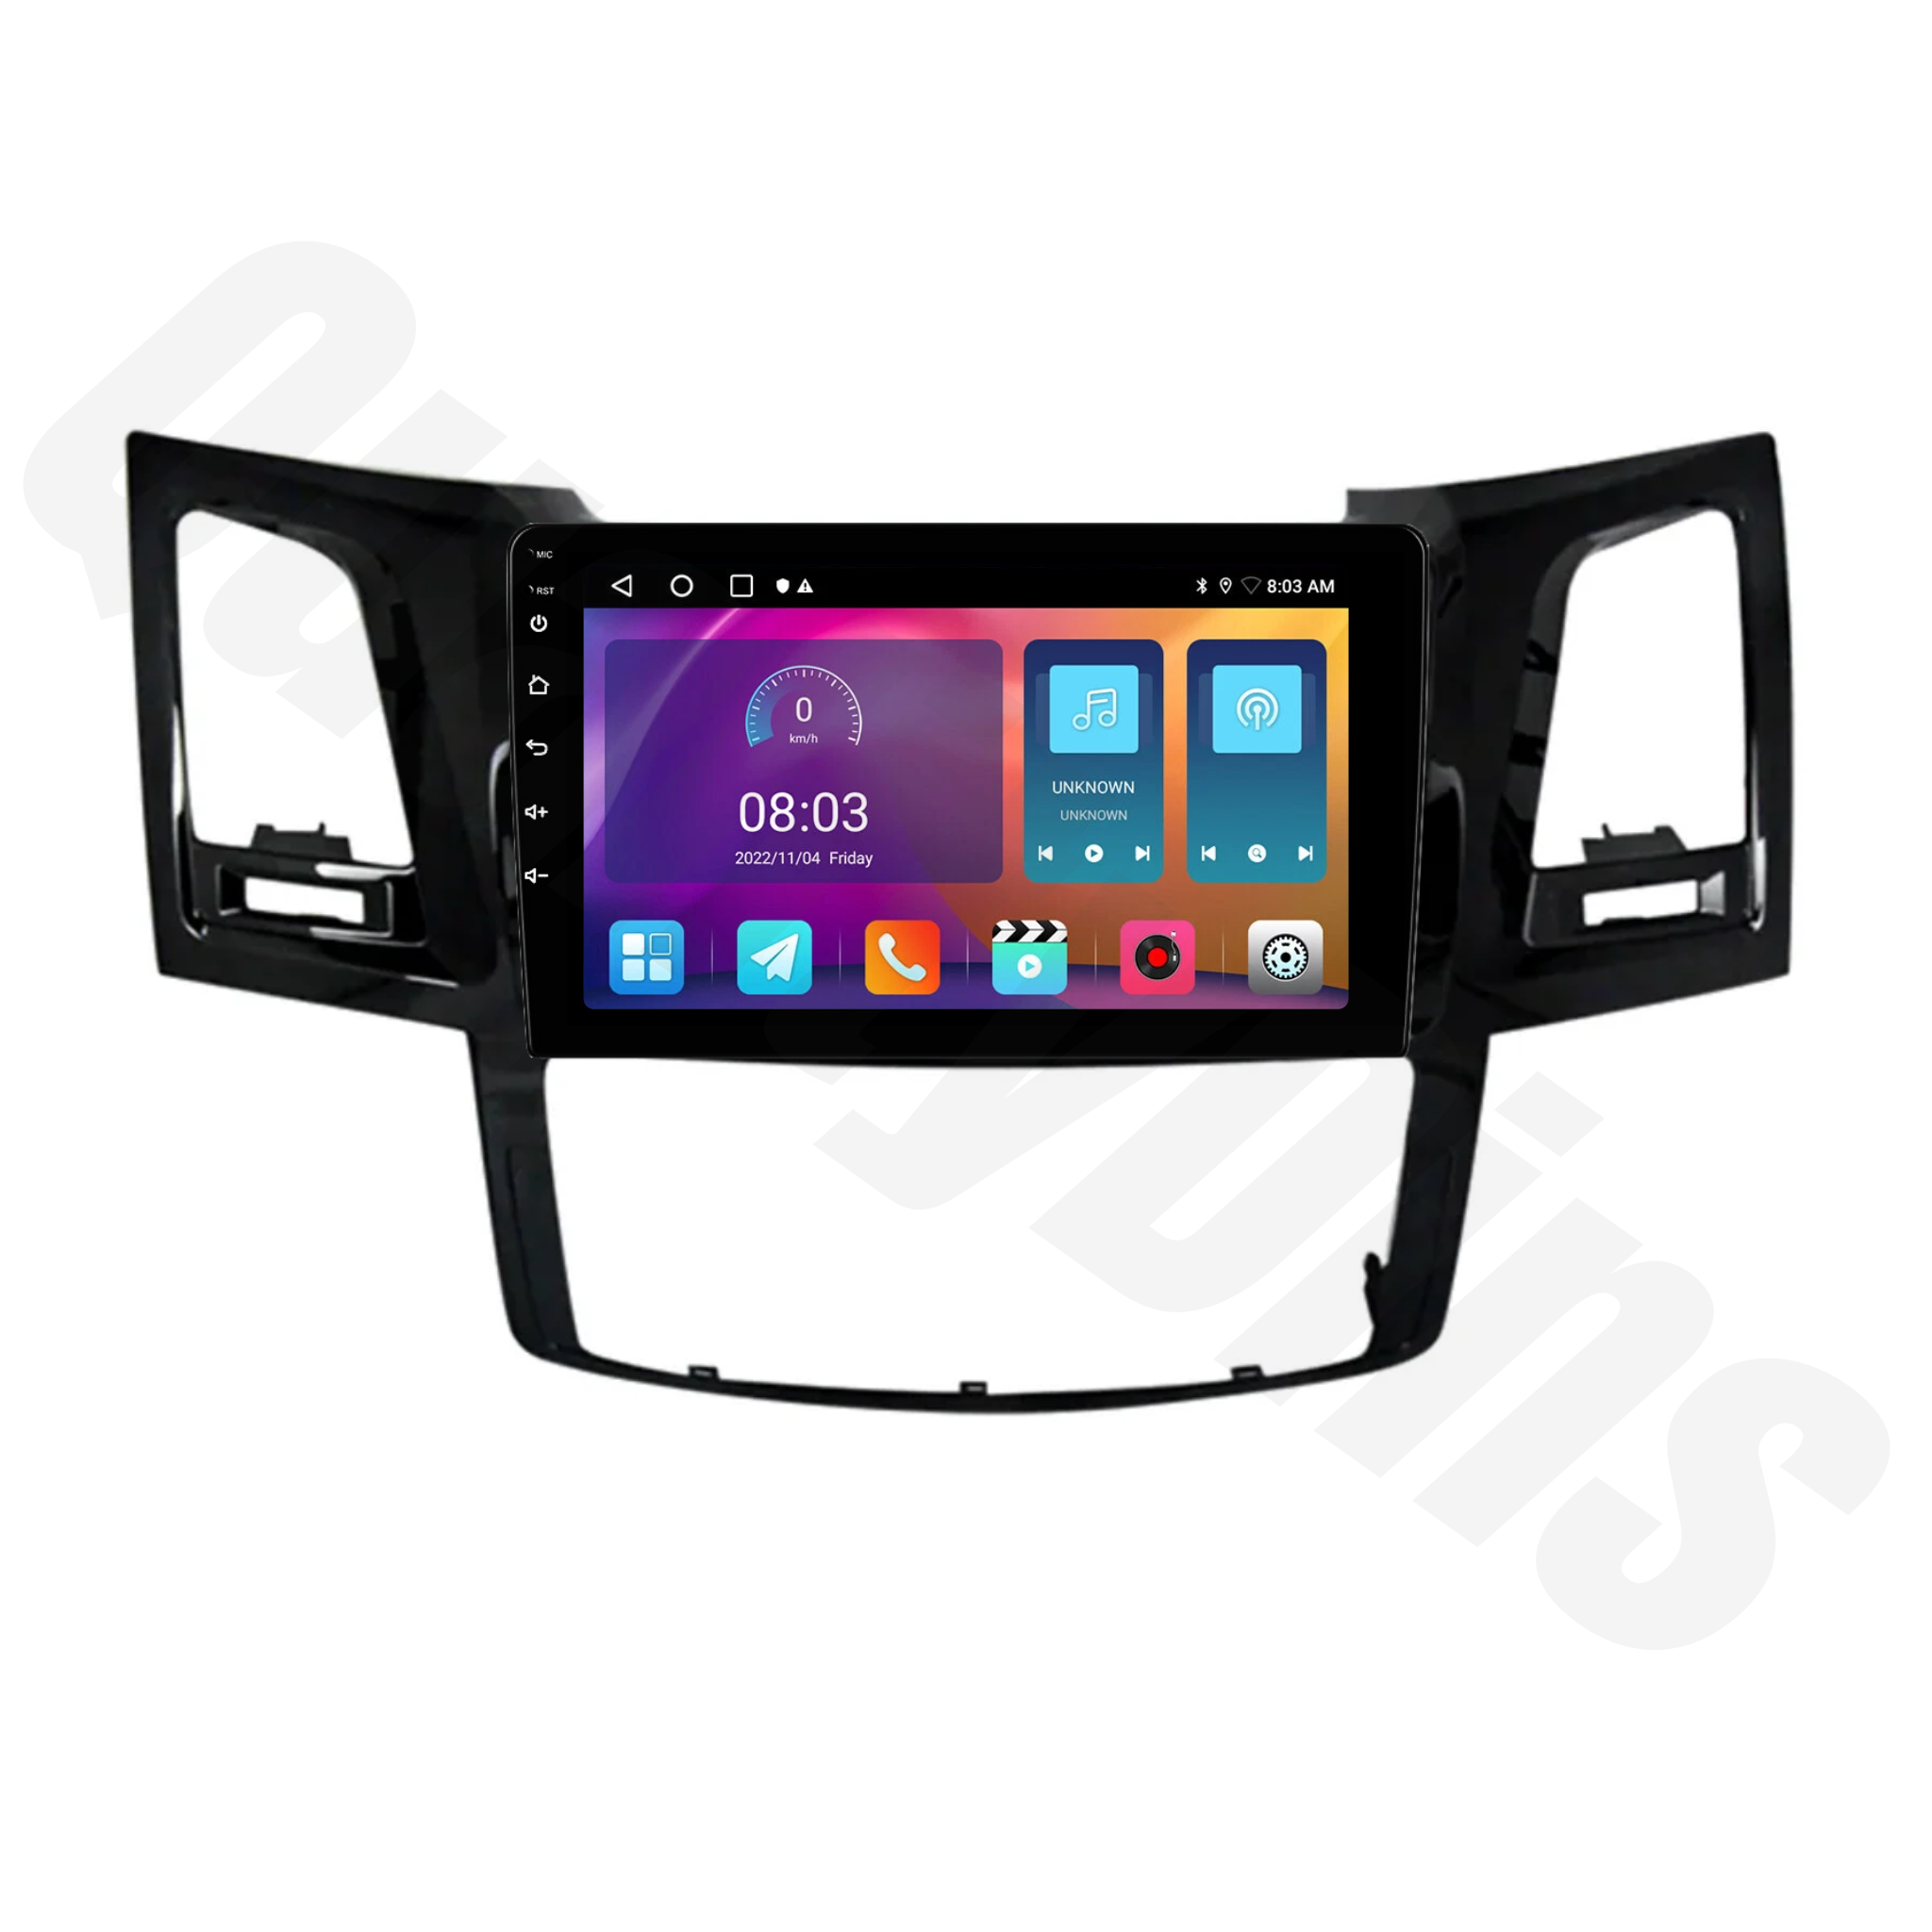
Toyota Hilux N70 2006-2015 | Apple CarPlay & Android Auto Head Unit Upgrade Kit
Sale priceFrom $359.99
Regular price$589.95
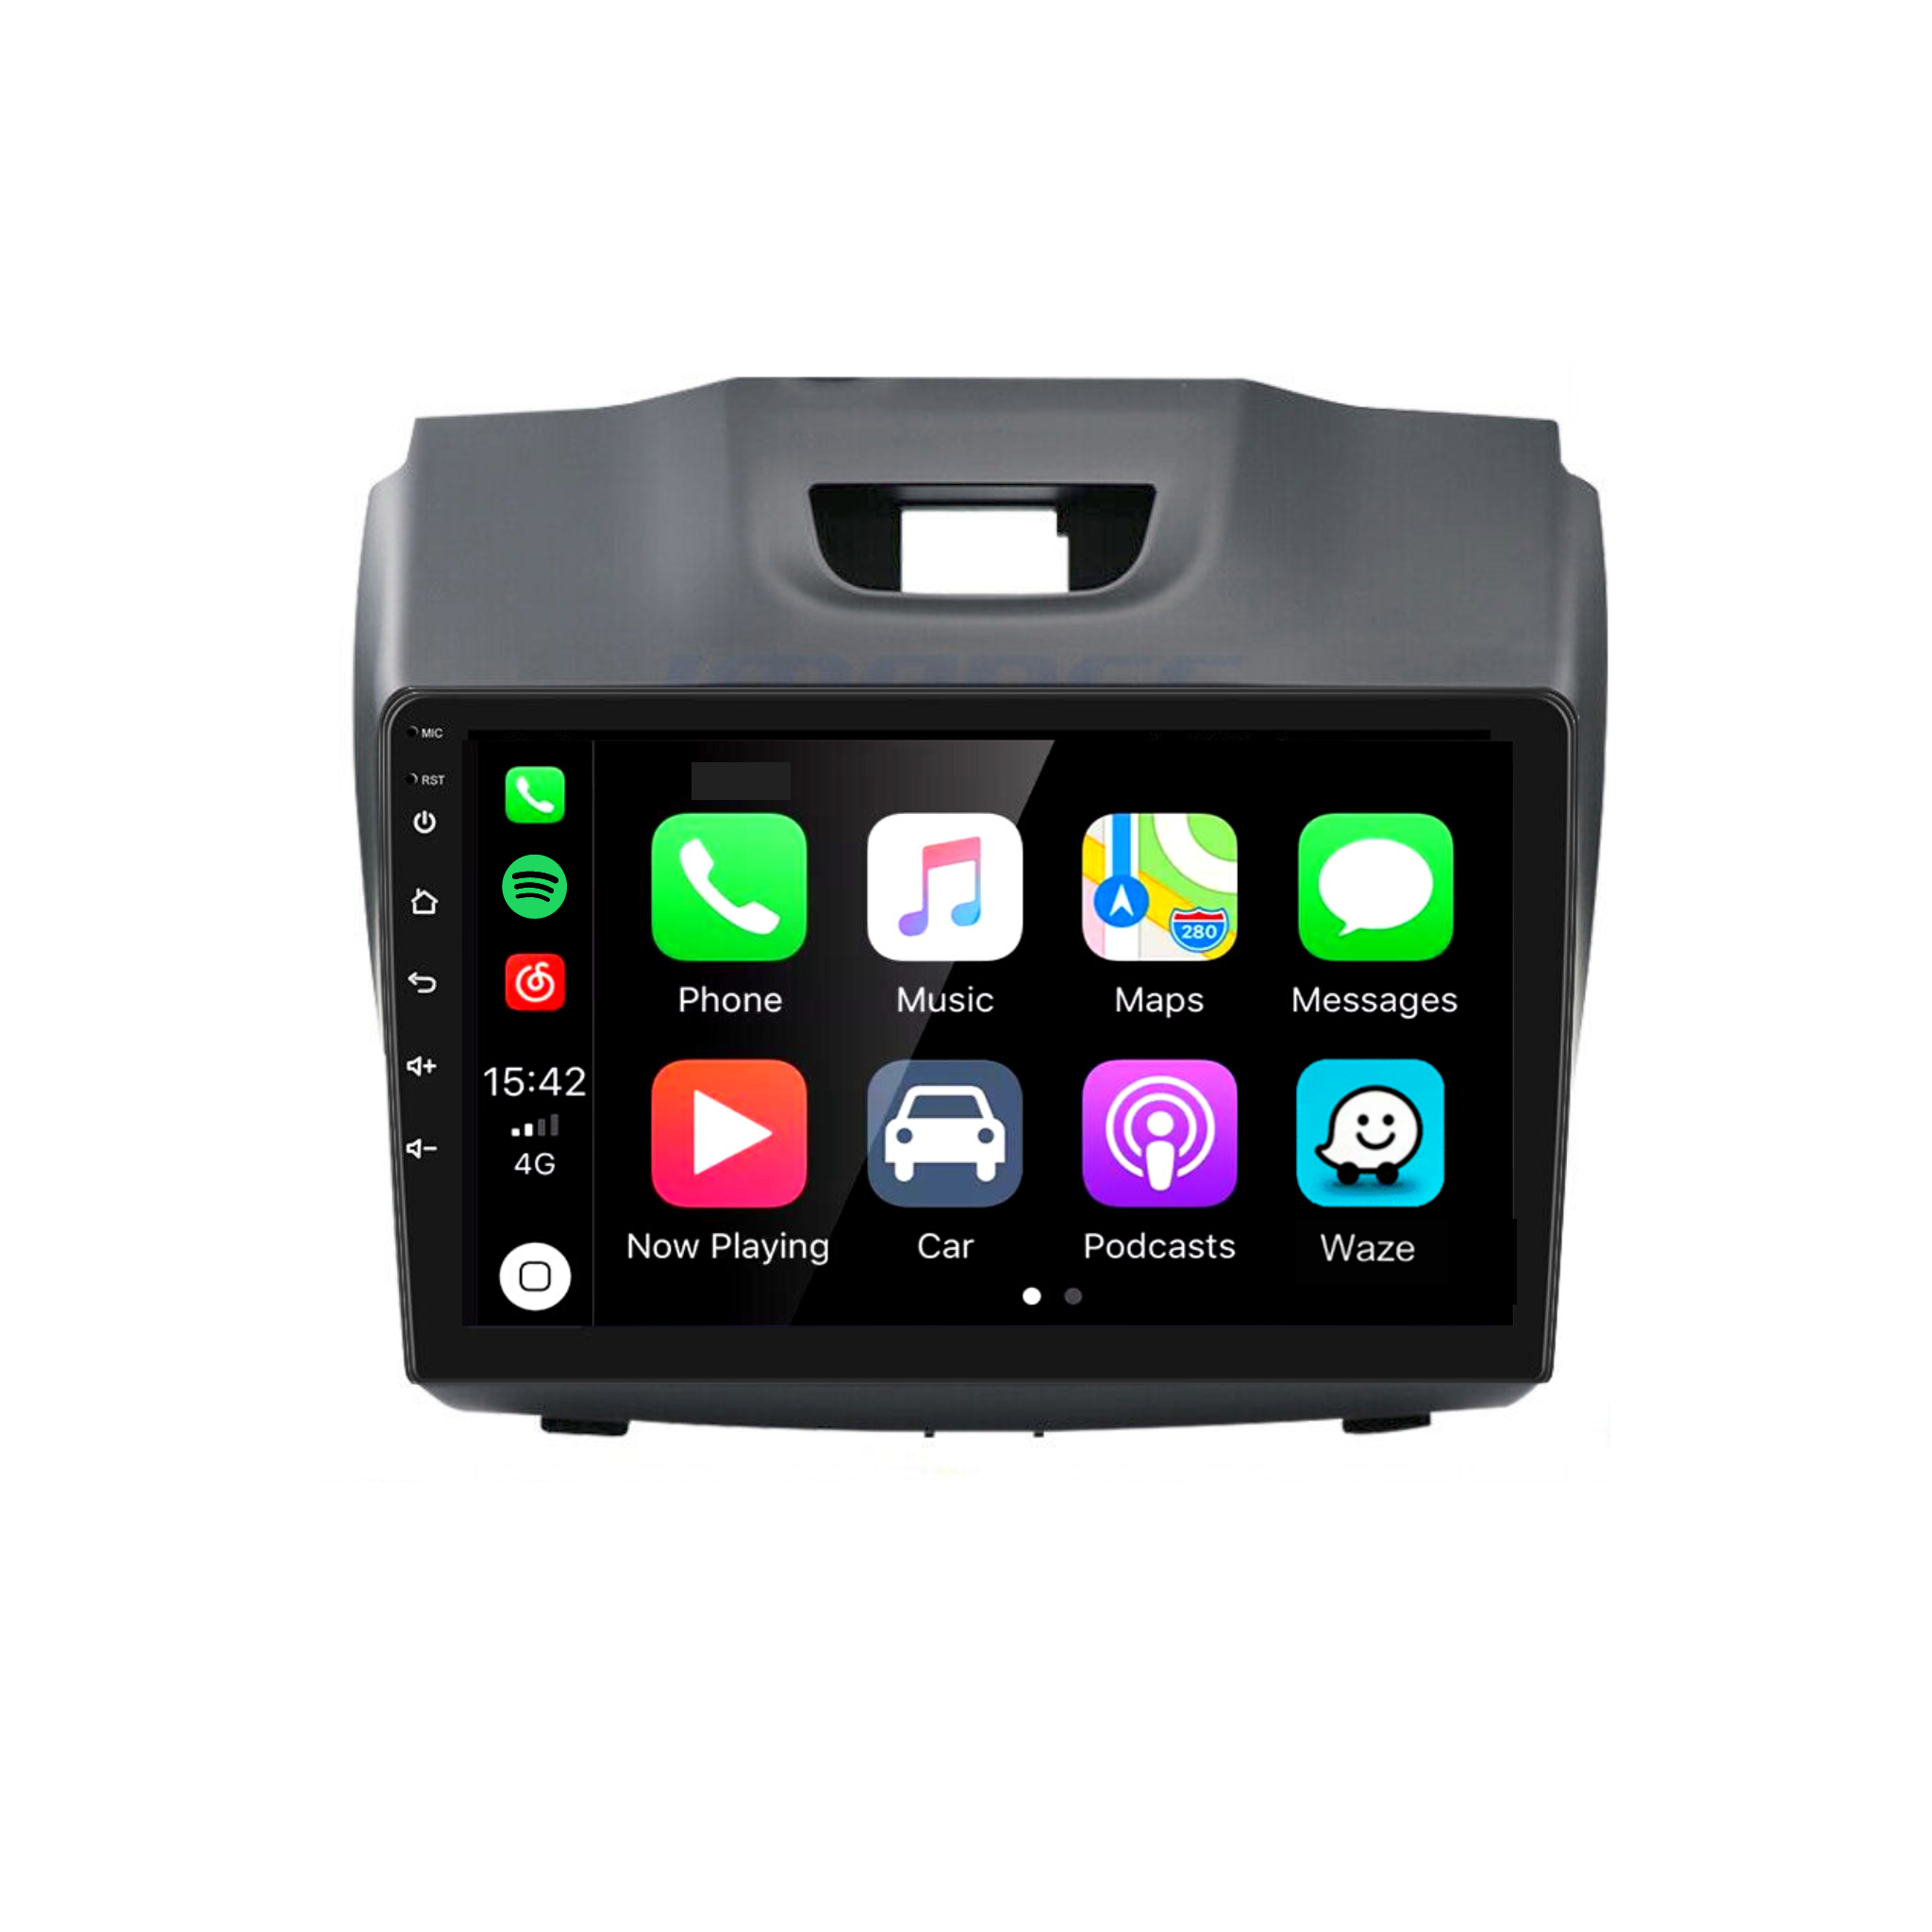
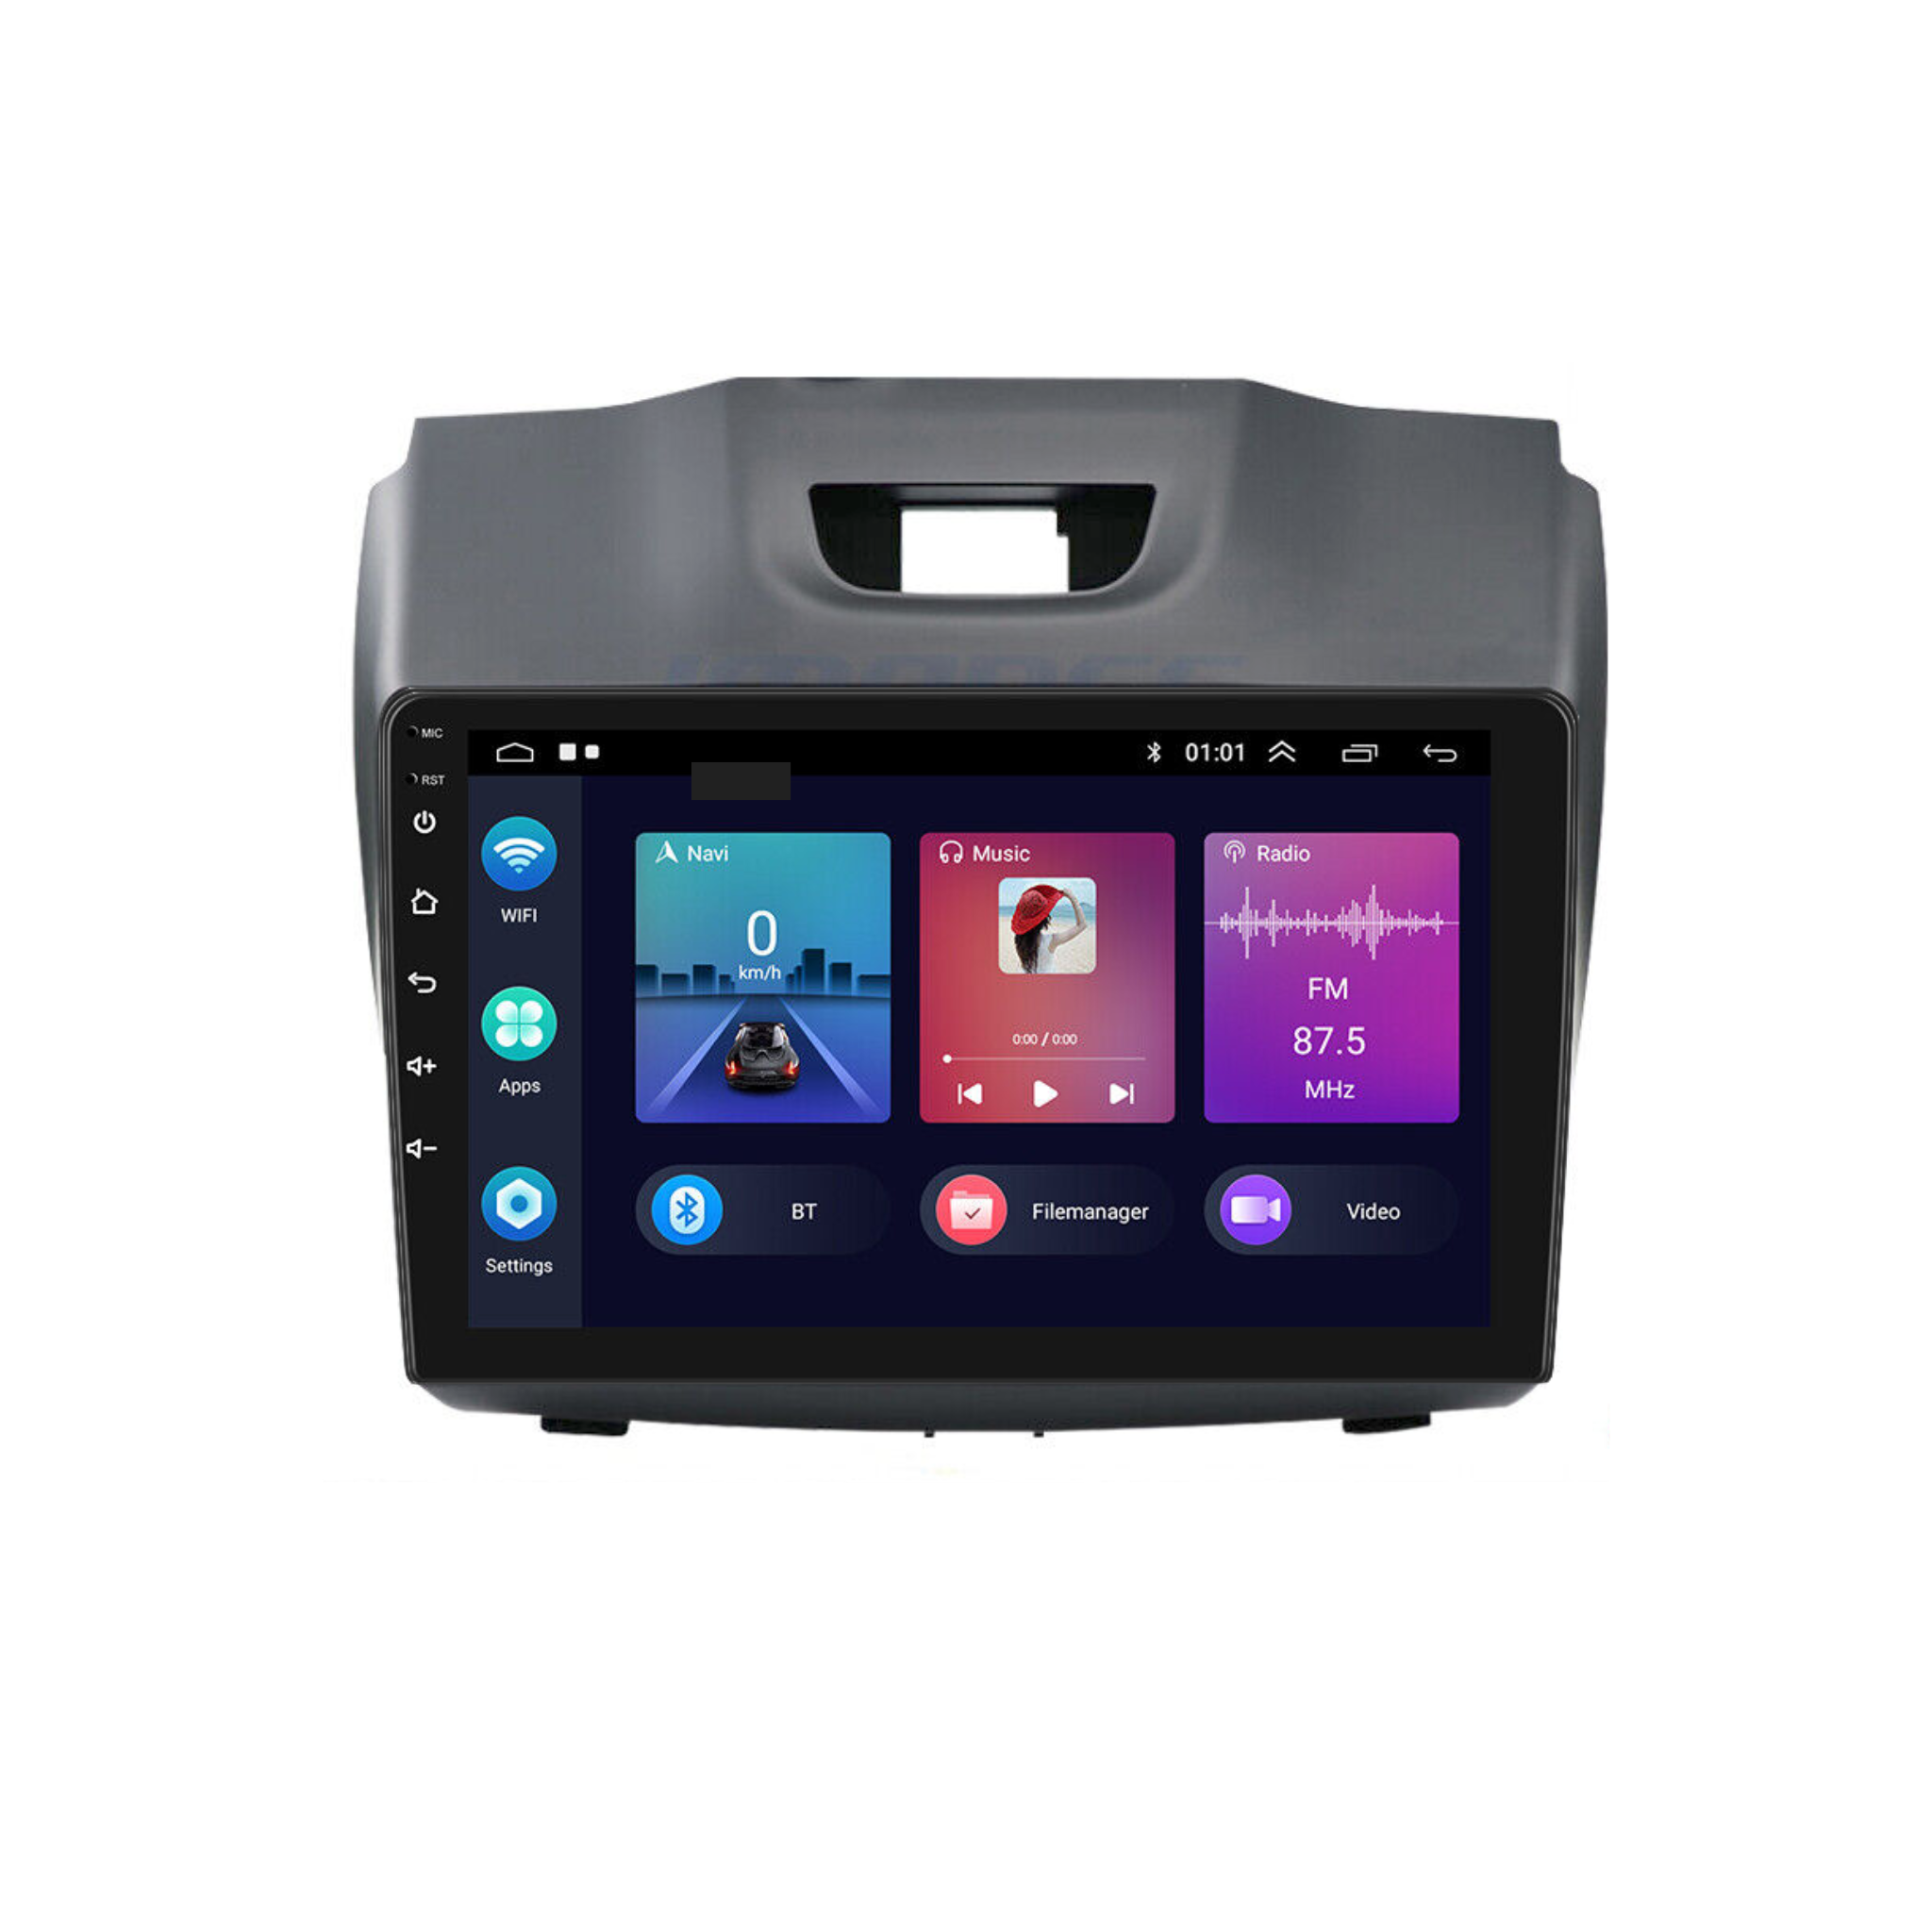
Isuzu D-Max & M-UX 2012-2018 Apple CarPlay and Android Auto Plug and Plug Head Unit Upgrade Kit
Sale priceFrom $349.95
Regular price$469.99
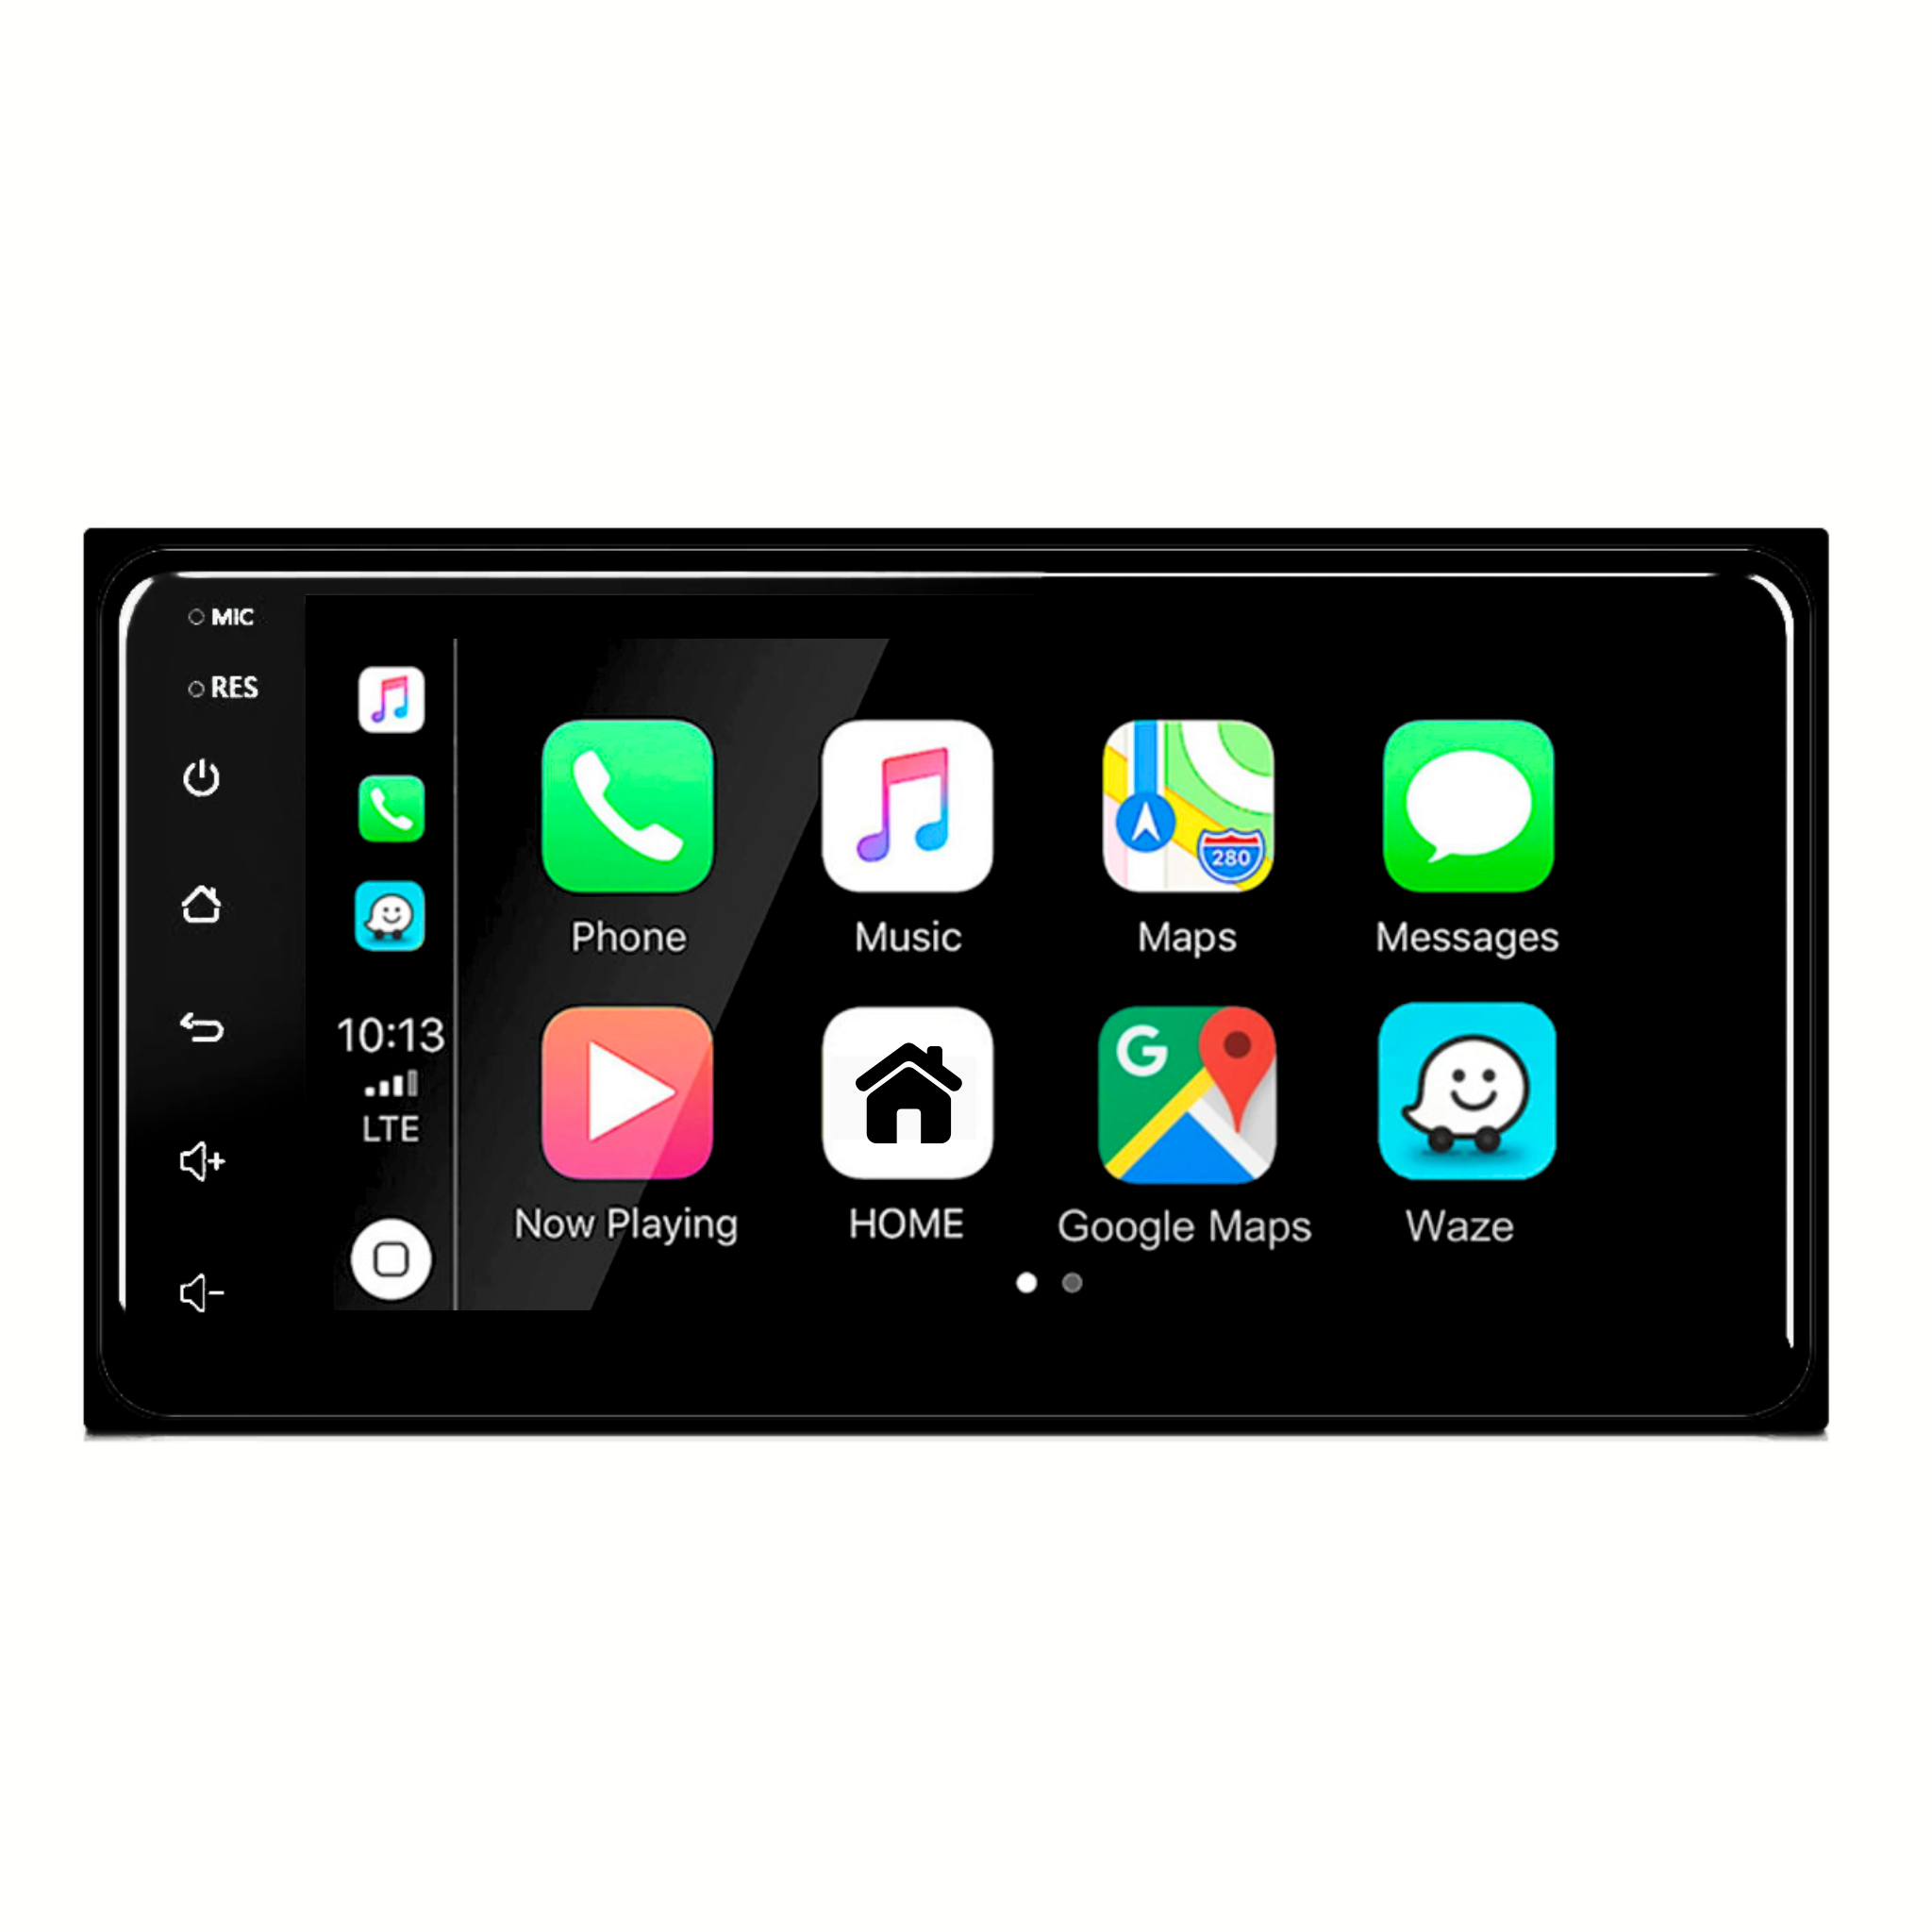
Toyota Universal Apple CarPlay and Android Auto Plug and Plug Head Unit Upgrade Kit
Sale price$199.99
Regular price$499.99
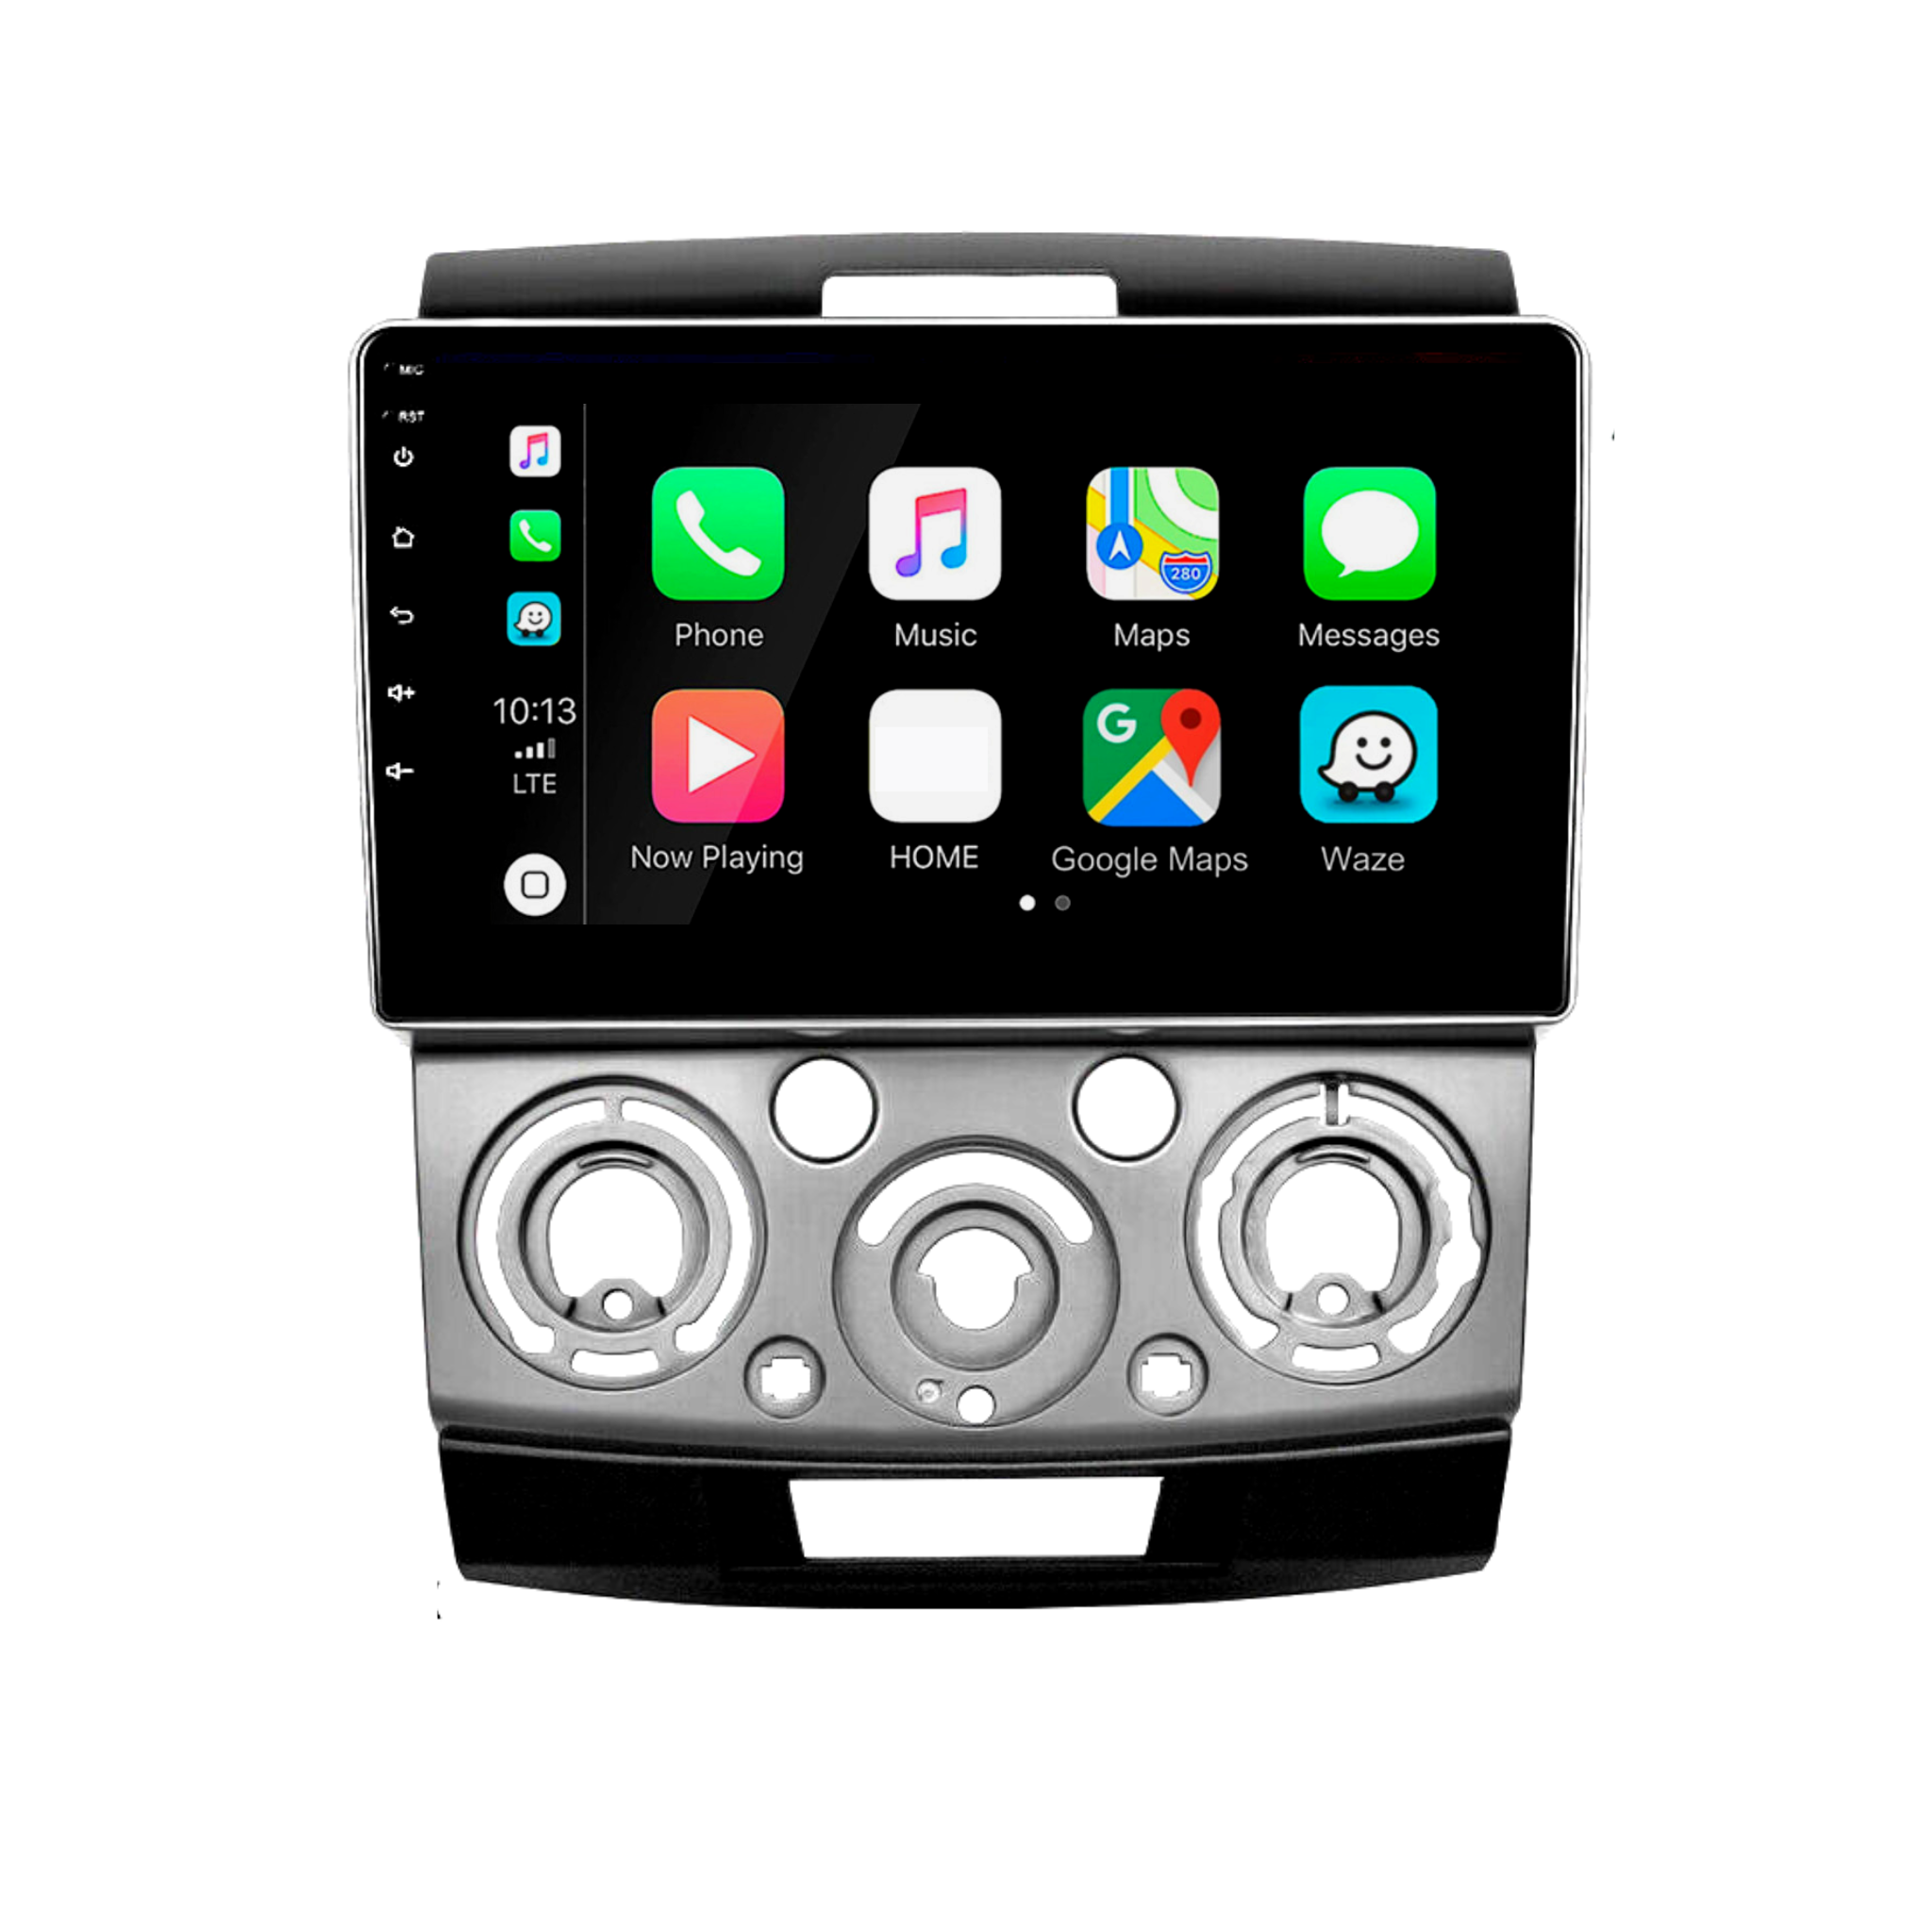
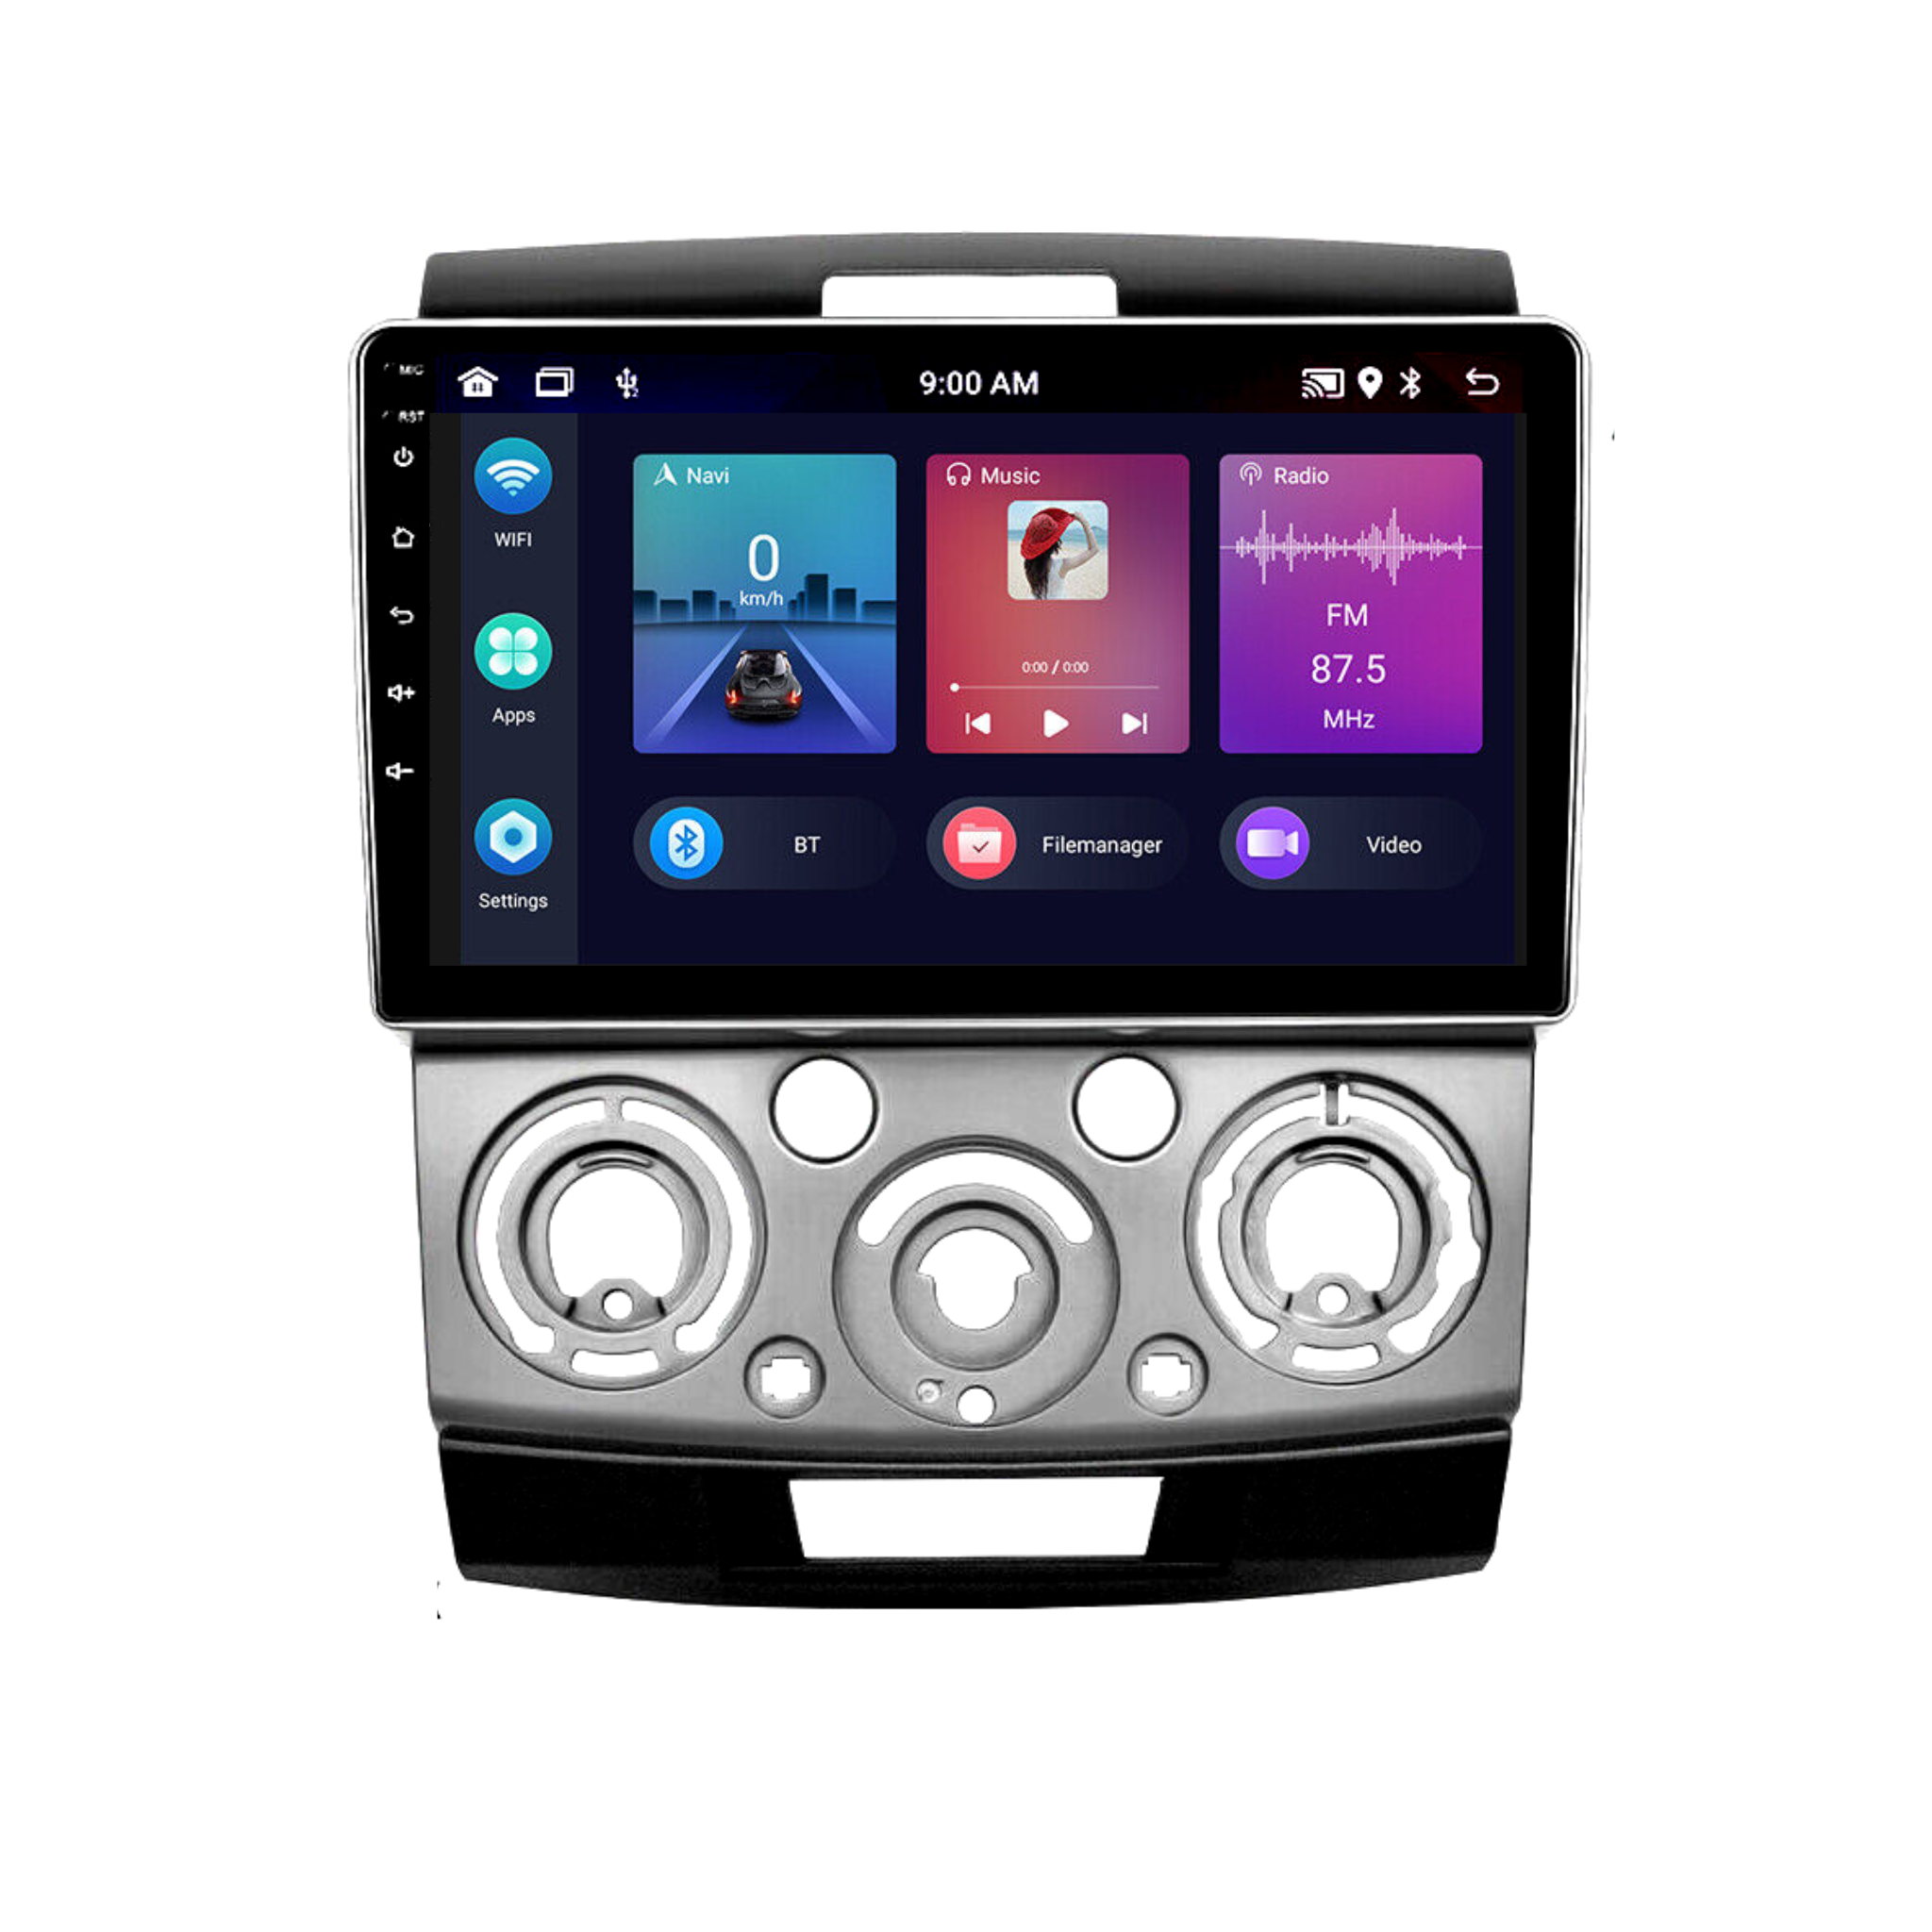
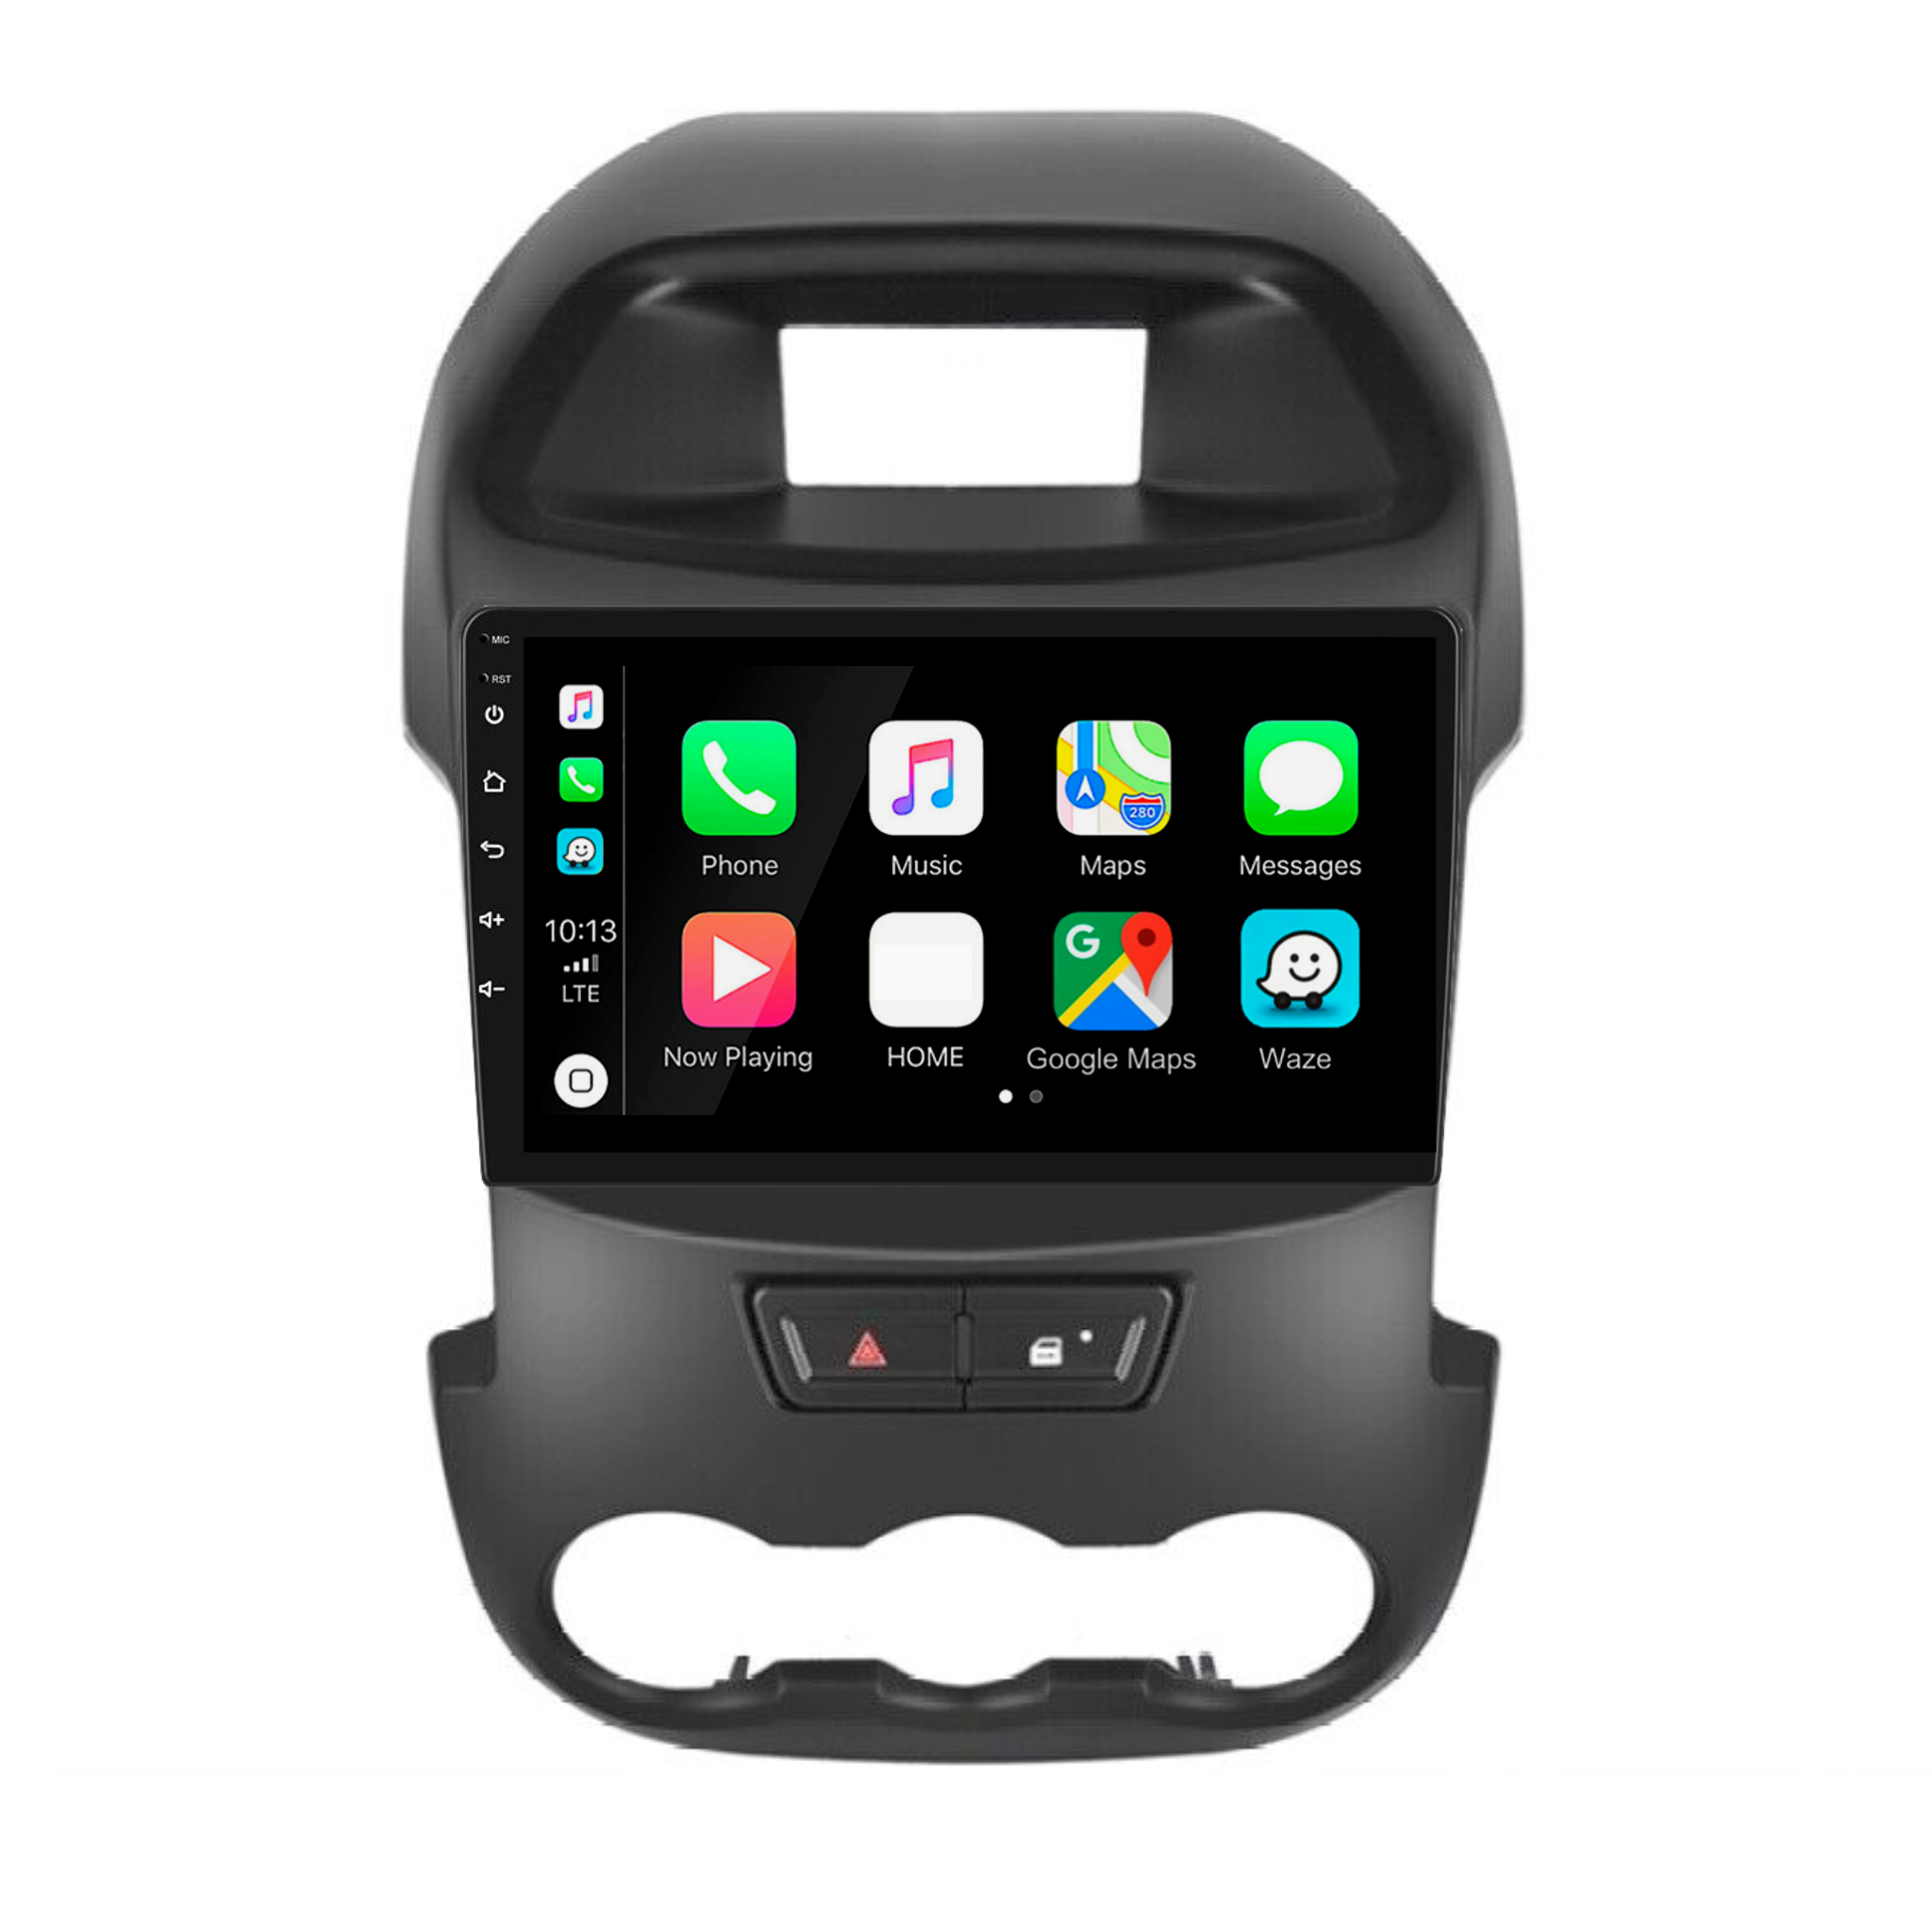
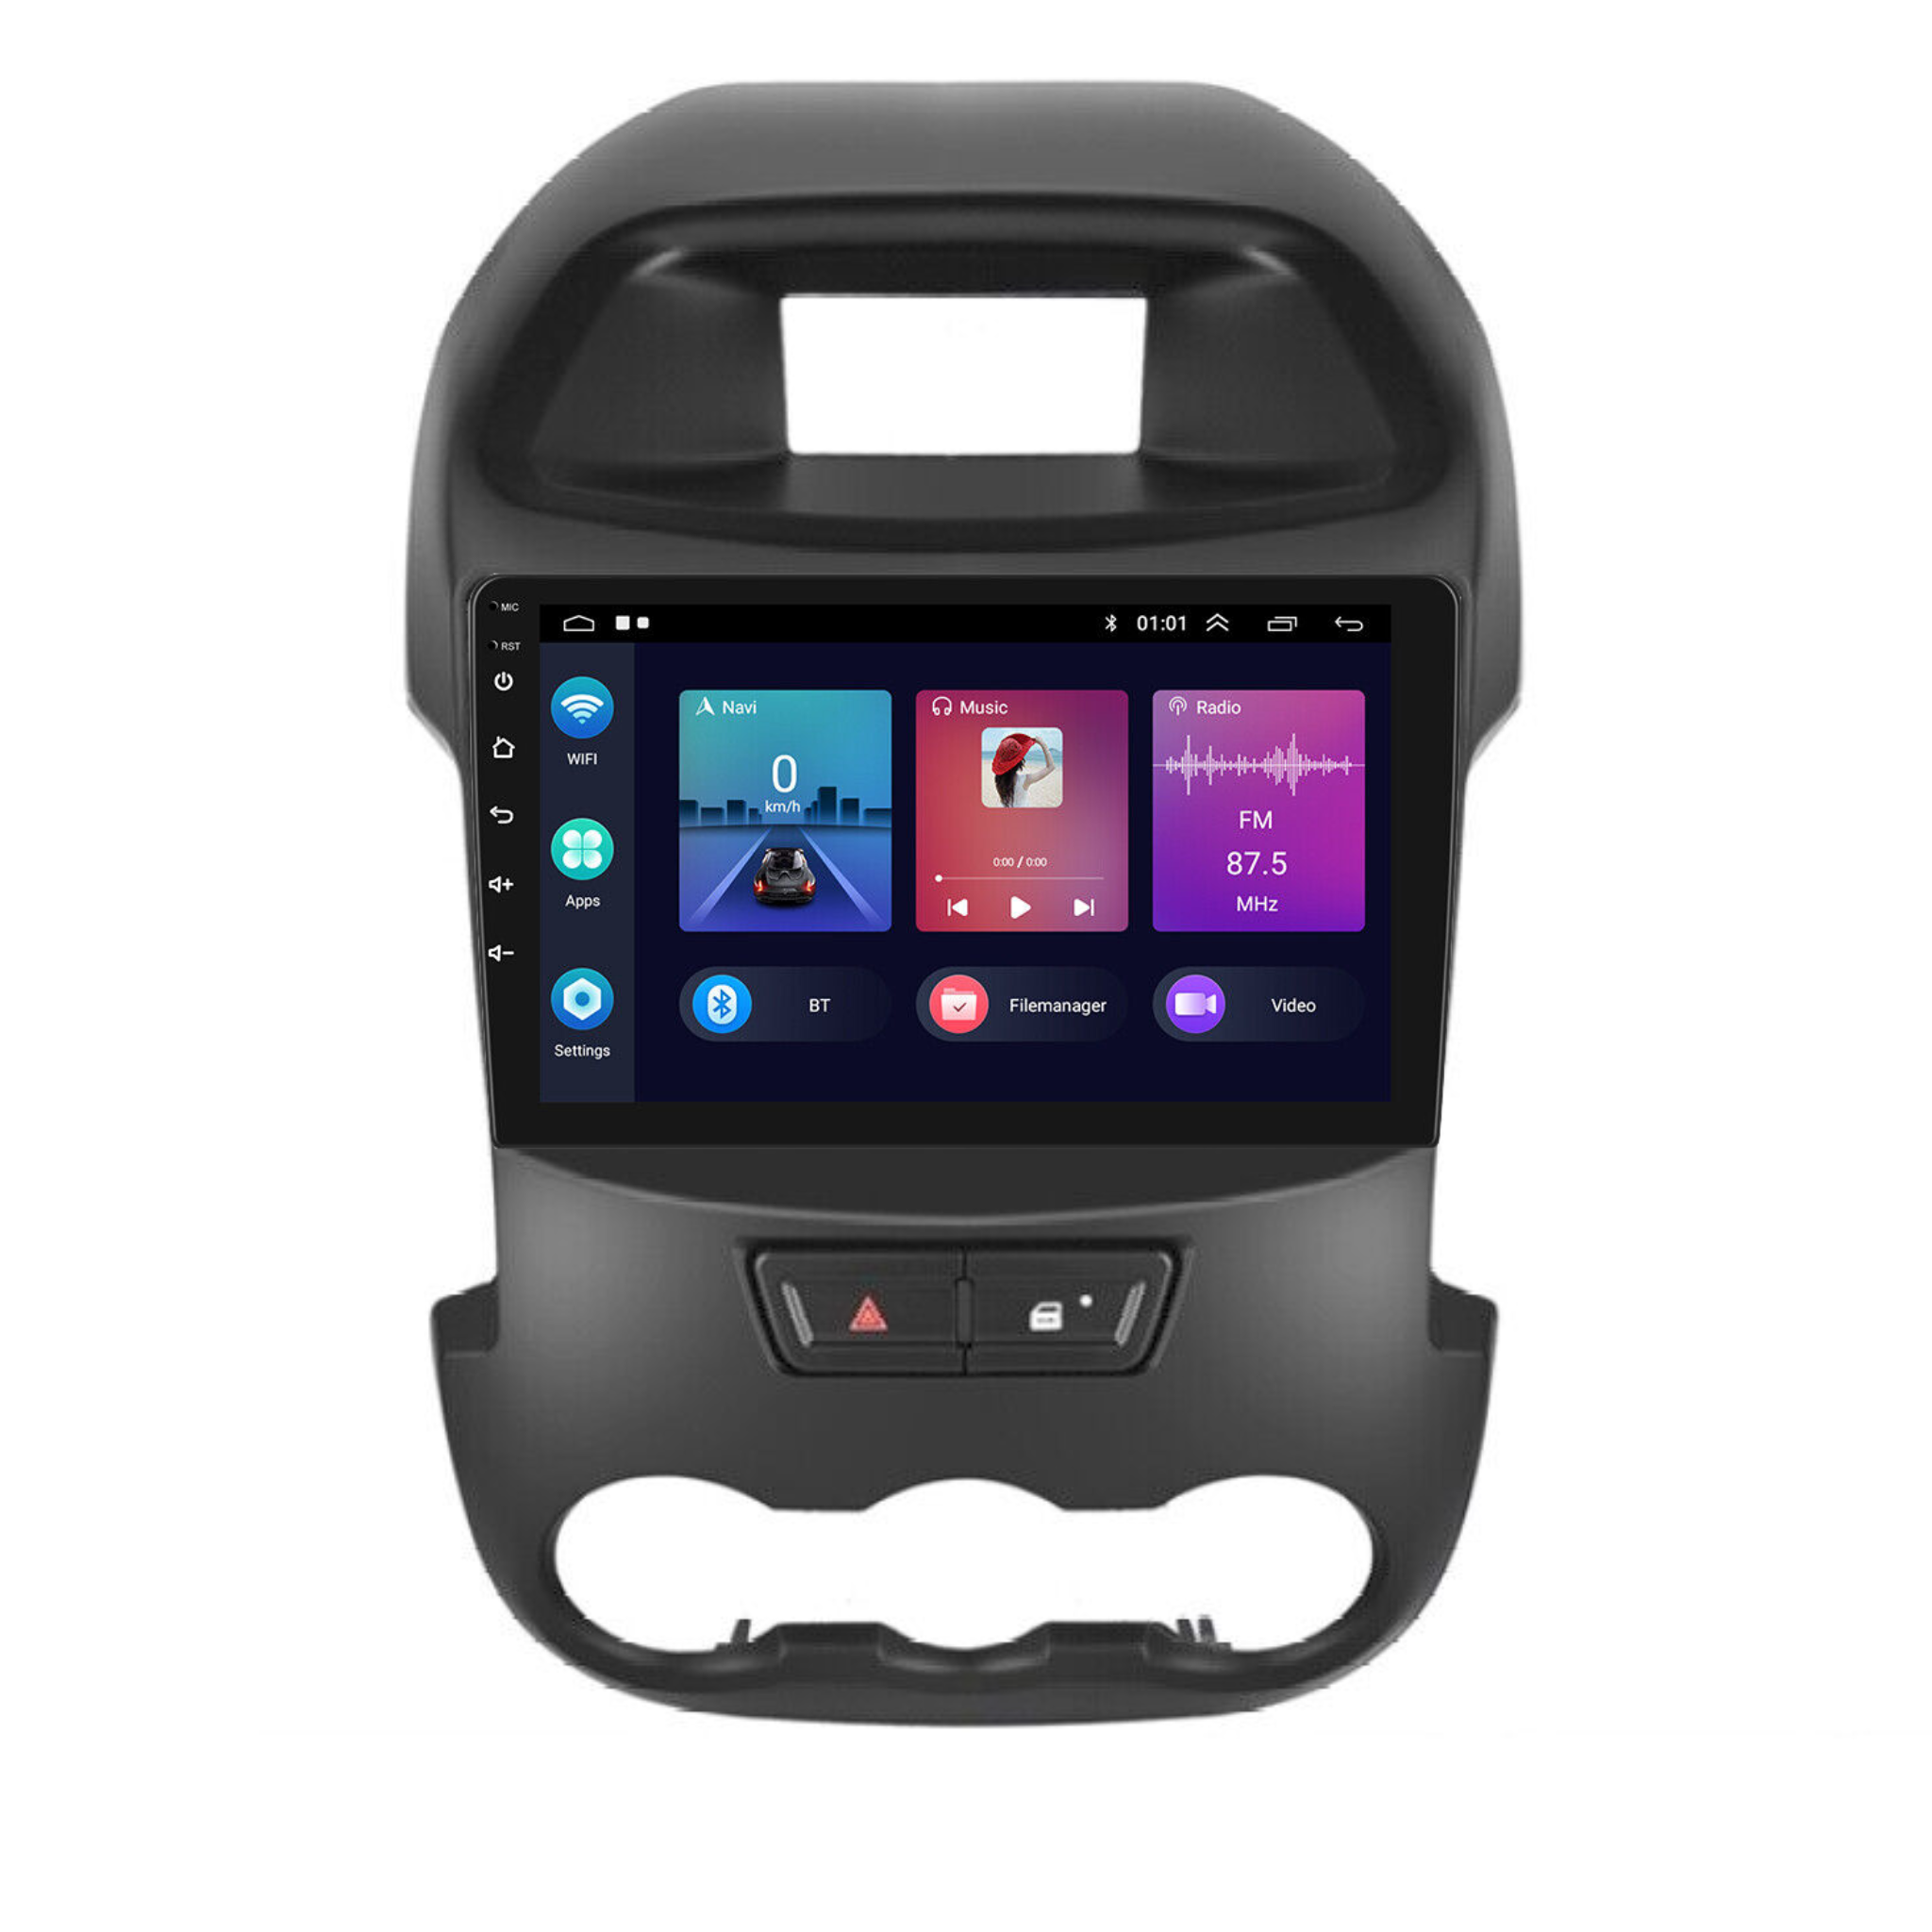
Ford Ranger and Mazda BT-50 2006-2011 Apple CarPlay and Android Auto Plug and Plug Head Unit Upgrade Kit
Sale priceFrom $369.95
Regular price$549.95
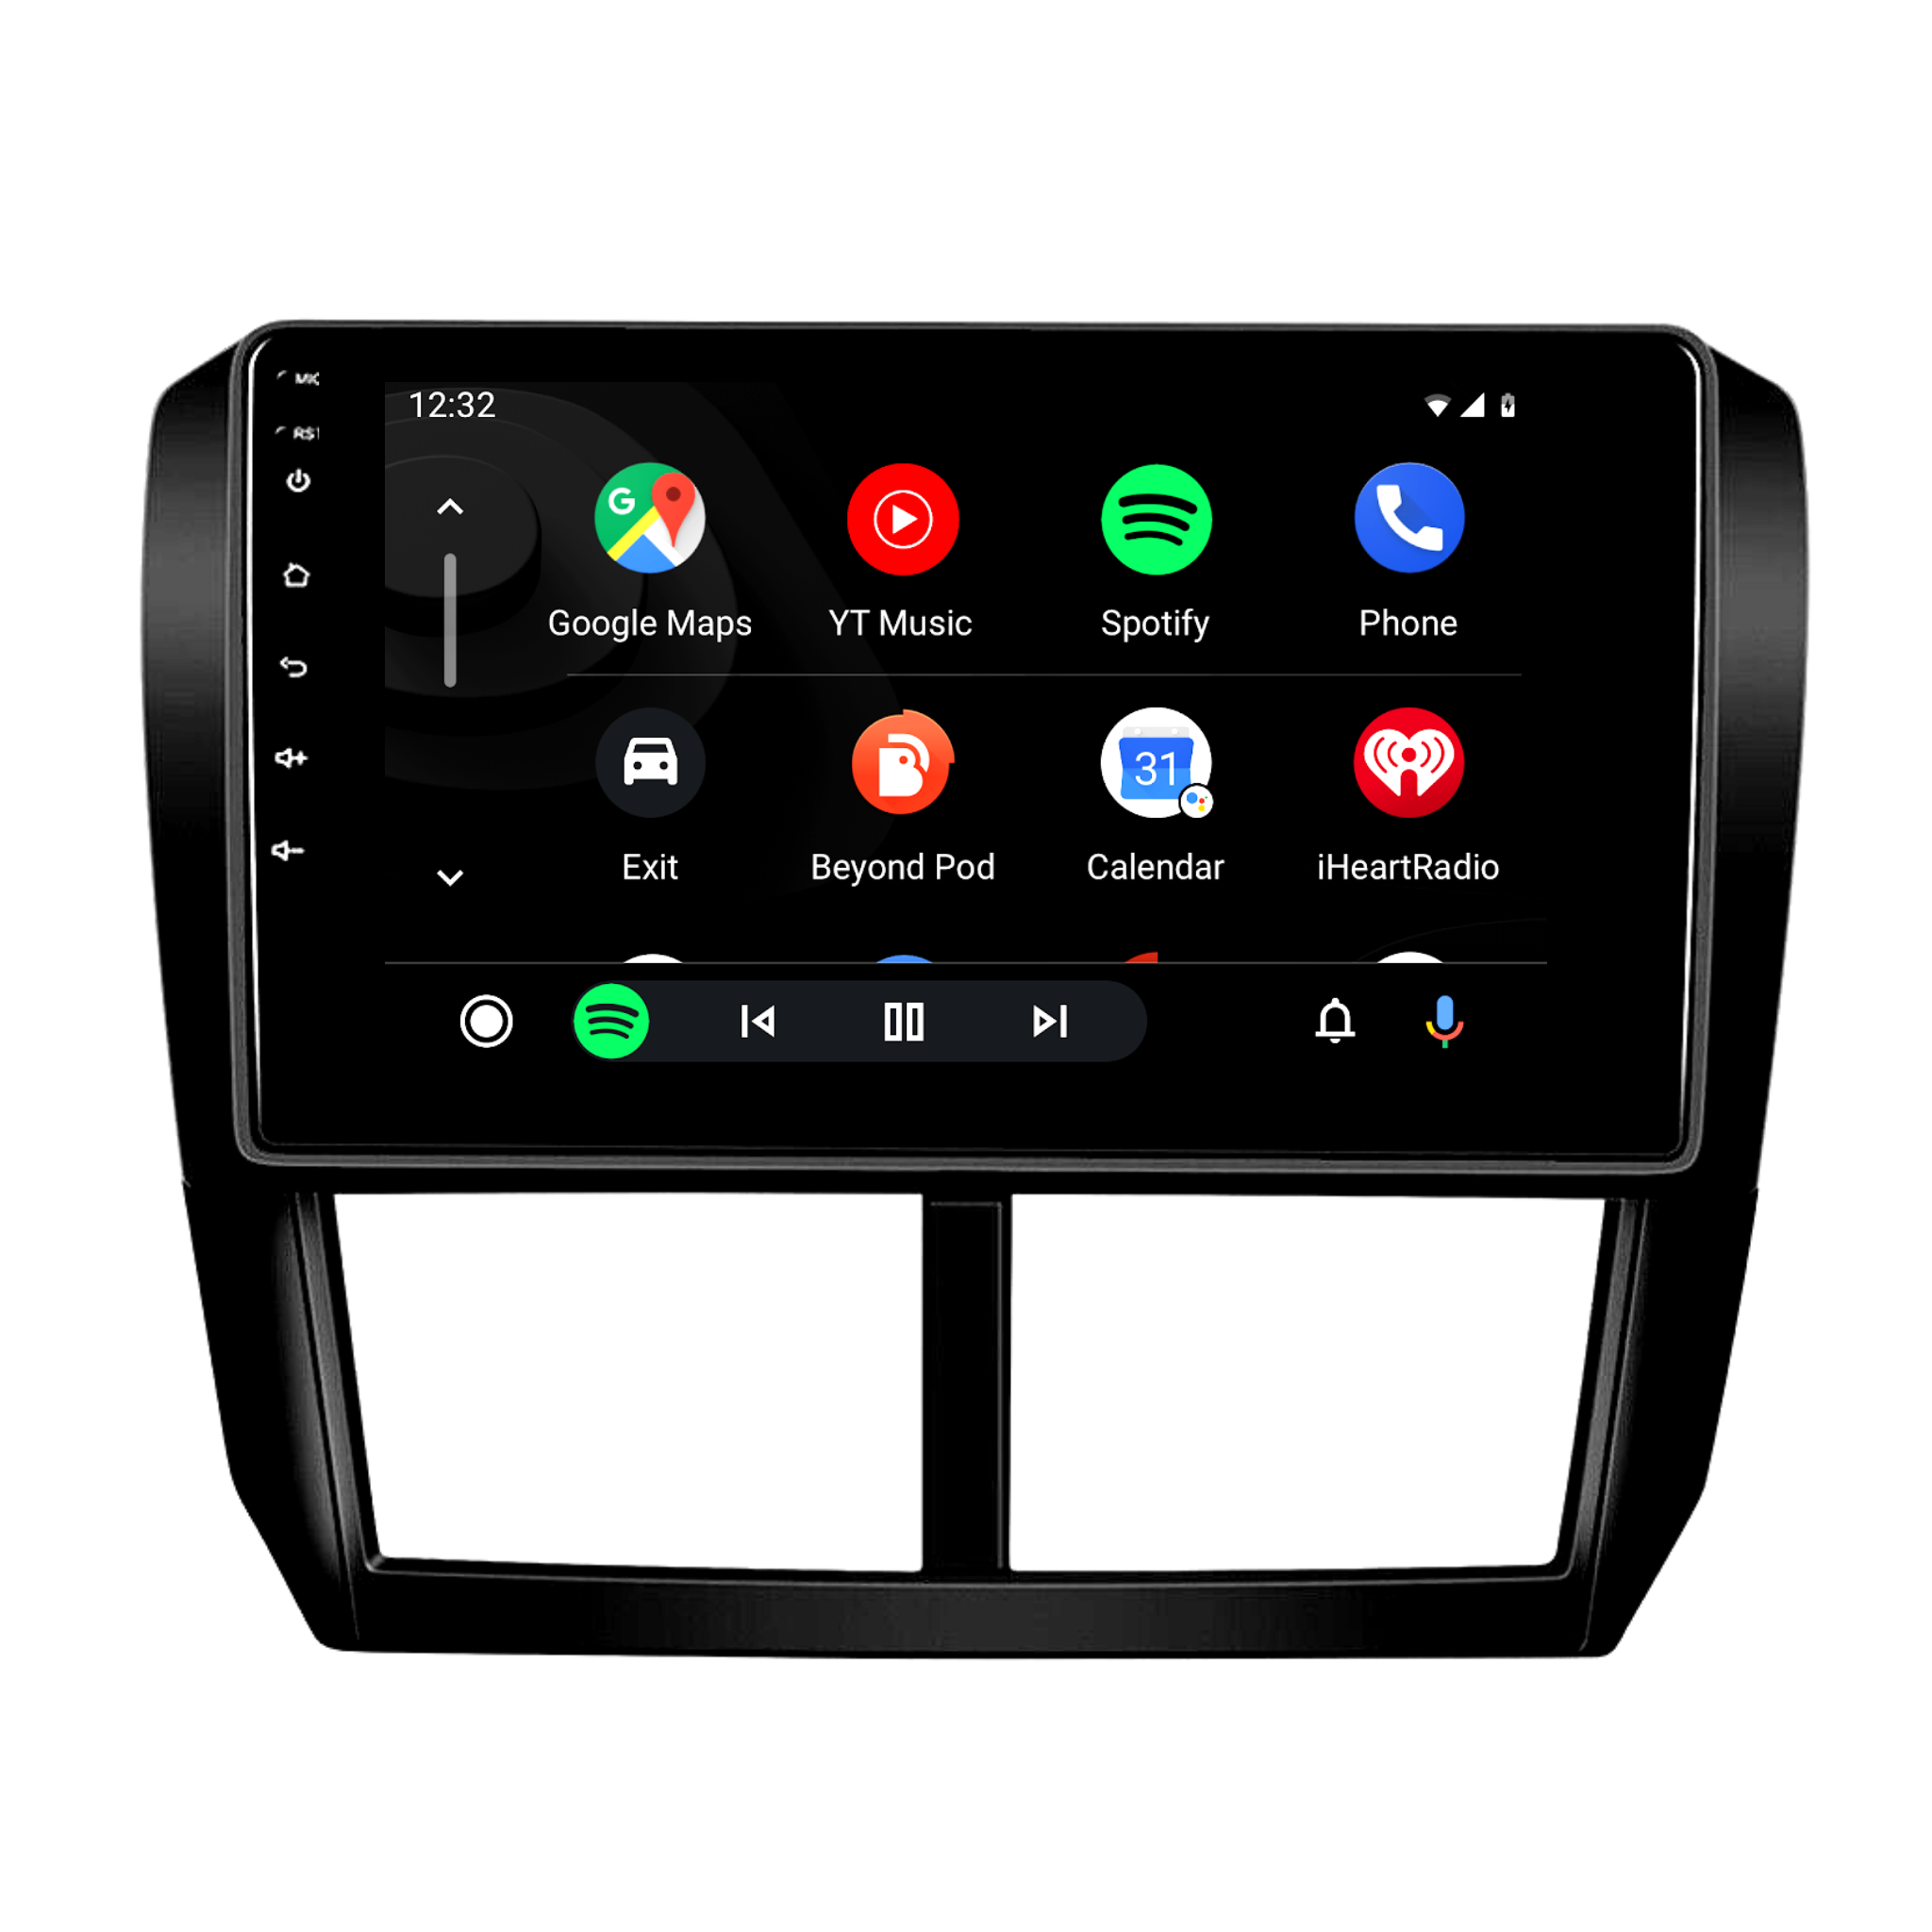
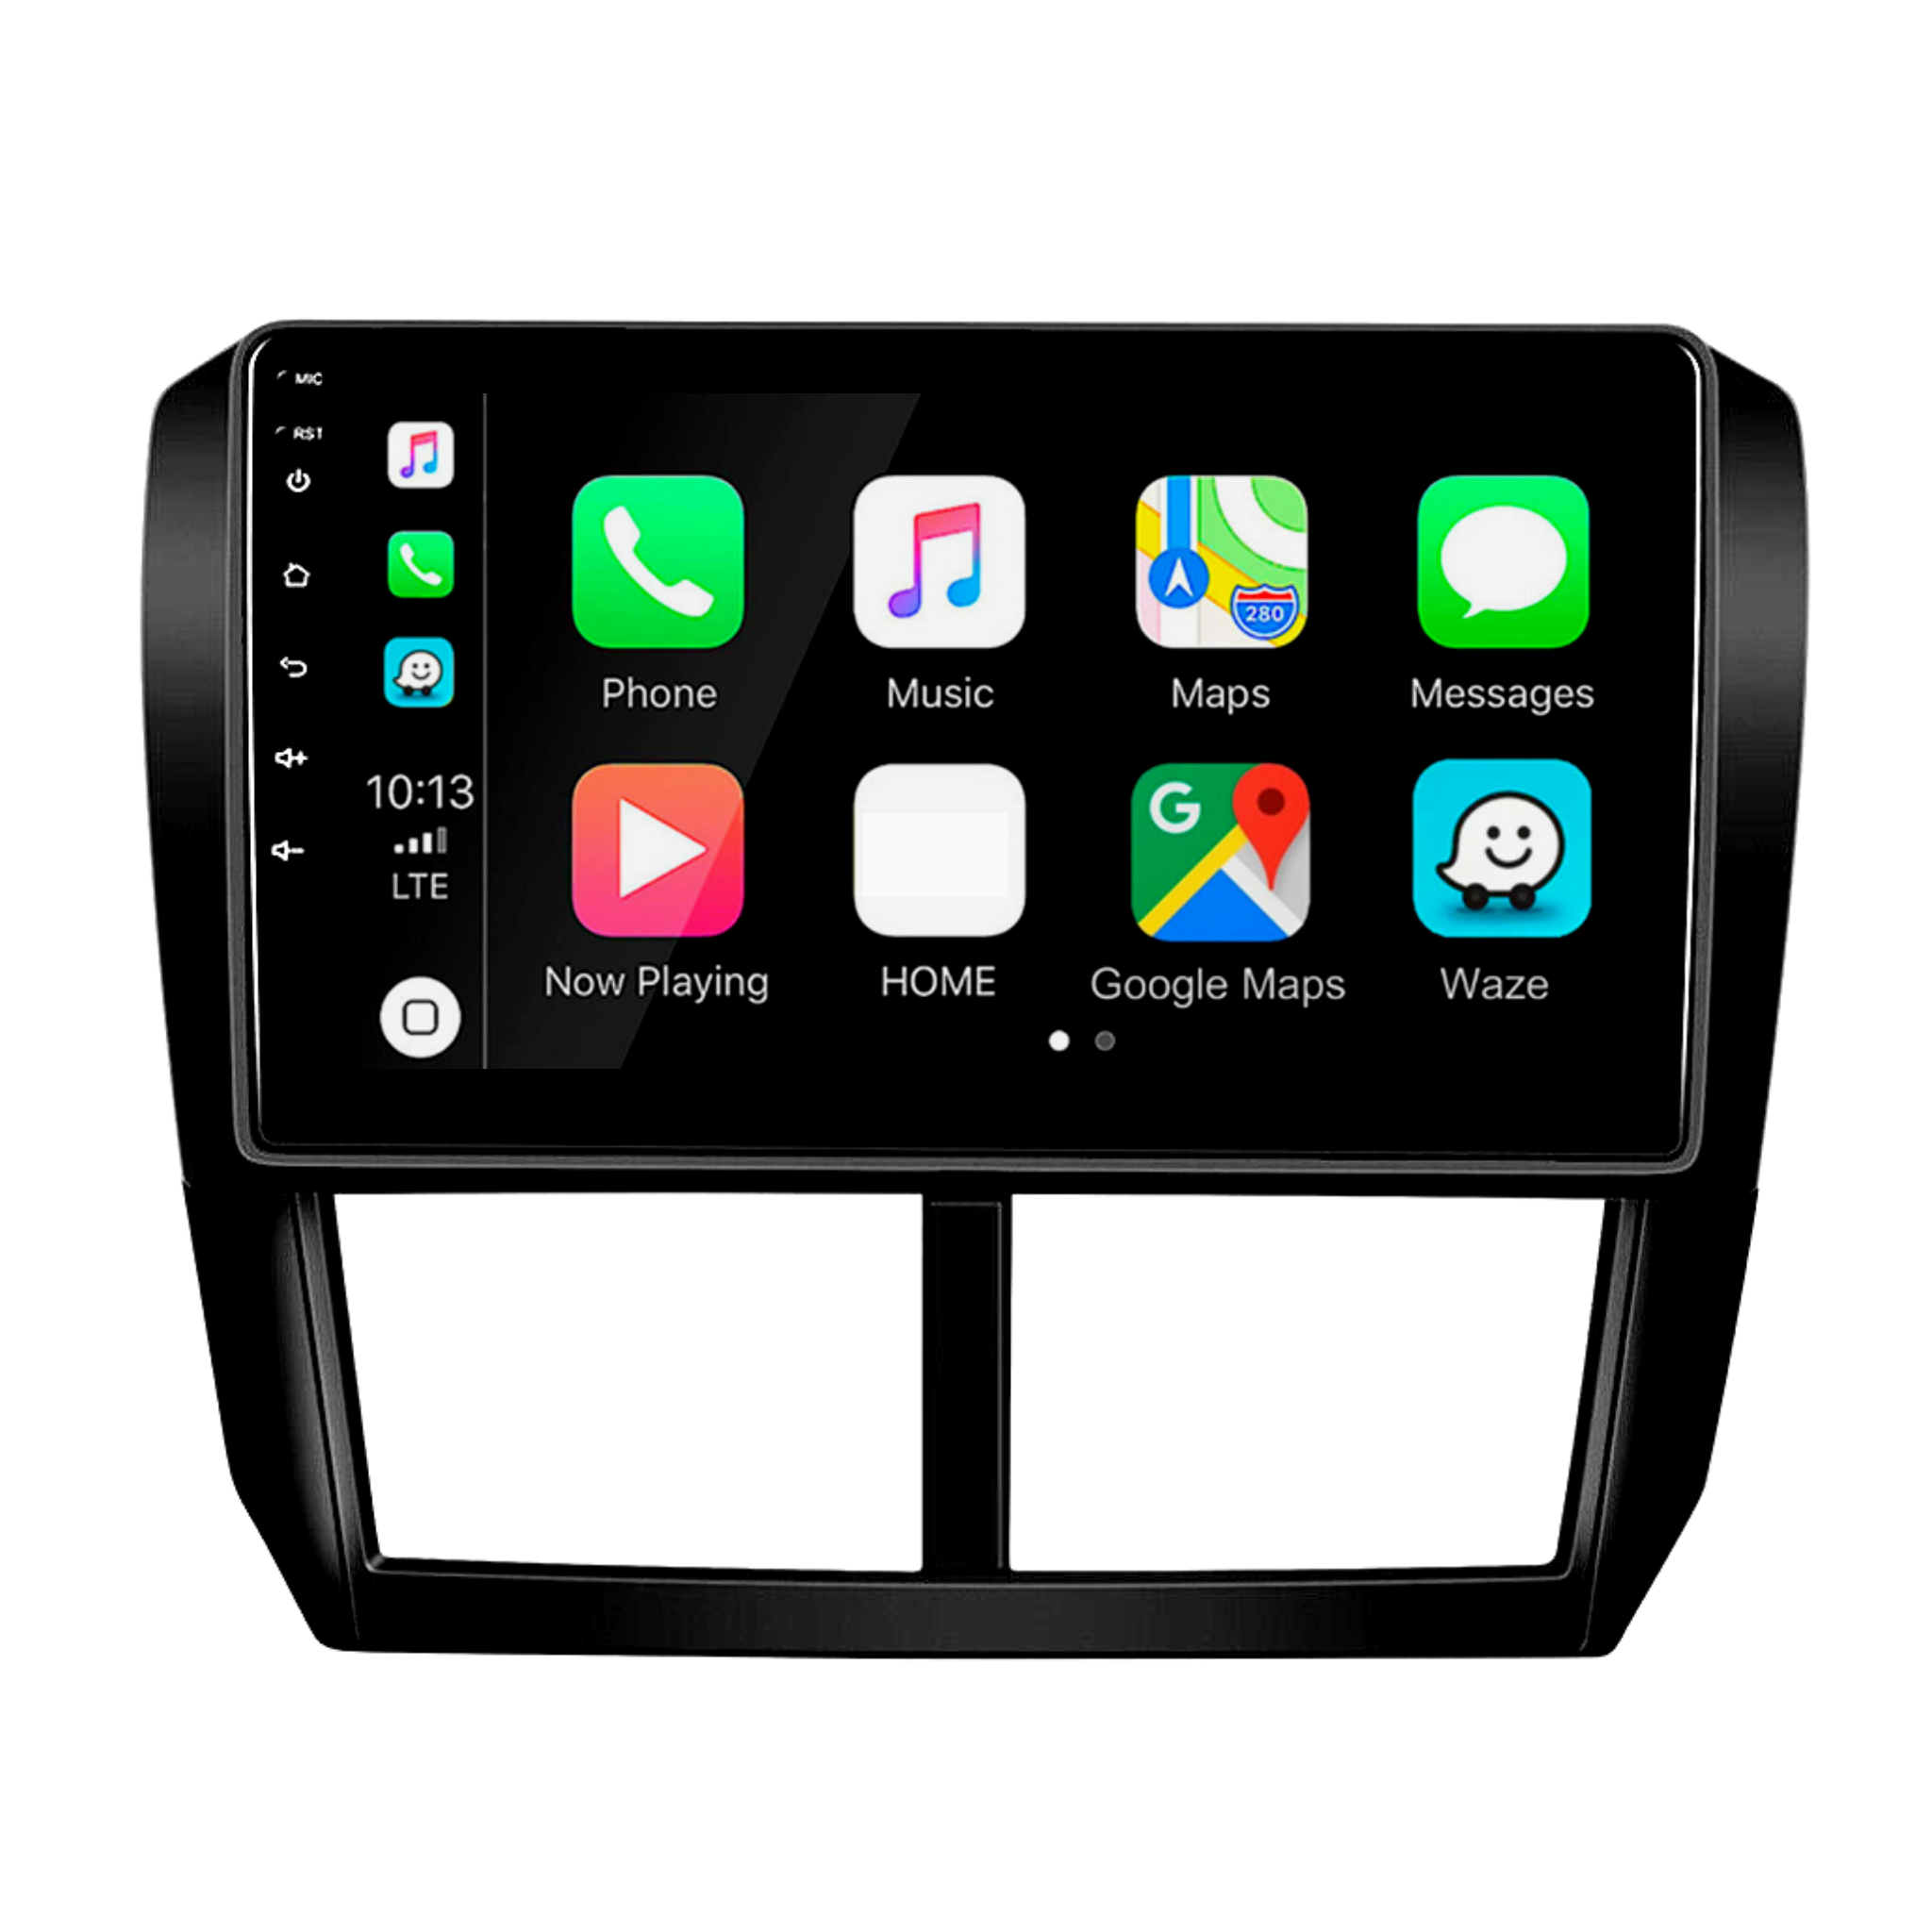
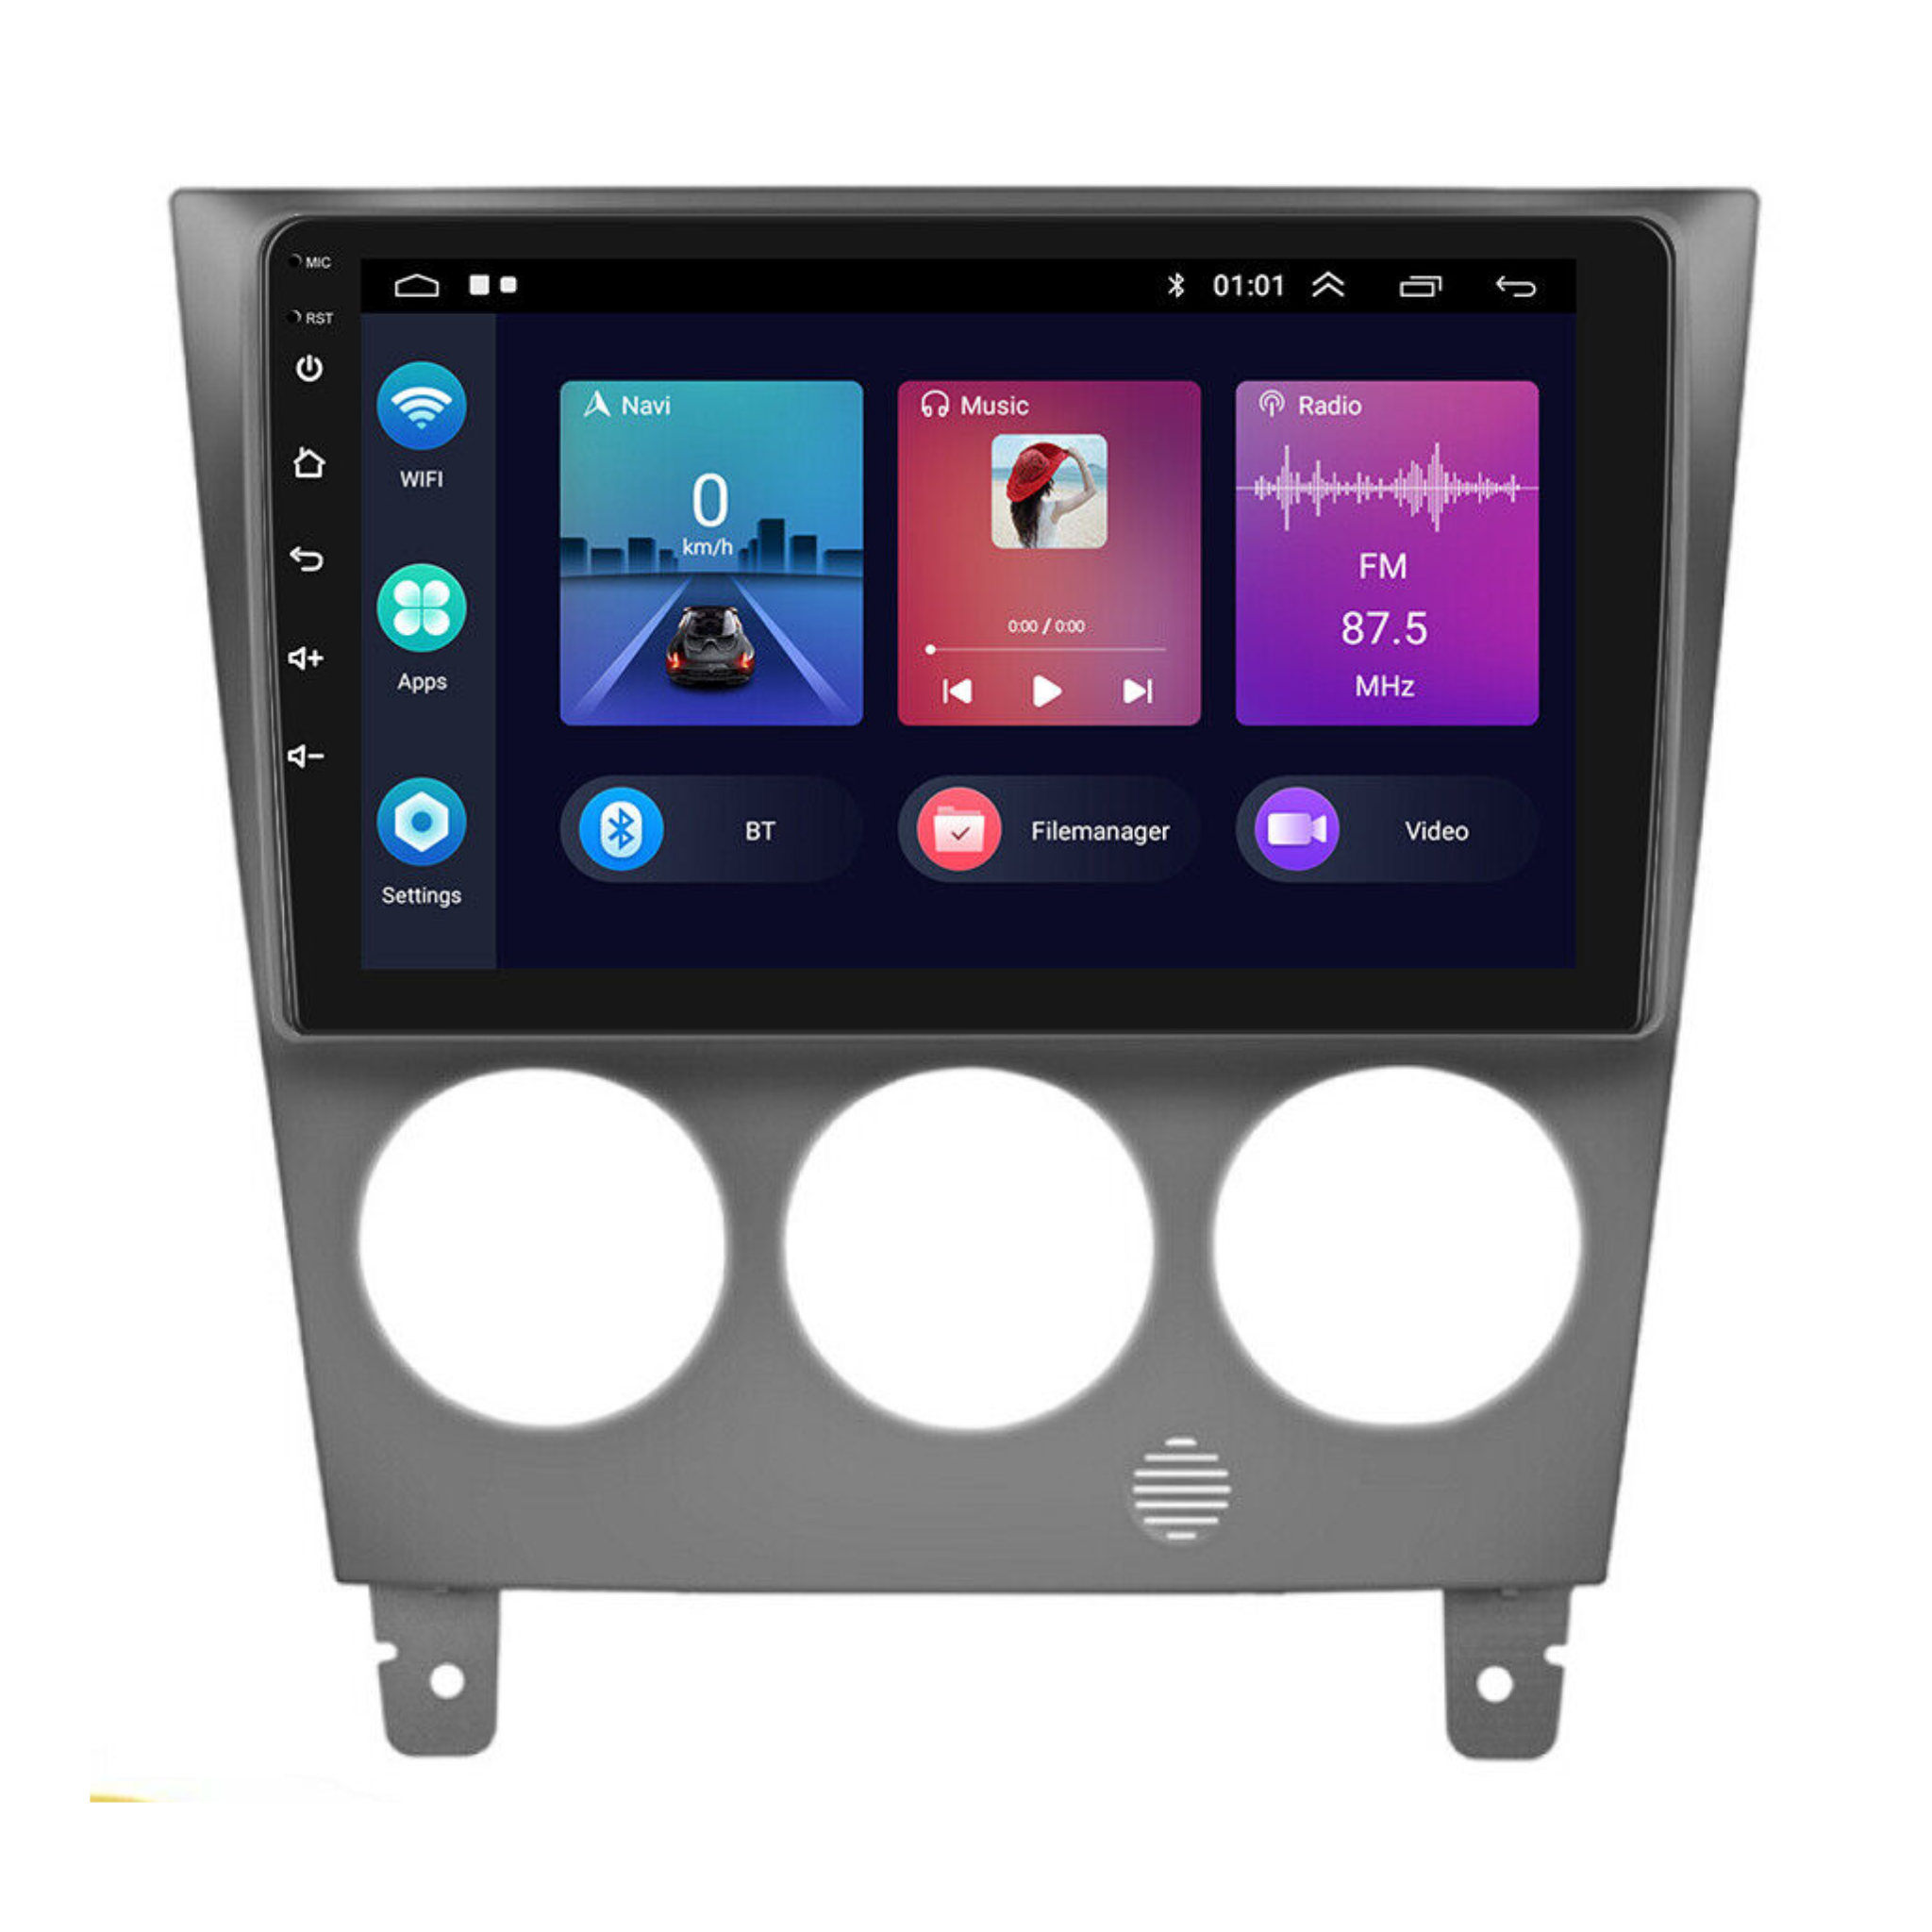
Subaru Impreza/WRX/Forester 2007-2013 Apple CarPlay and Android Auto Plug and Plug Head Unit Upgrade Kit
Sale priceFrom $369.95
Regular price$479.99
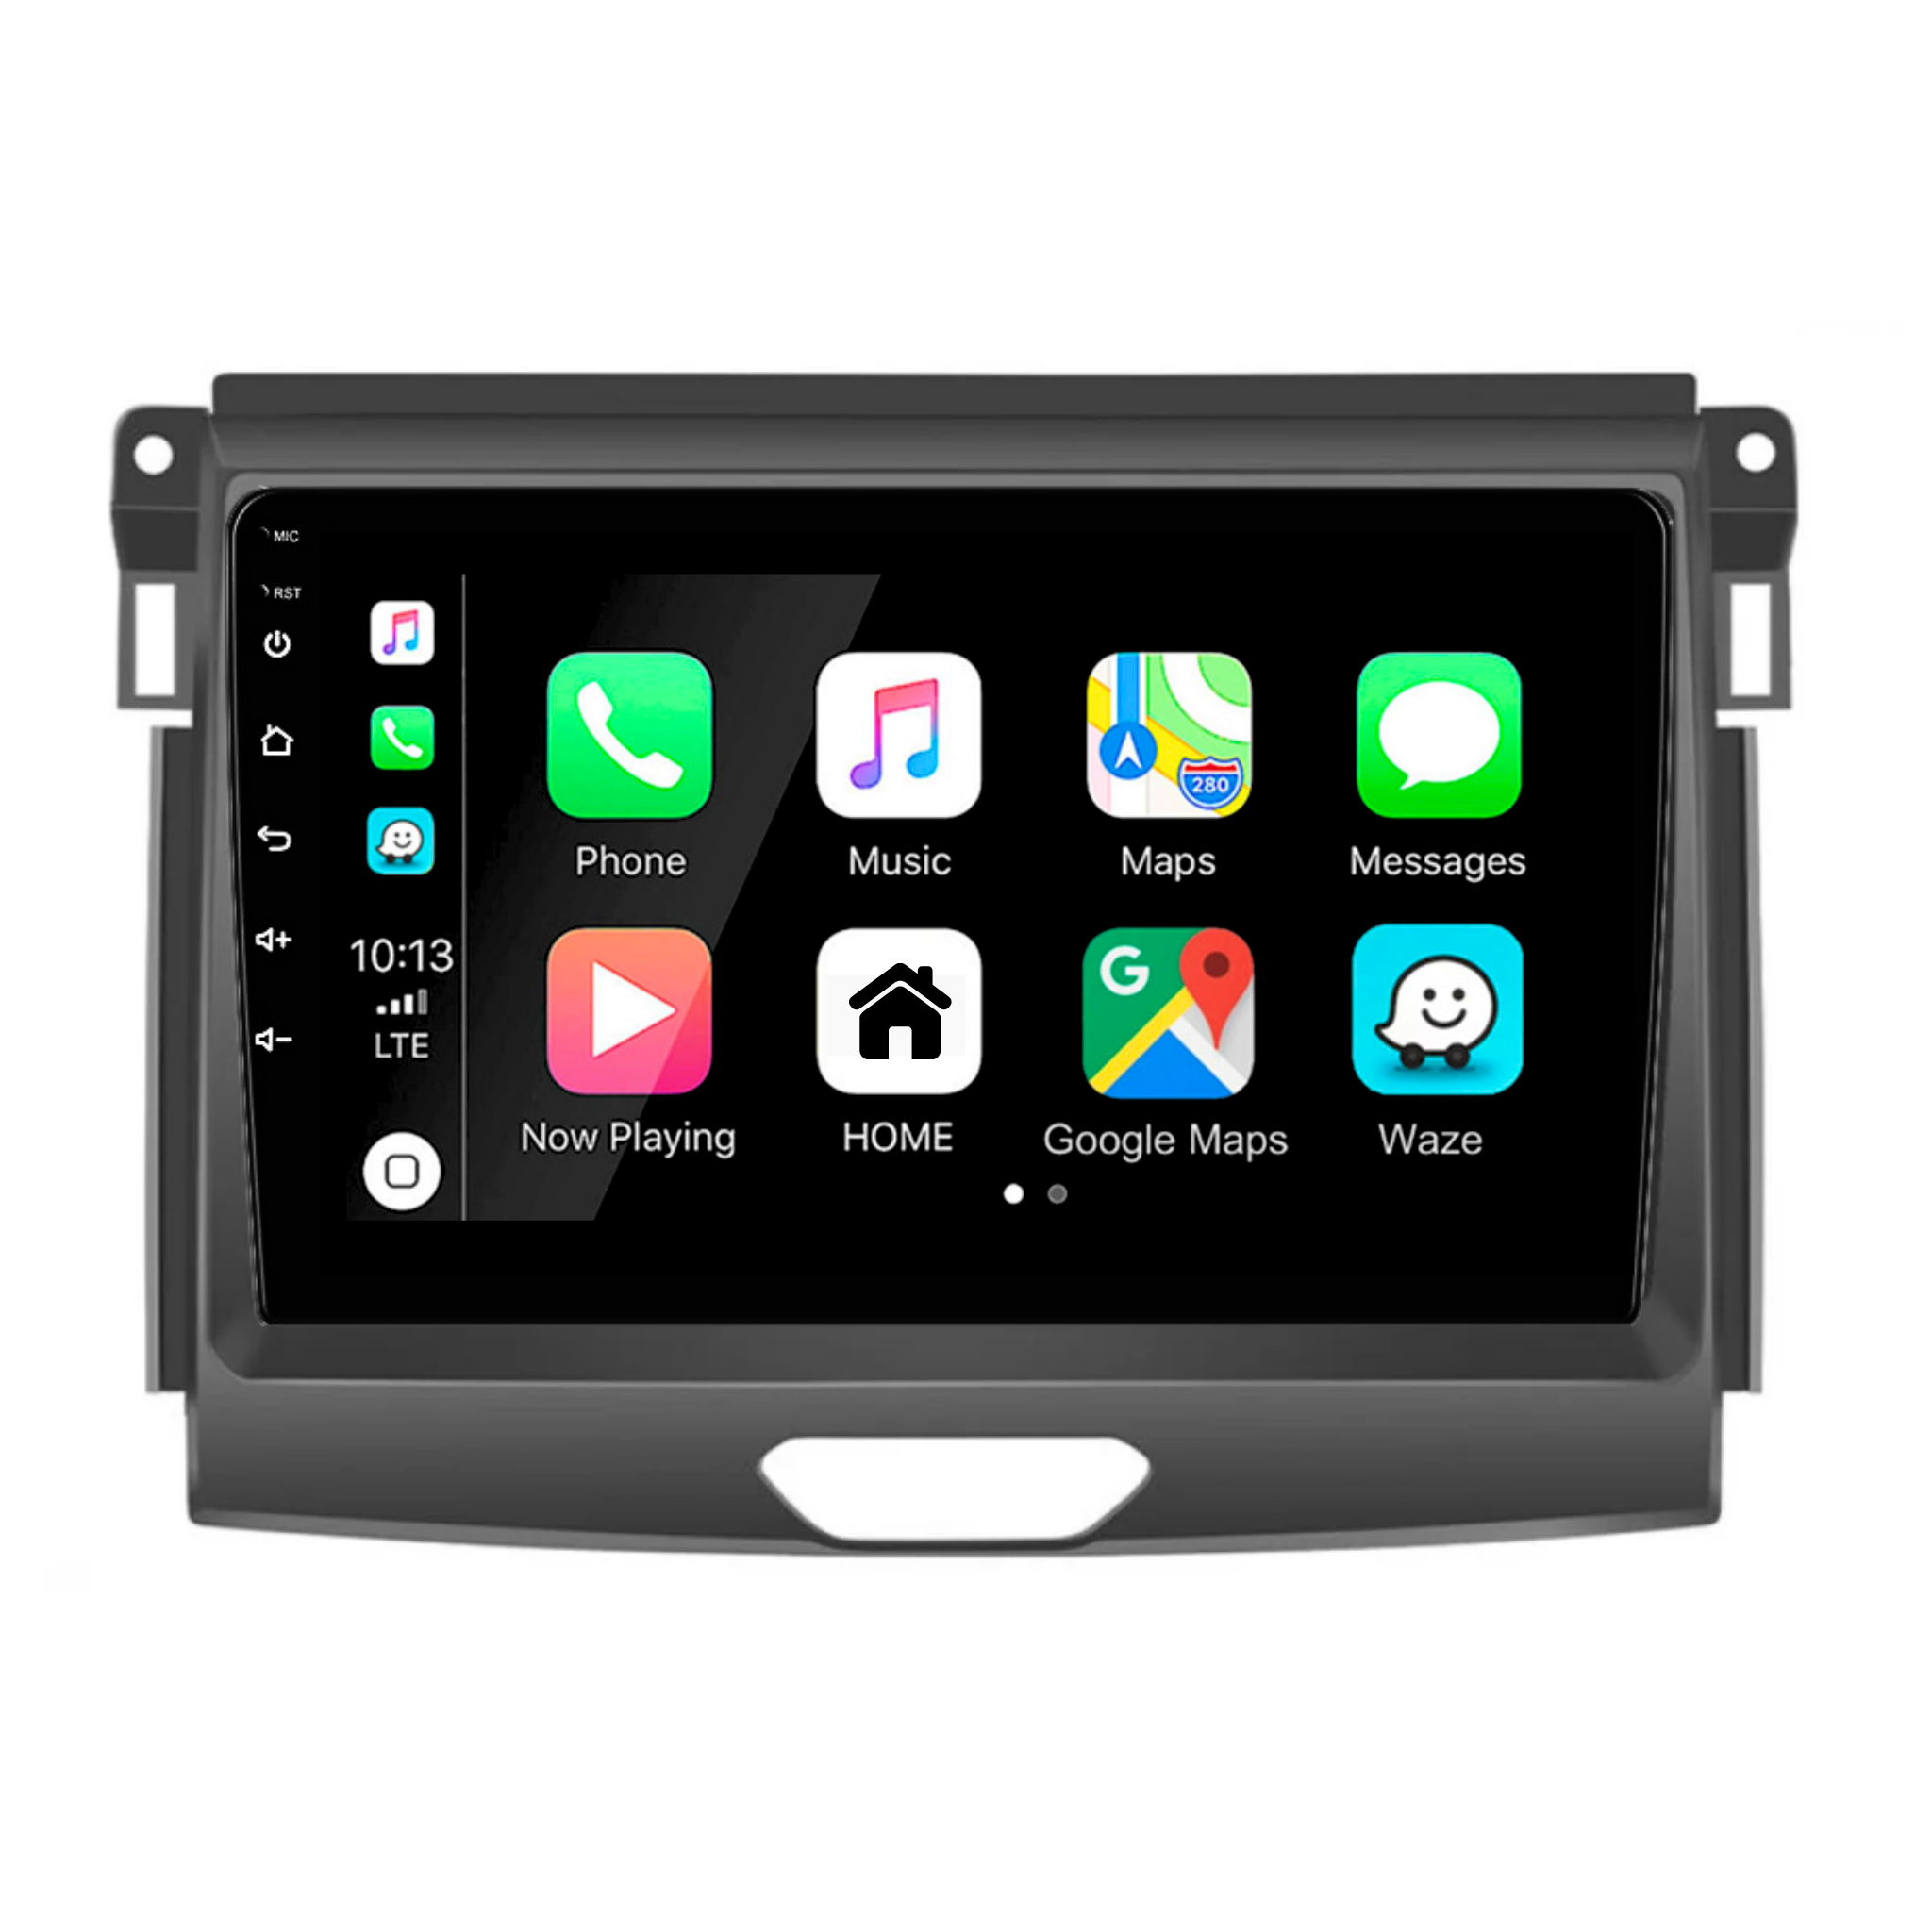
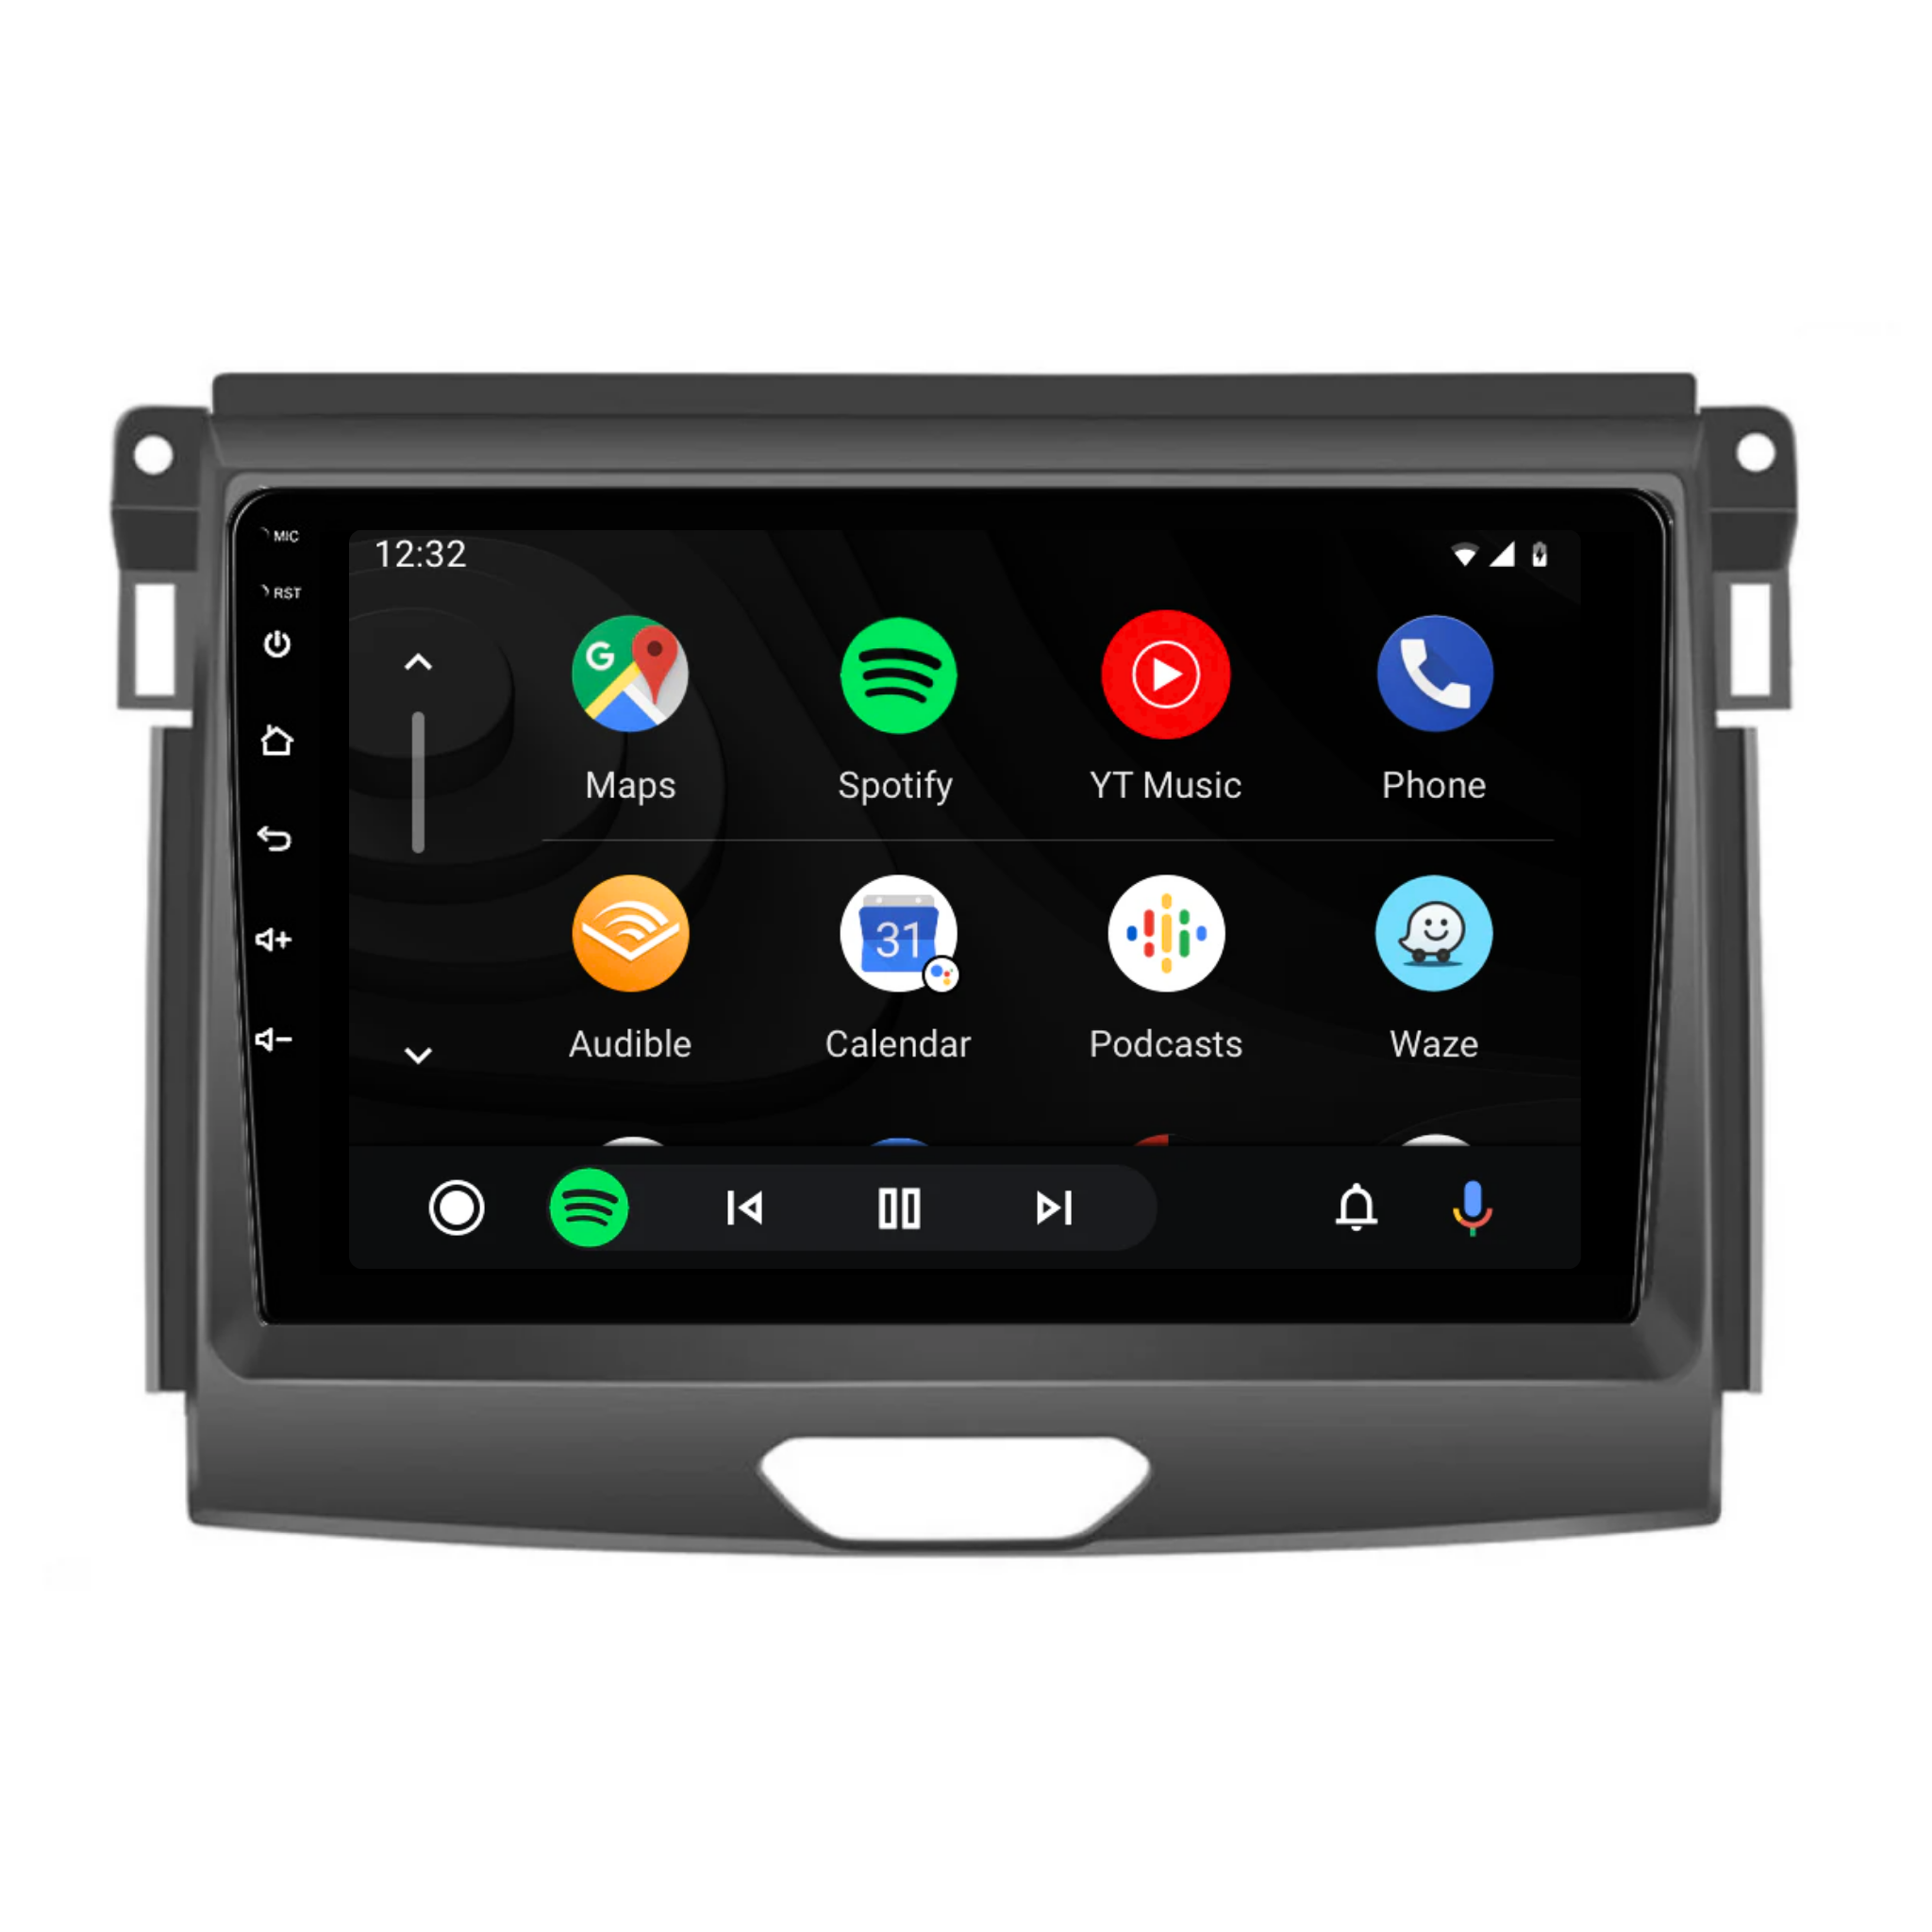
Ford Ranger PX2 2015-2019 | Apple CarPlay & Android Auto Head Unit Upgrade Kit
Sale priceFrom $329.99
Regular price$469.99
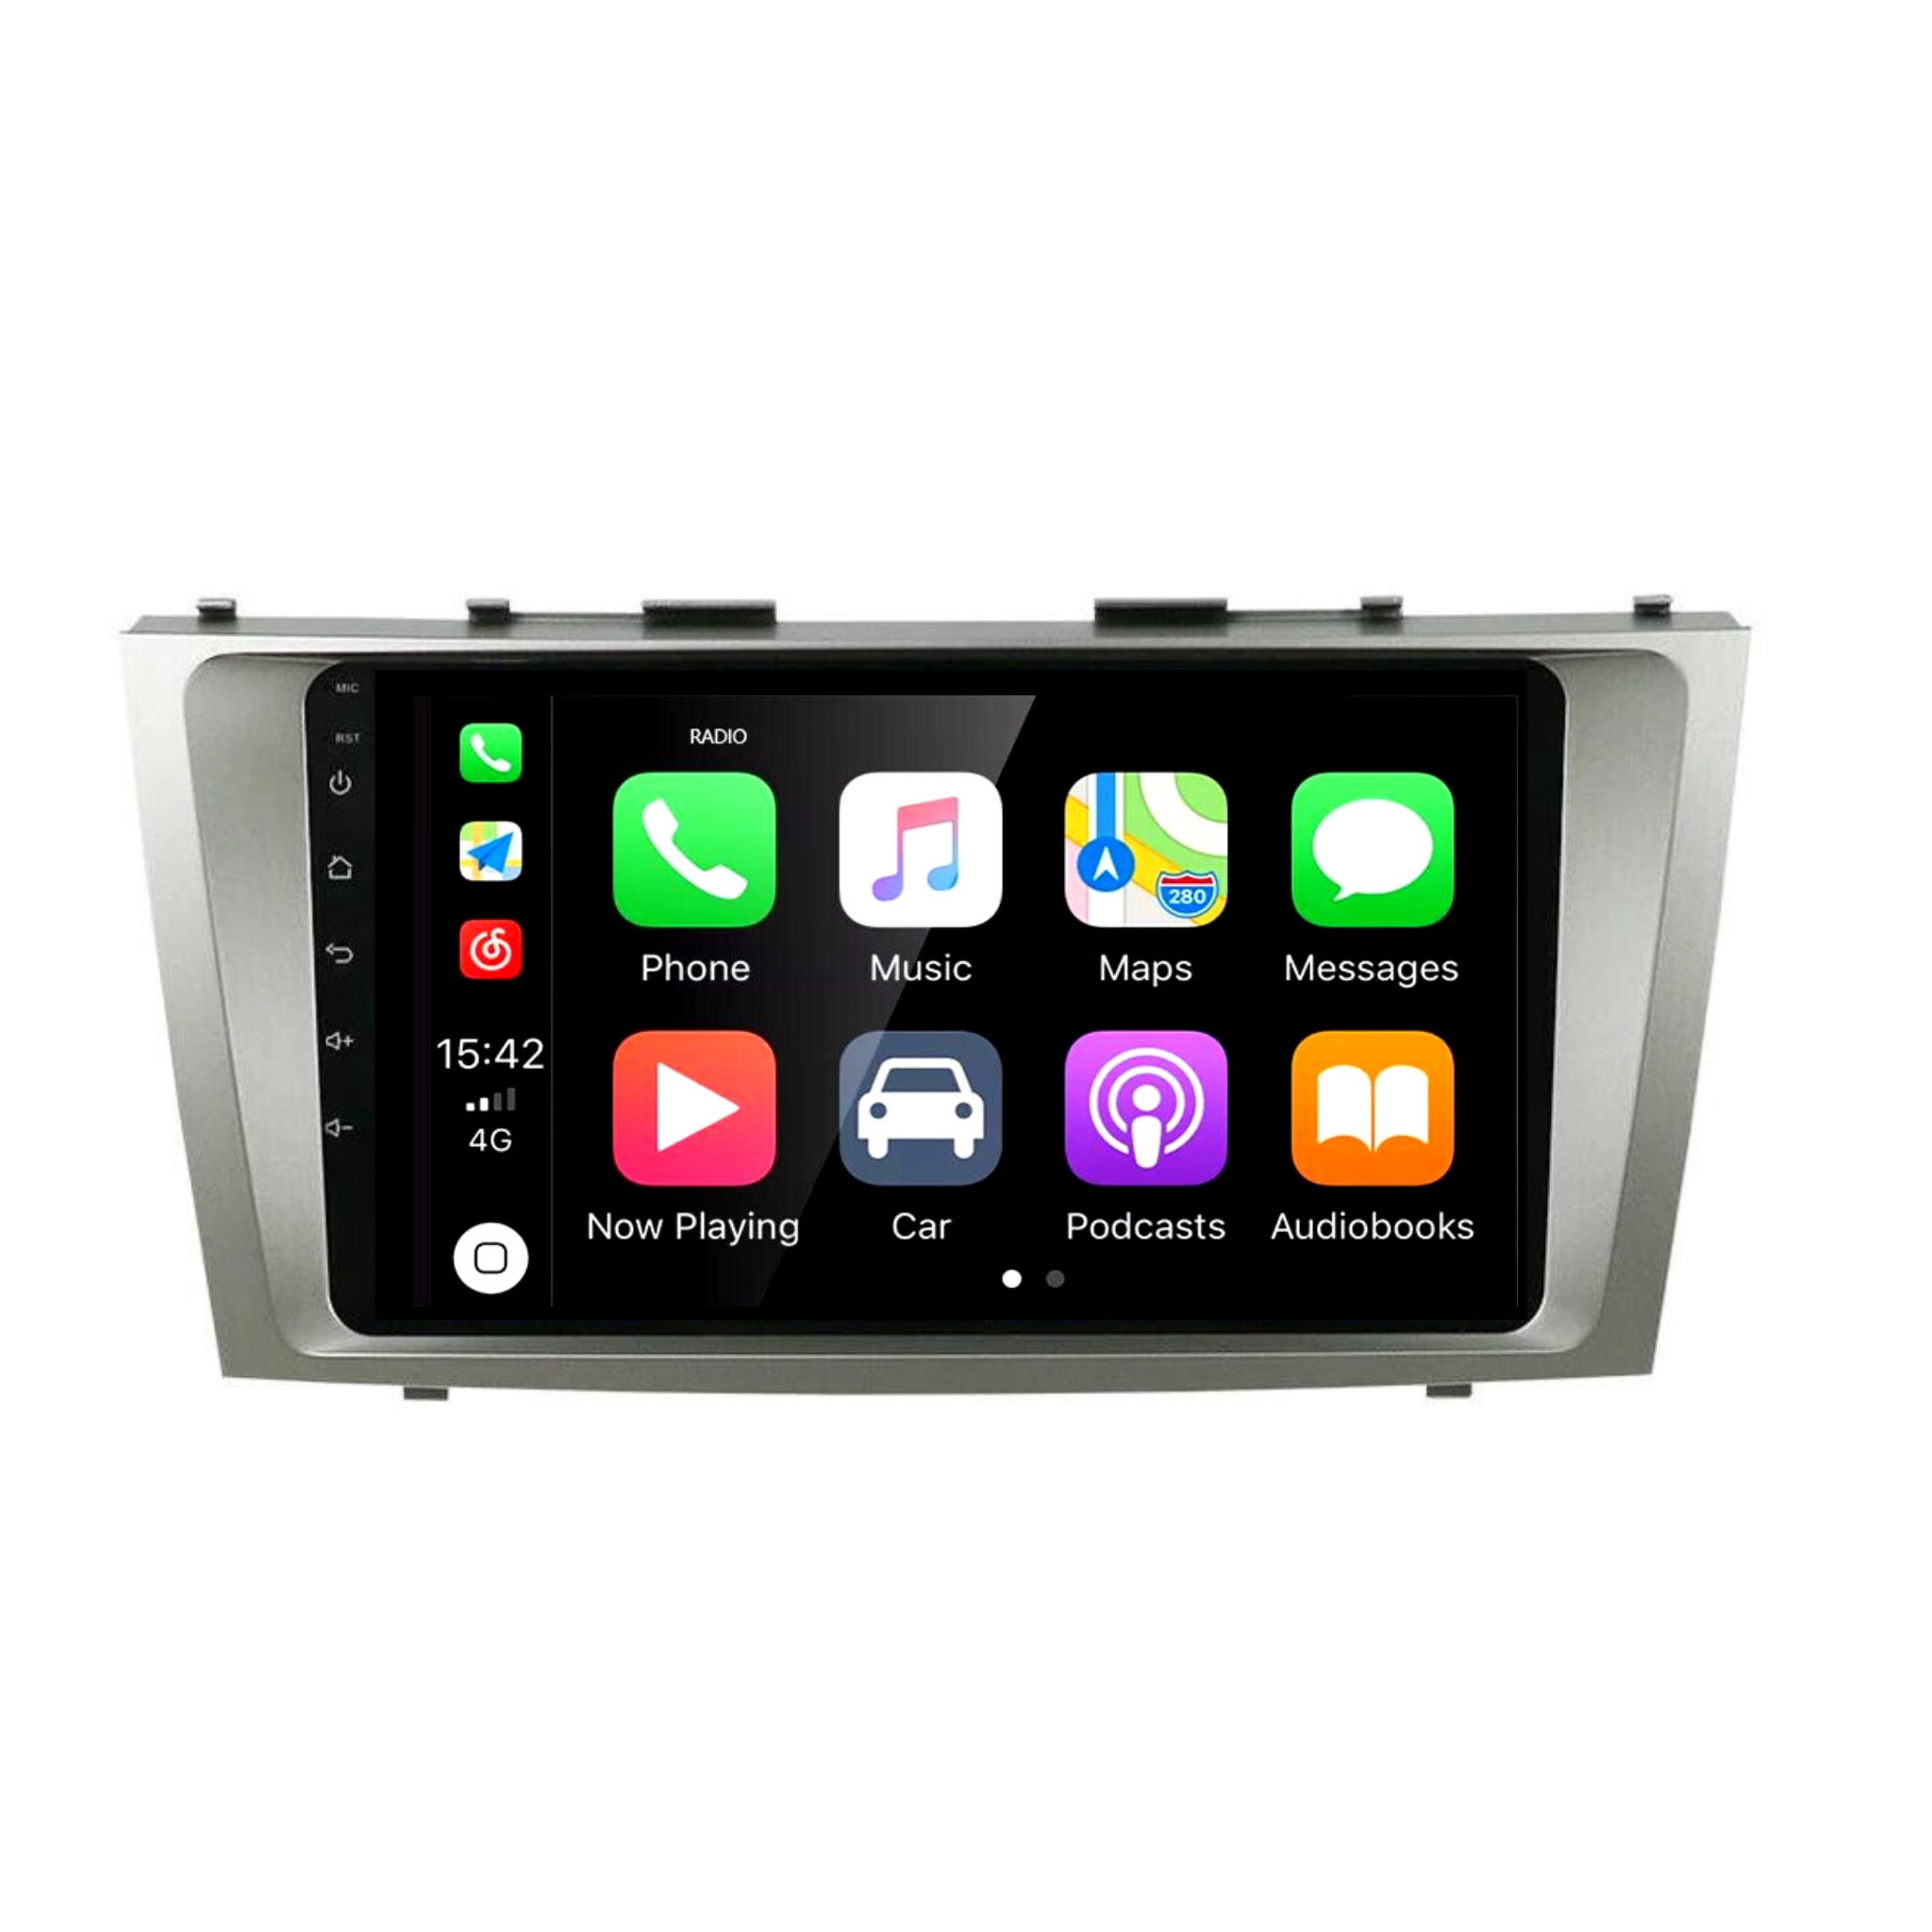
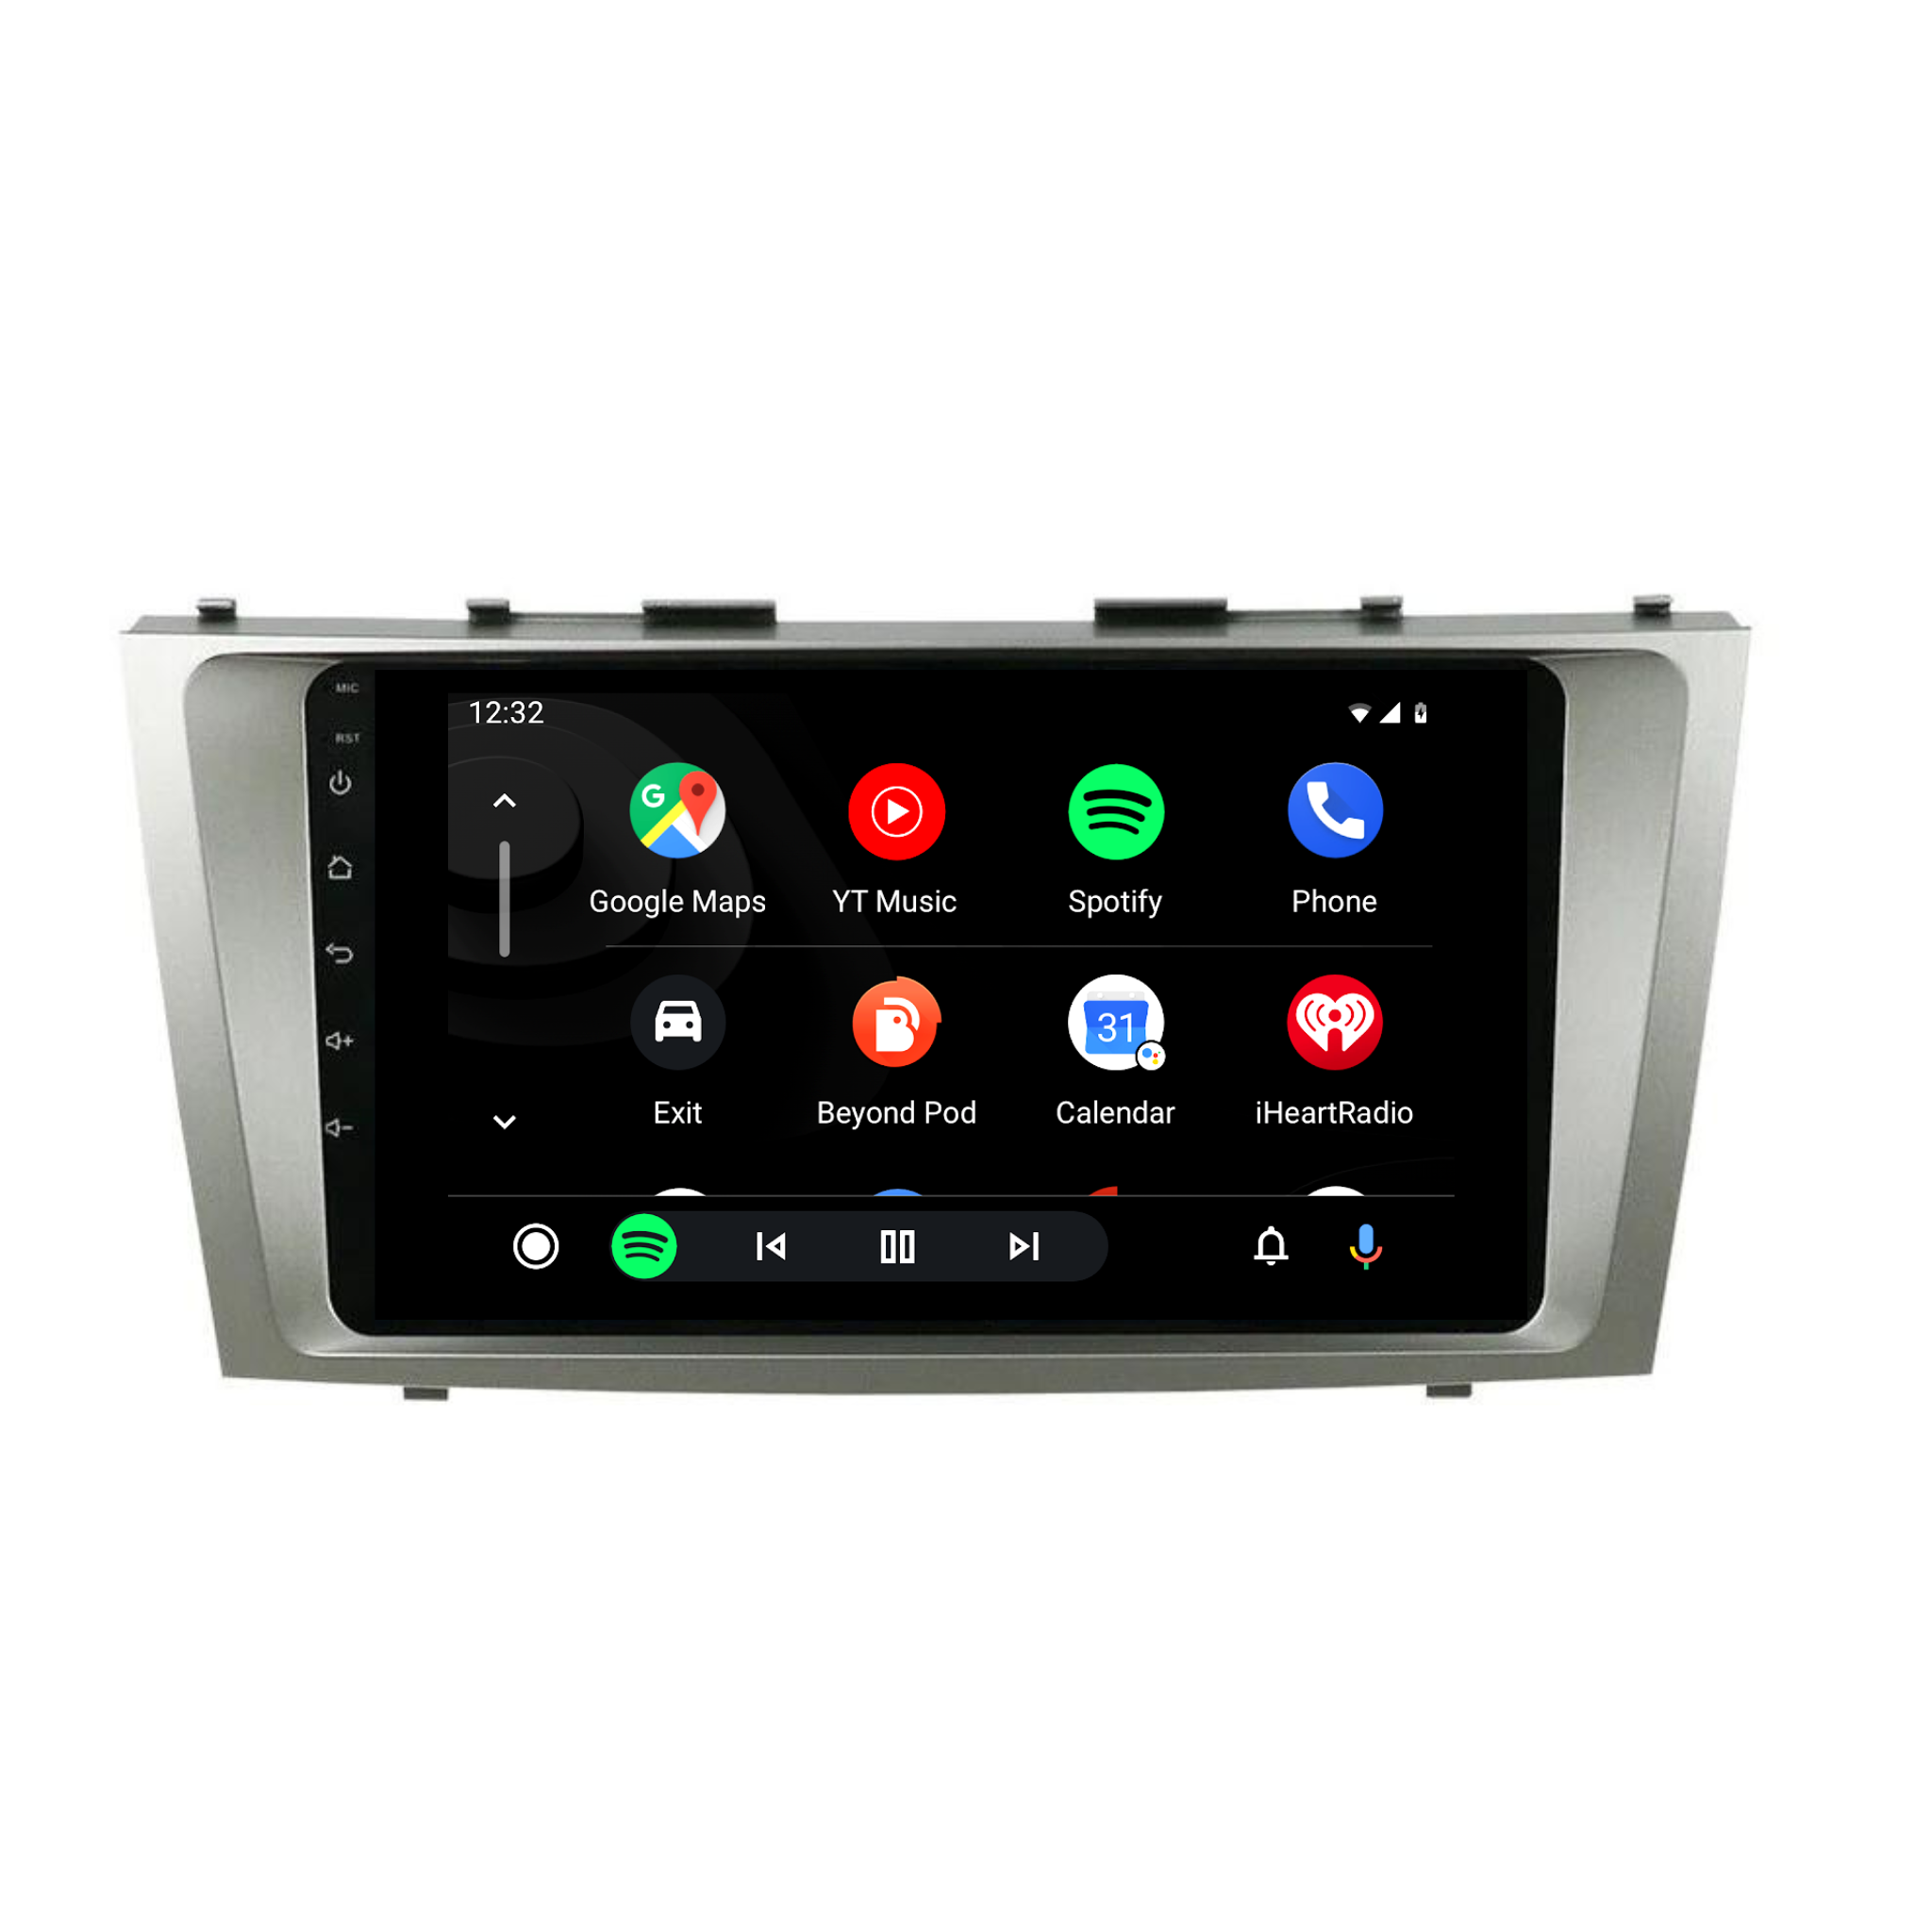
Toyota Camry & Aurion 2006-2011 Apple CarPlay and Android Auto Plug and Plug Head Unit Upgrade Kit
Sale priceFrom $279.99
Regular price$419.99
Ford Ranger PX & PX1 2012 - 2015 Apple CarPlay and Android Auto Plug and Plug Head Unit Upgrade Kit
Sale priceFrom $429.99
Regular price$499.99
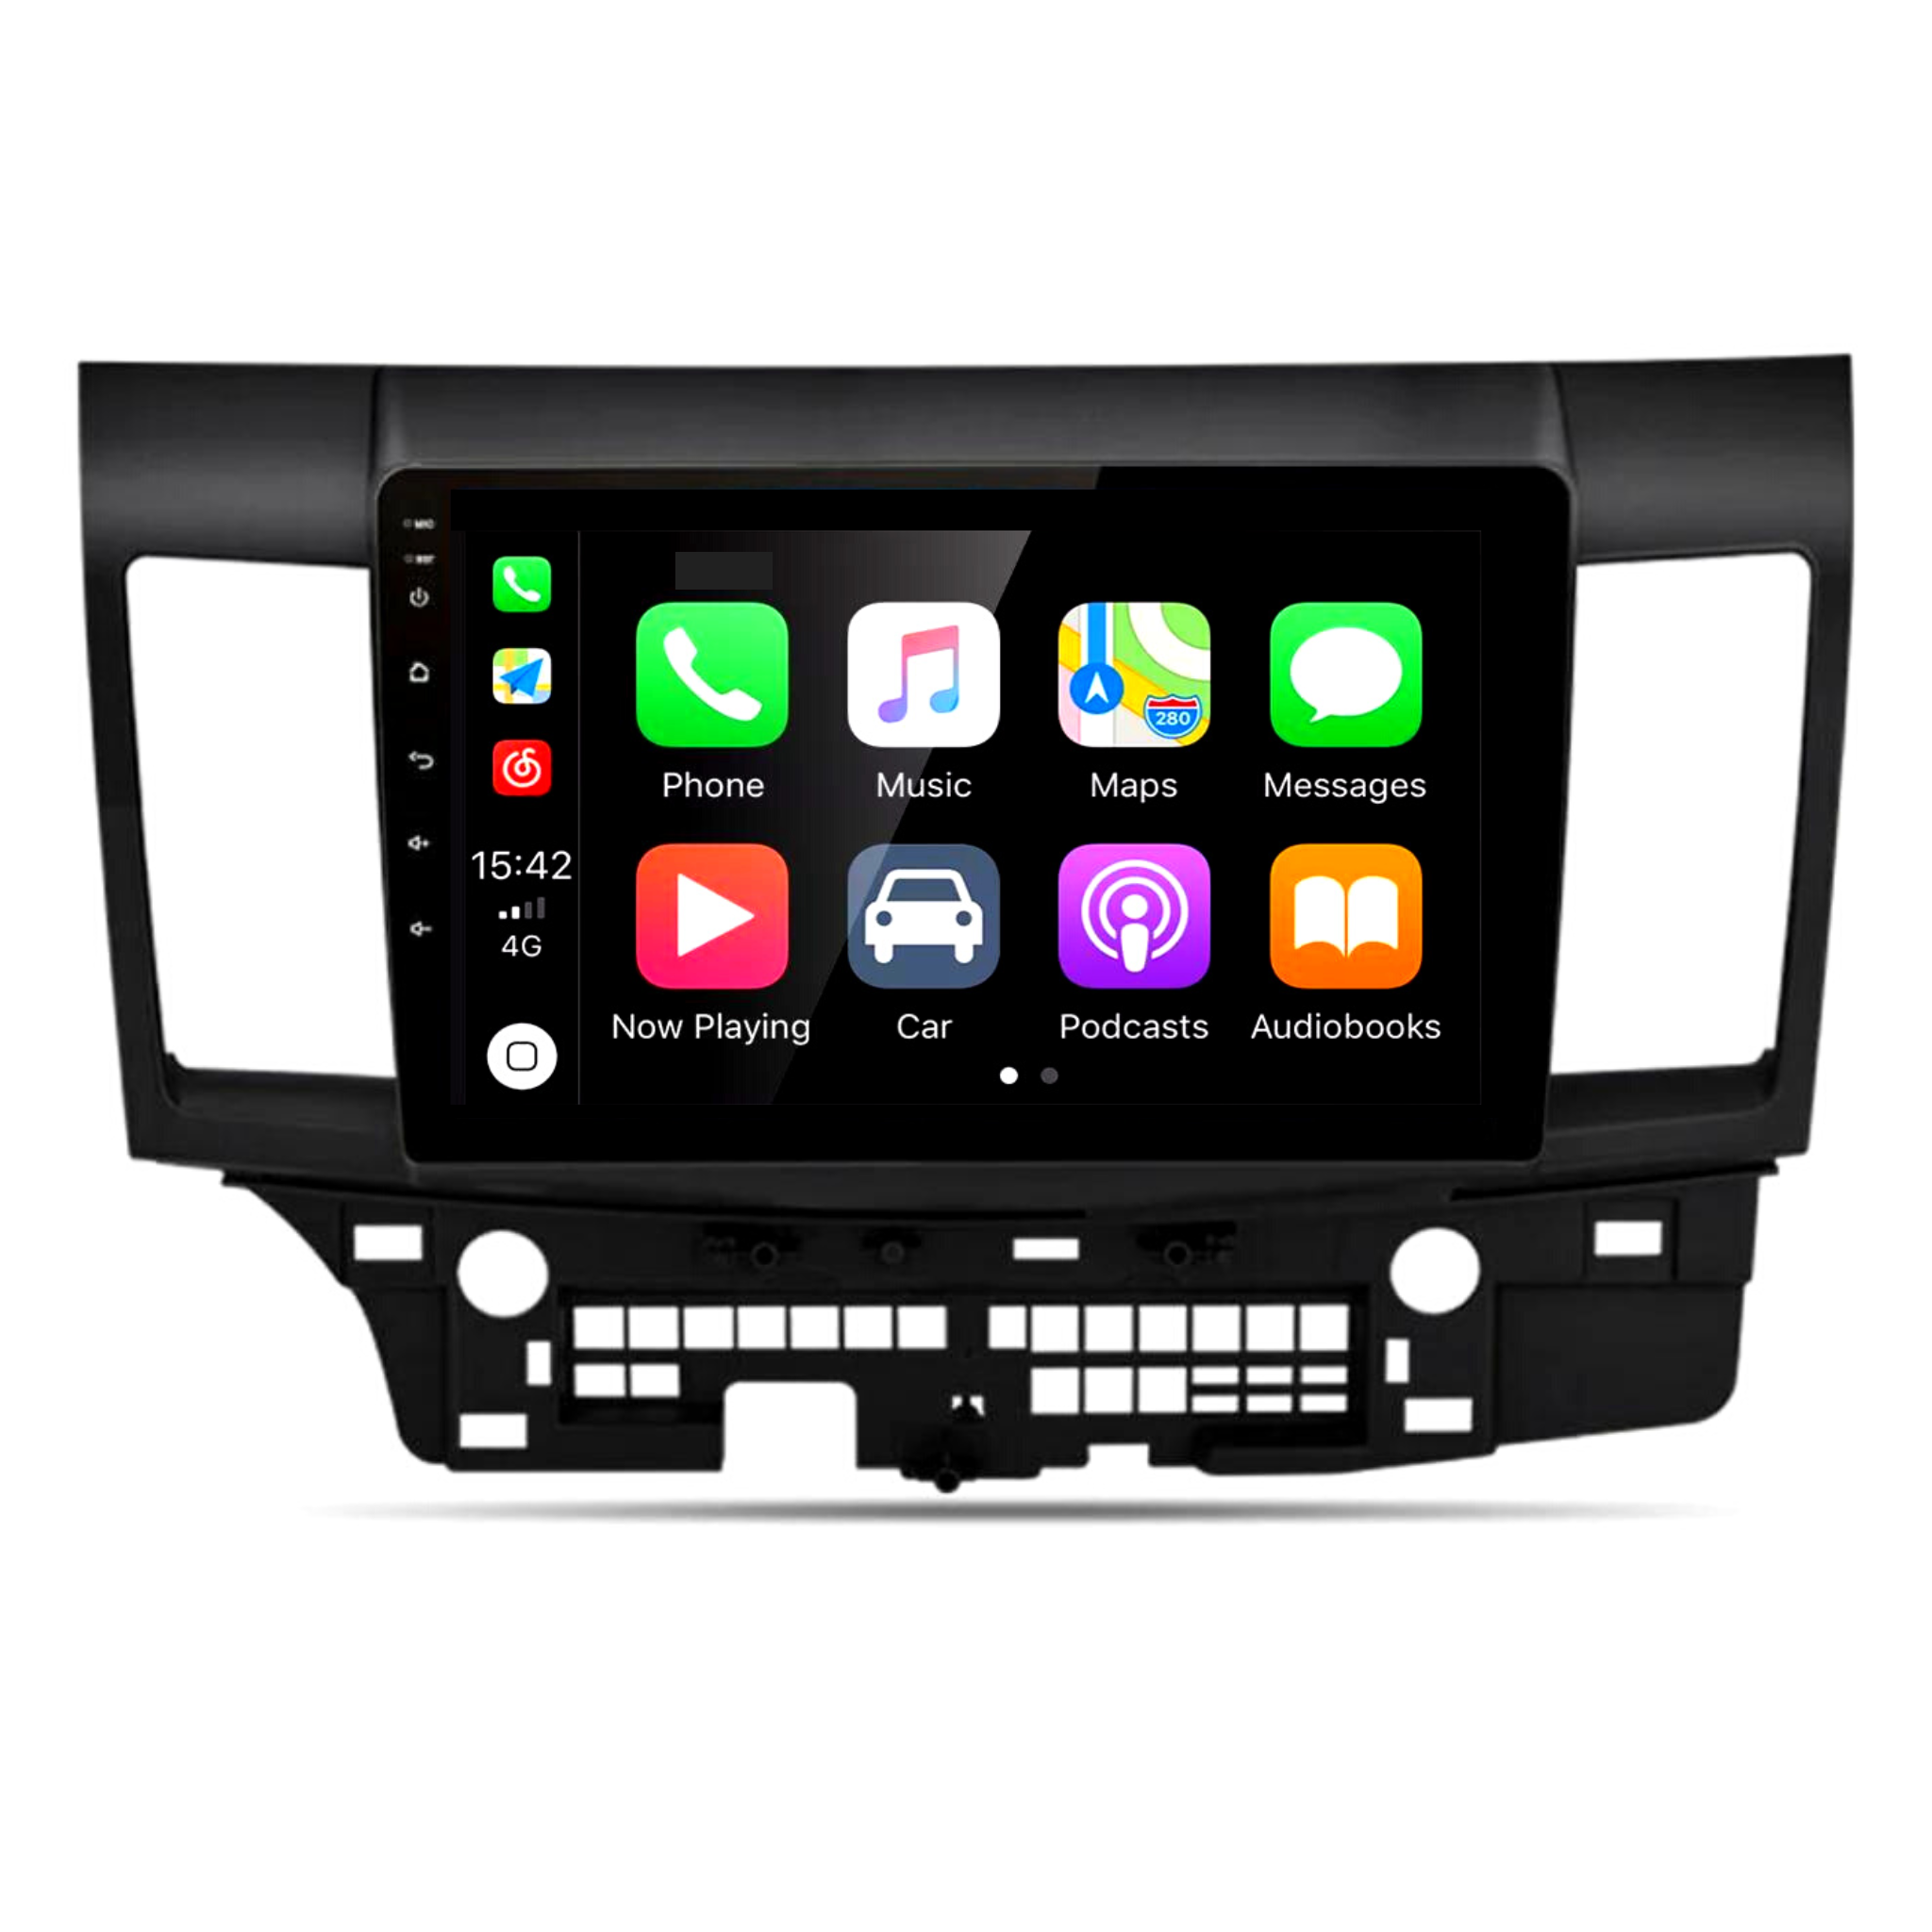
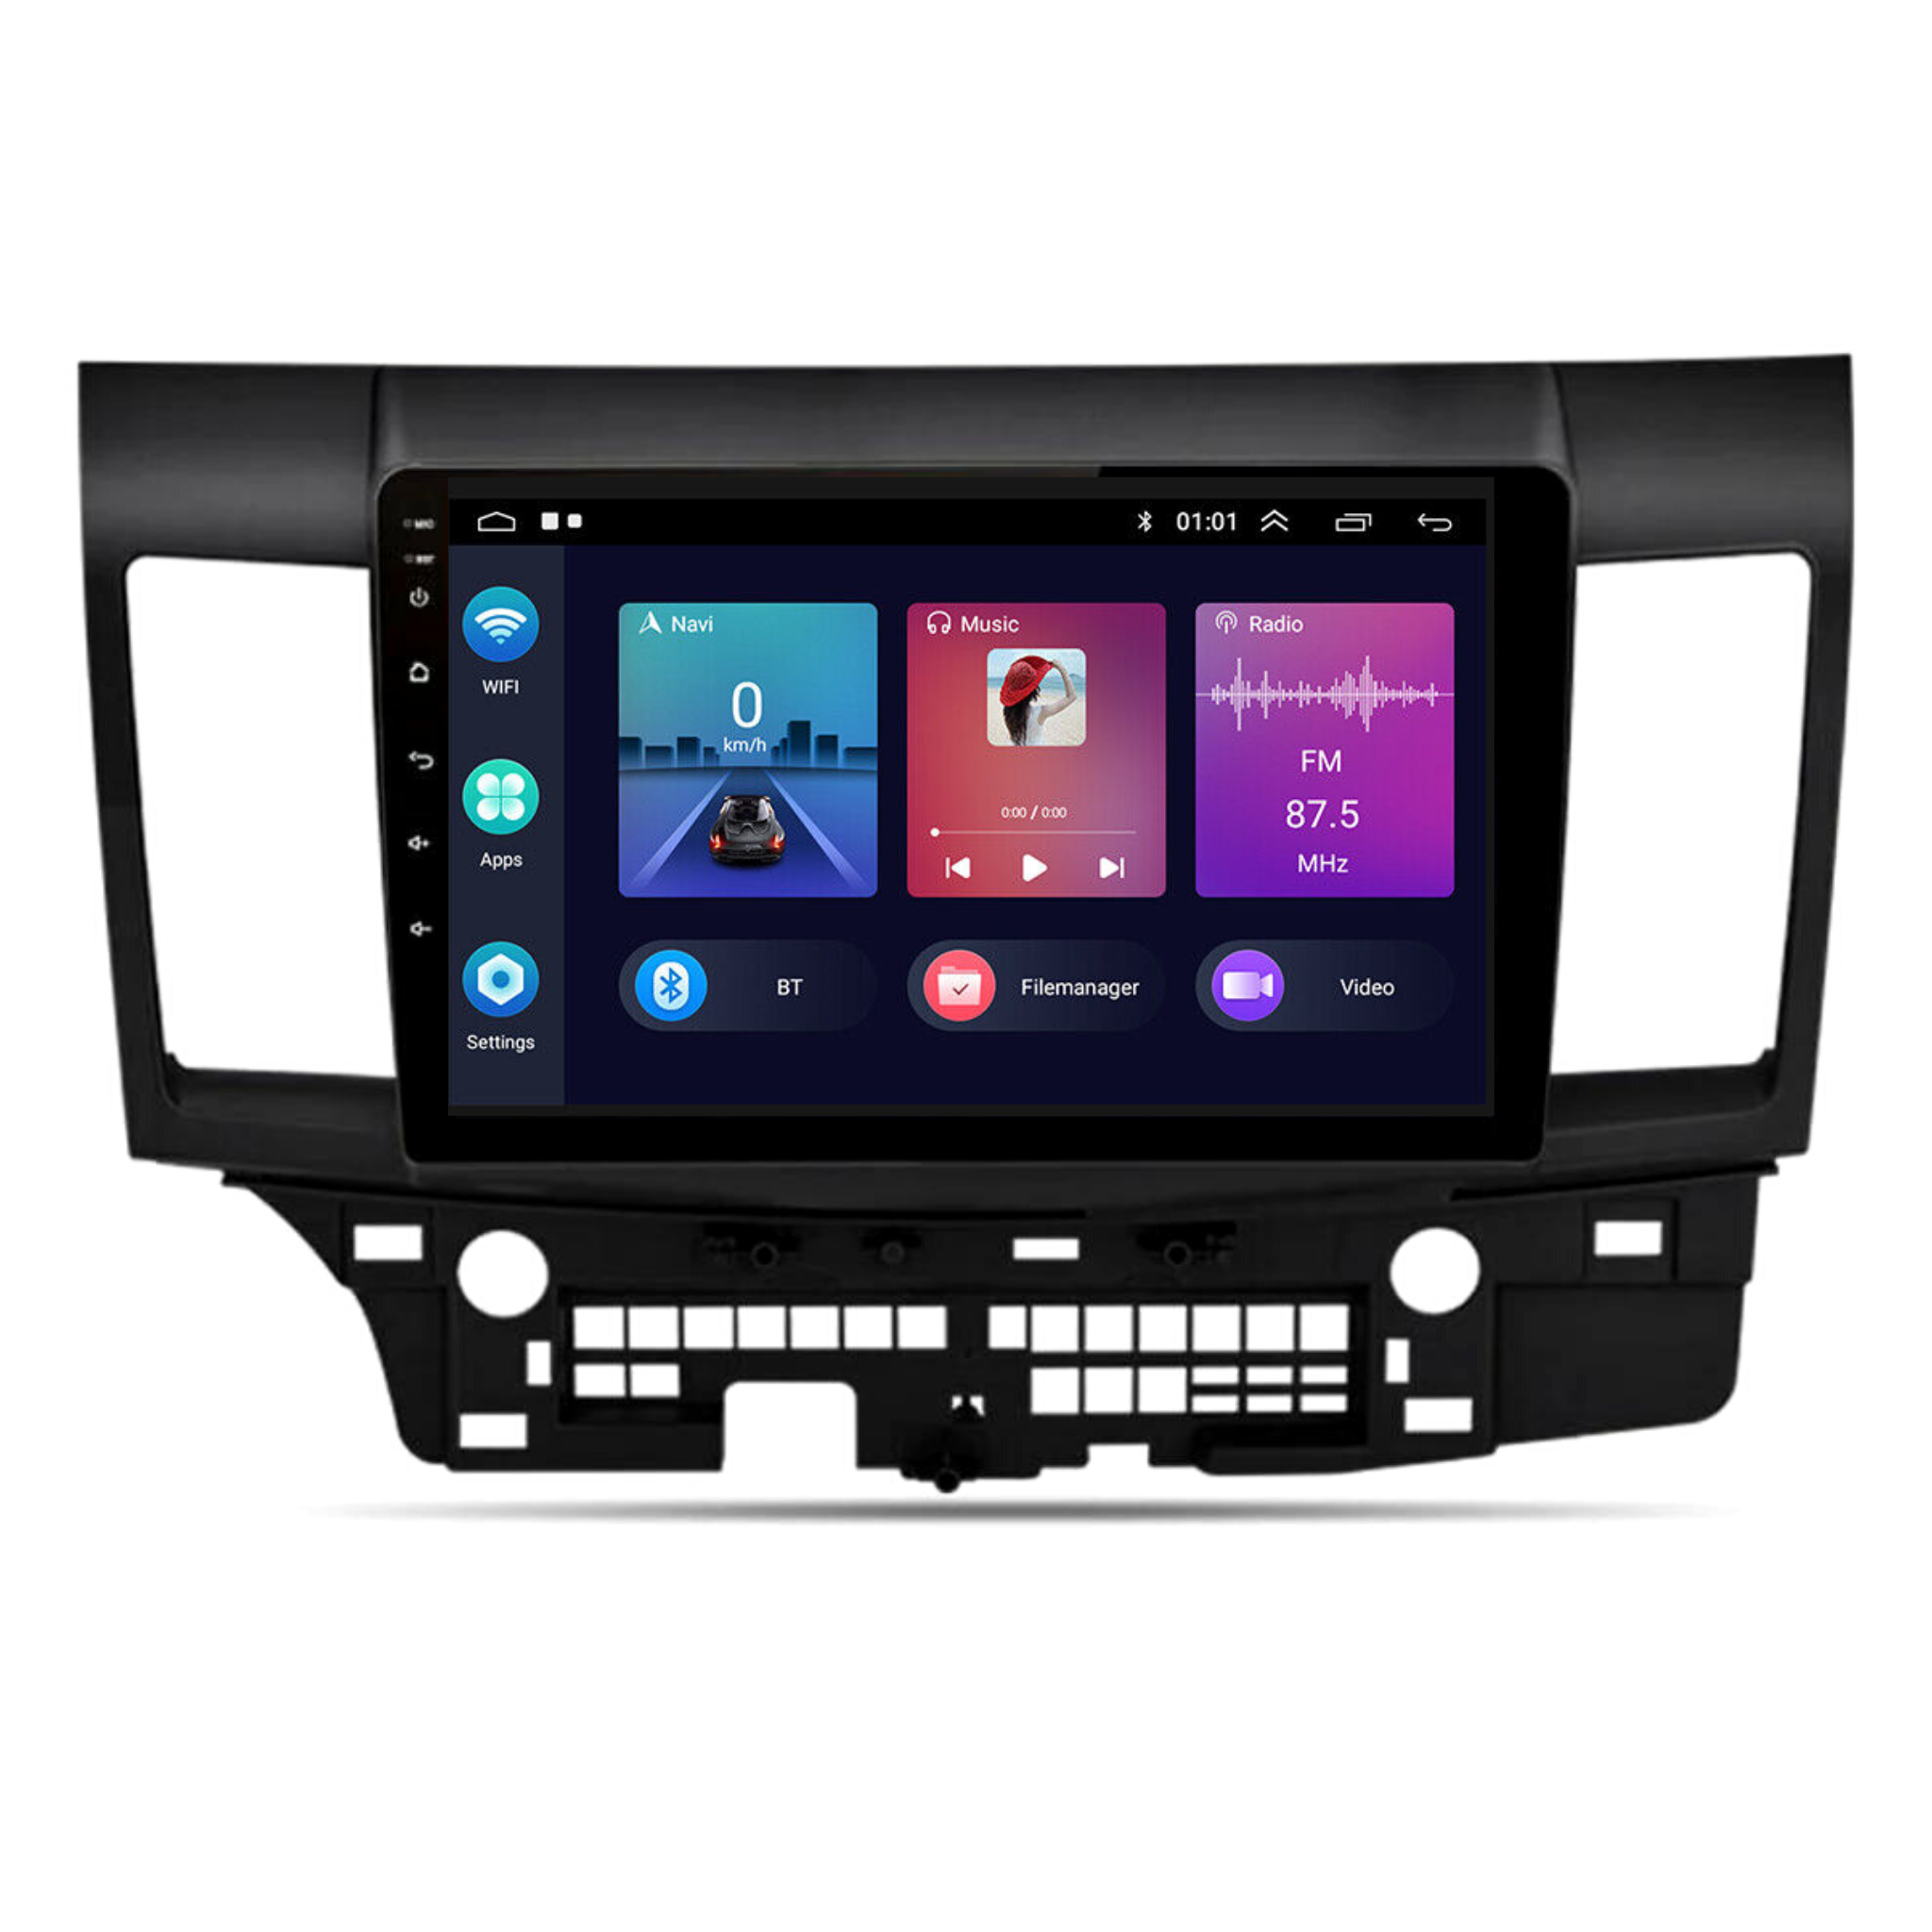
Mitsubishi Lancer 2007-2017 Apple CarPlay and Android Auto Plug and Plug Head Unit Upgrade Kit
Sale priceFrom $329.95
Regular price$489.99
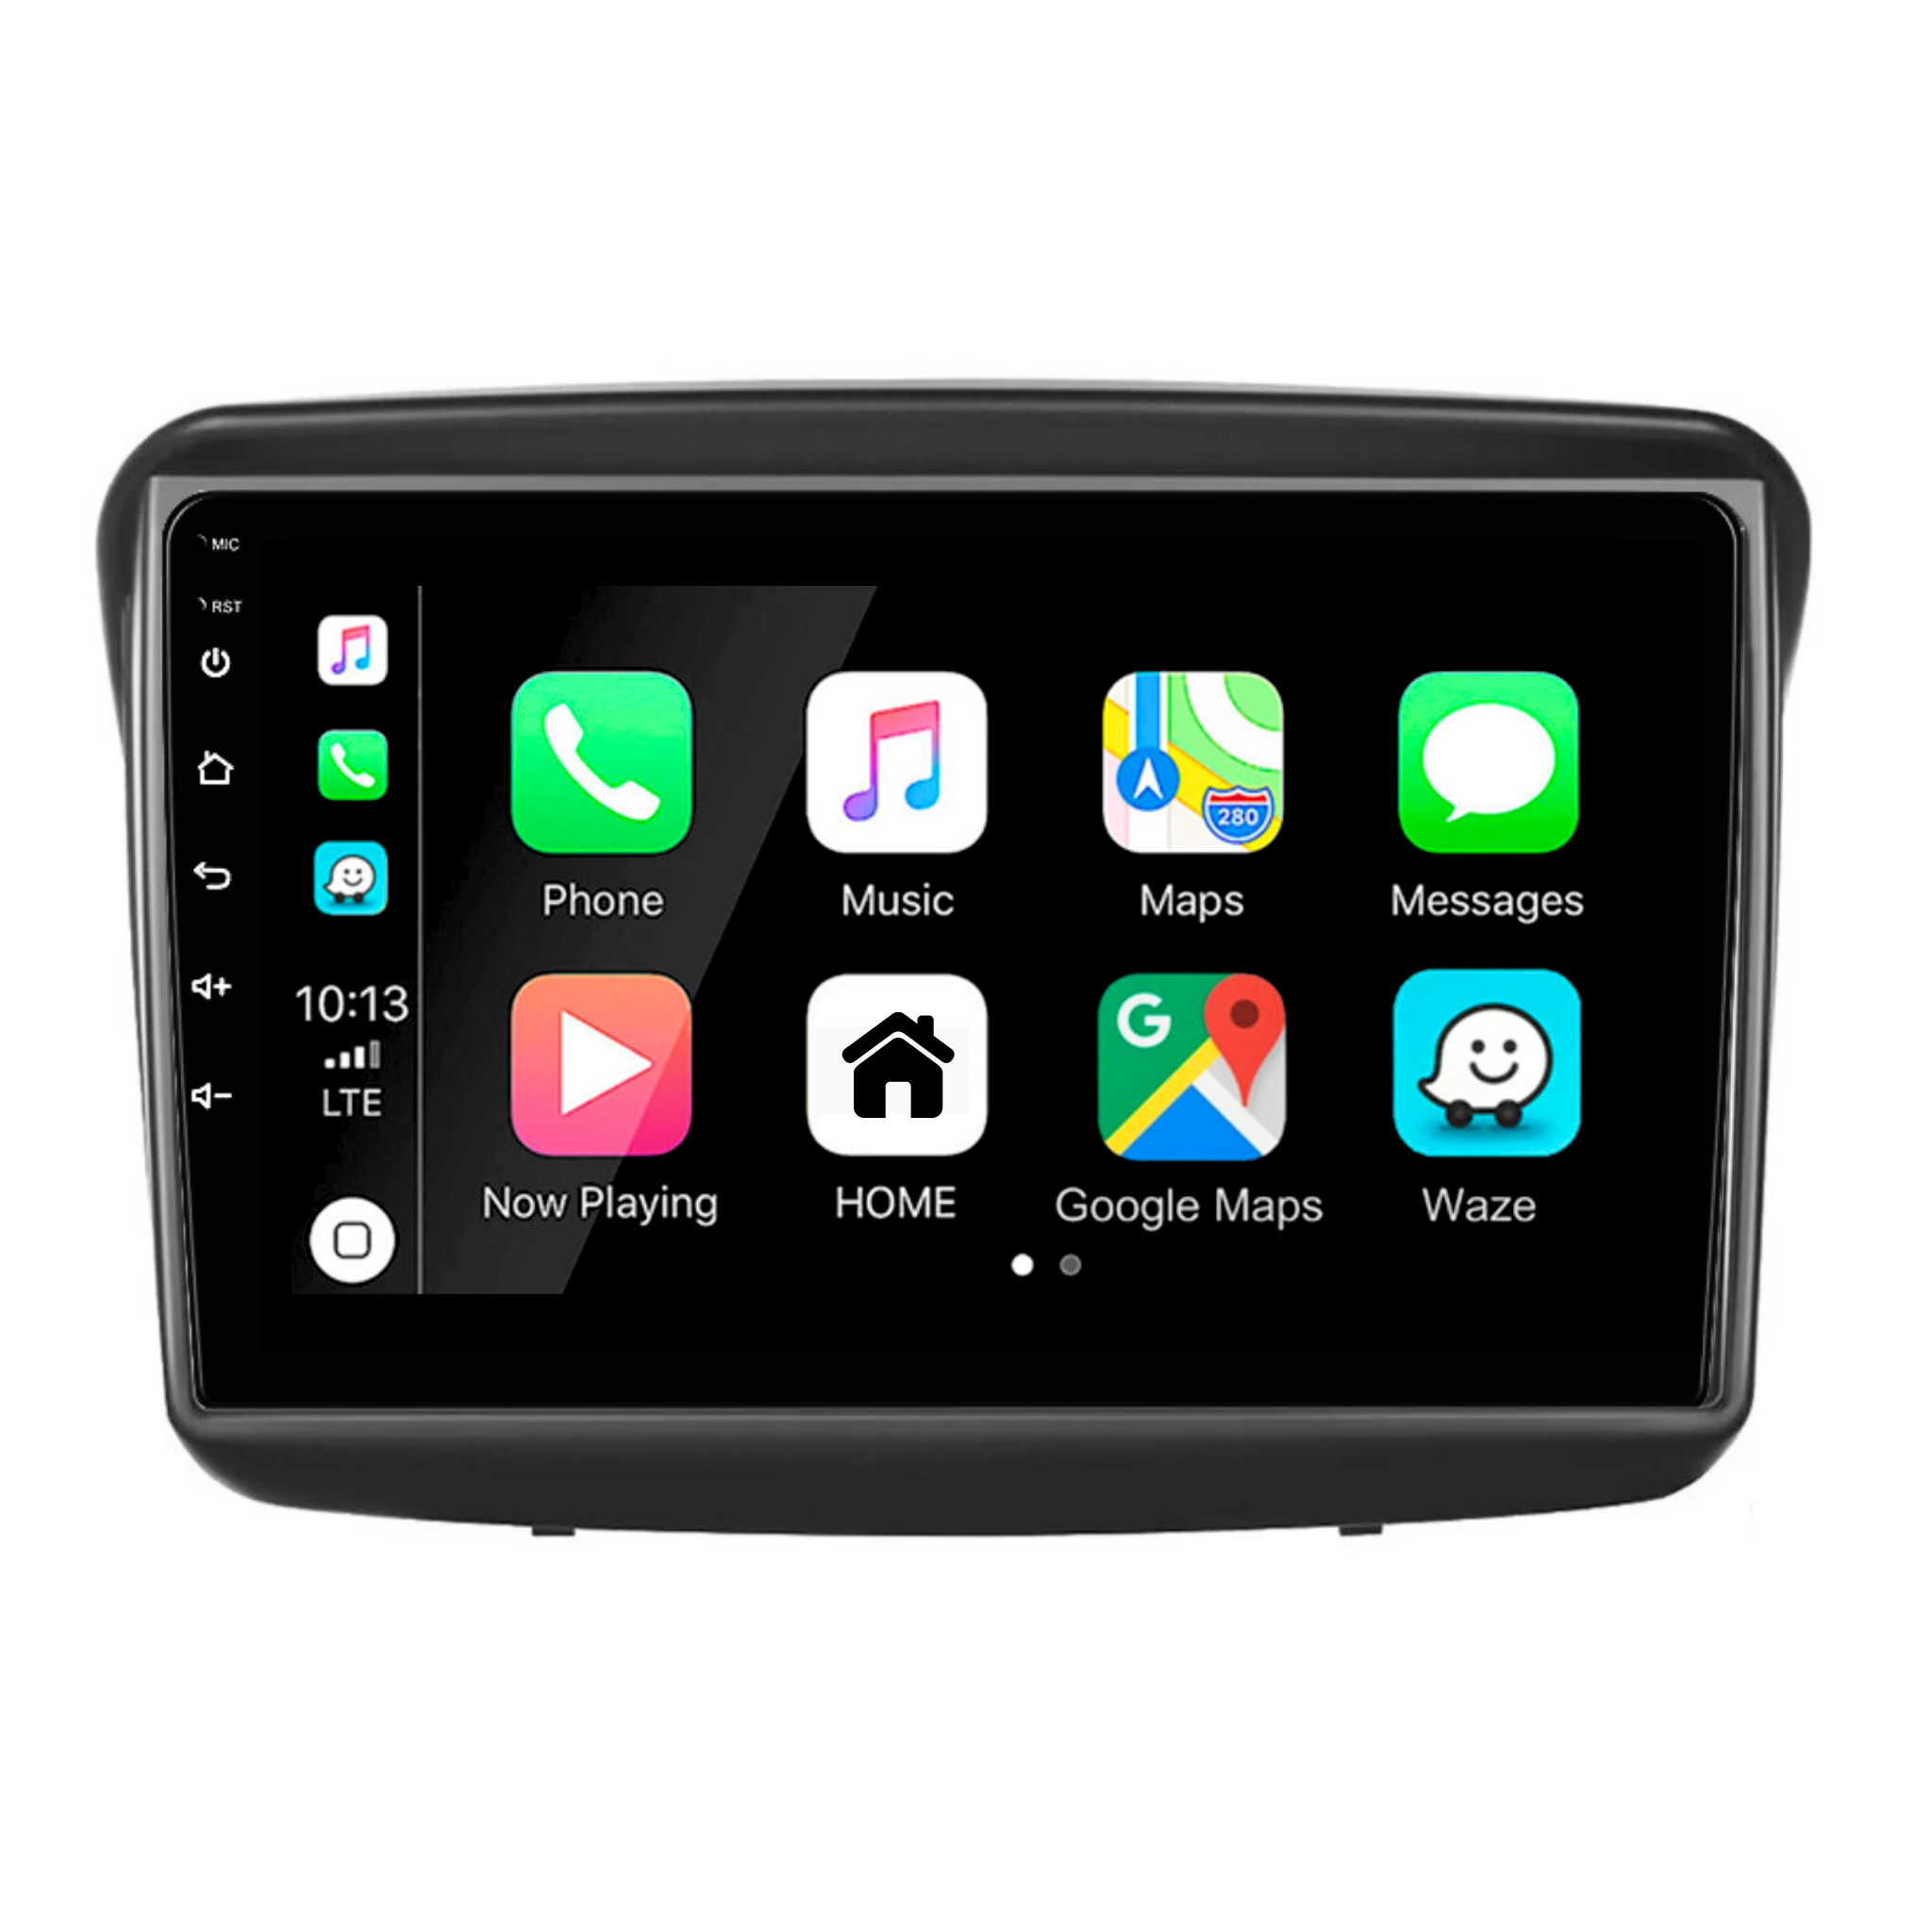
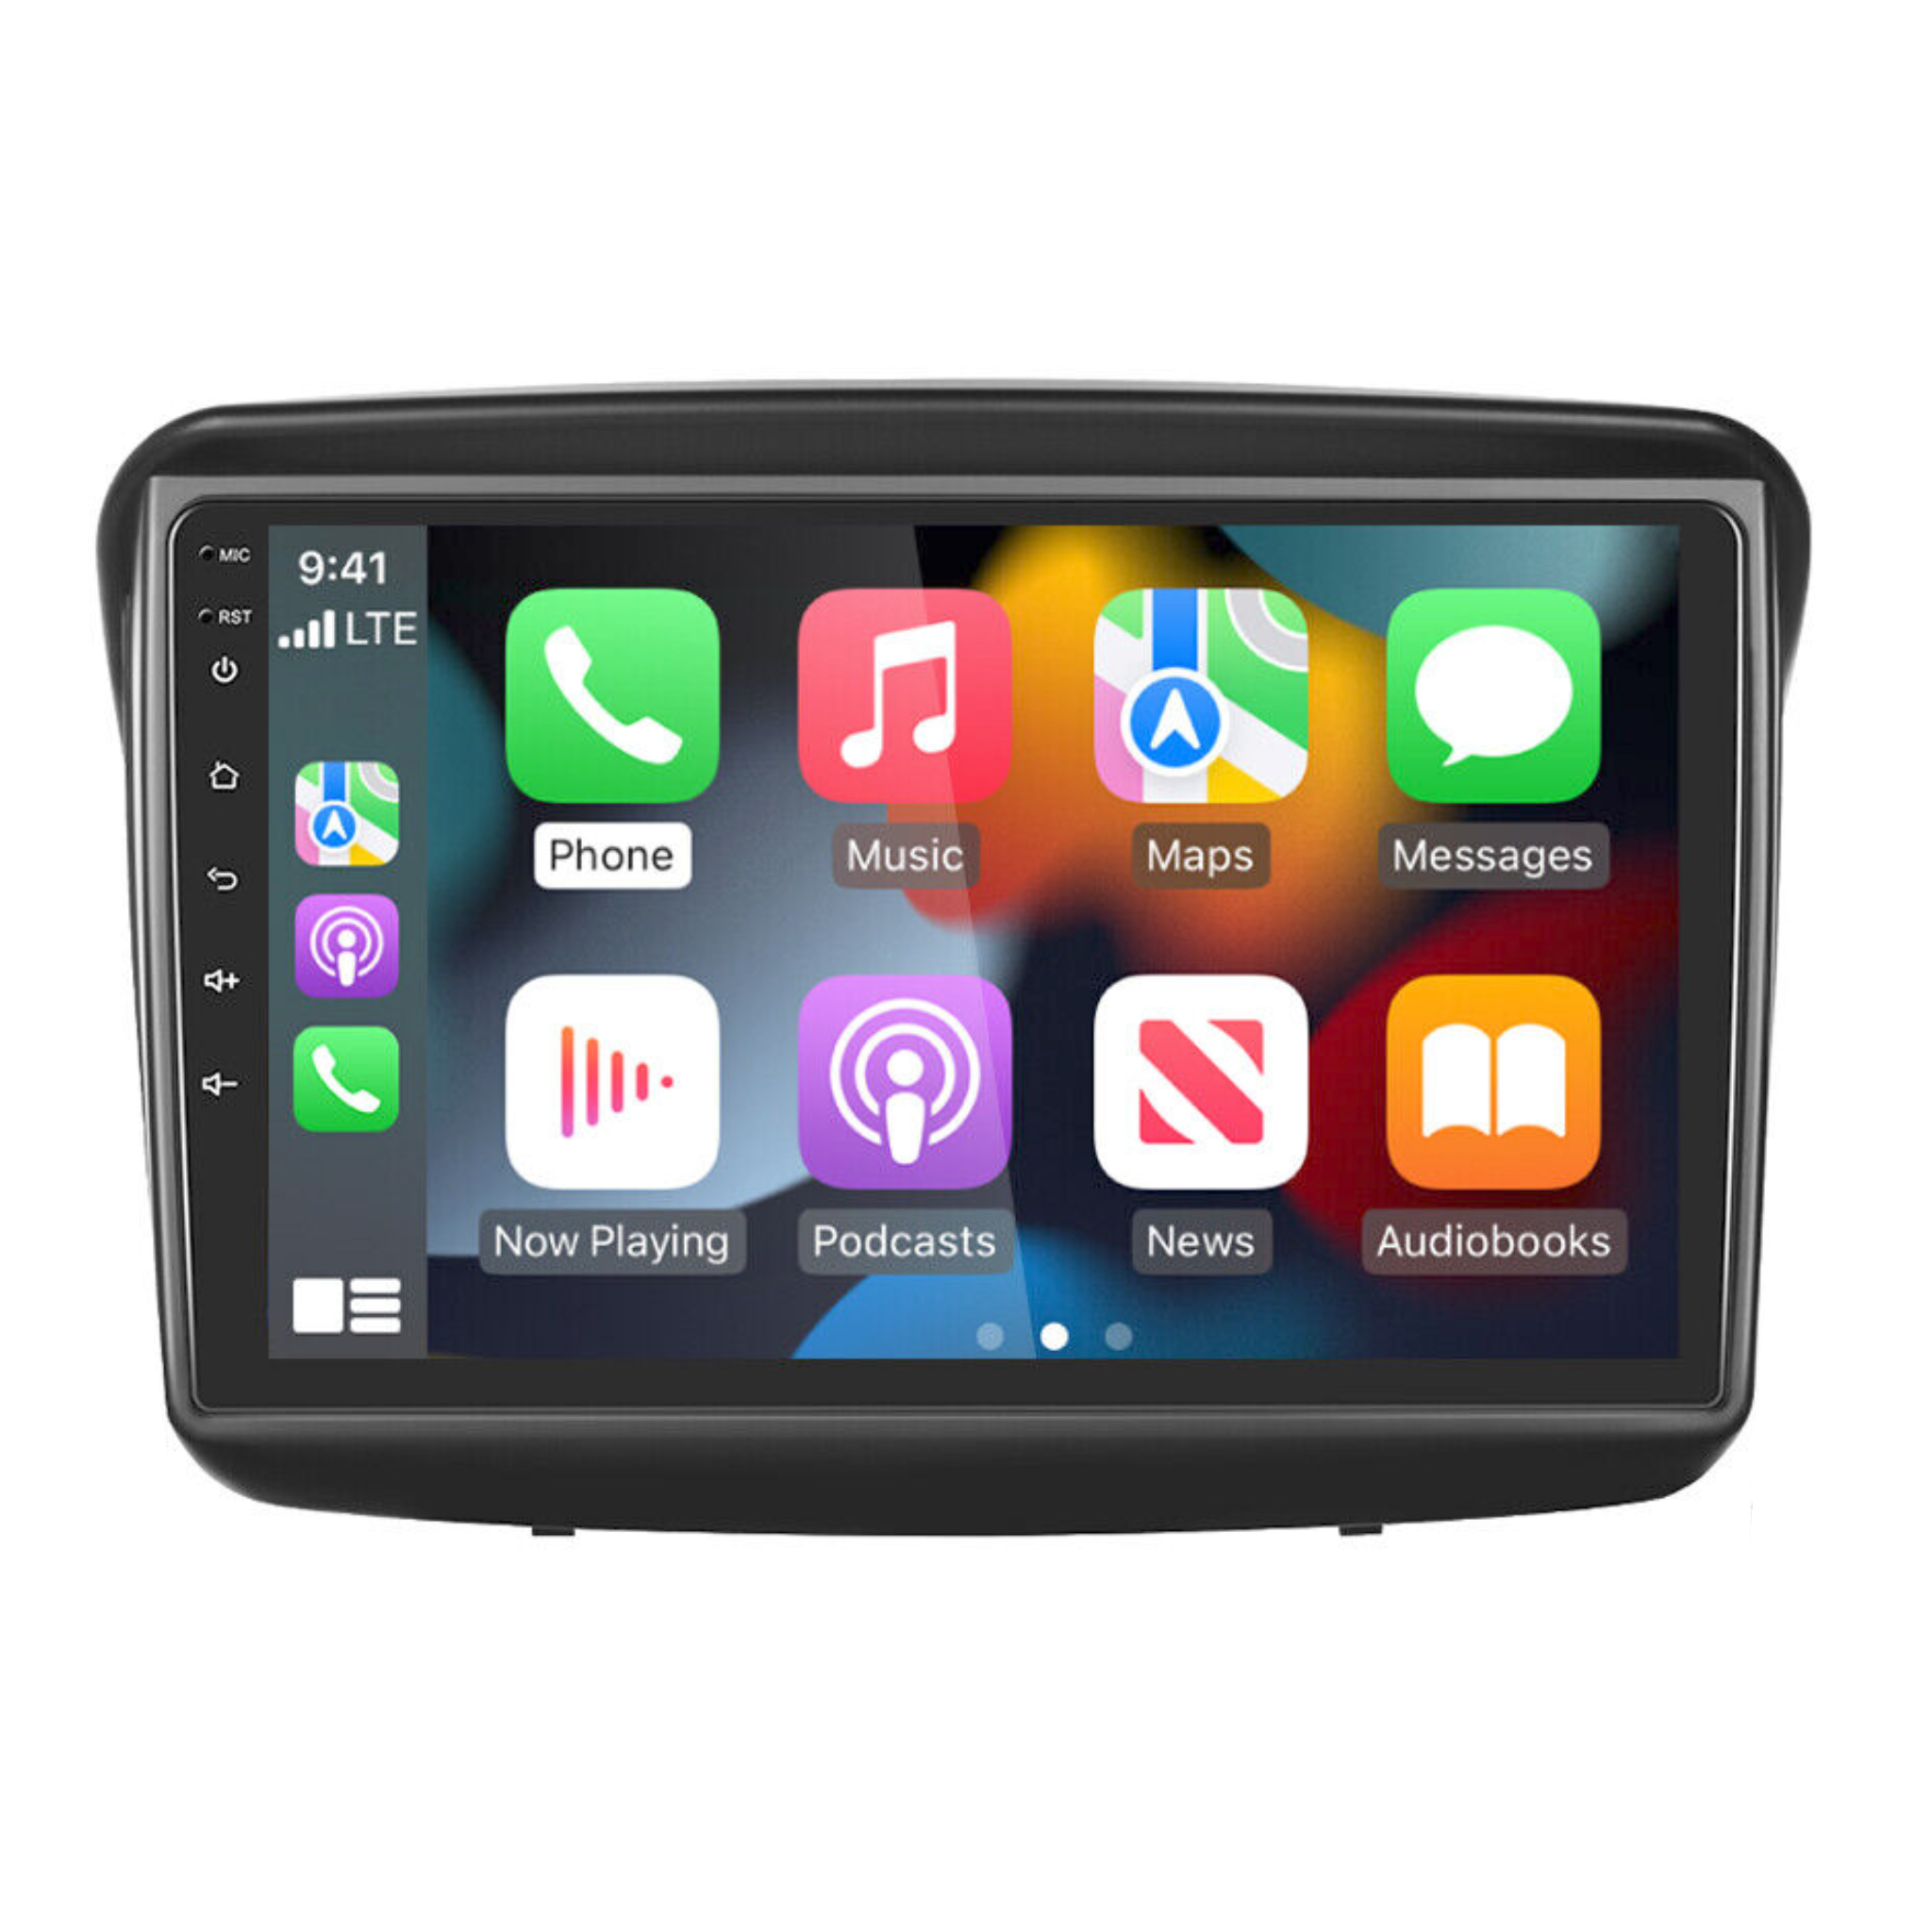
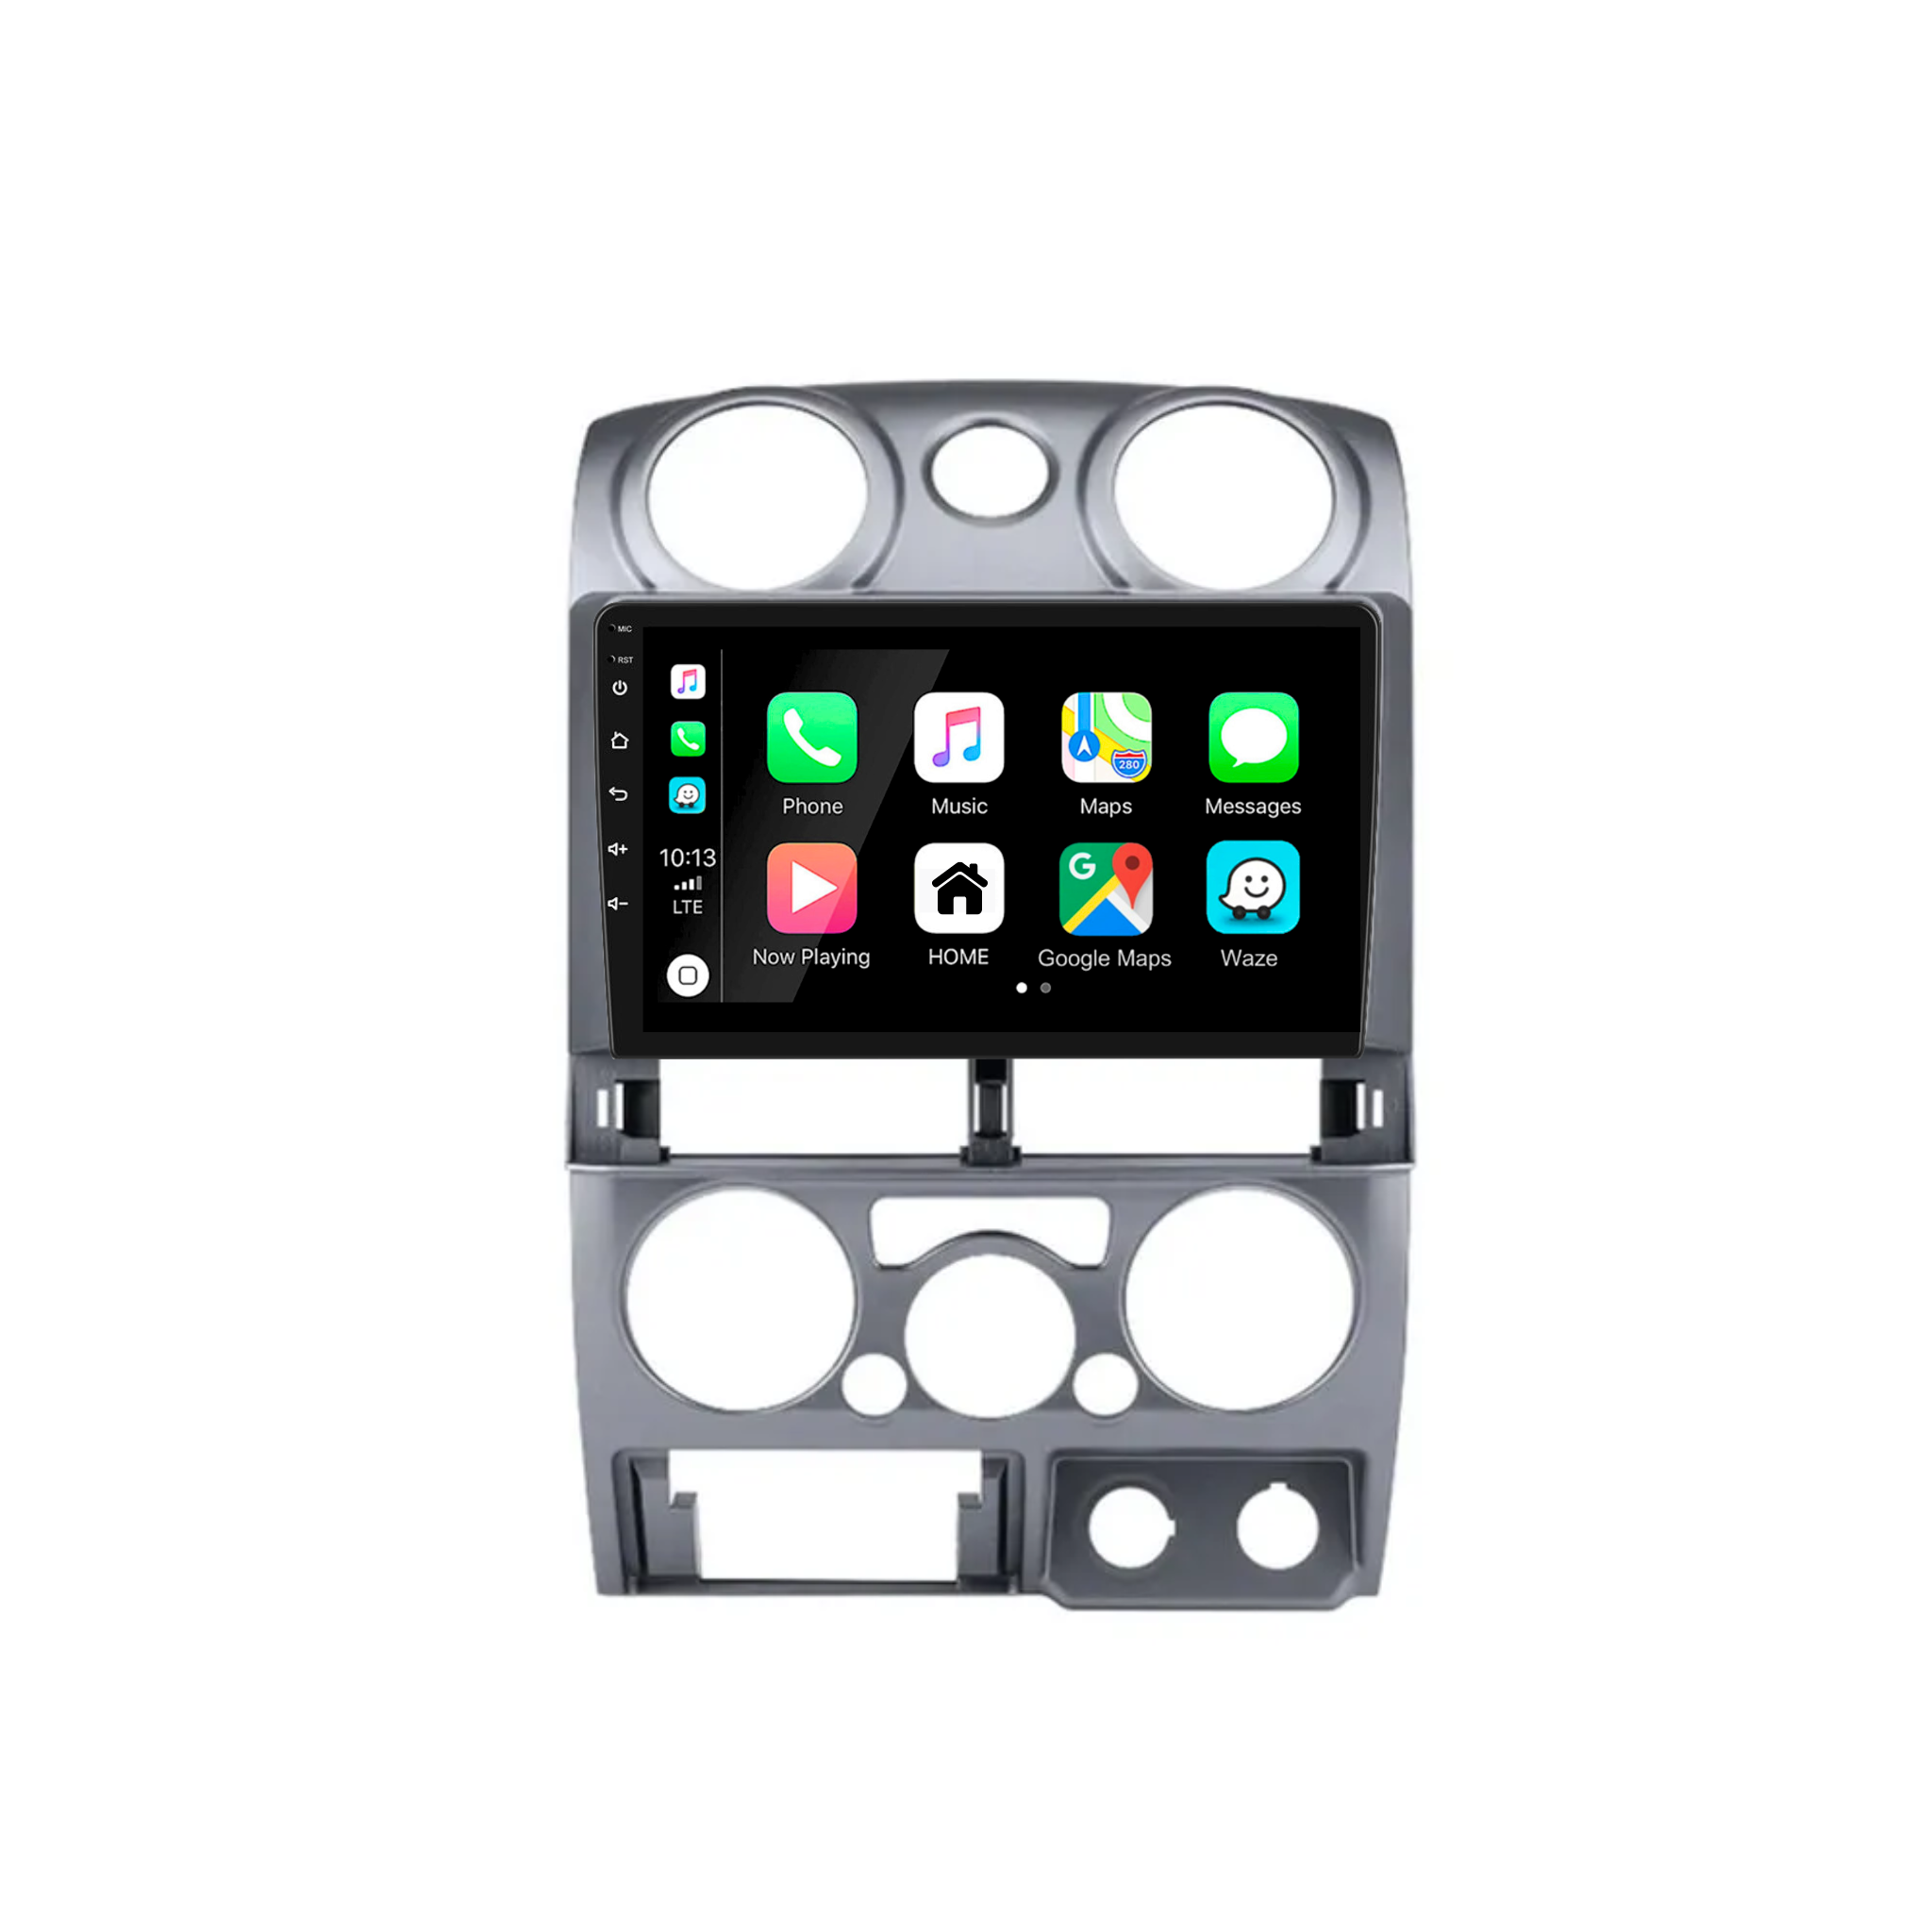
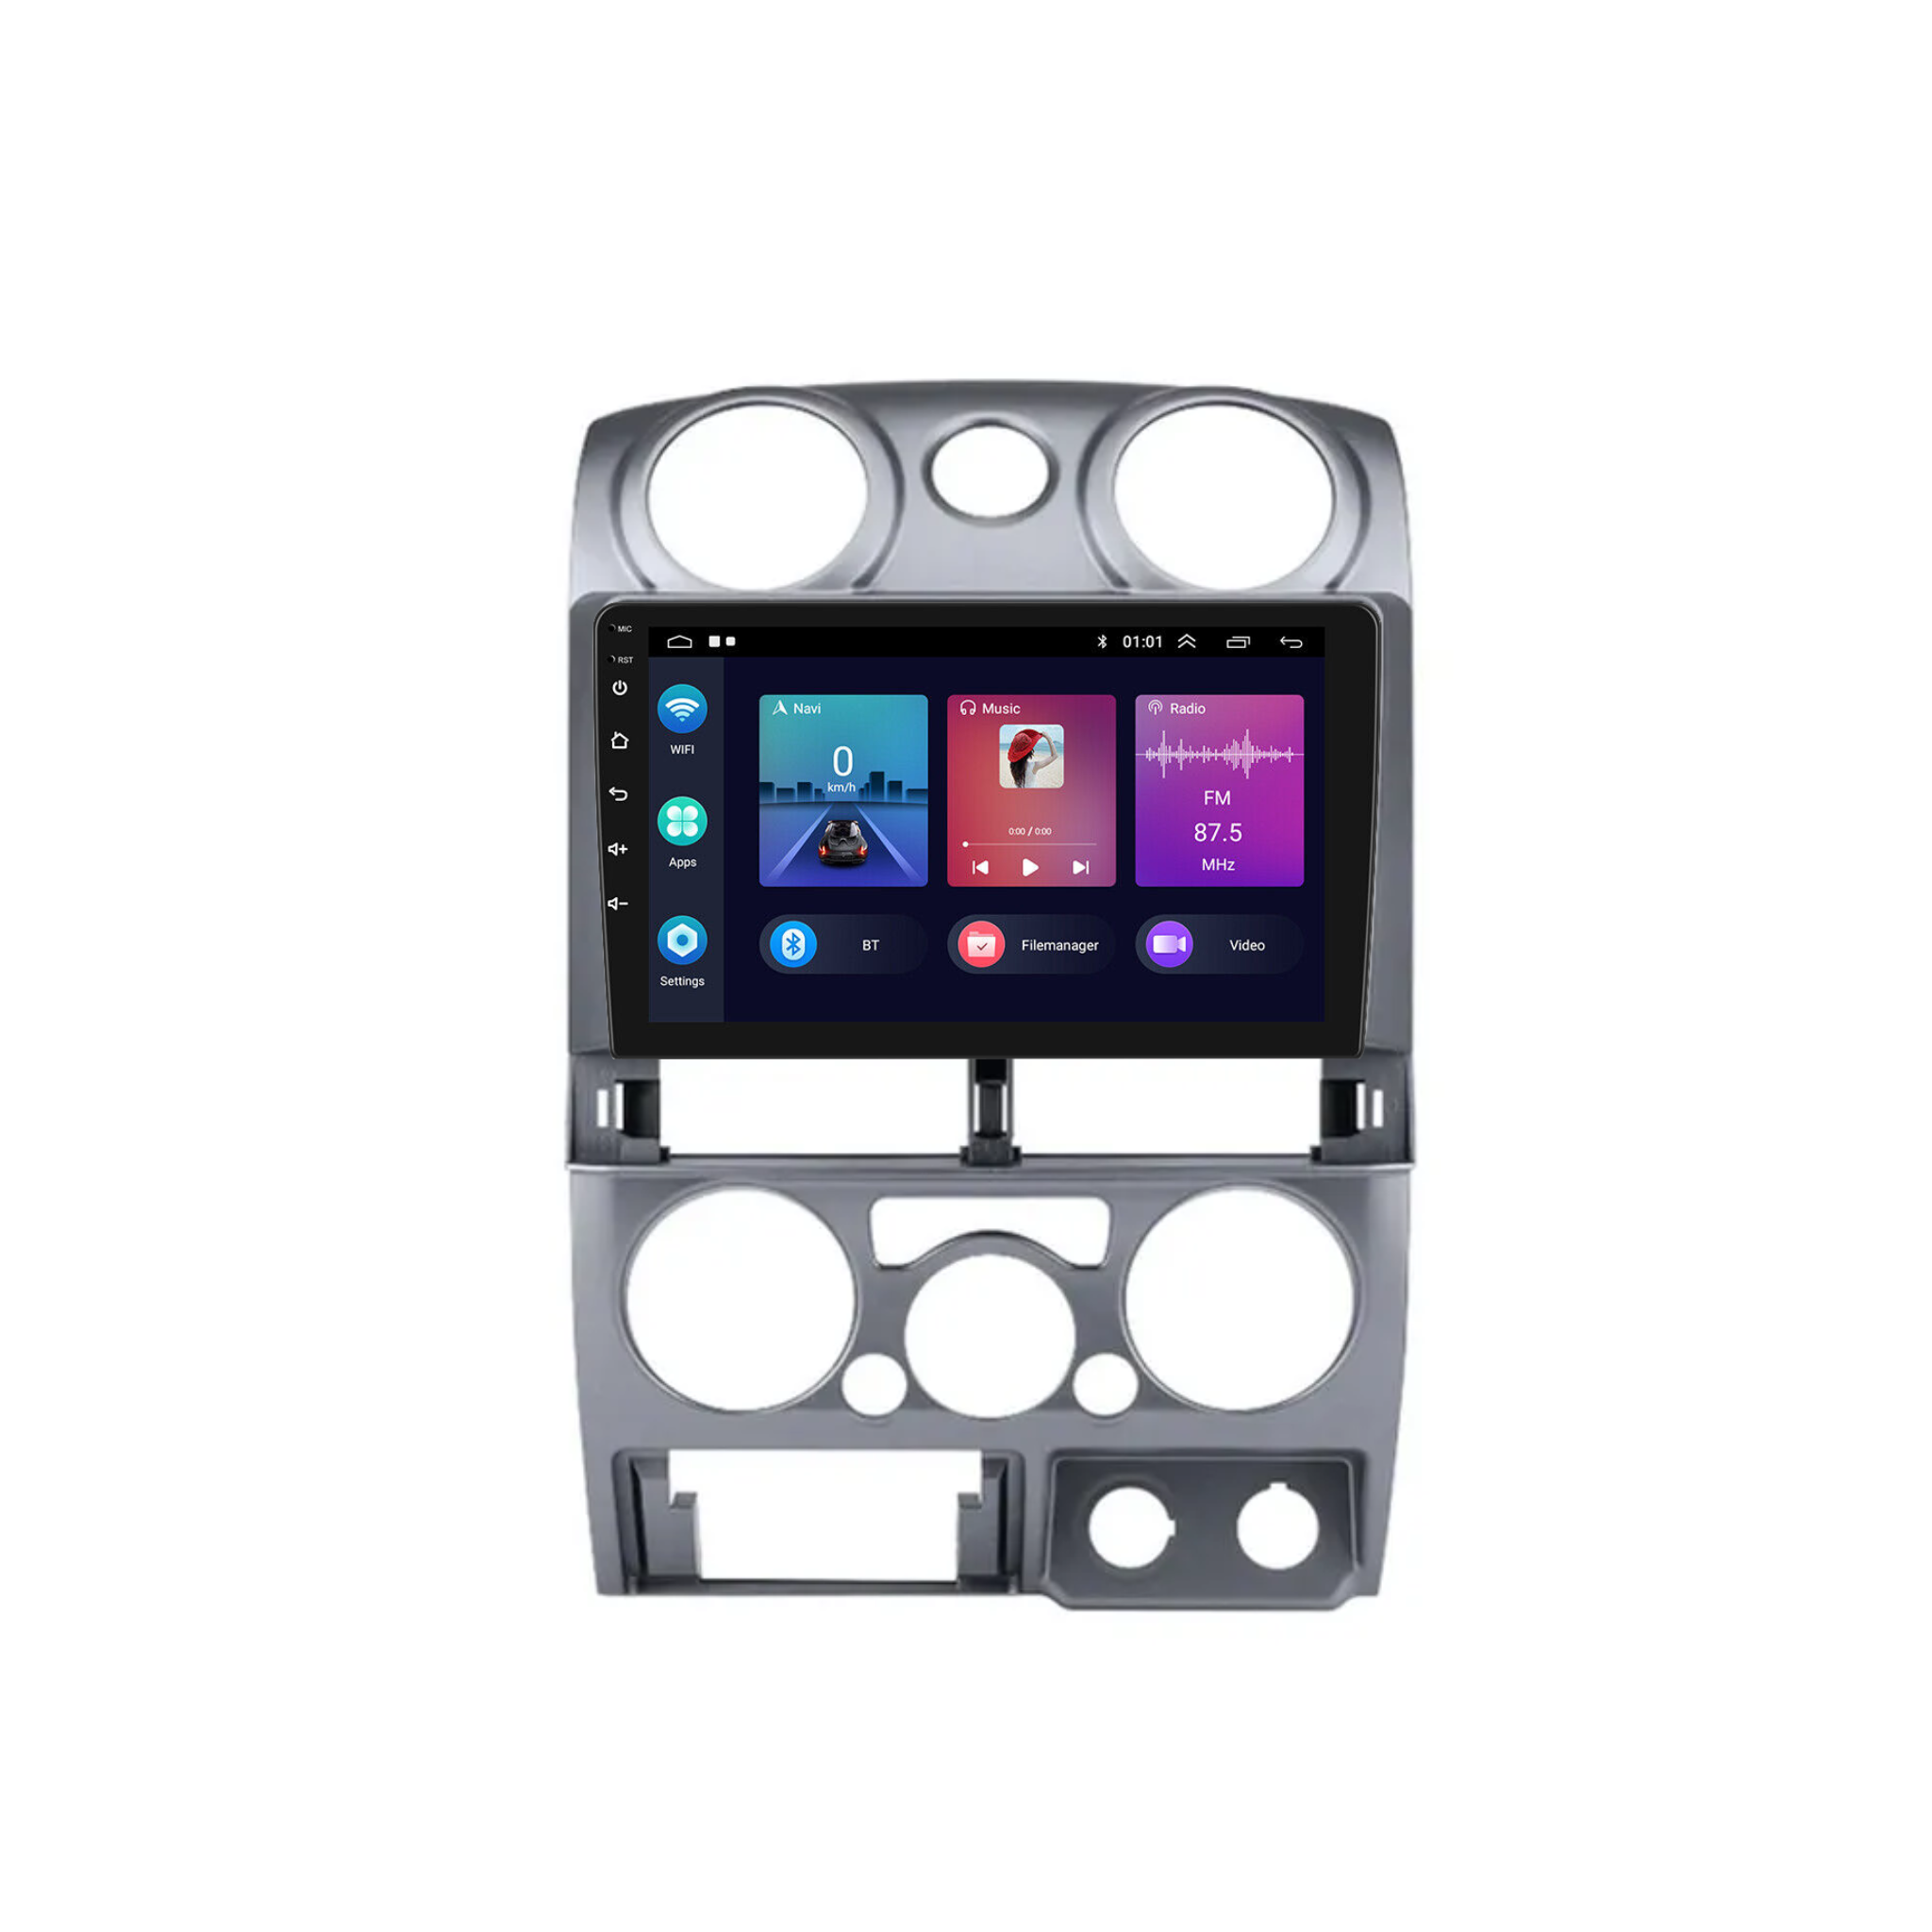
Mitsubishi MN ML Triton / L200 2006-2015 Apple CarPlay and Android Auto Plug and Plug Head Unit Upgrade Kit
Sale priceFrom $339.99
Regular price$485.99
Nissan Patrol Y61 1997-2005 Apple CarPlay and Android Auto Plug and Plug Head Unit Upgrade Kit
Sale priceFrom $329.99
Regular price$709.99
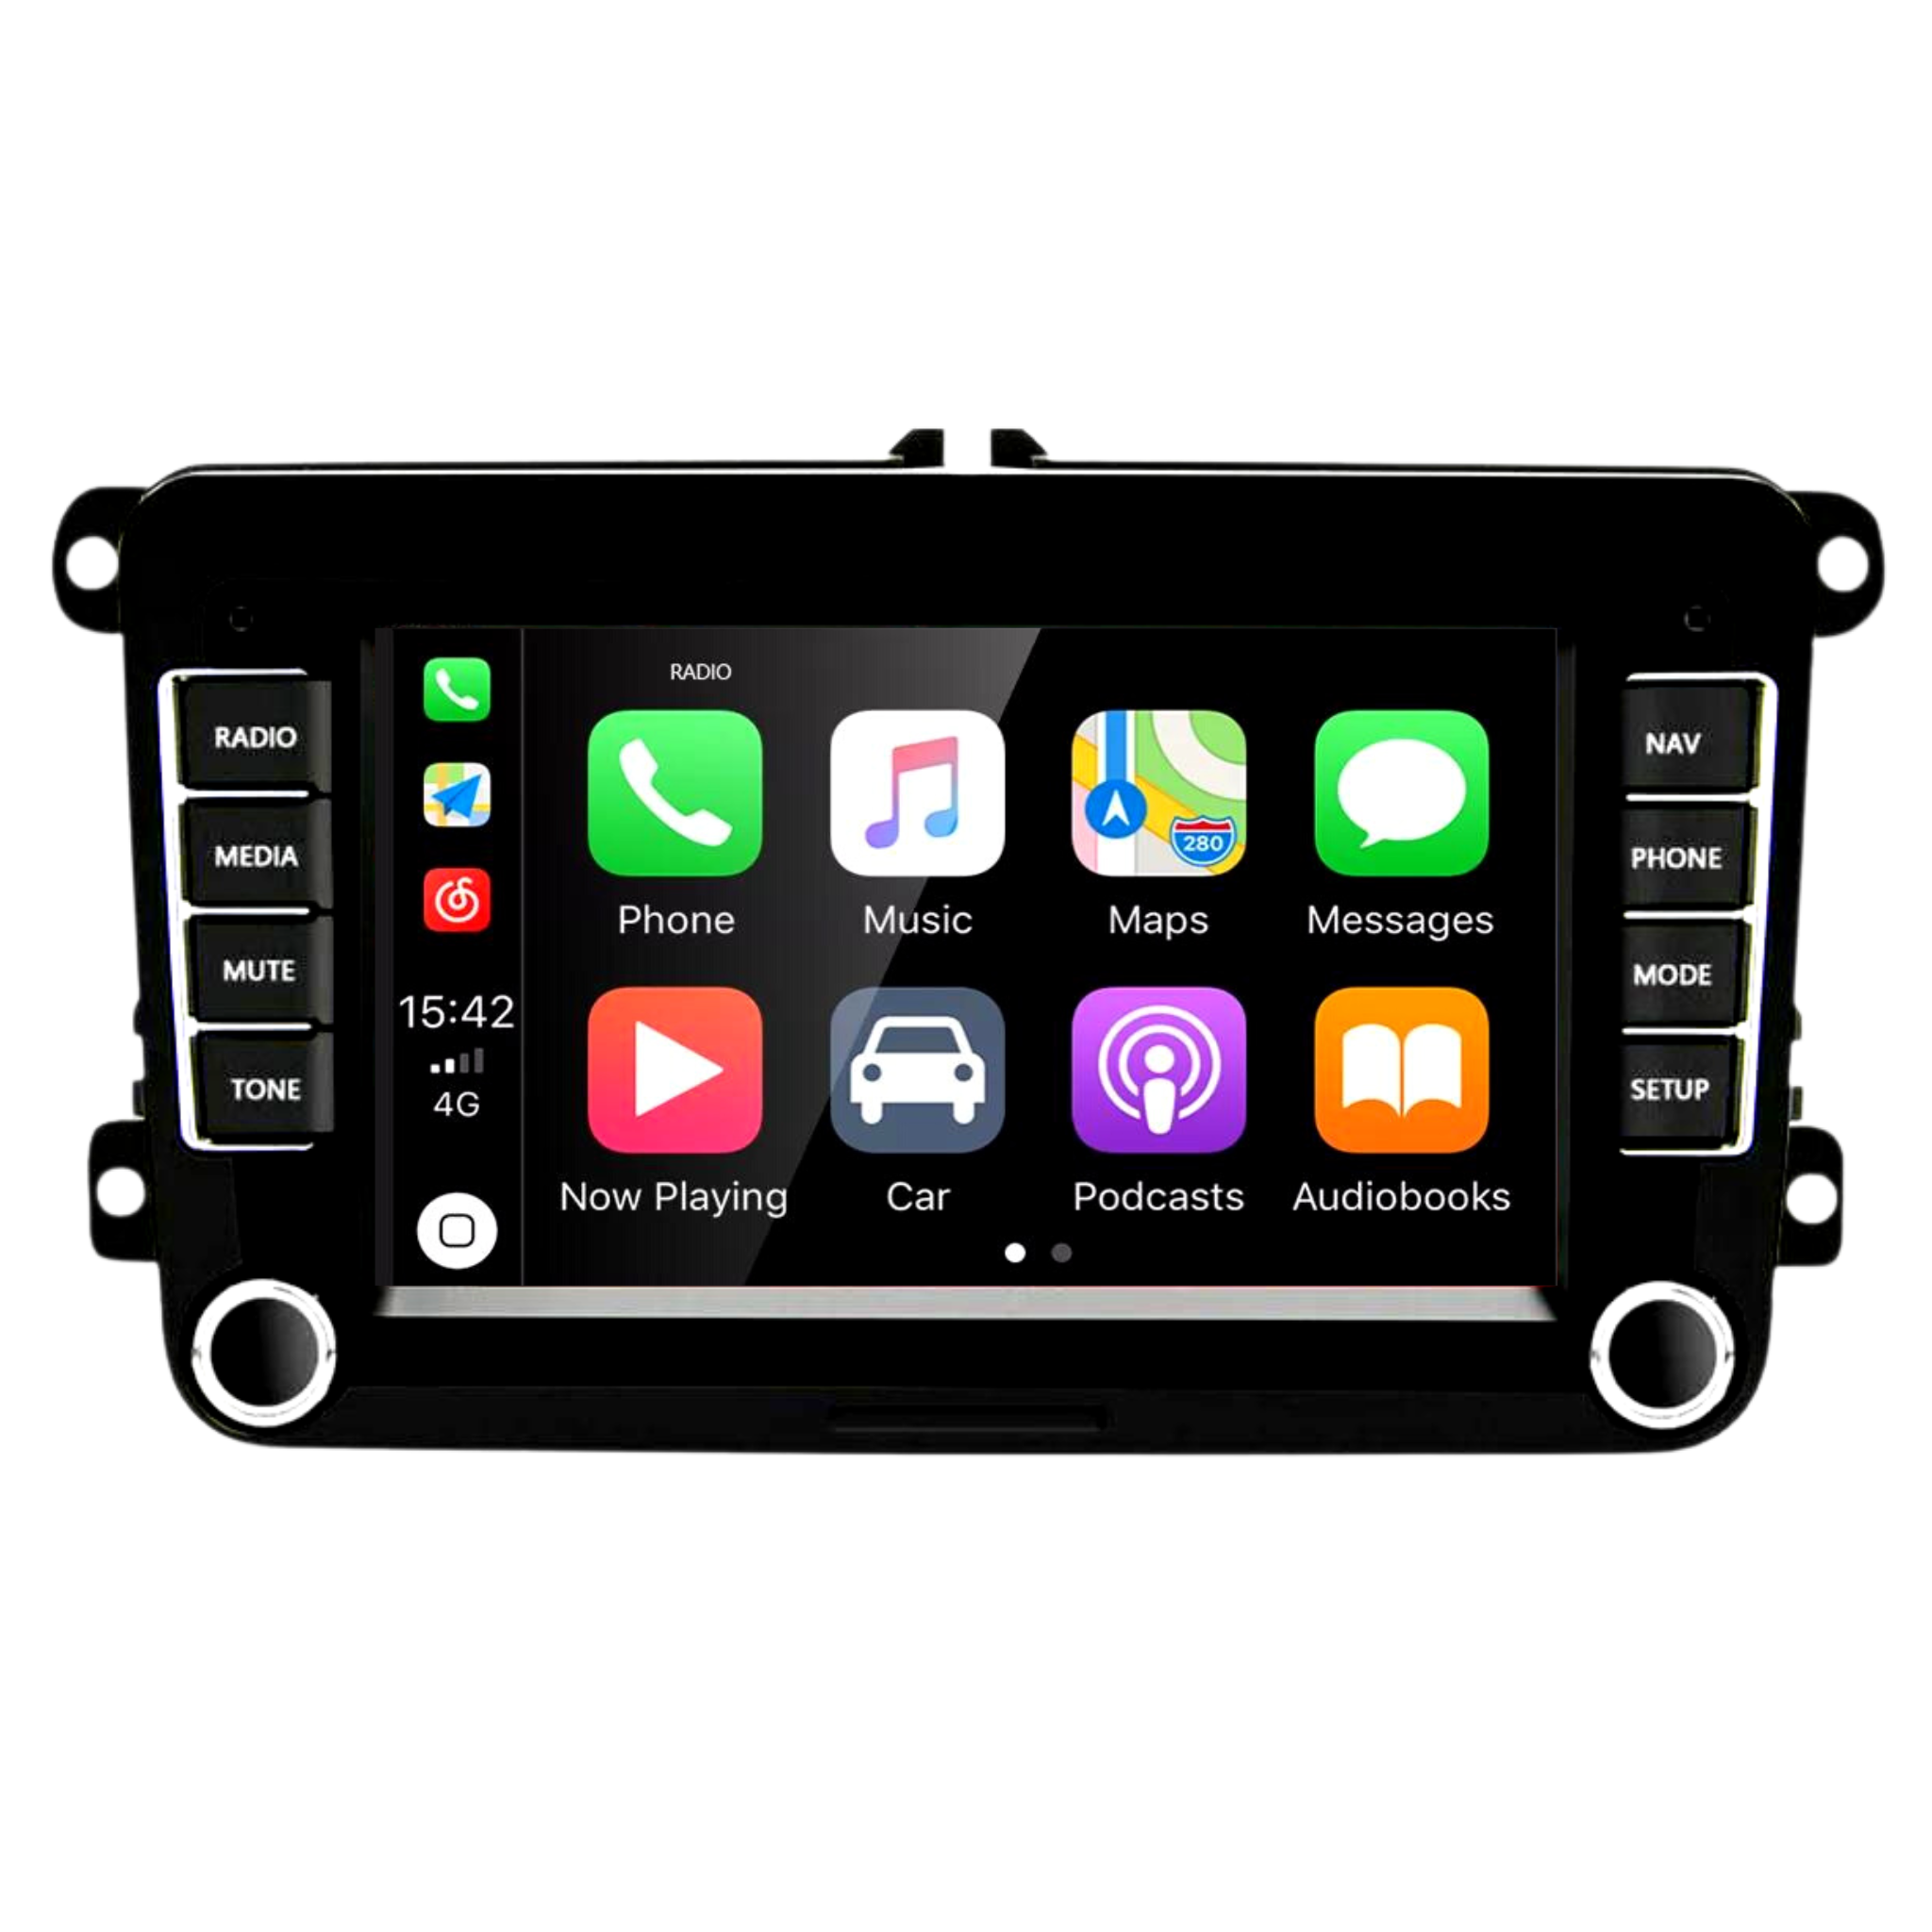
Volkswagen (Various Models) Apple CarPlay and Android Auto Plug and Plug Head Unit Upgrade Kit
Sale priceFrom $309.99
Regular price$519.99
MAZDA BT-50 2012-2017 | Apple CarPlay & Android Auto Head Unit Upgrade Kit
Sale priceFrom $349.99
Regular price$489.99
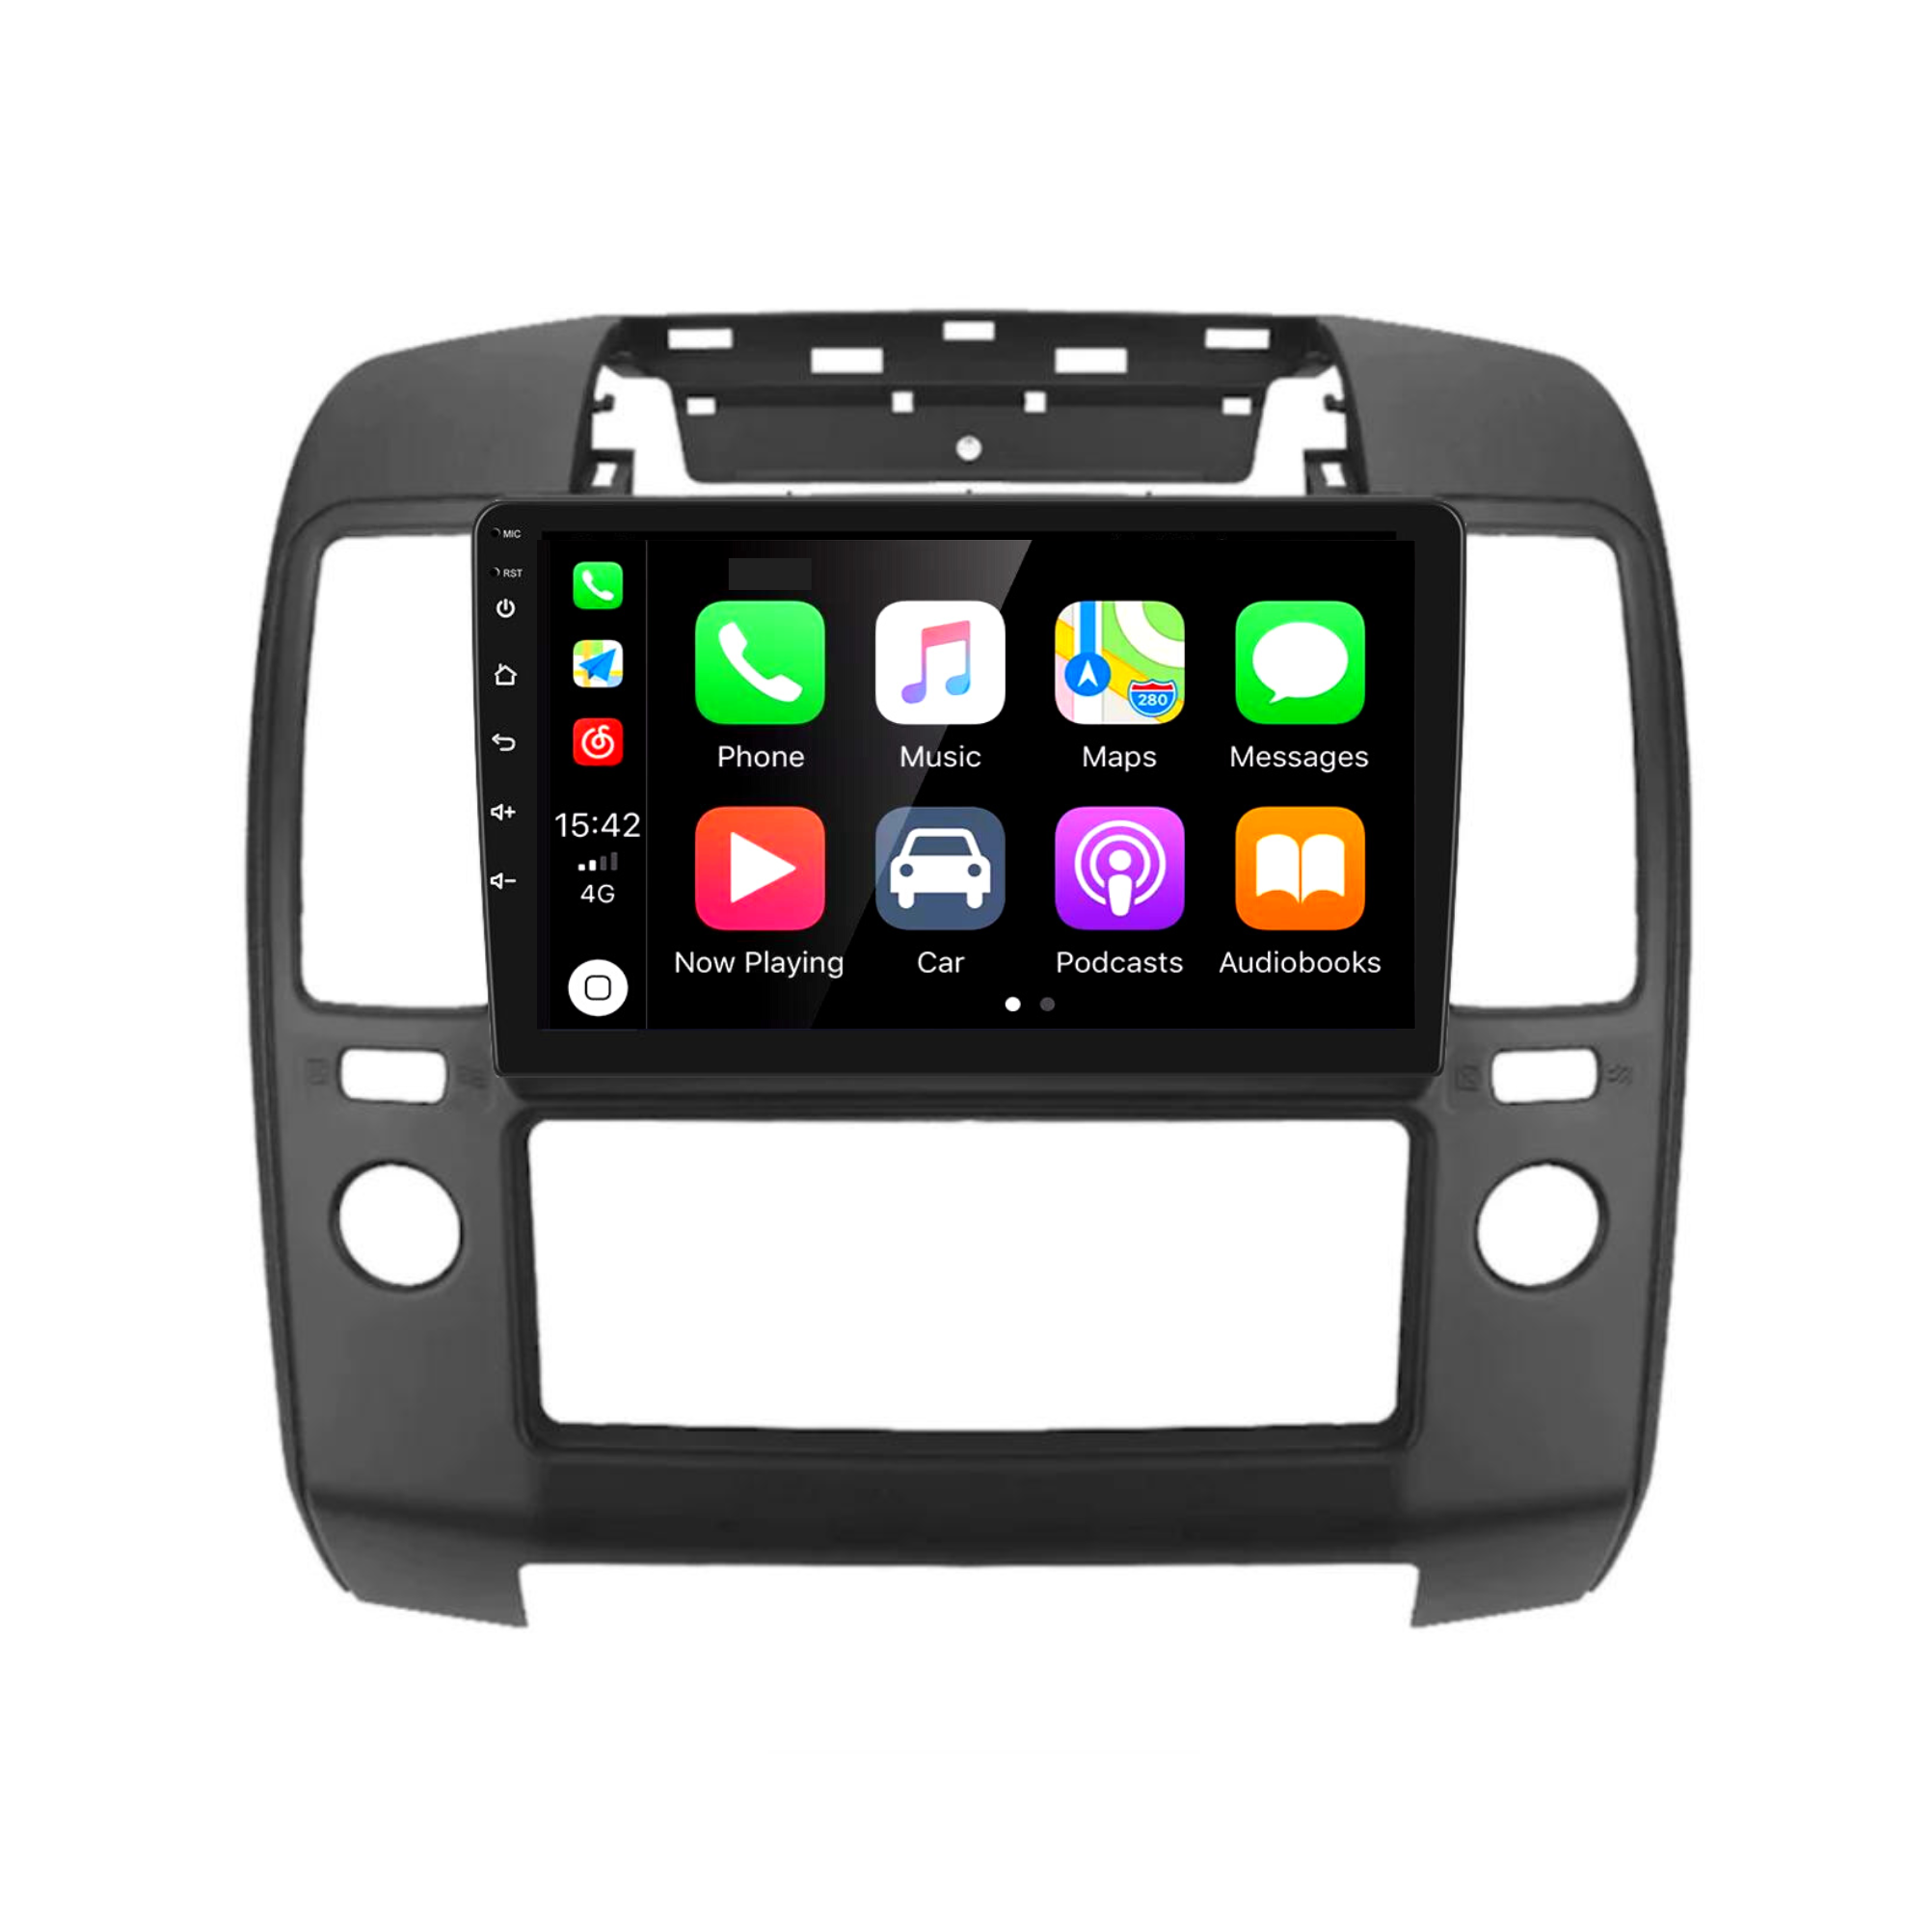
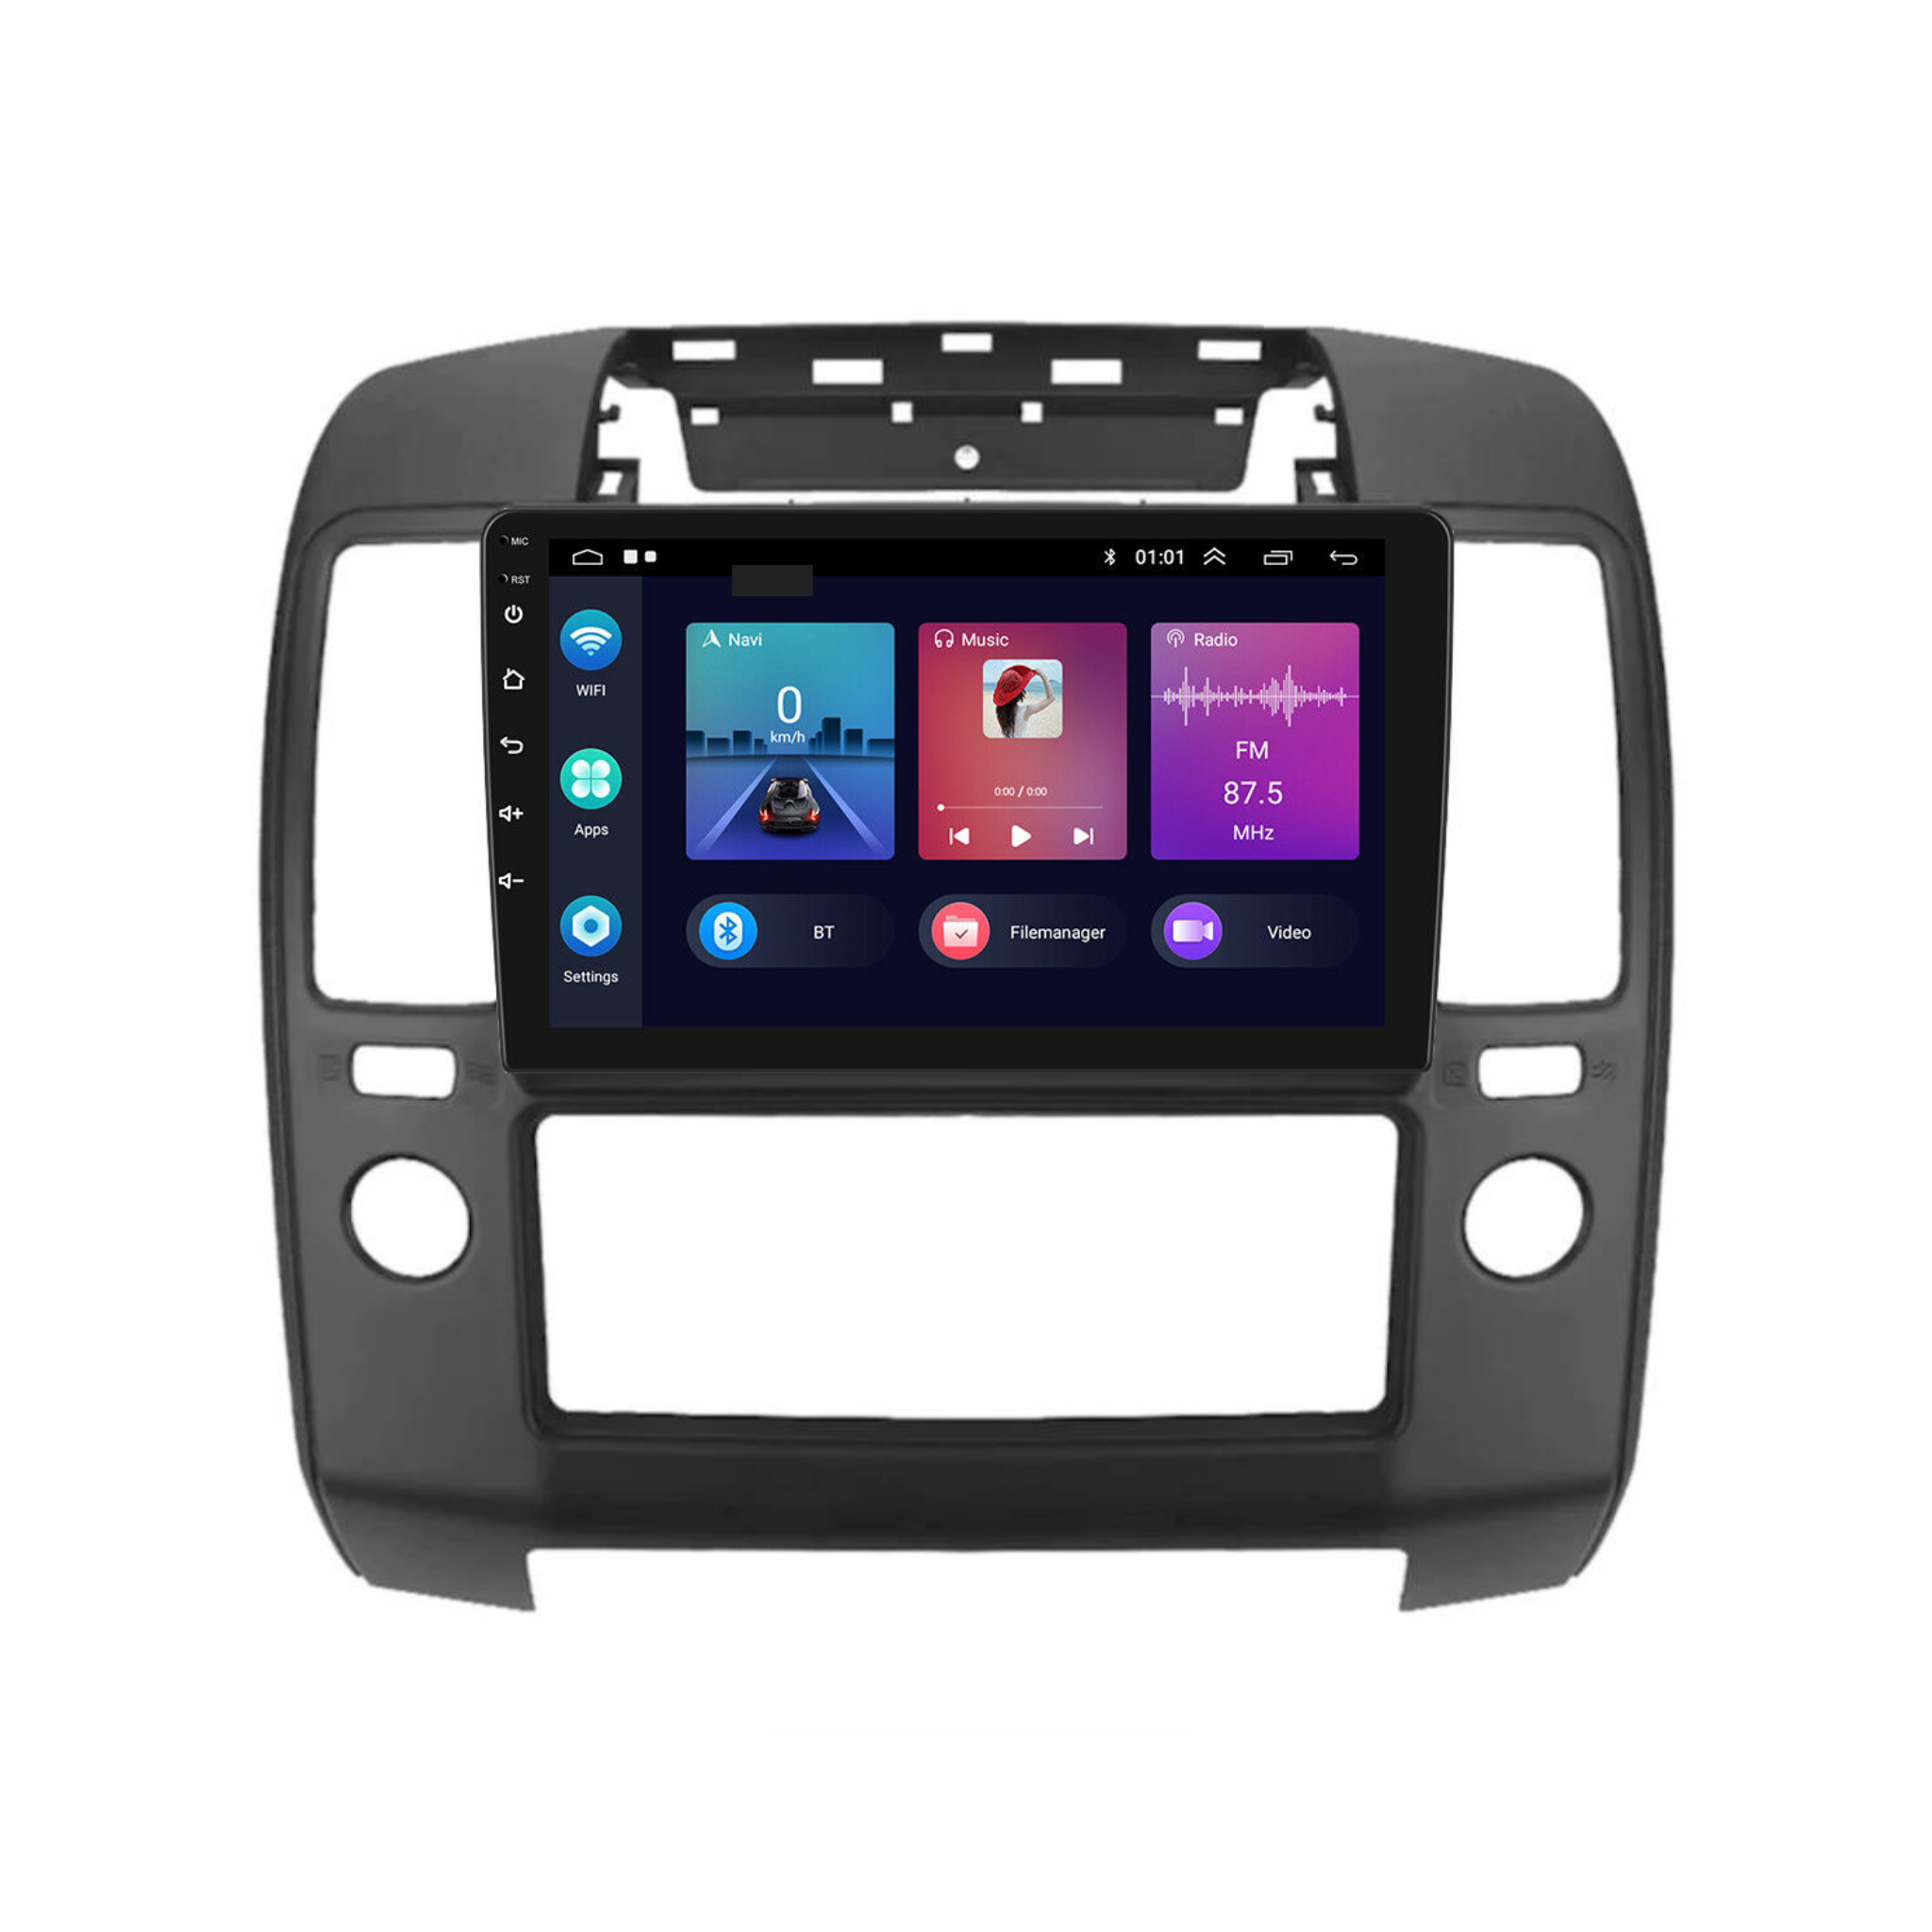
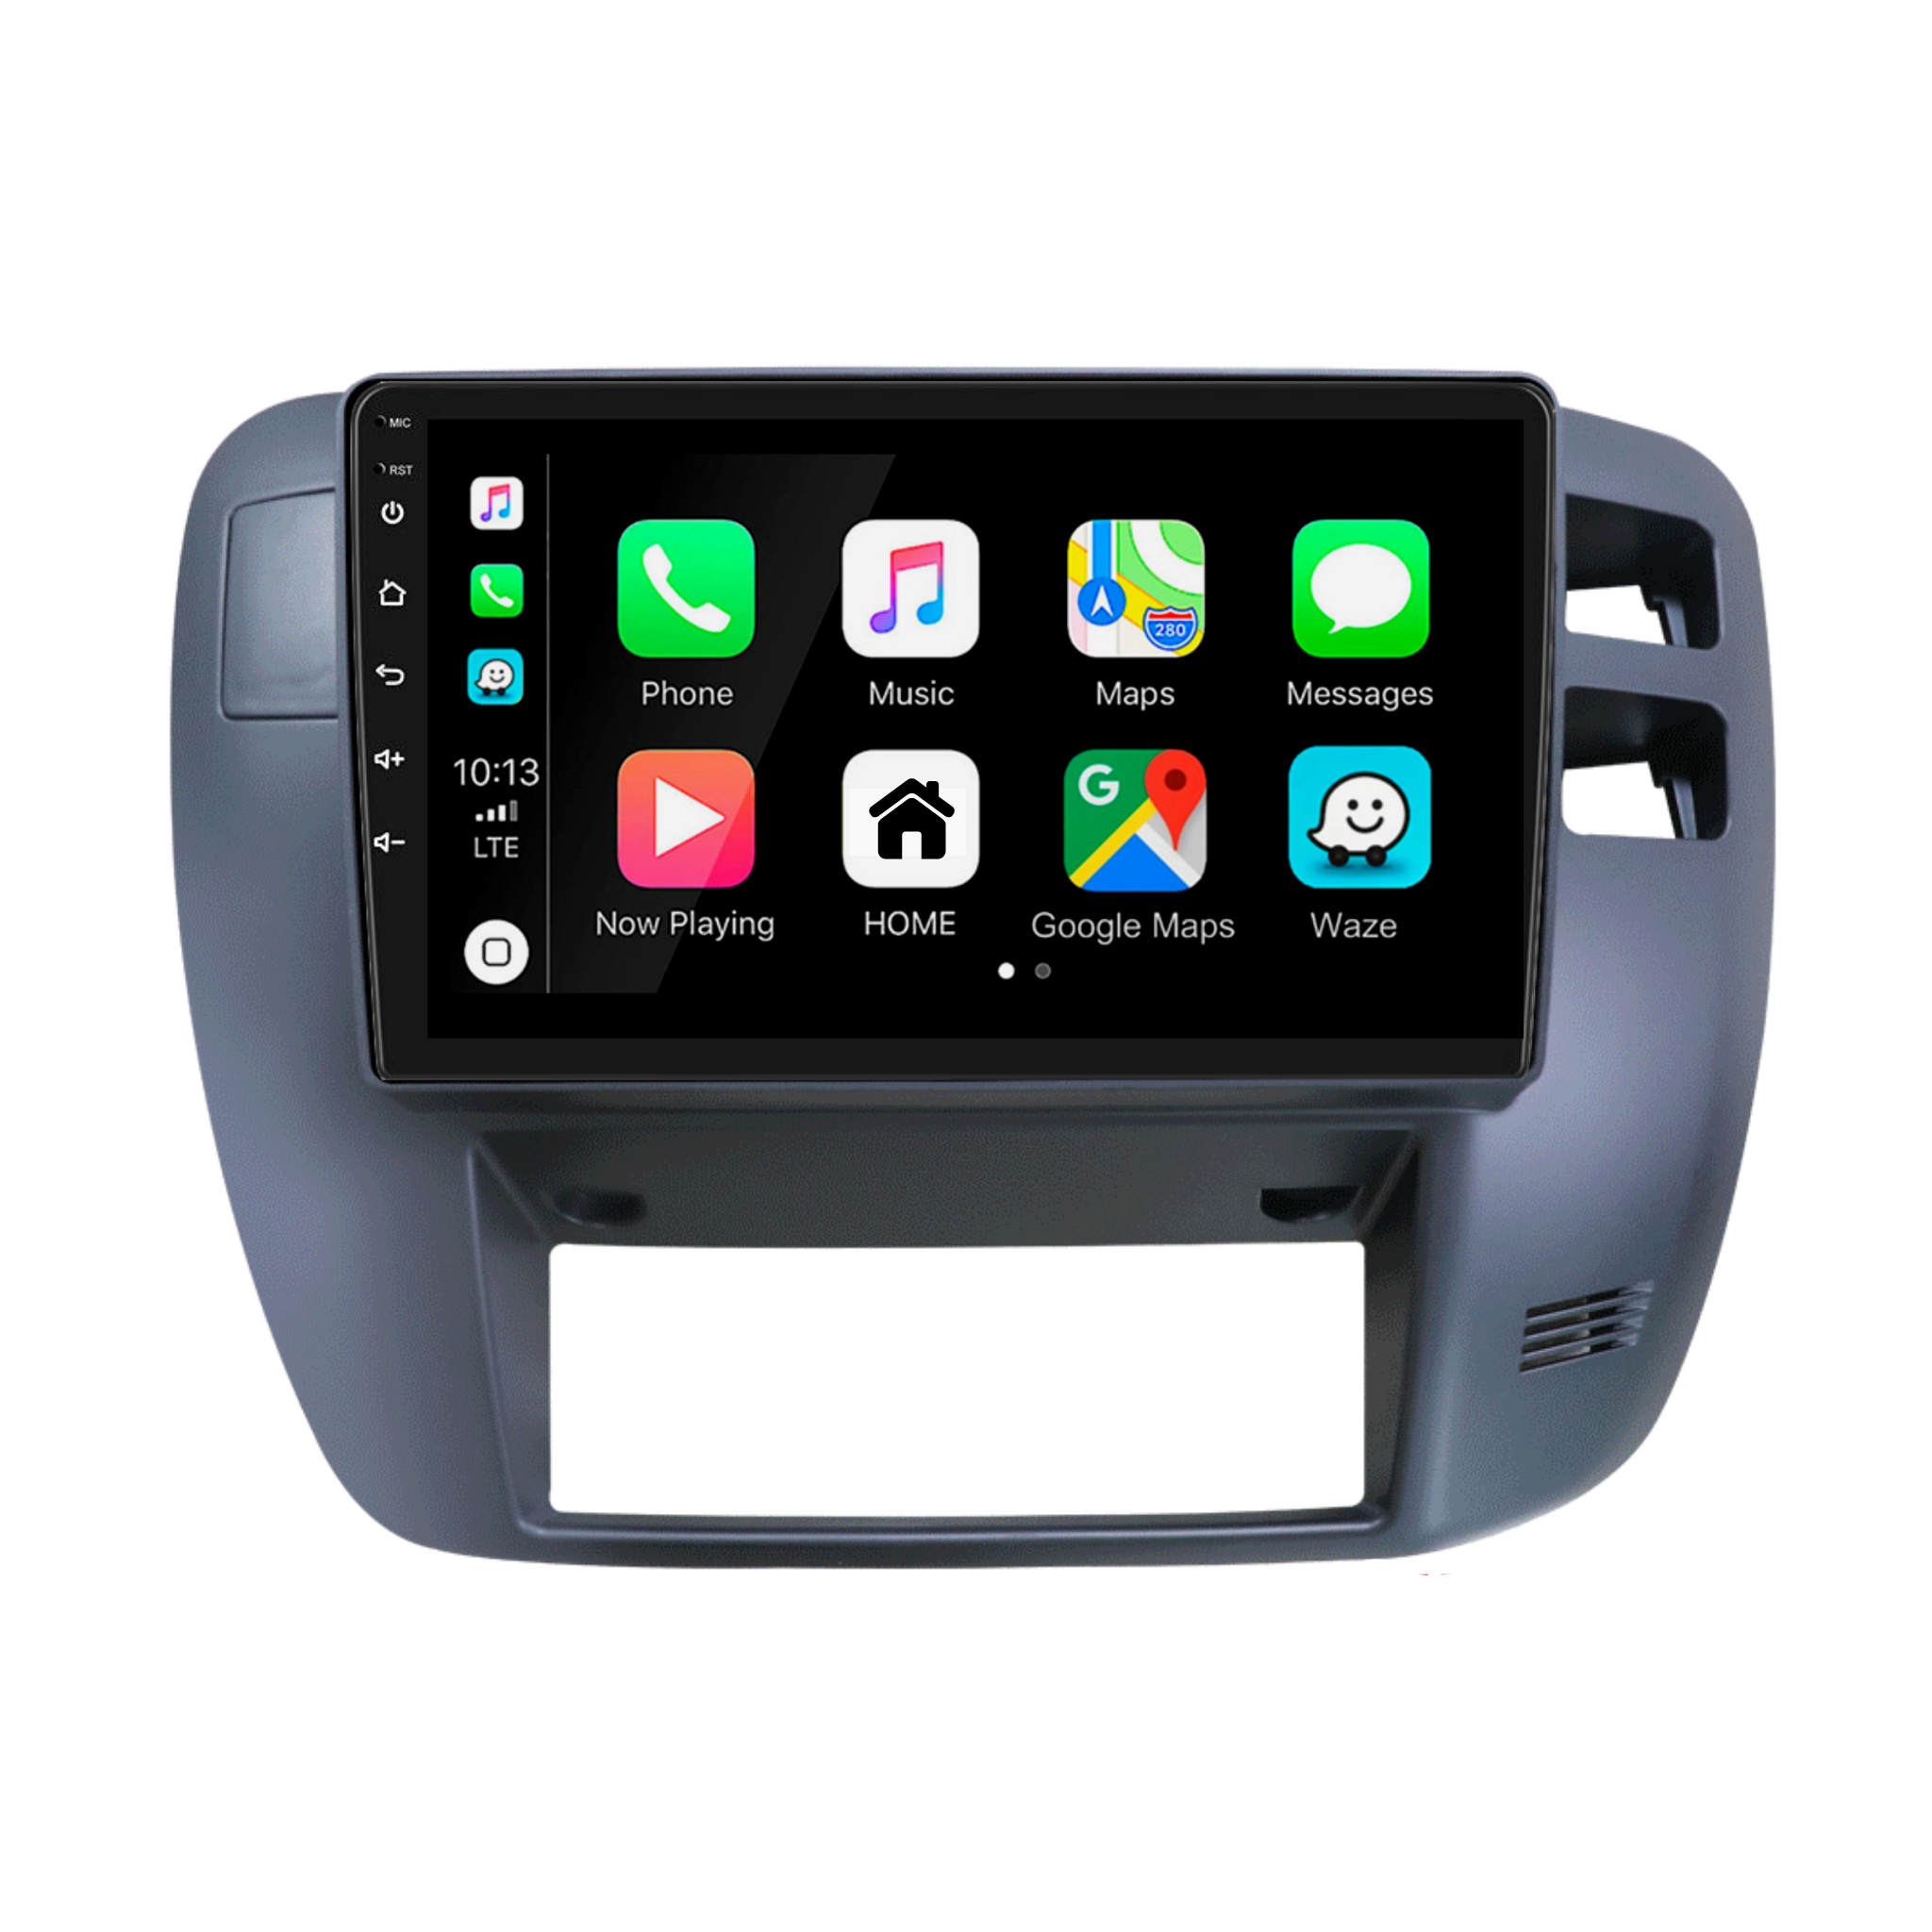
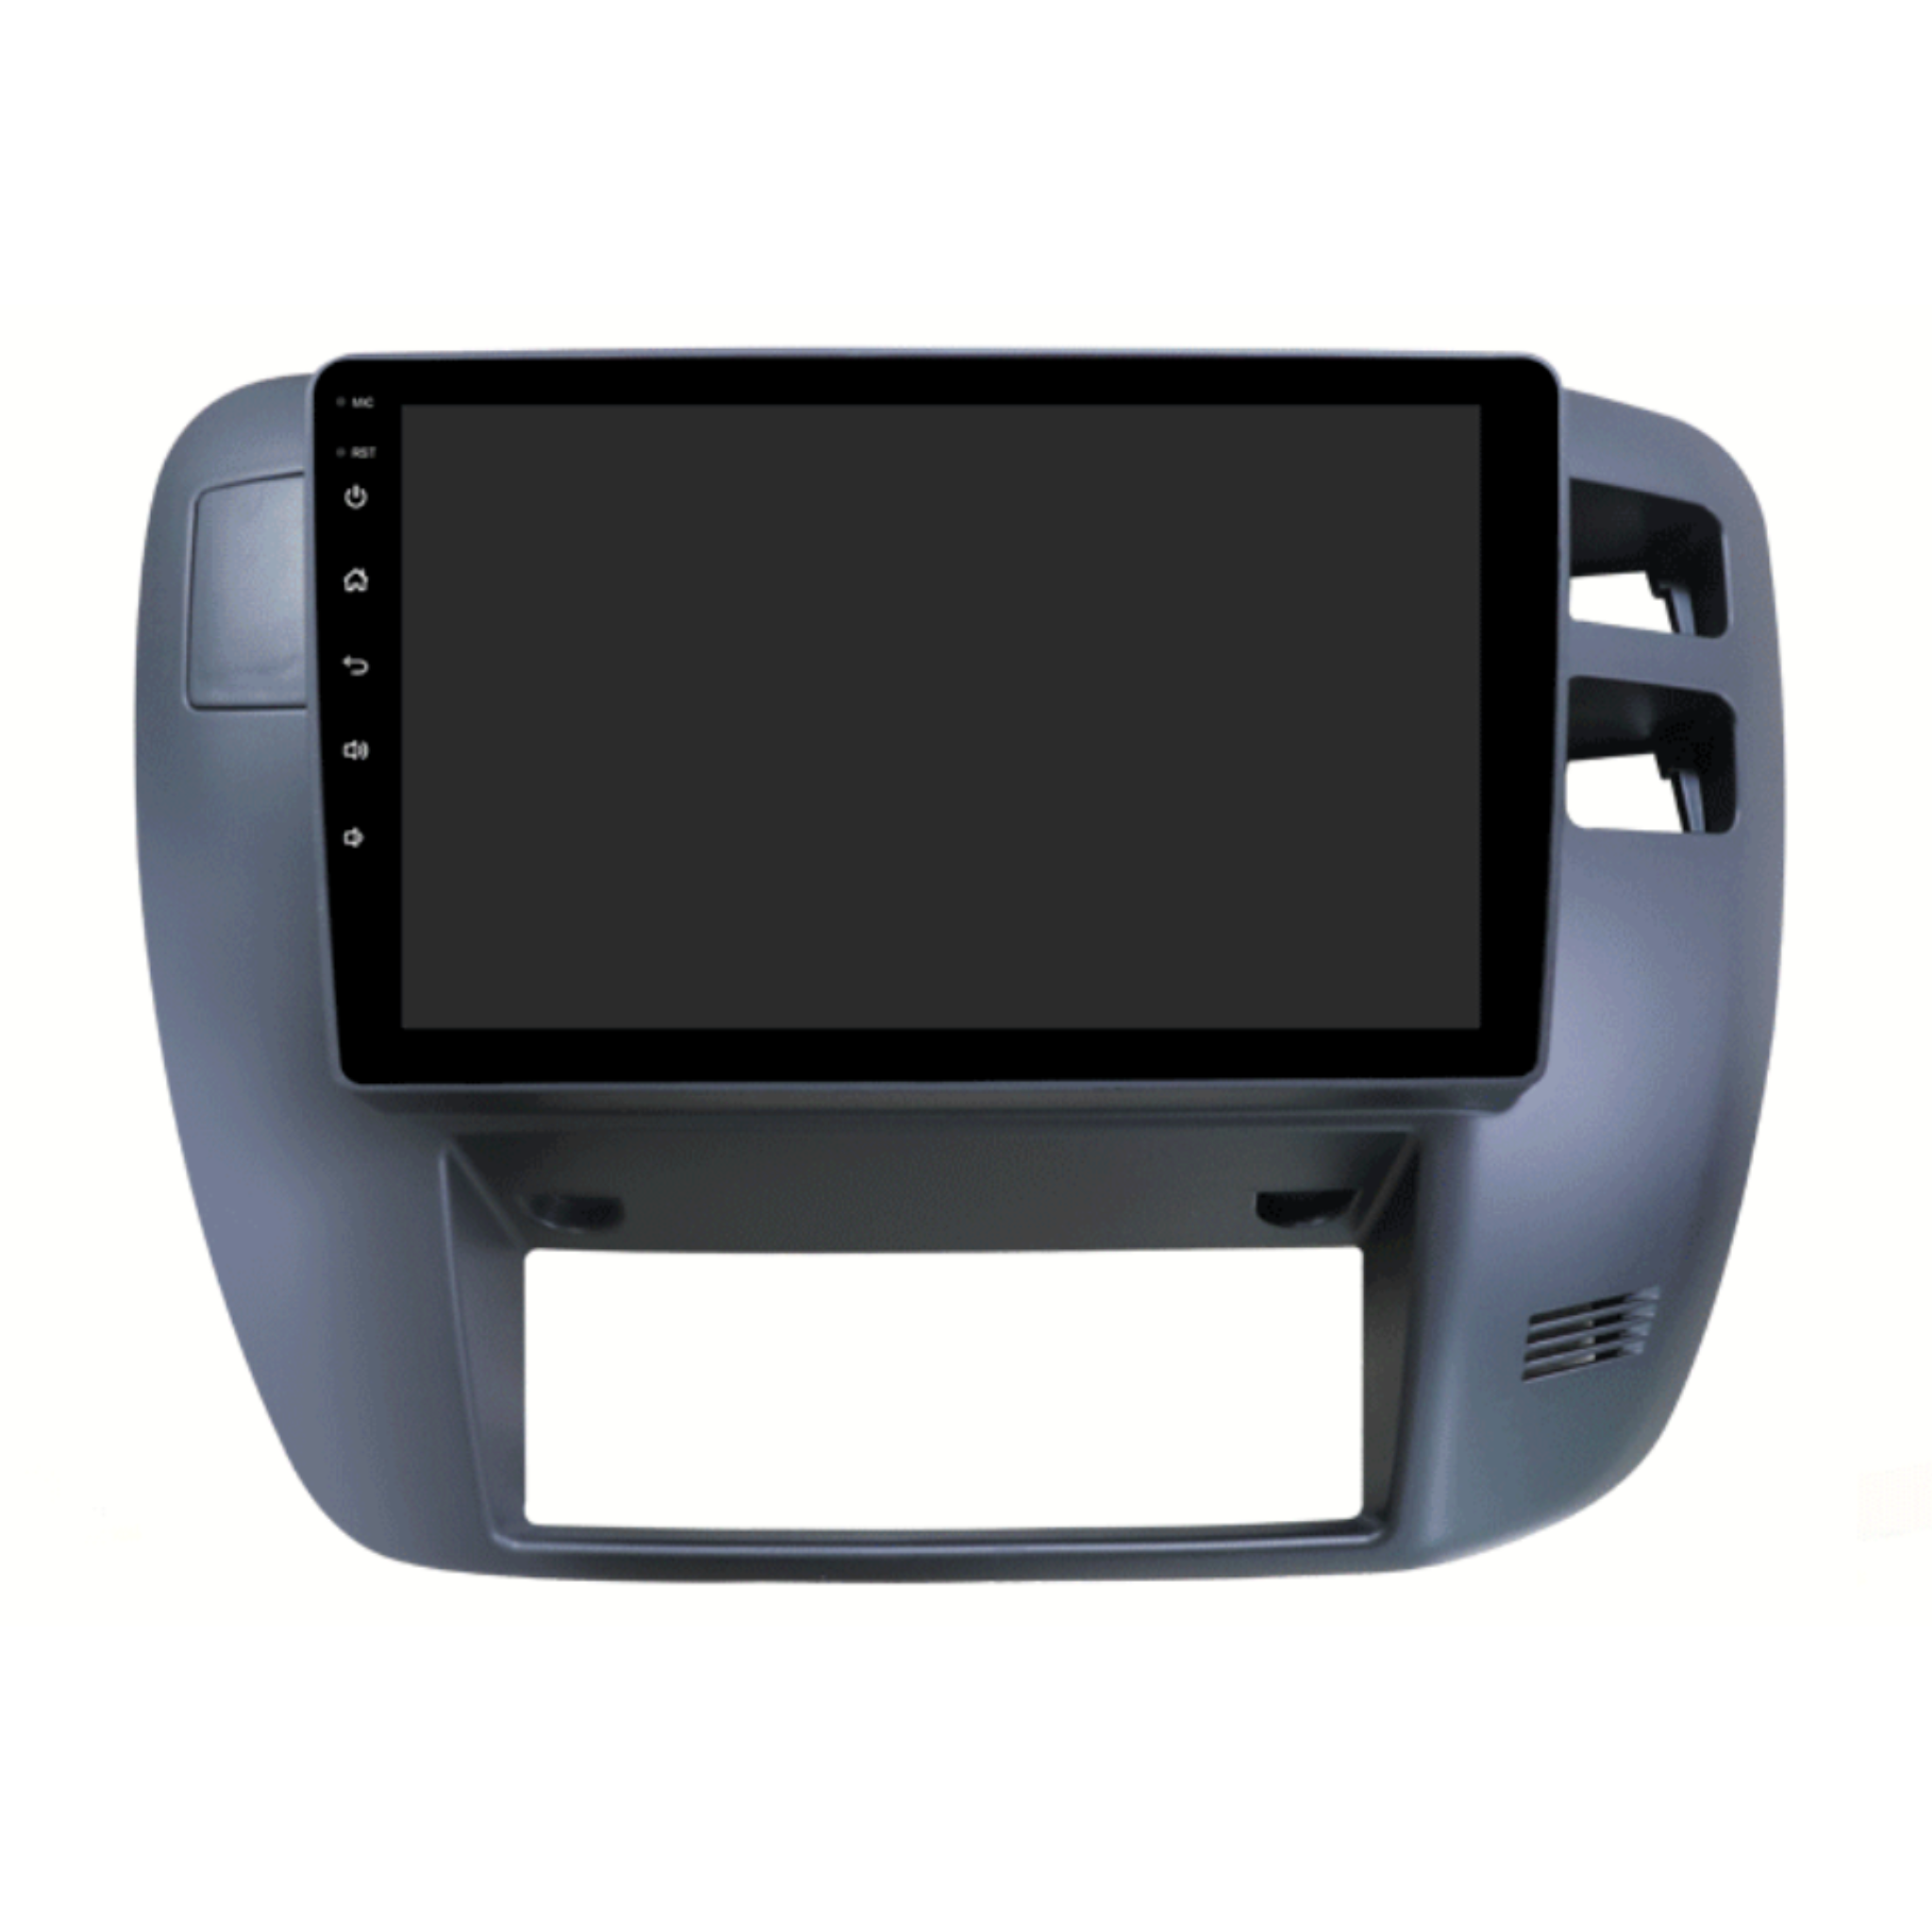
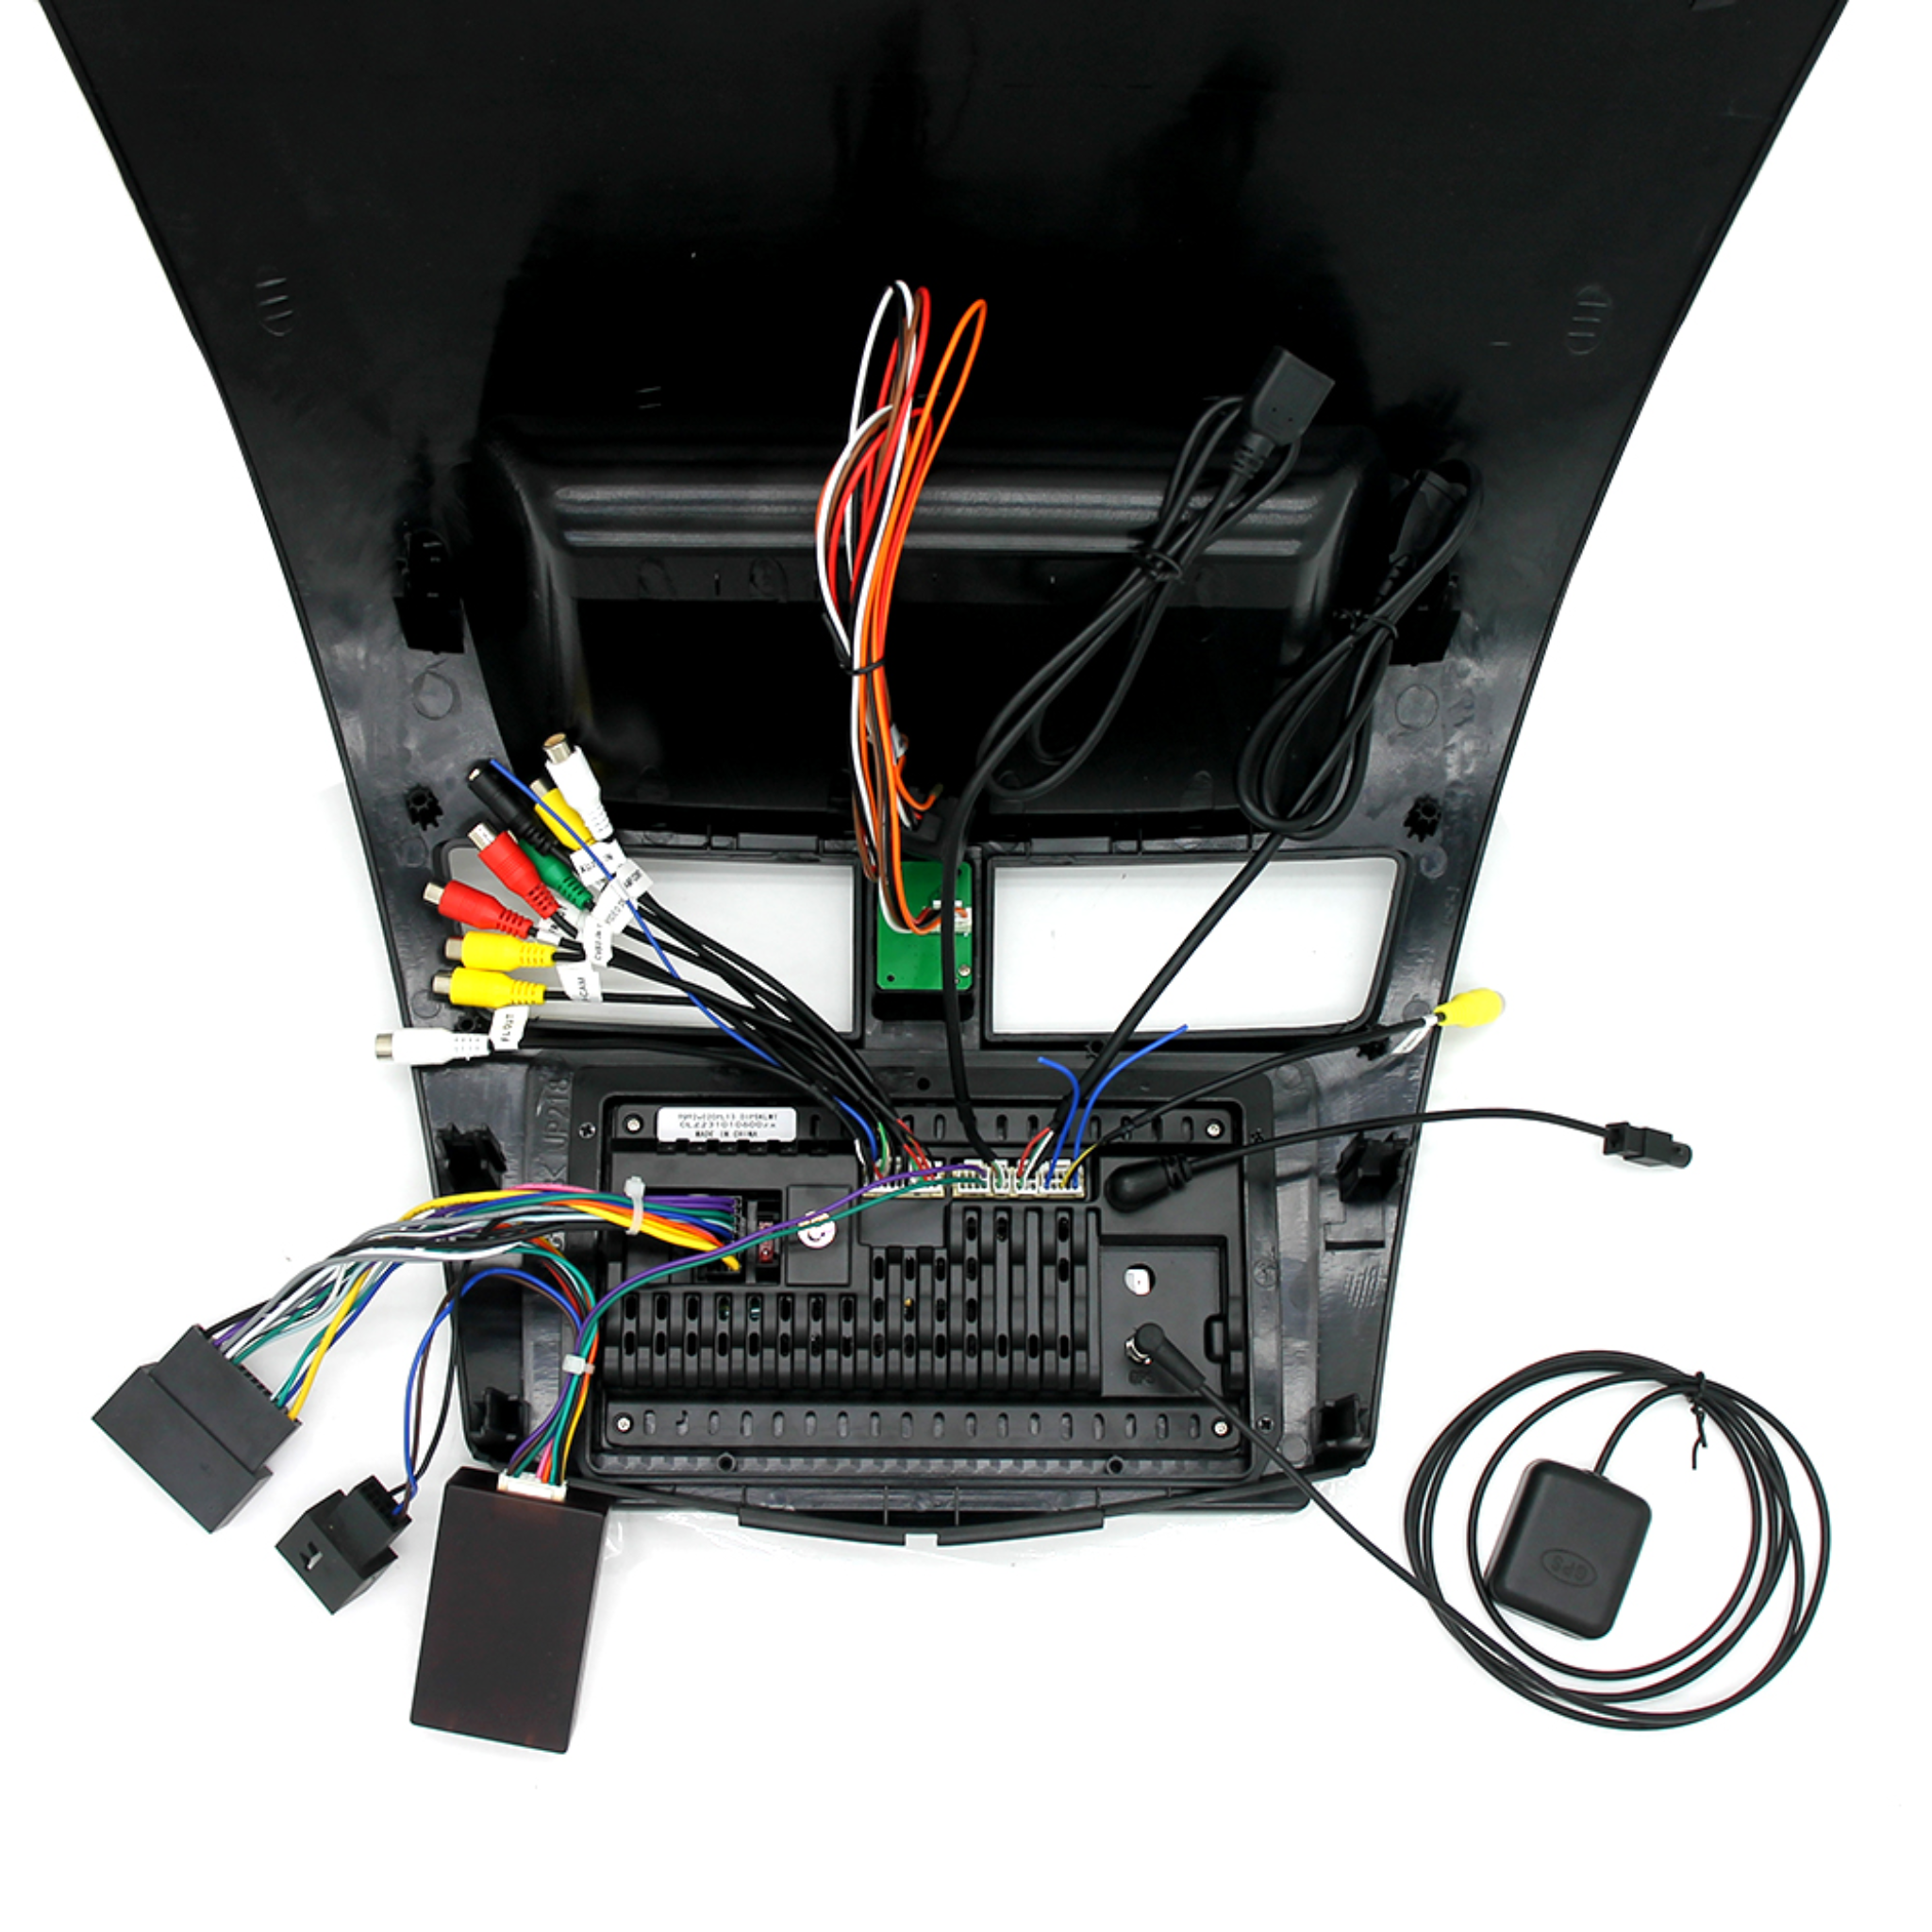
Nissan Navara D40 (Thai Model Only) 2006-2014 Apple CarPlay and Android Auto Plug and Plug Head Unit Upgrade Kit
Sale priceFrom $399.99
Regular price$609.99
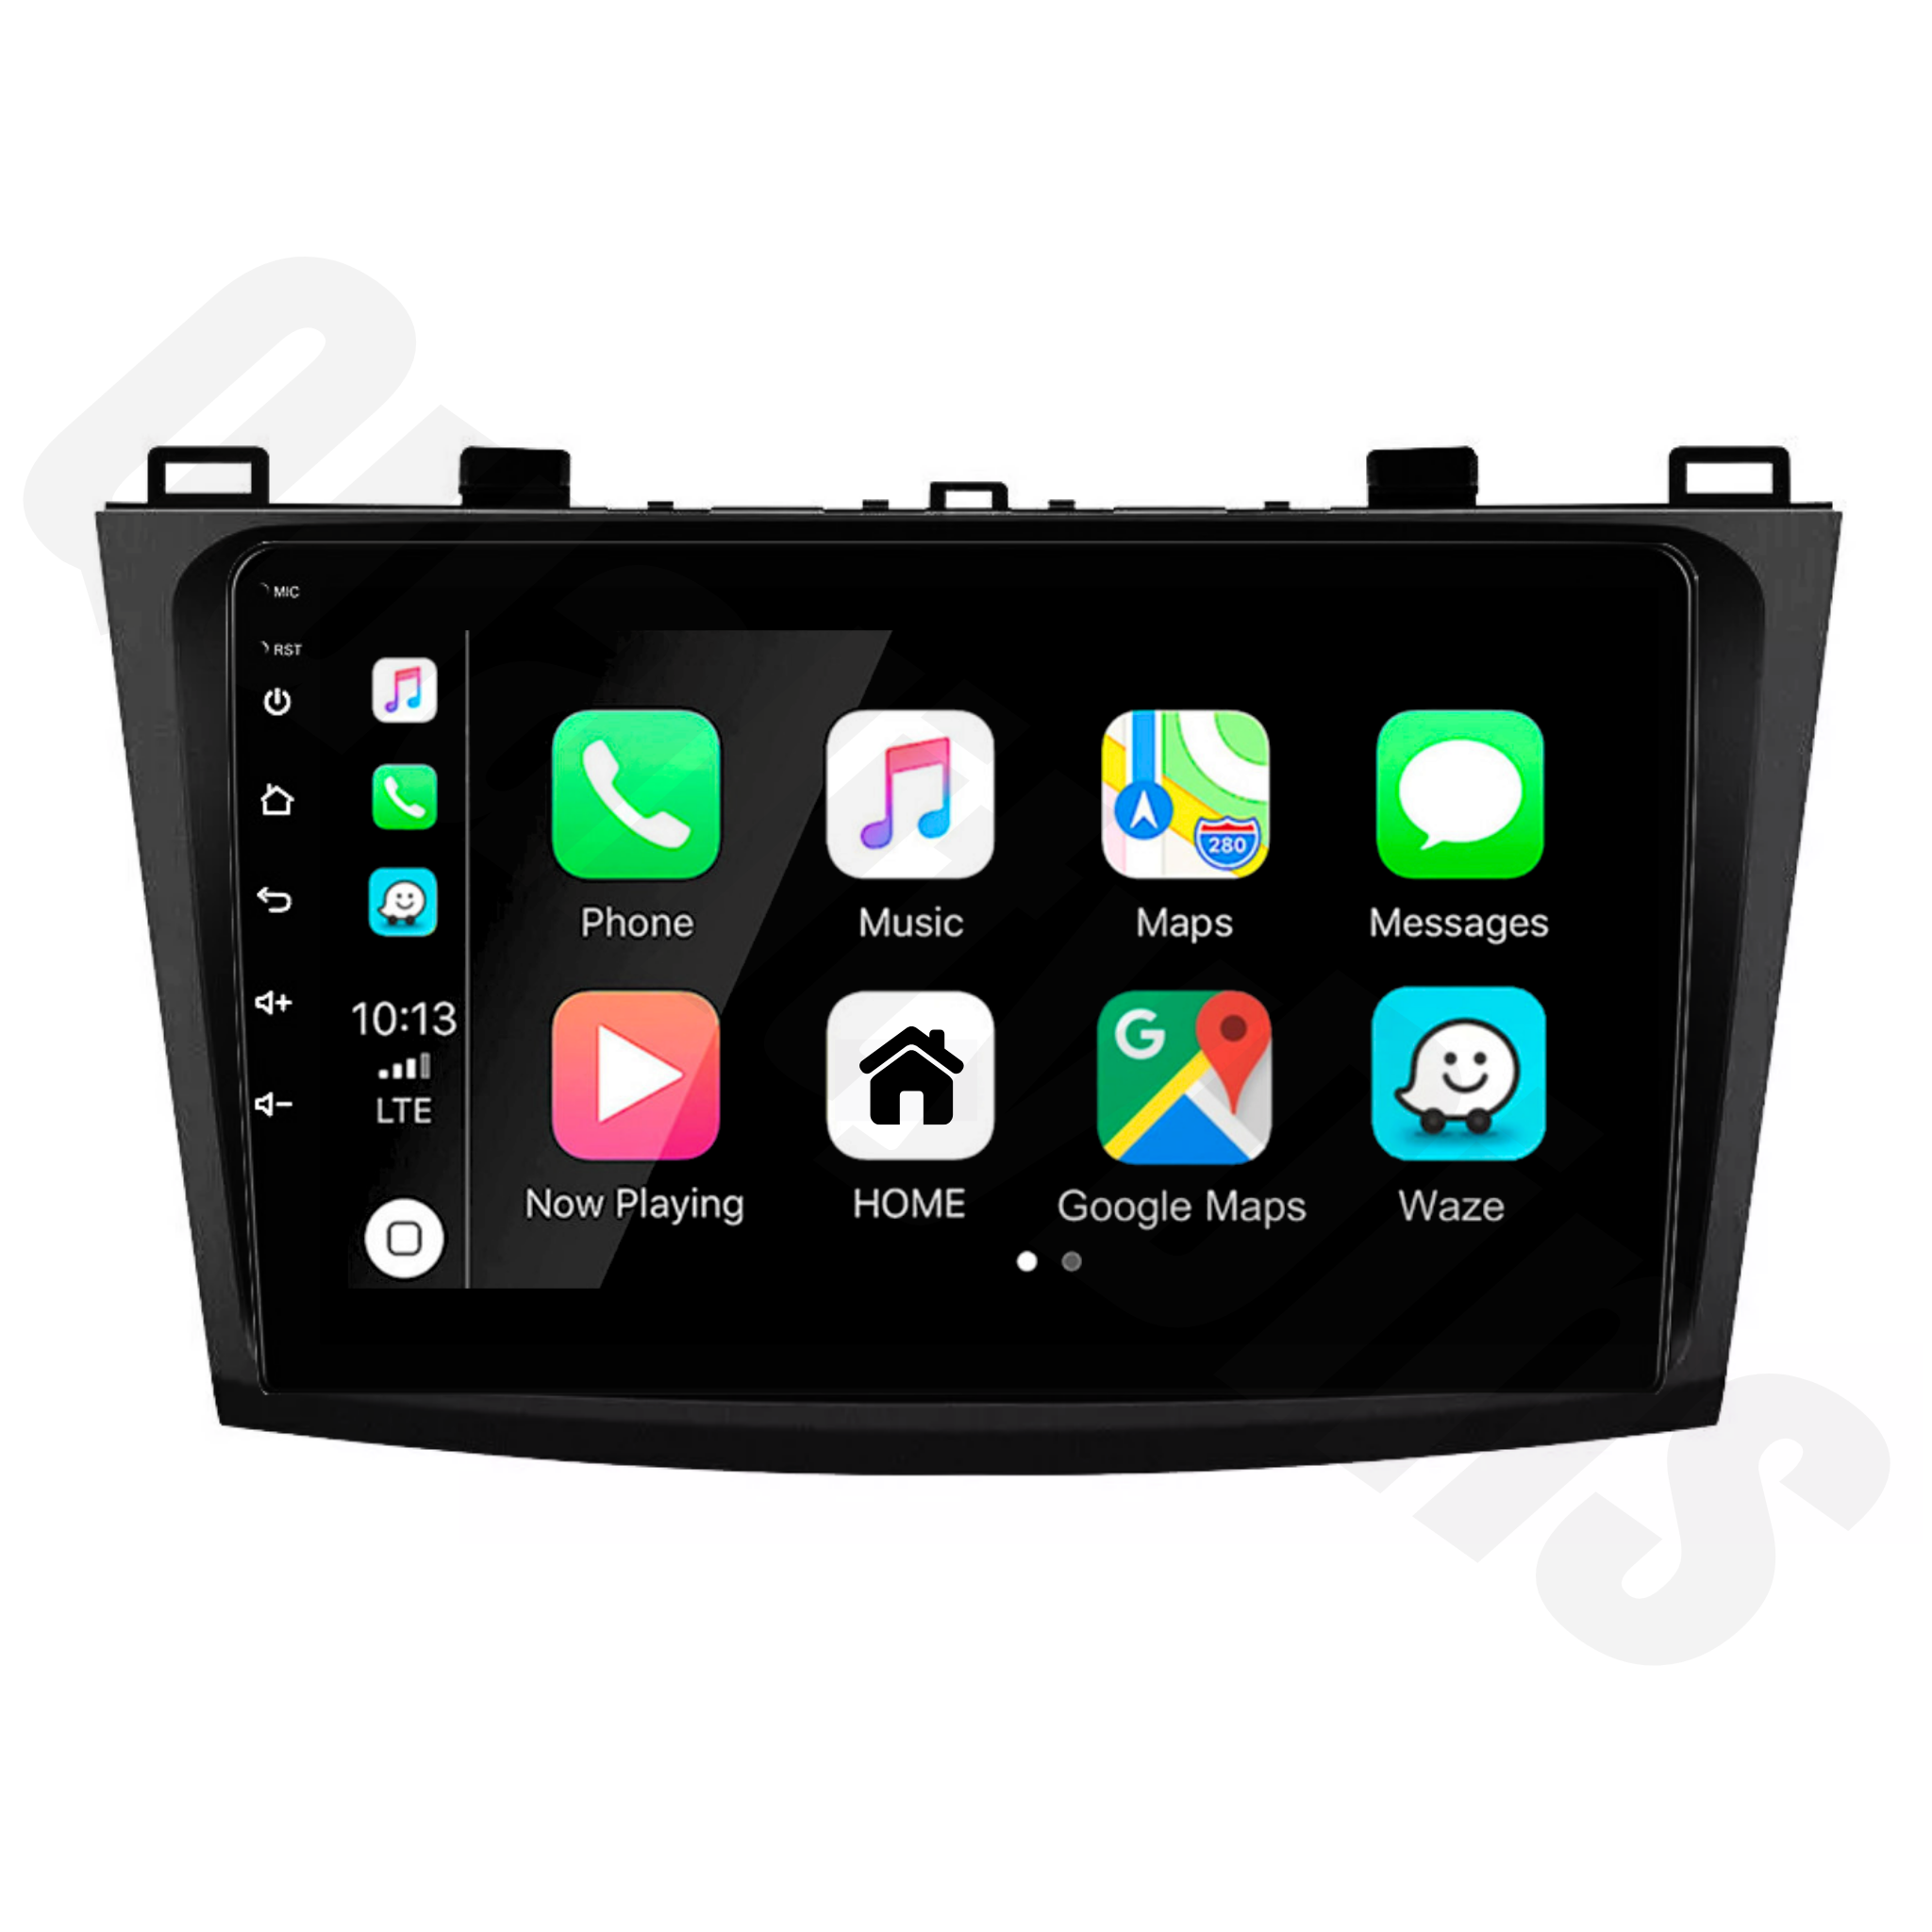
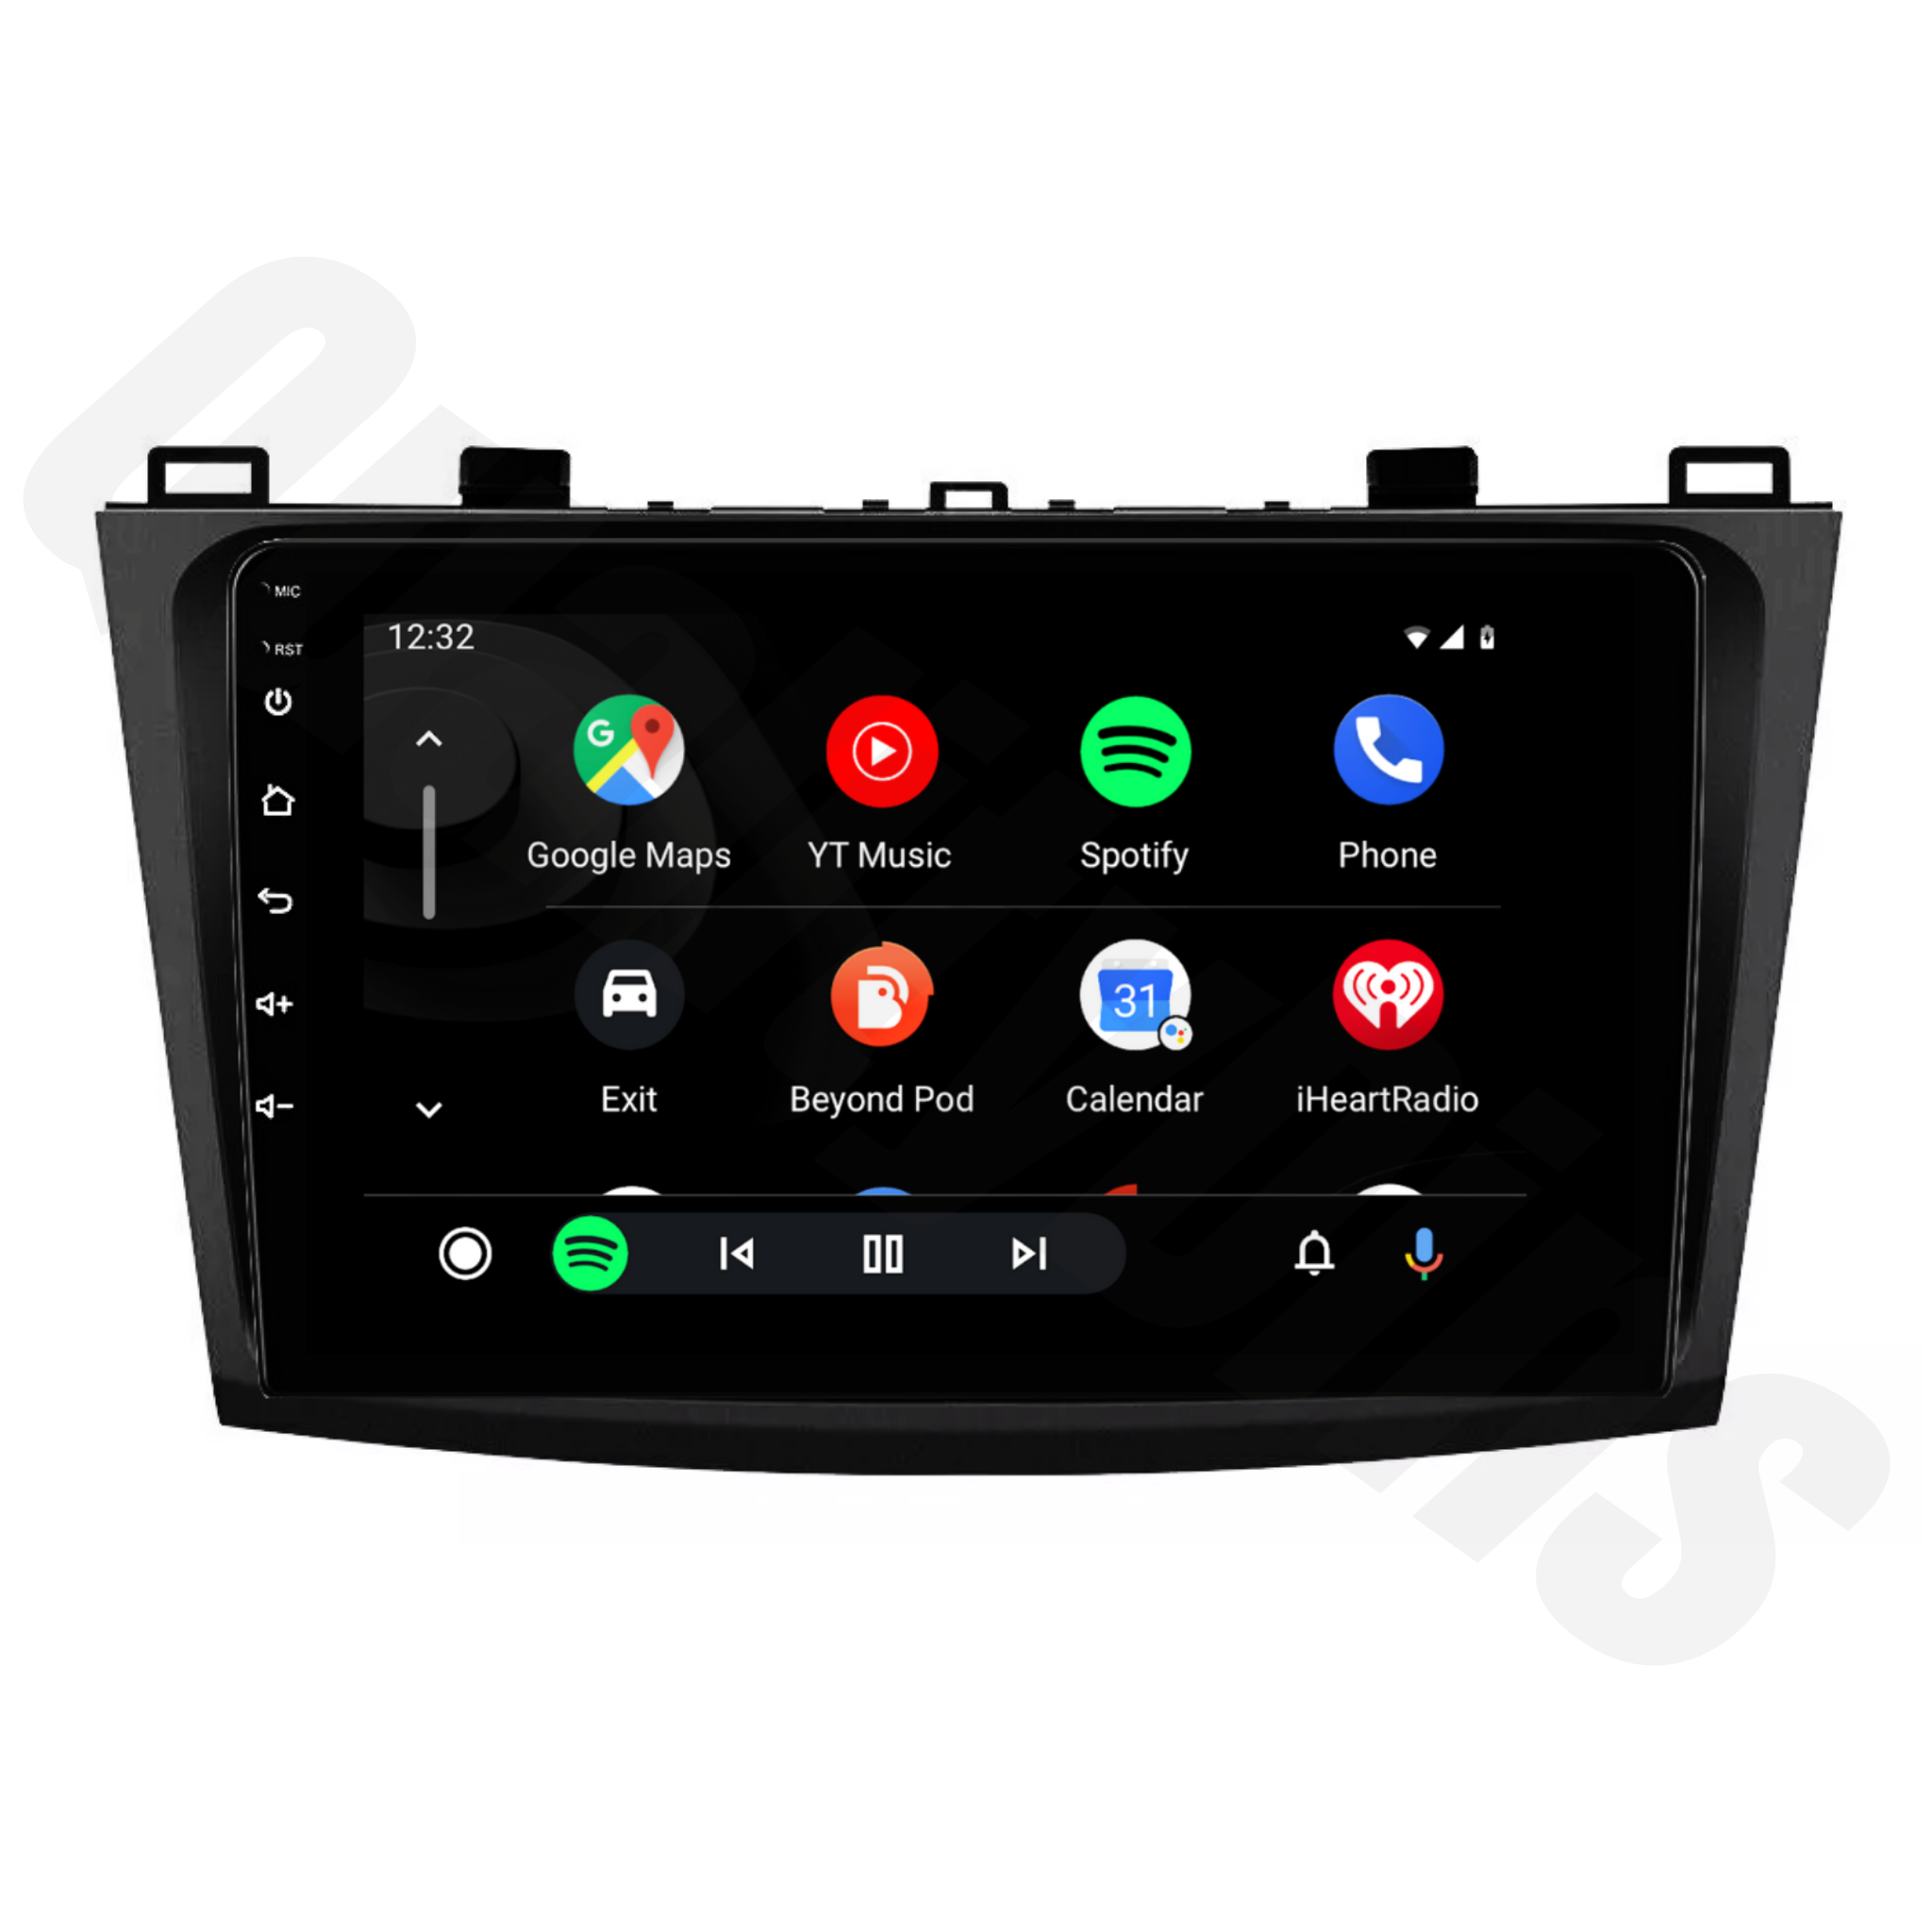
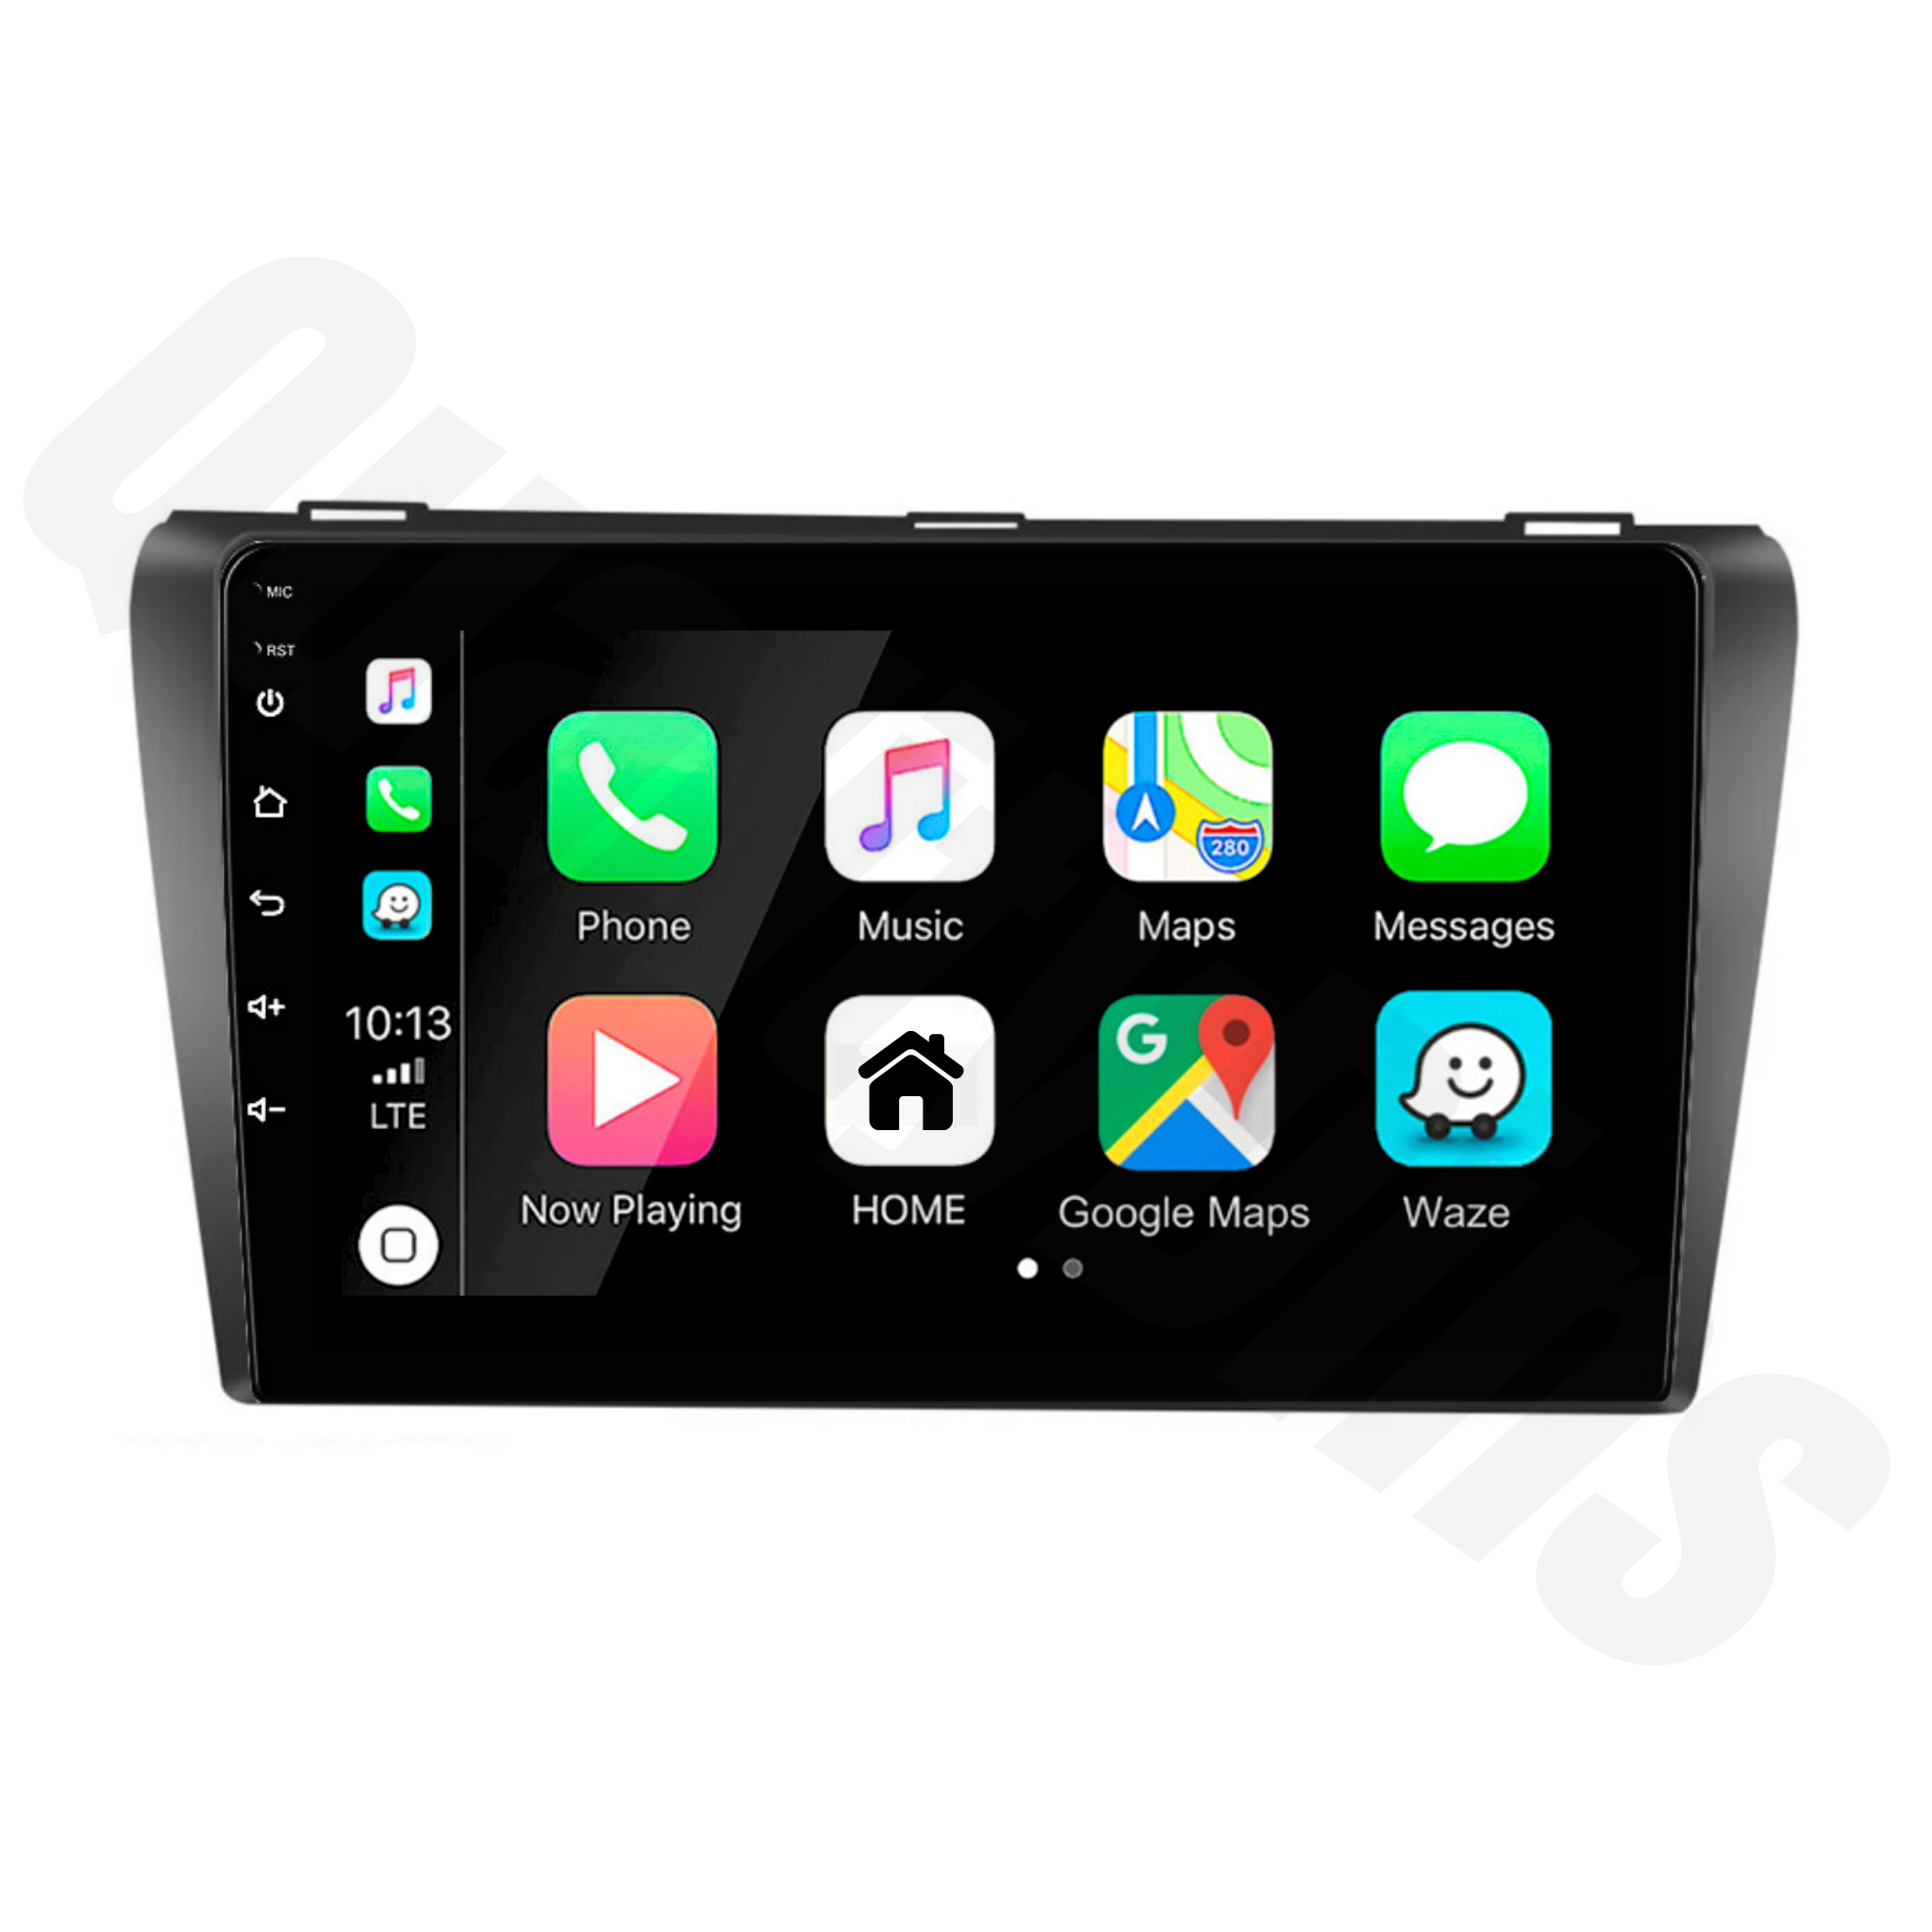
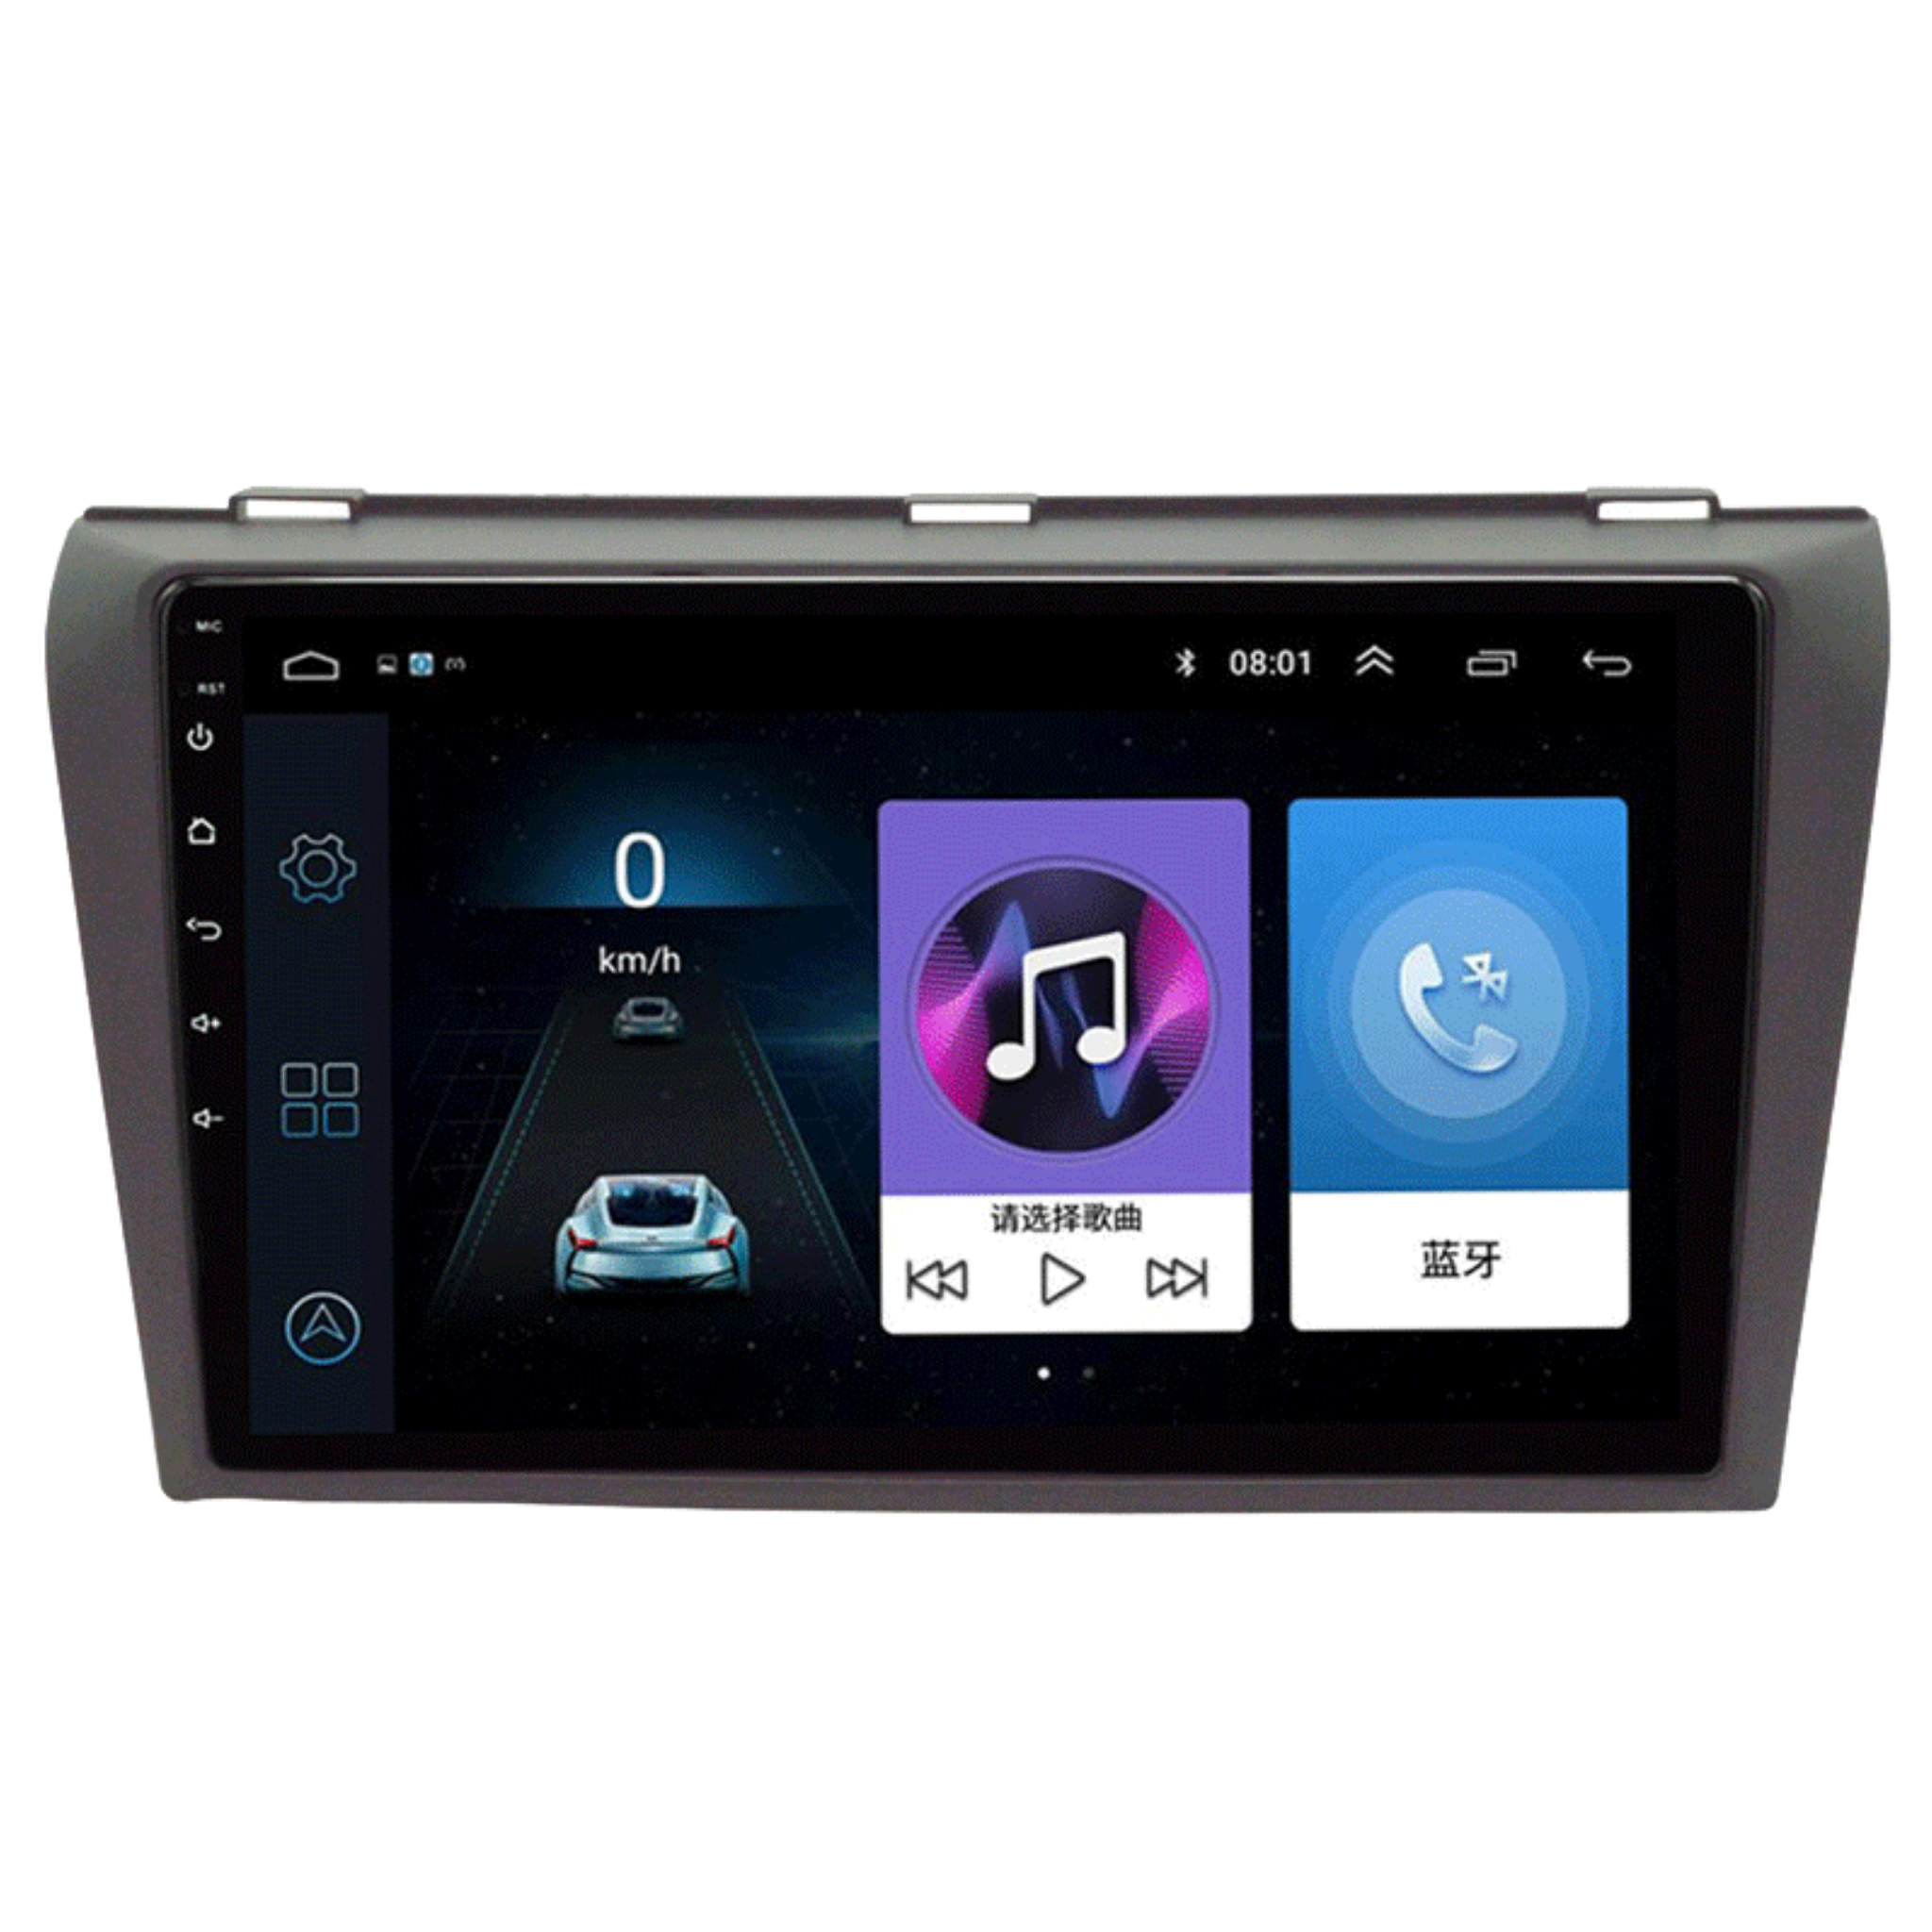
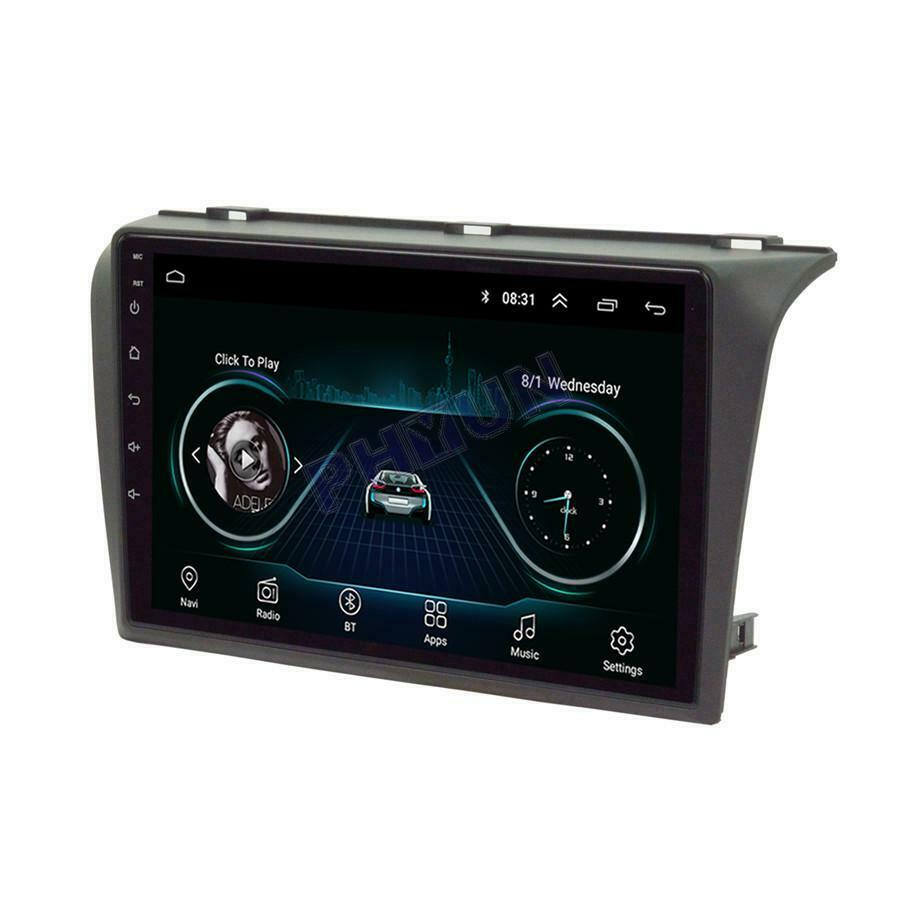
Mazda 3 BL Series 2009–2013 | Apple CarPlay & Android Auto Head Unit Upgrade Kit | Fits Late Dash (See Photo)
Sale priceFrom $339.99
Regular price$449.99
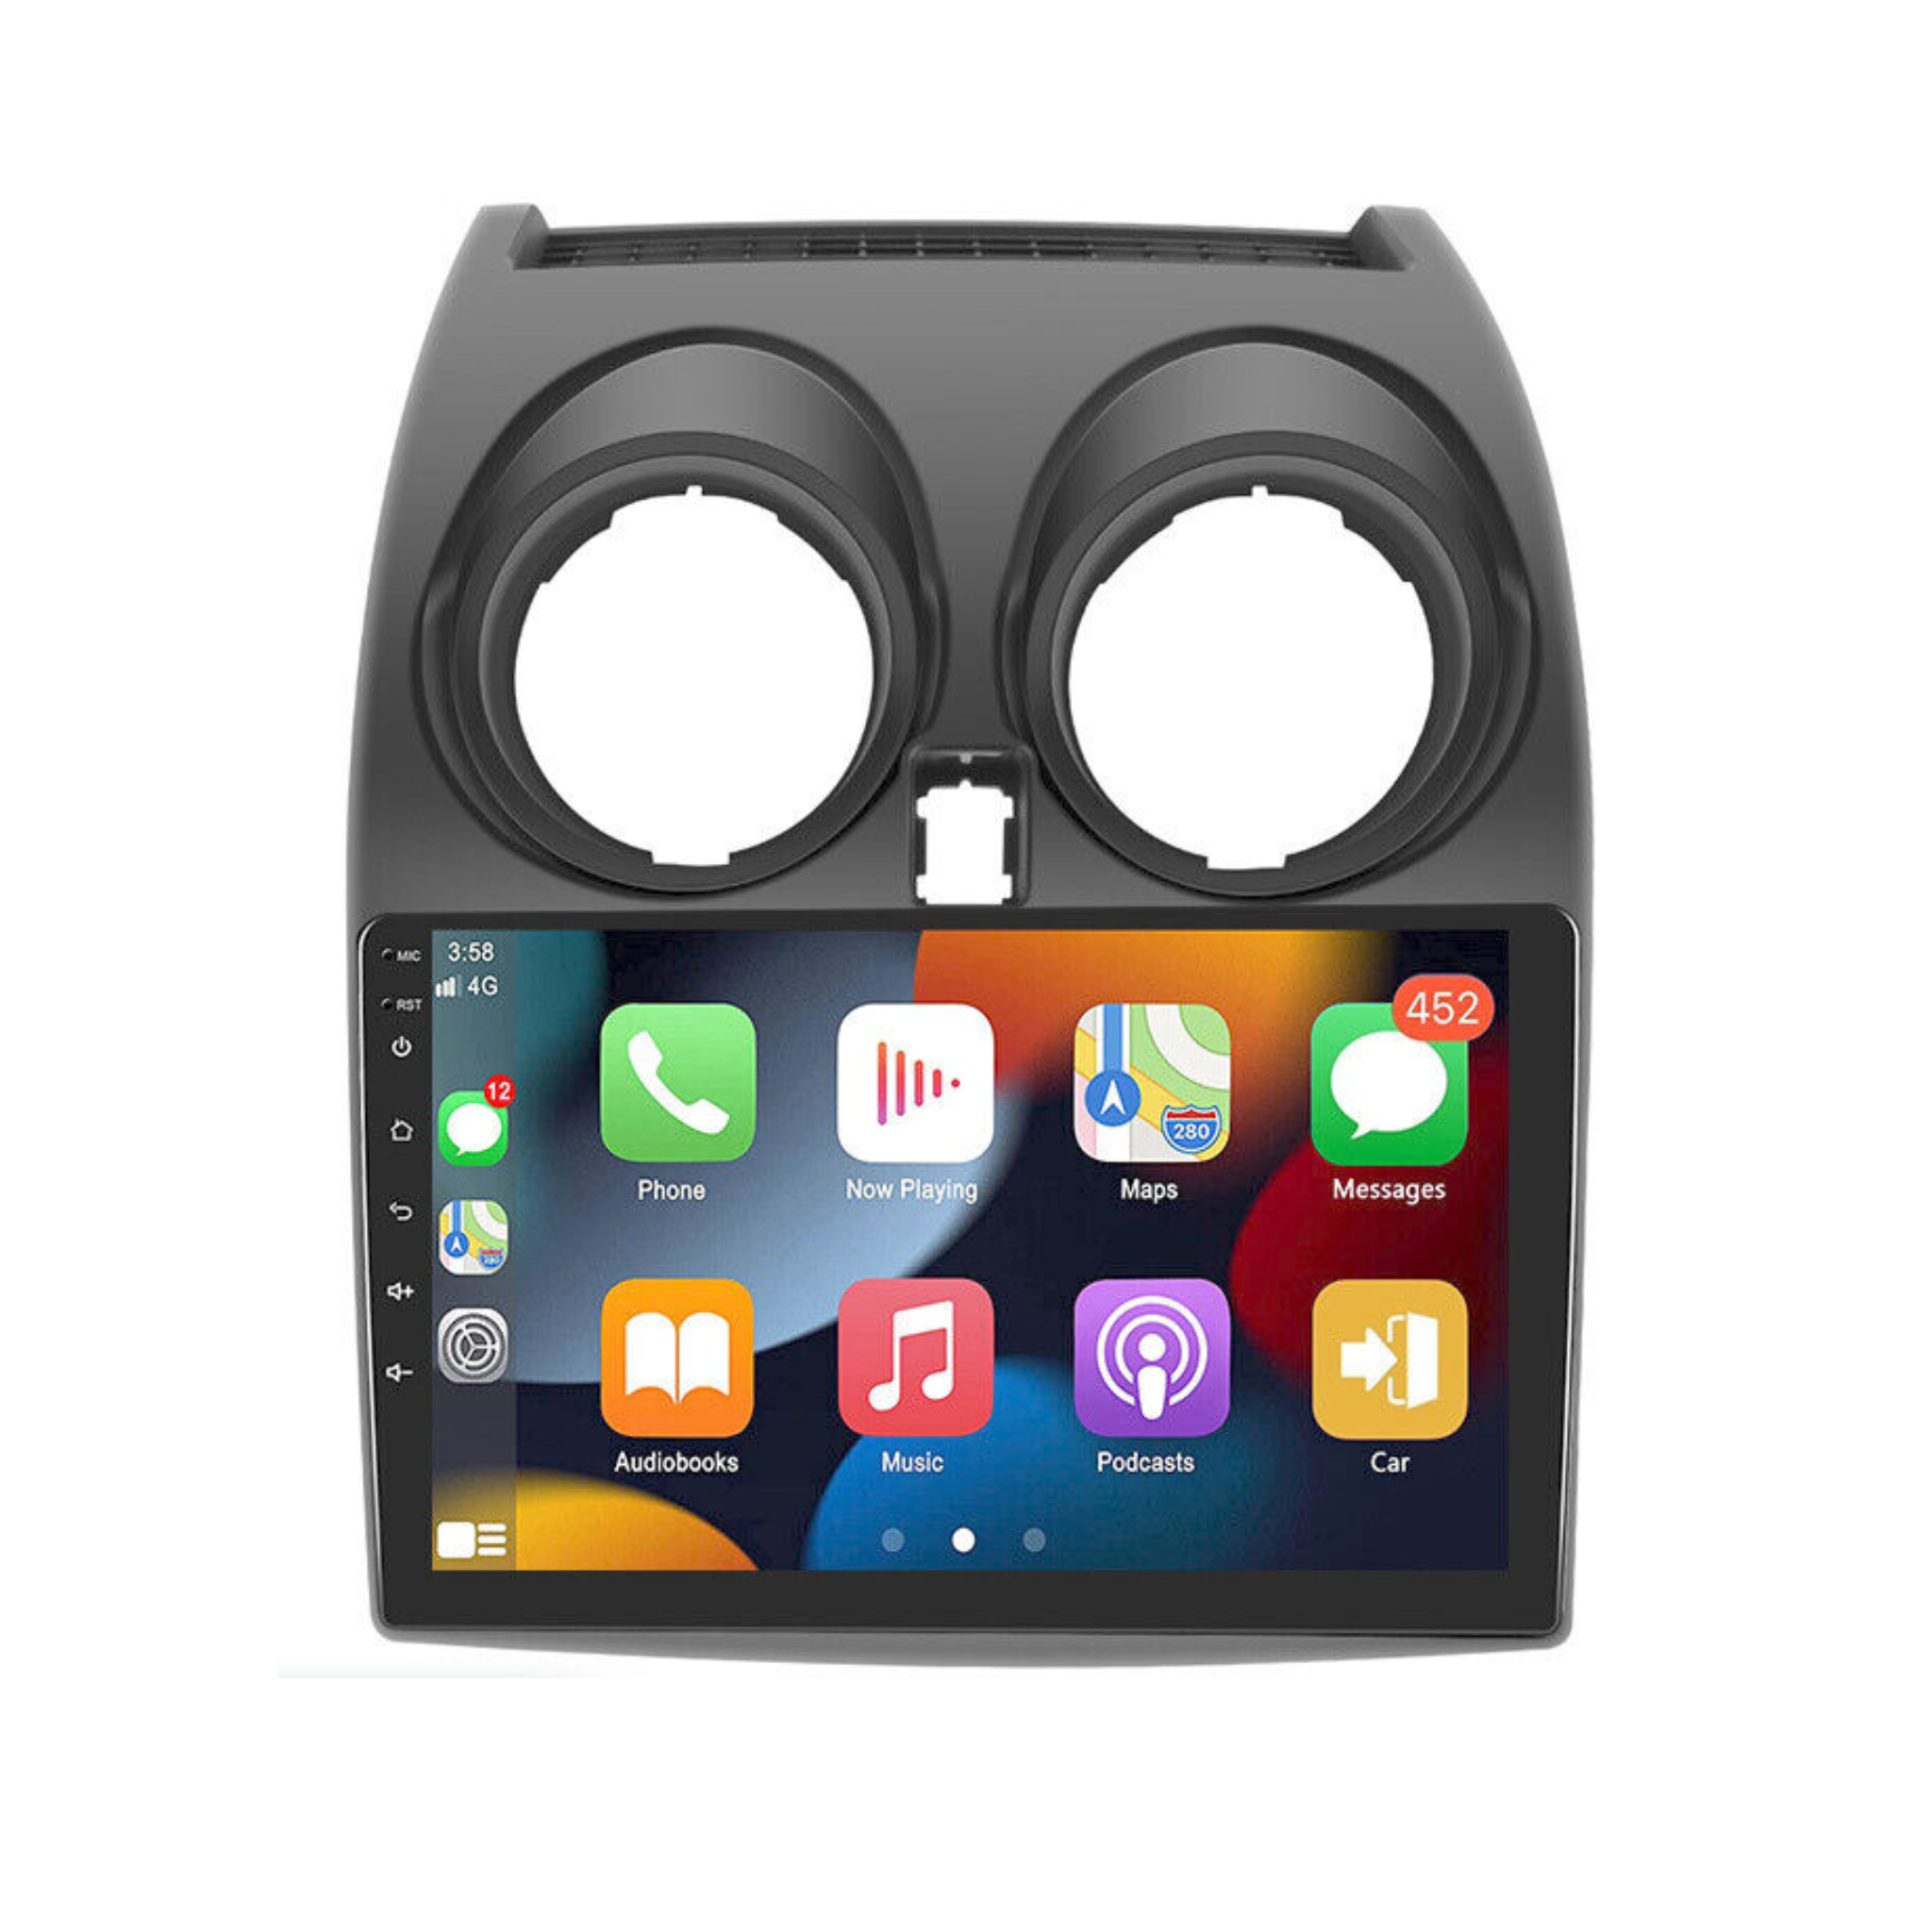
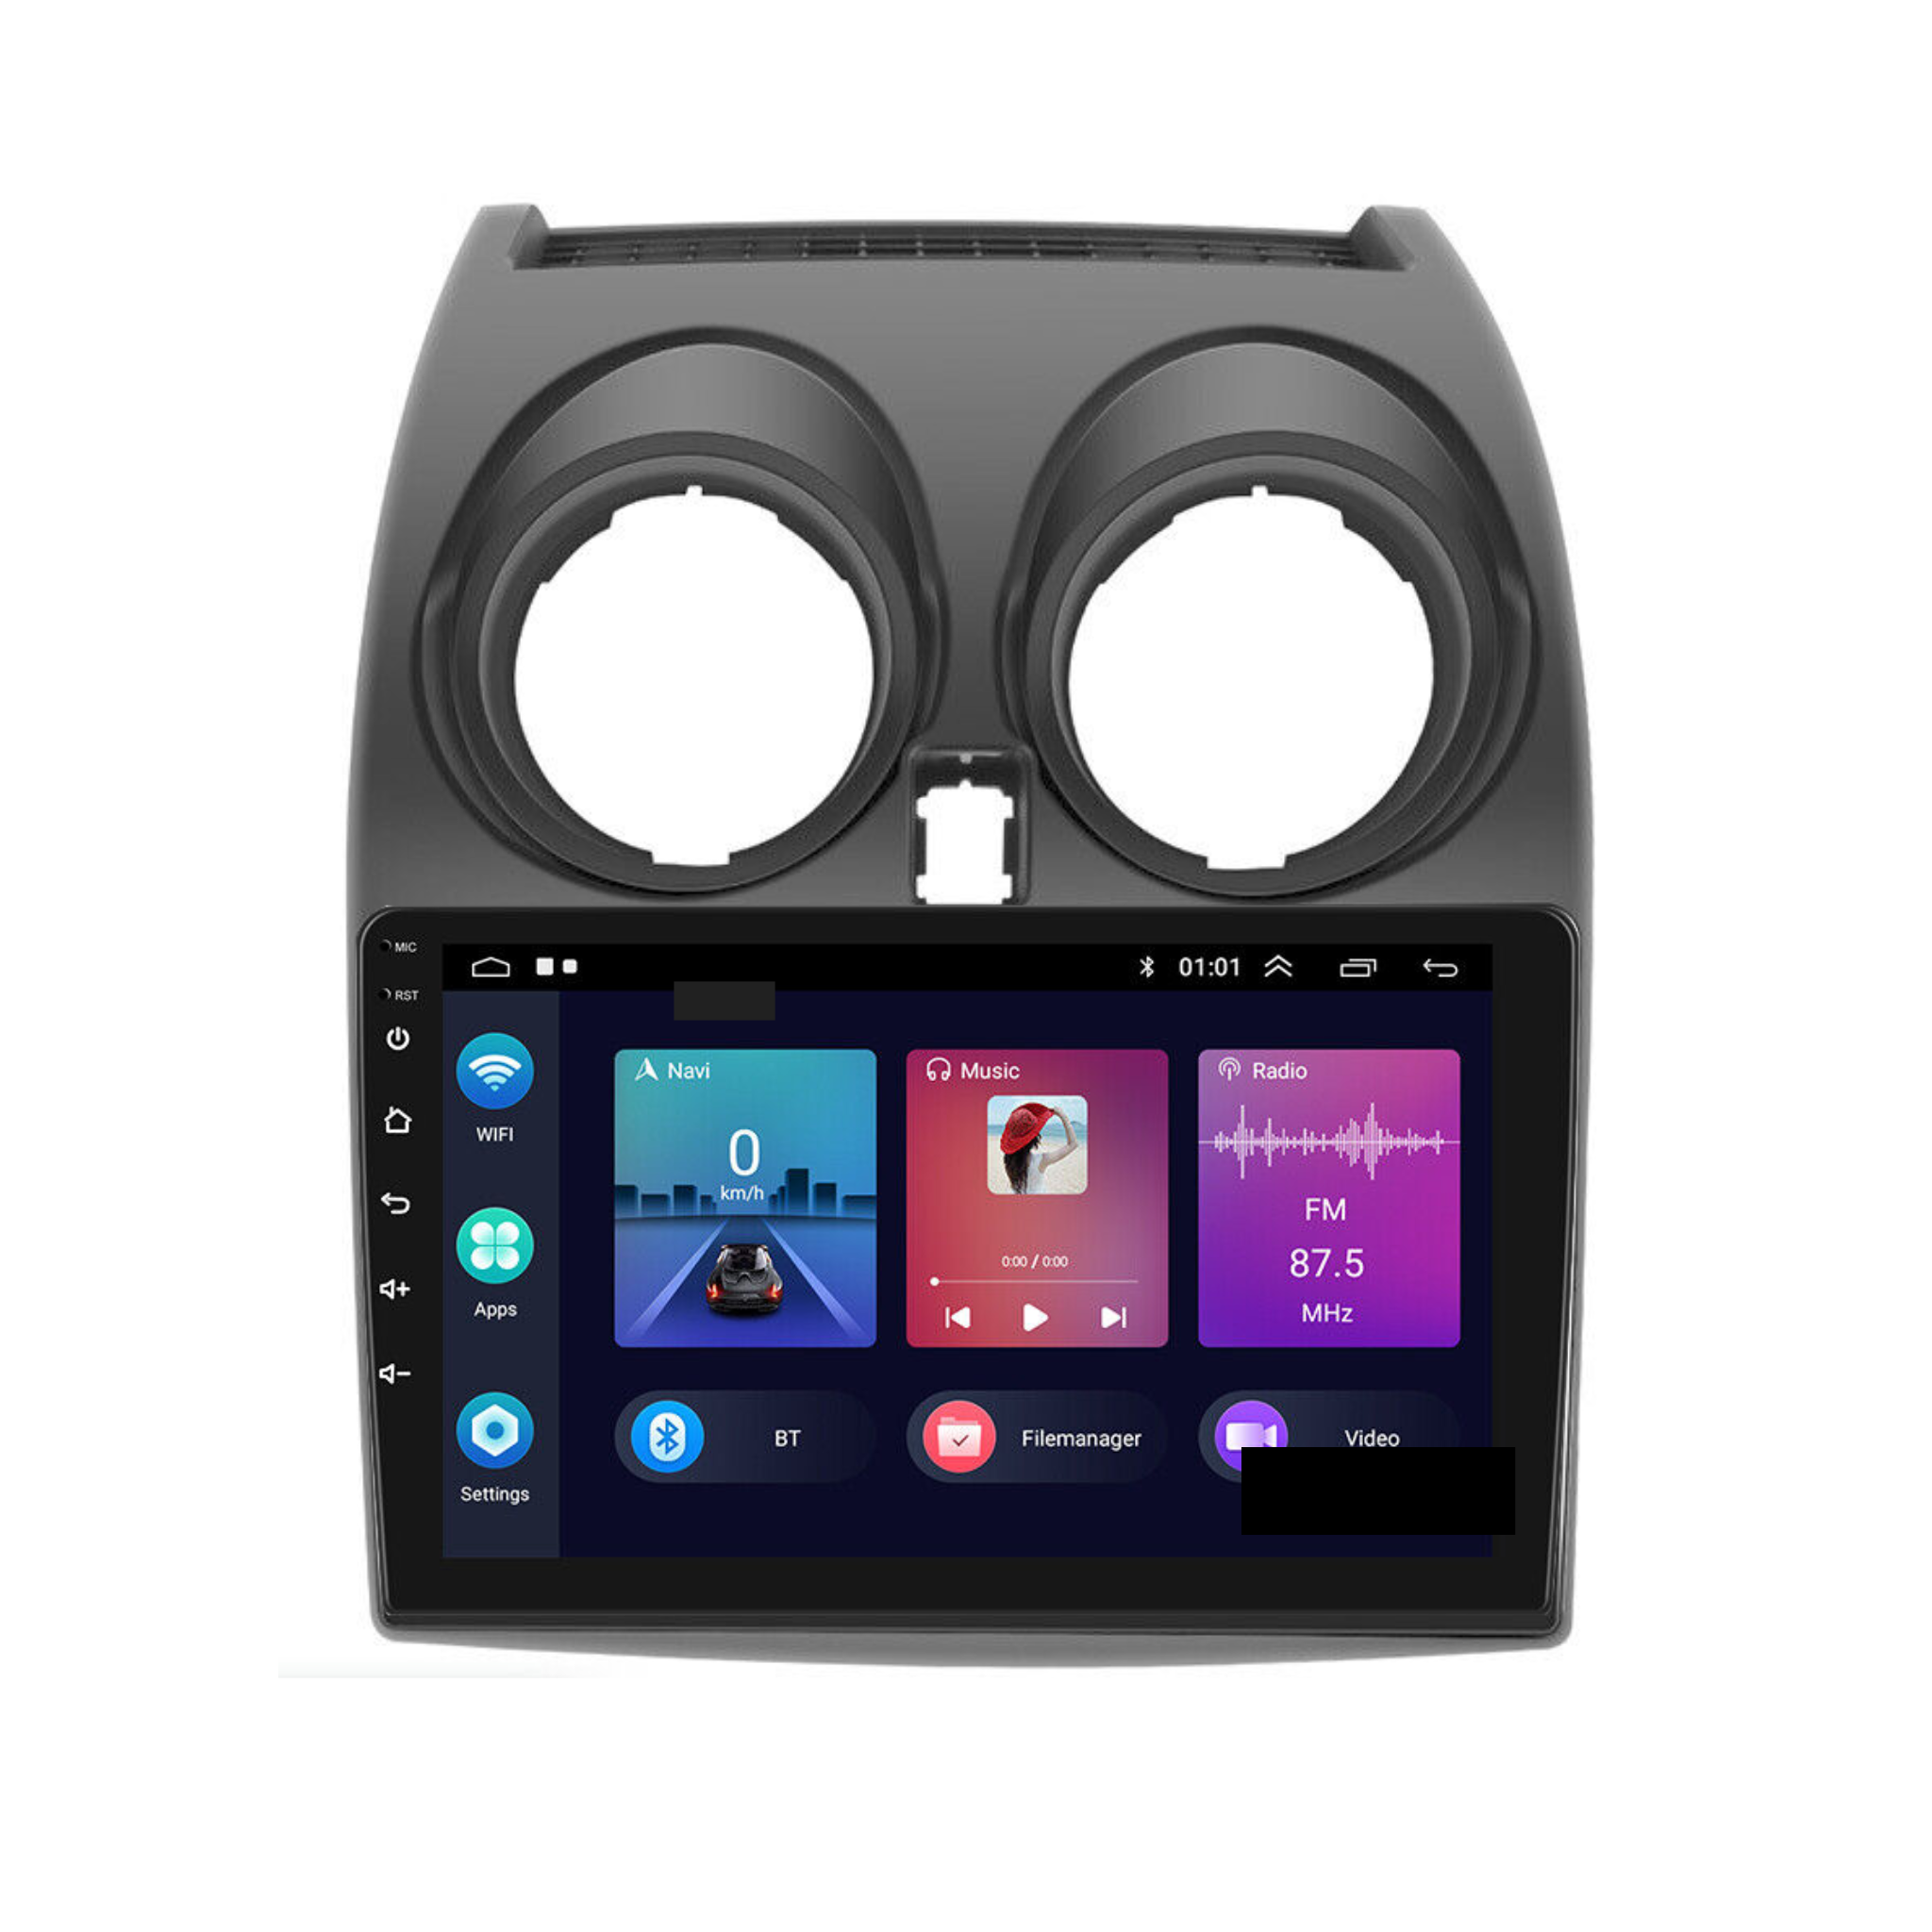
Nissan Dualis 2007-2013 Apple CarPlay and Android Auto Plug and Plug Head Unit Upgrade Kit
Sale priceFrom $399.99
Regular price$649.99


Toyota Hilux N80 - SR5/SR/Workmate 2016-2019 Apple CarPlay and Android Auto Plug and Plug Head Unit Upgrade Kit
Sale priceFrom $359.95
Regular price$499.99
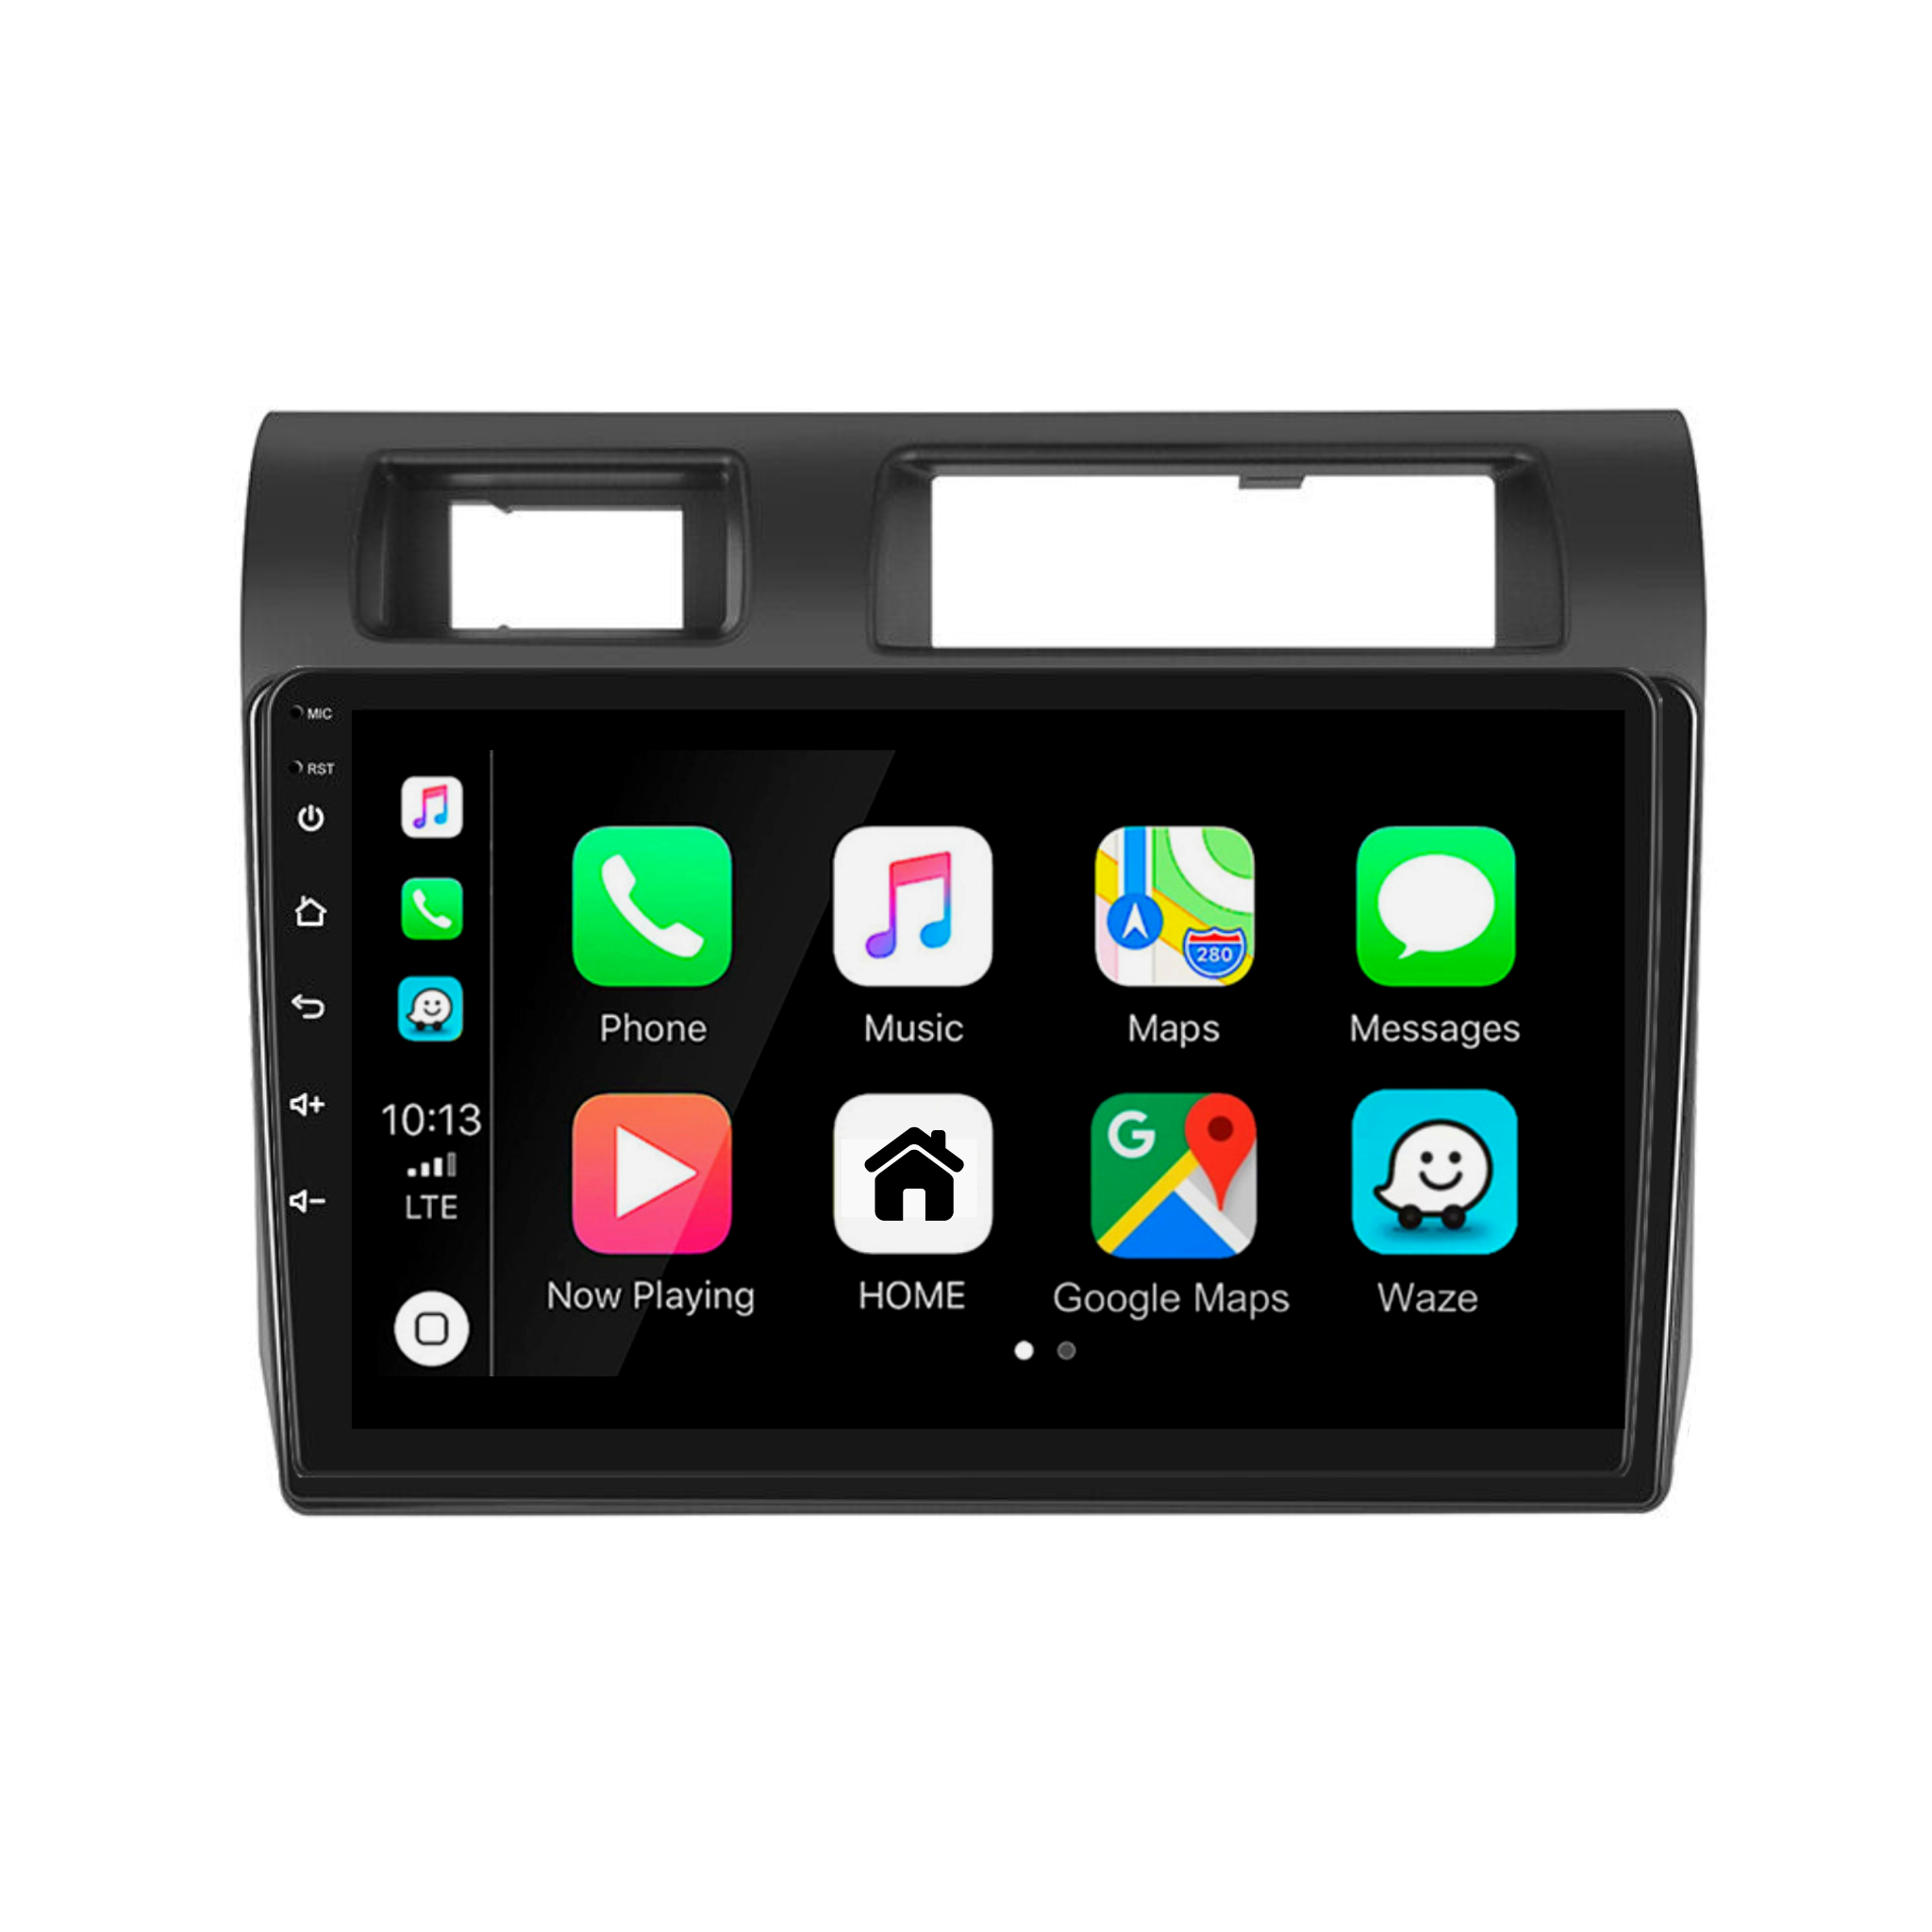
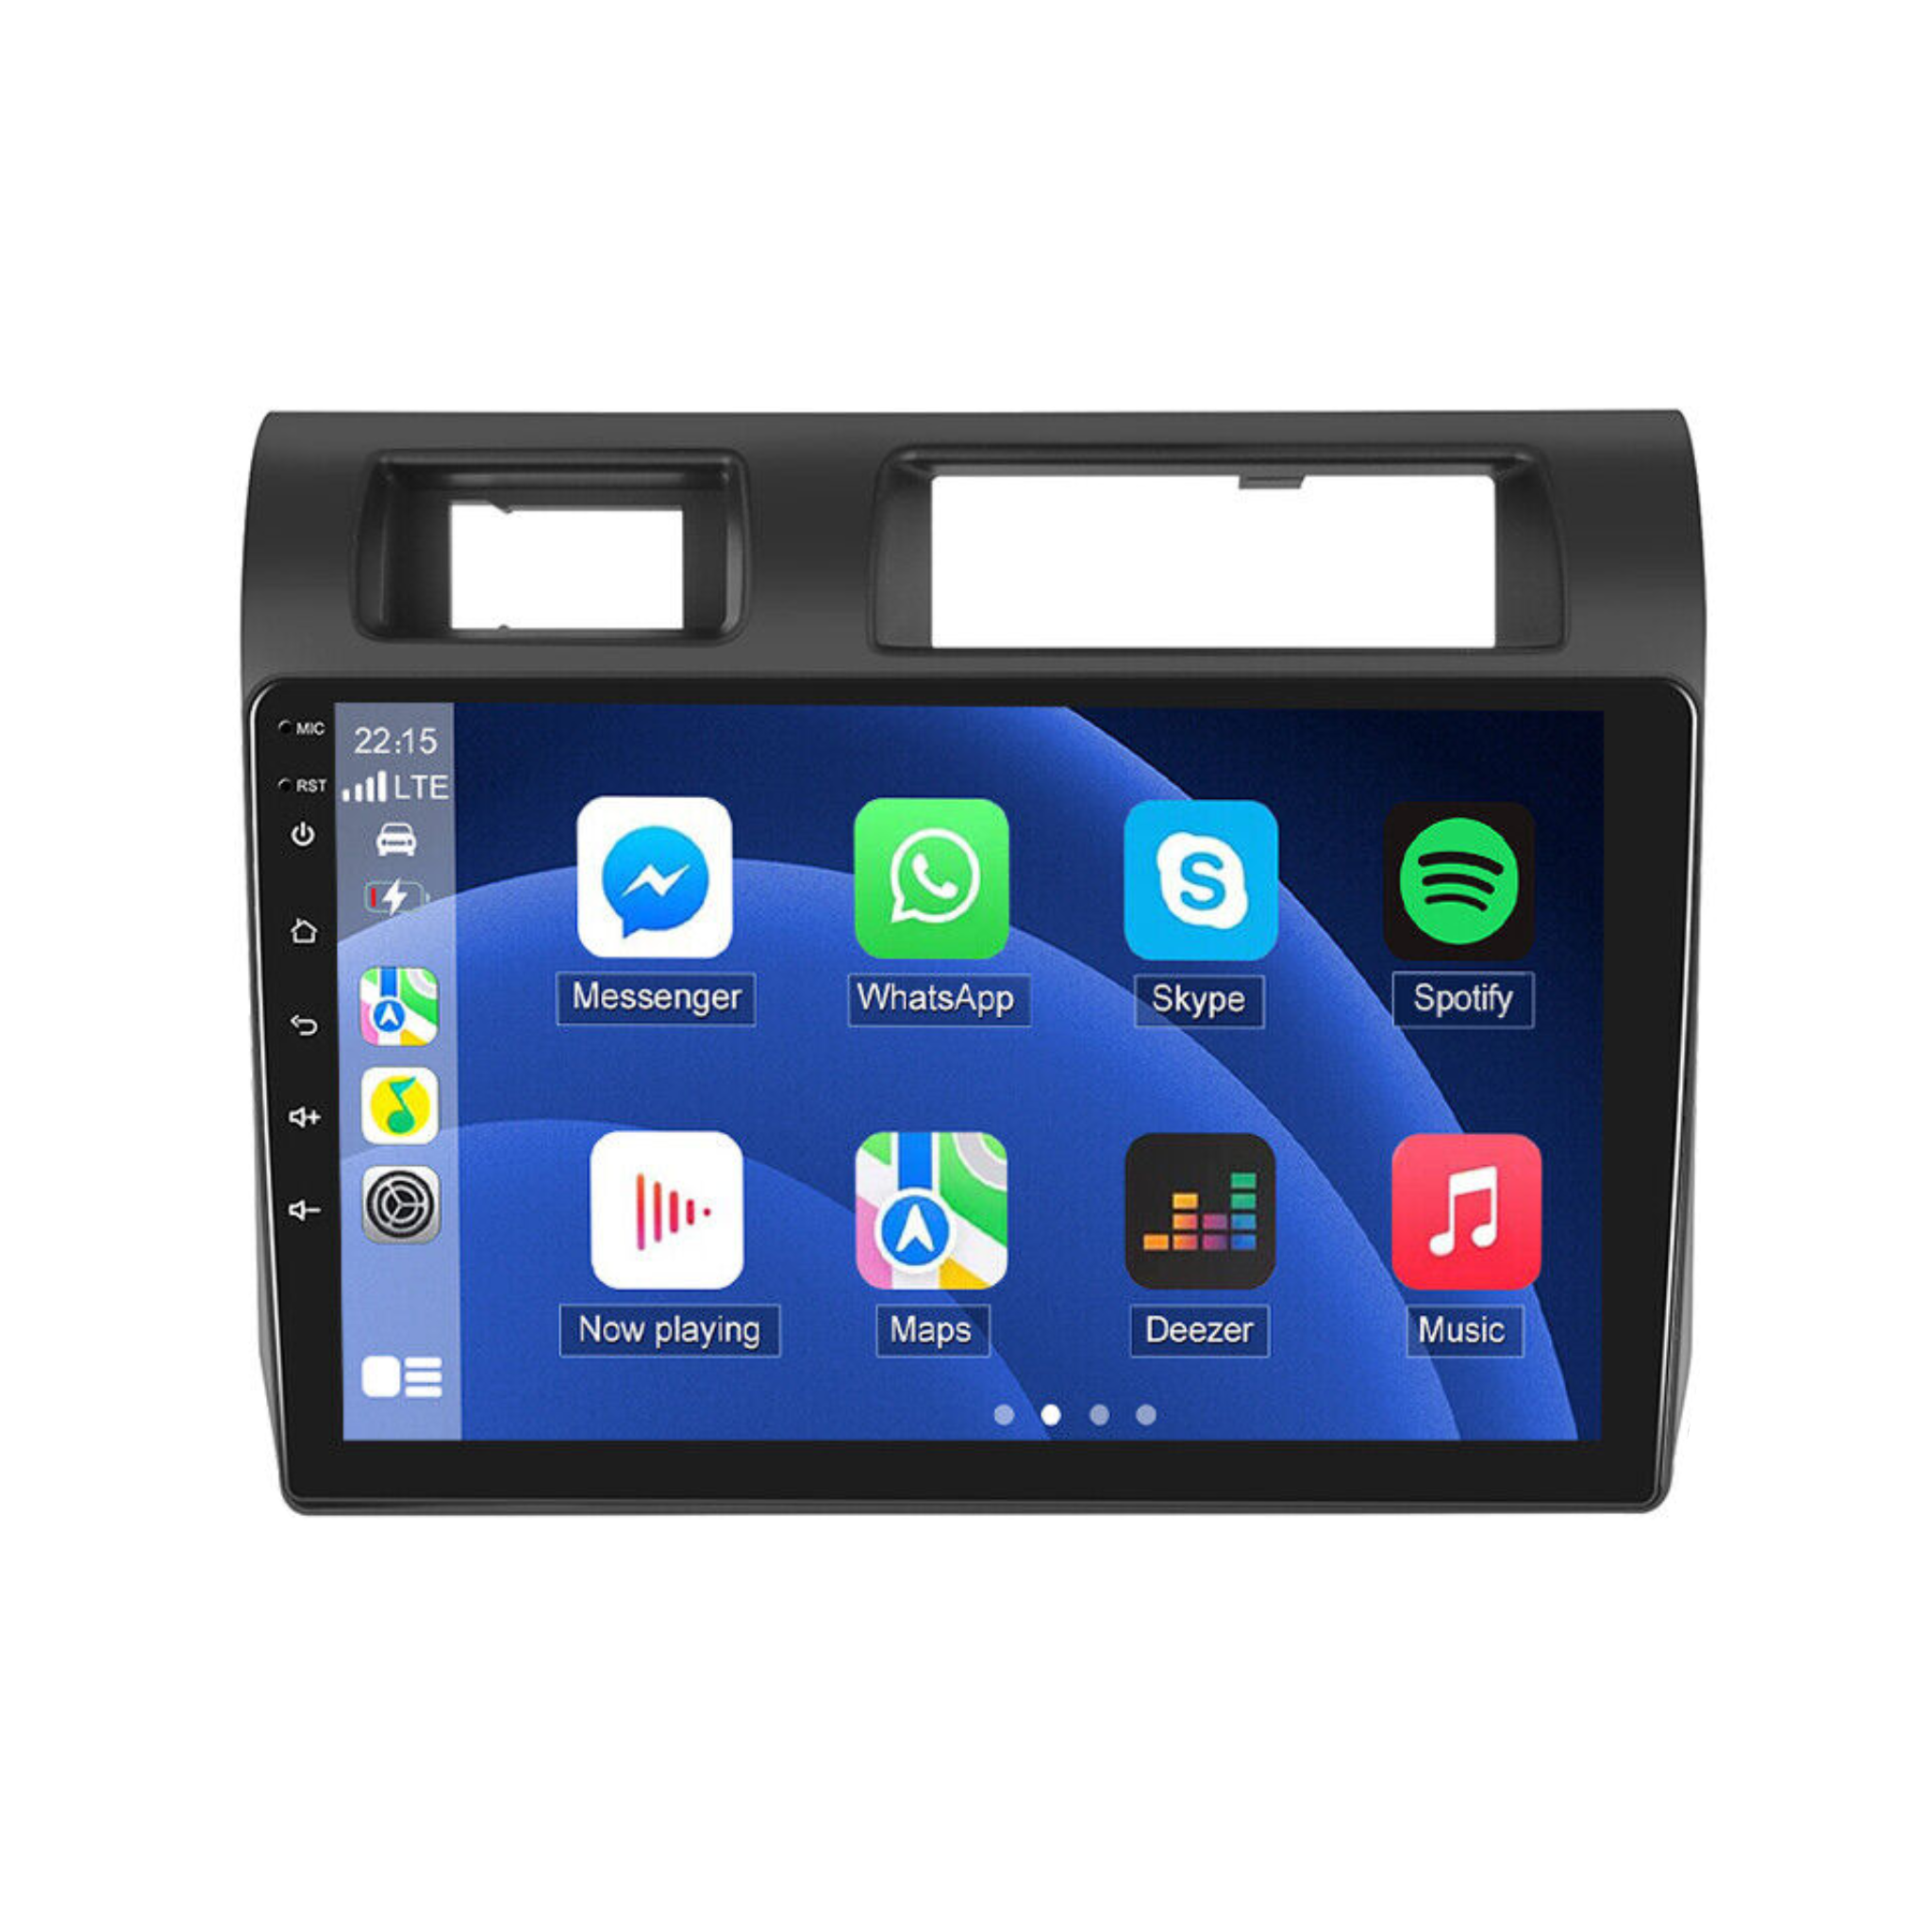
Toyota Landcruiser 70 Series 2009-2023 Apple CarPlay and Android Auto Plug and Plug Head Unit Upgrade Kit
Sale priceFrom $349.99
Regular price$709.99

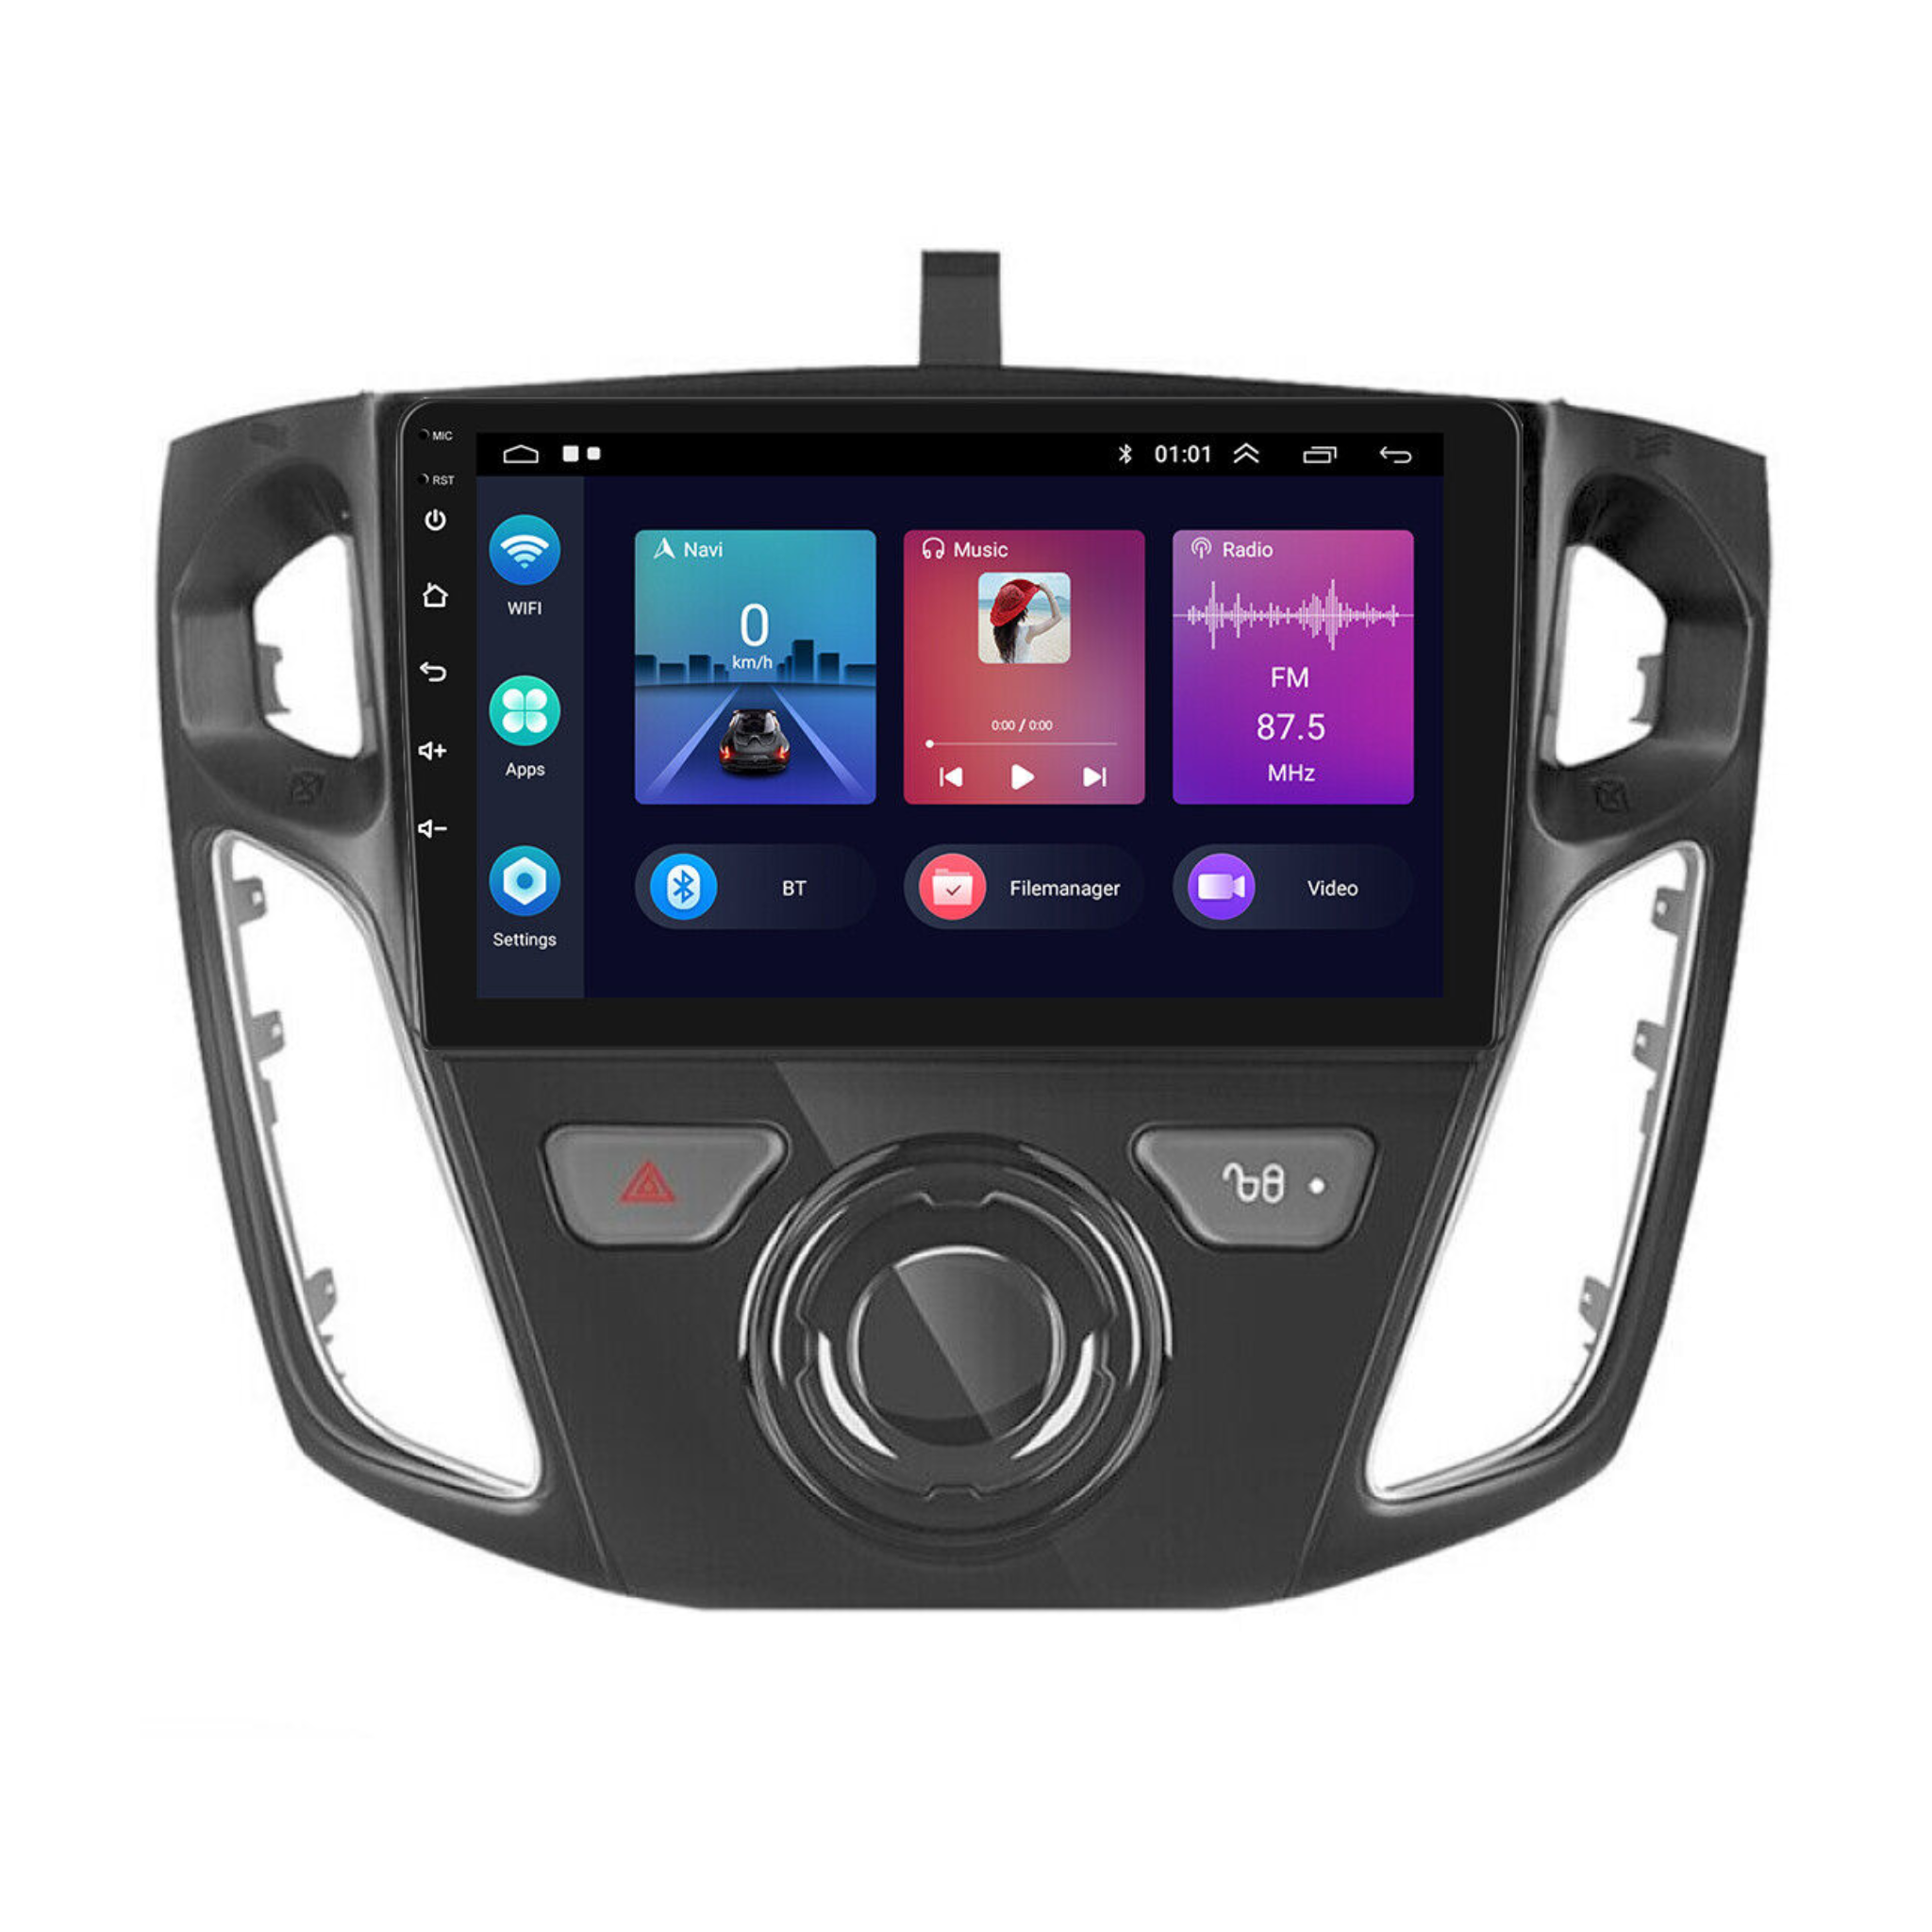
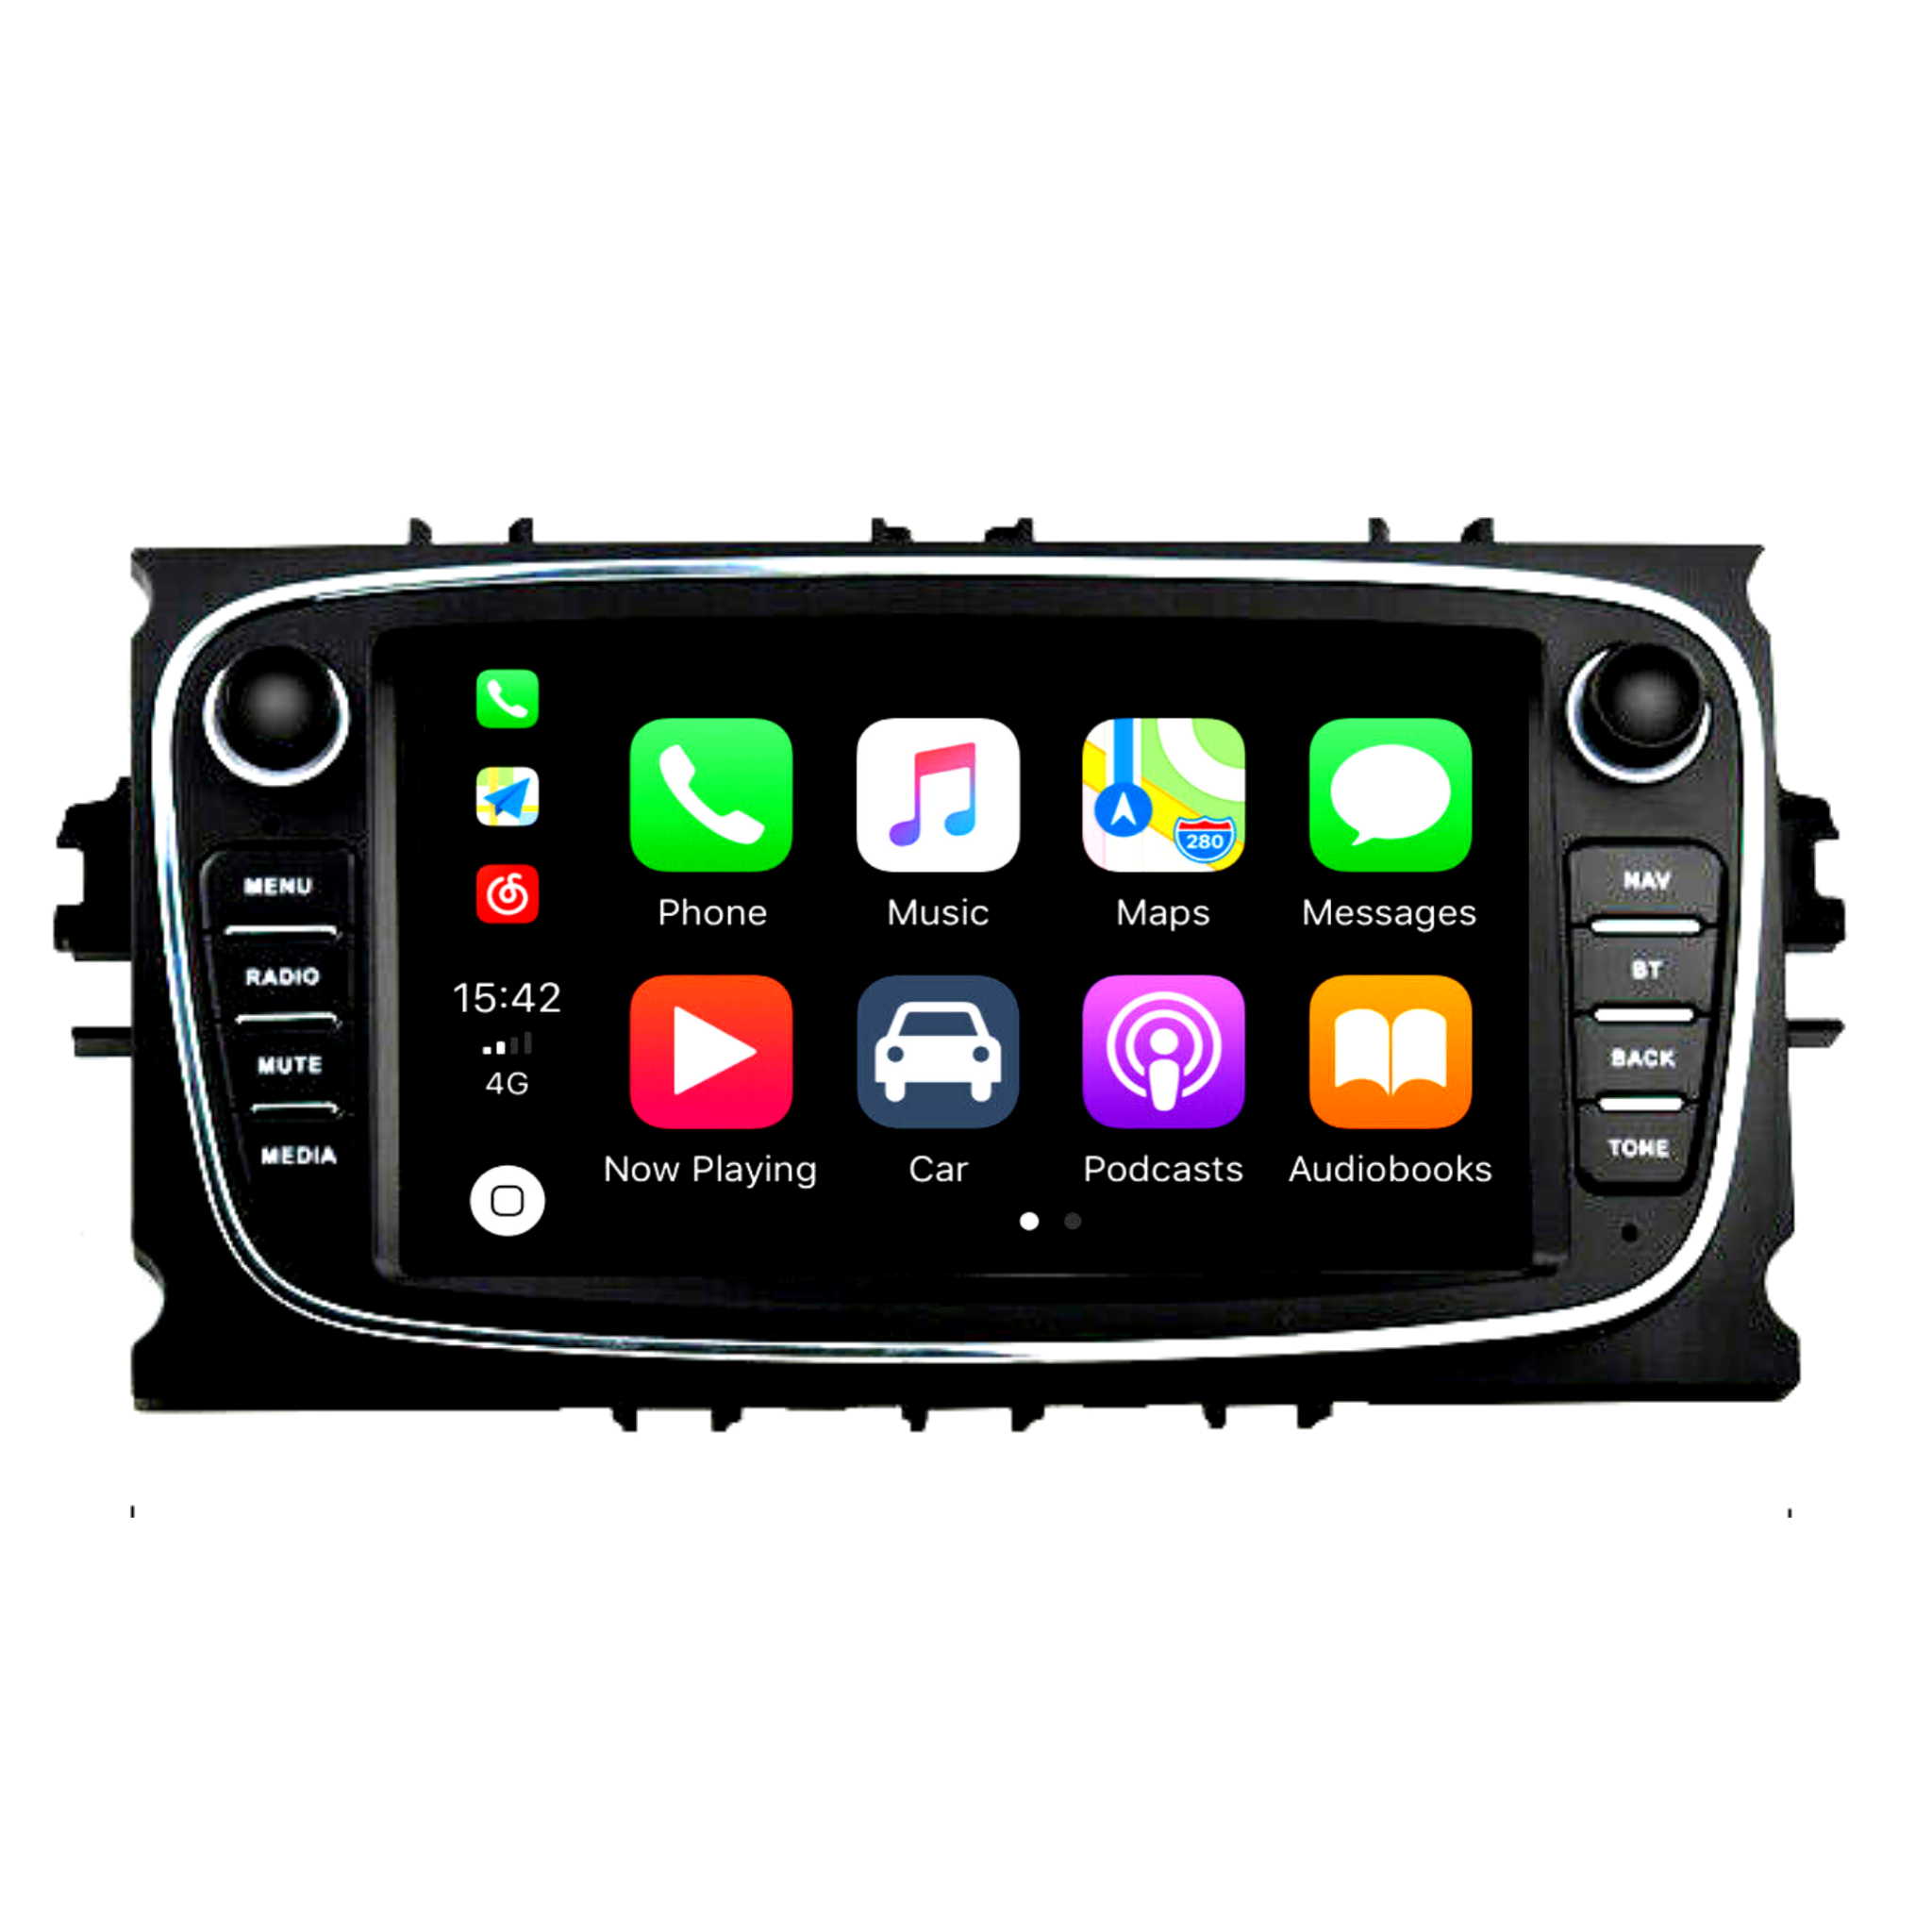
Ford Focus 2012-2017 Apple CarPlay and Android Auto Plug and Plug Head Unit Upgrade Kit
Sale priceFrom $309.95
Regular price$489.95
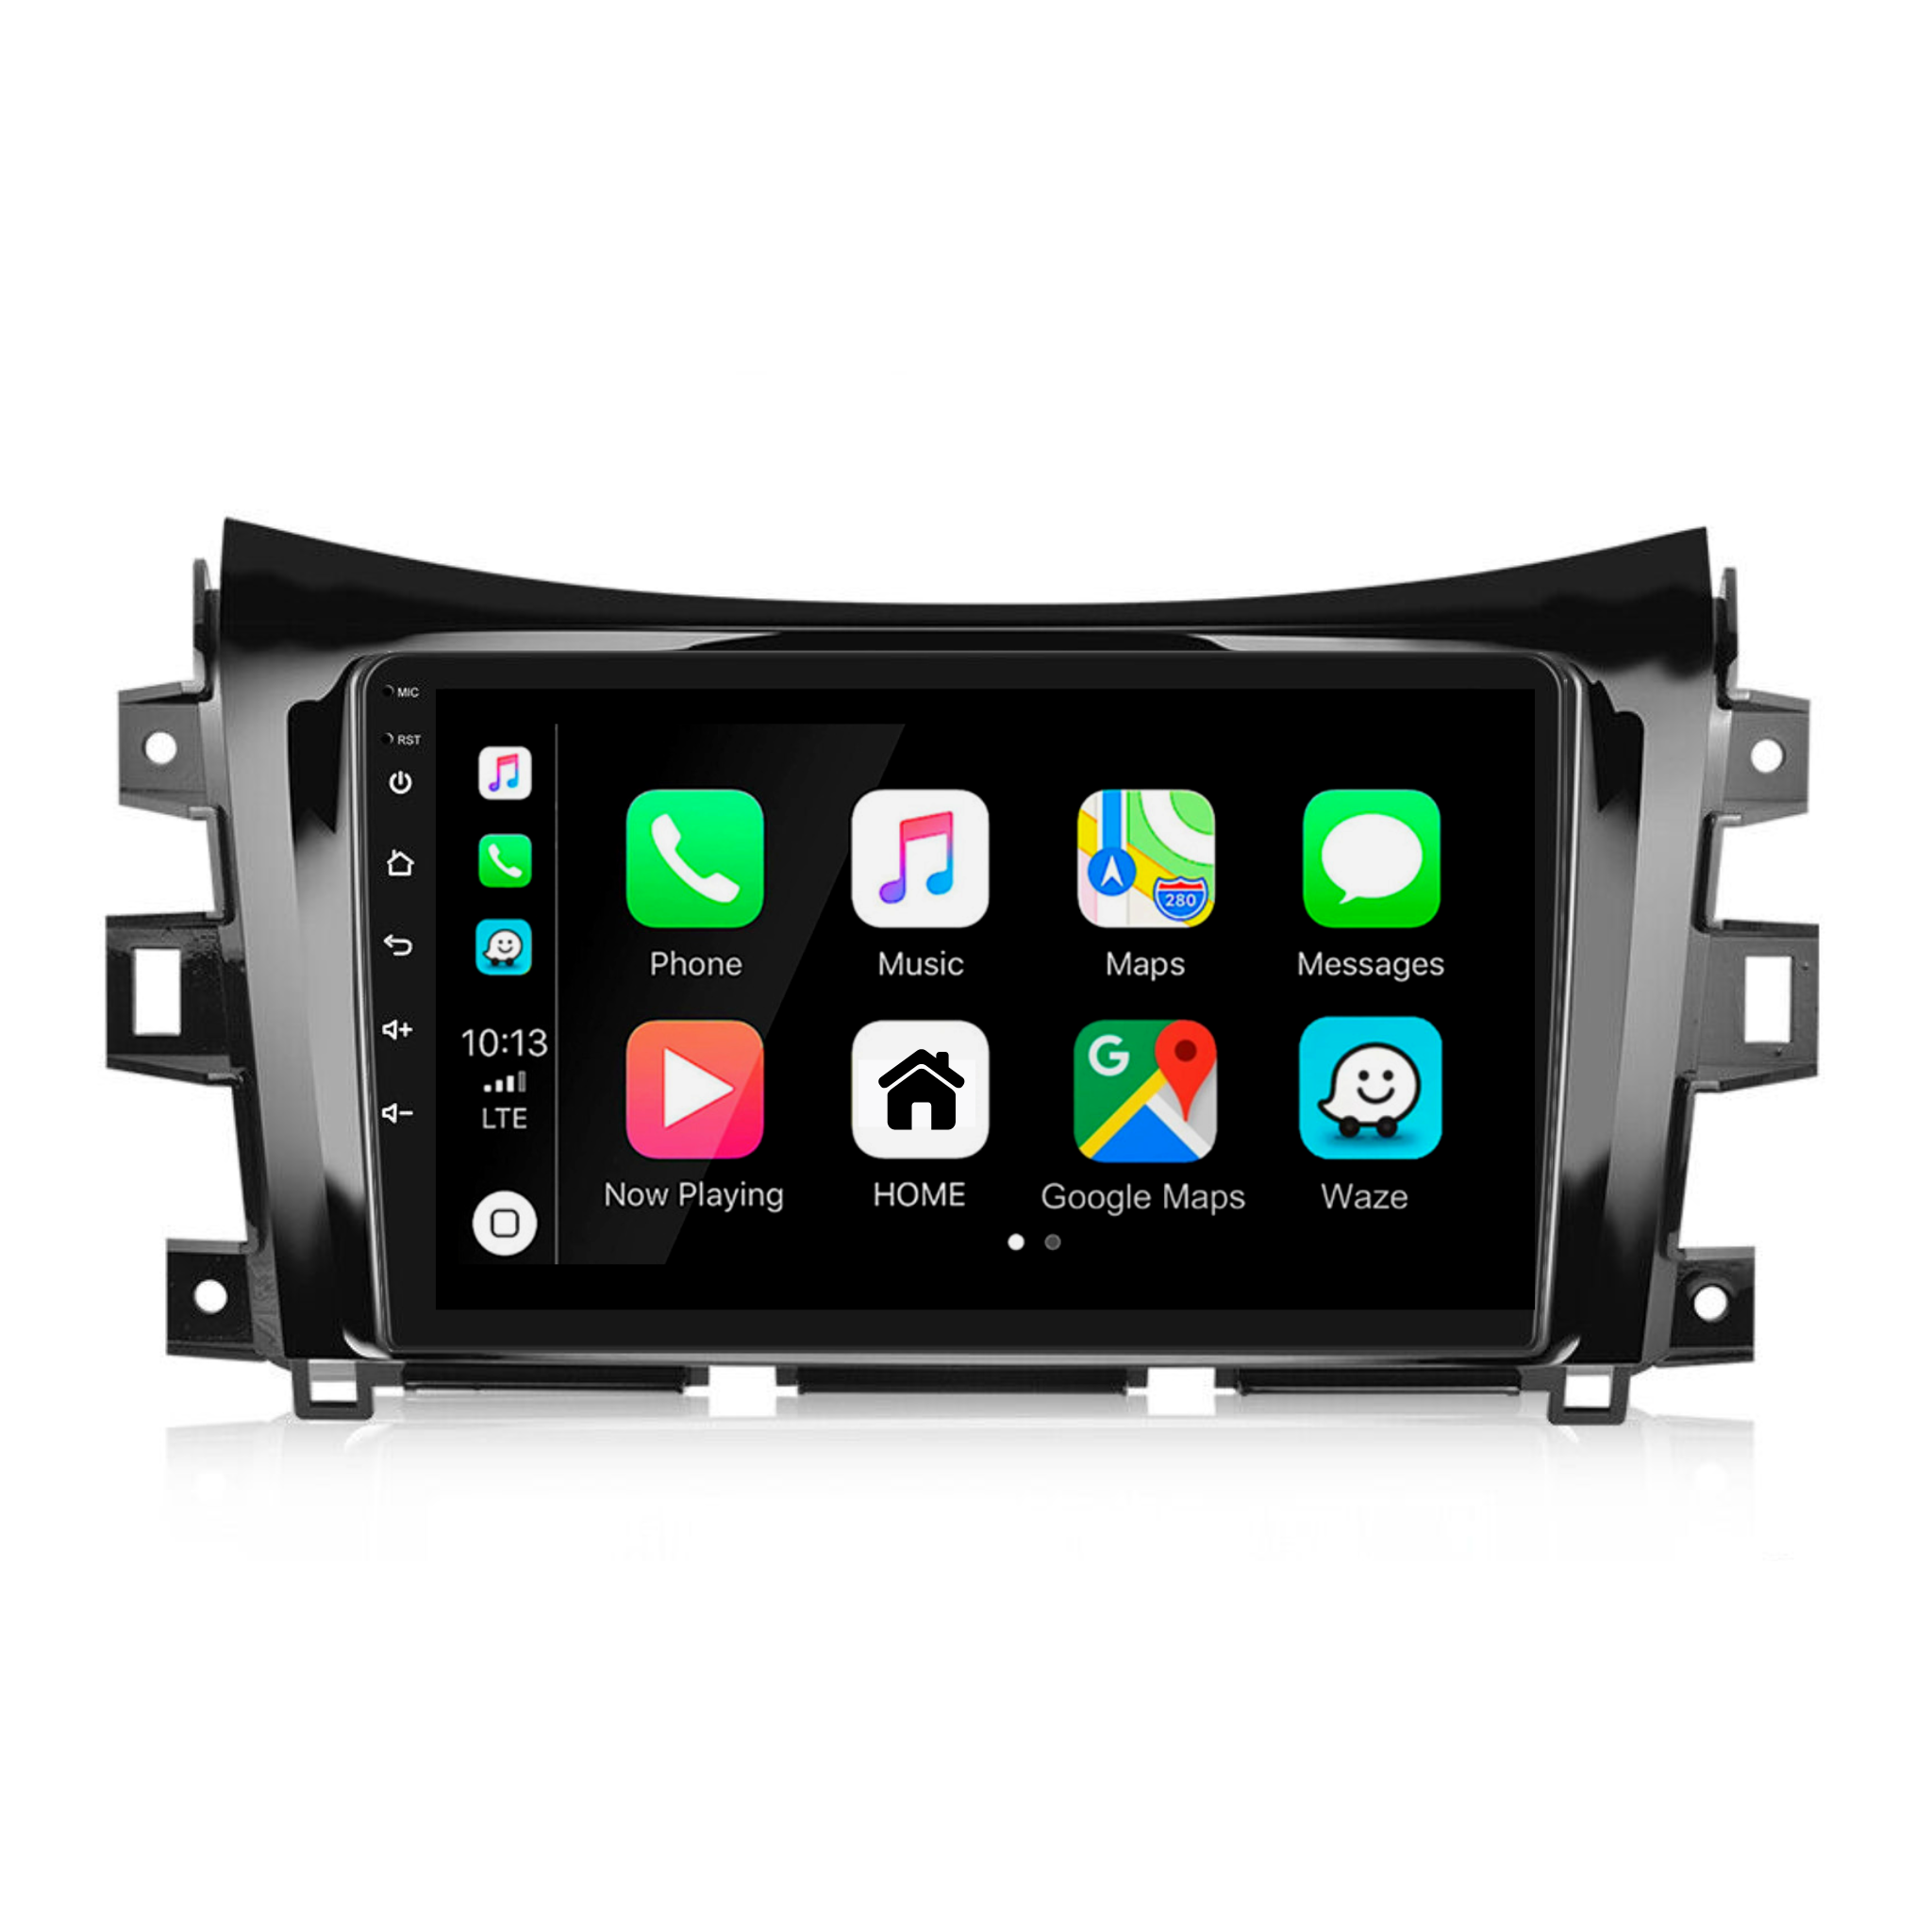
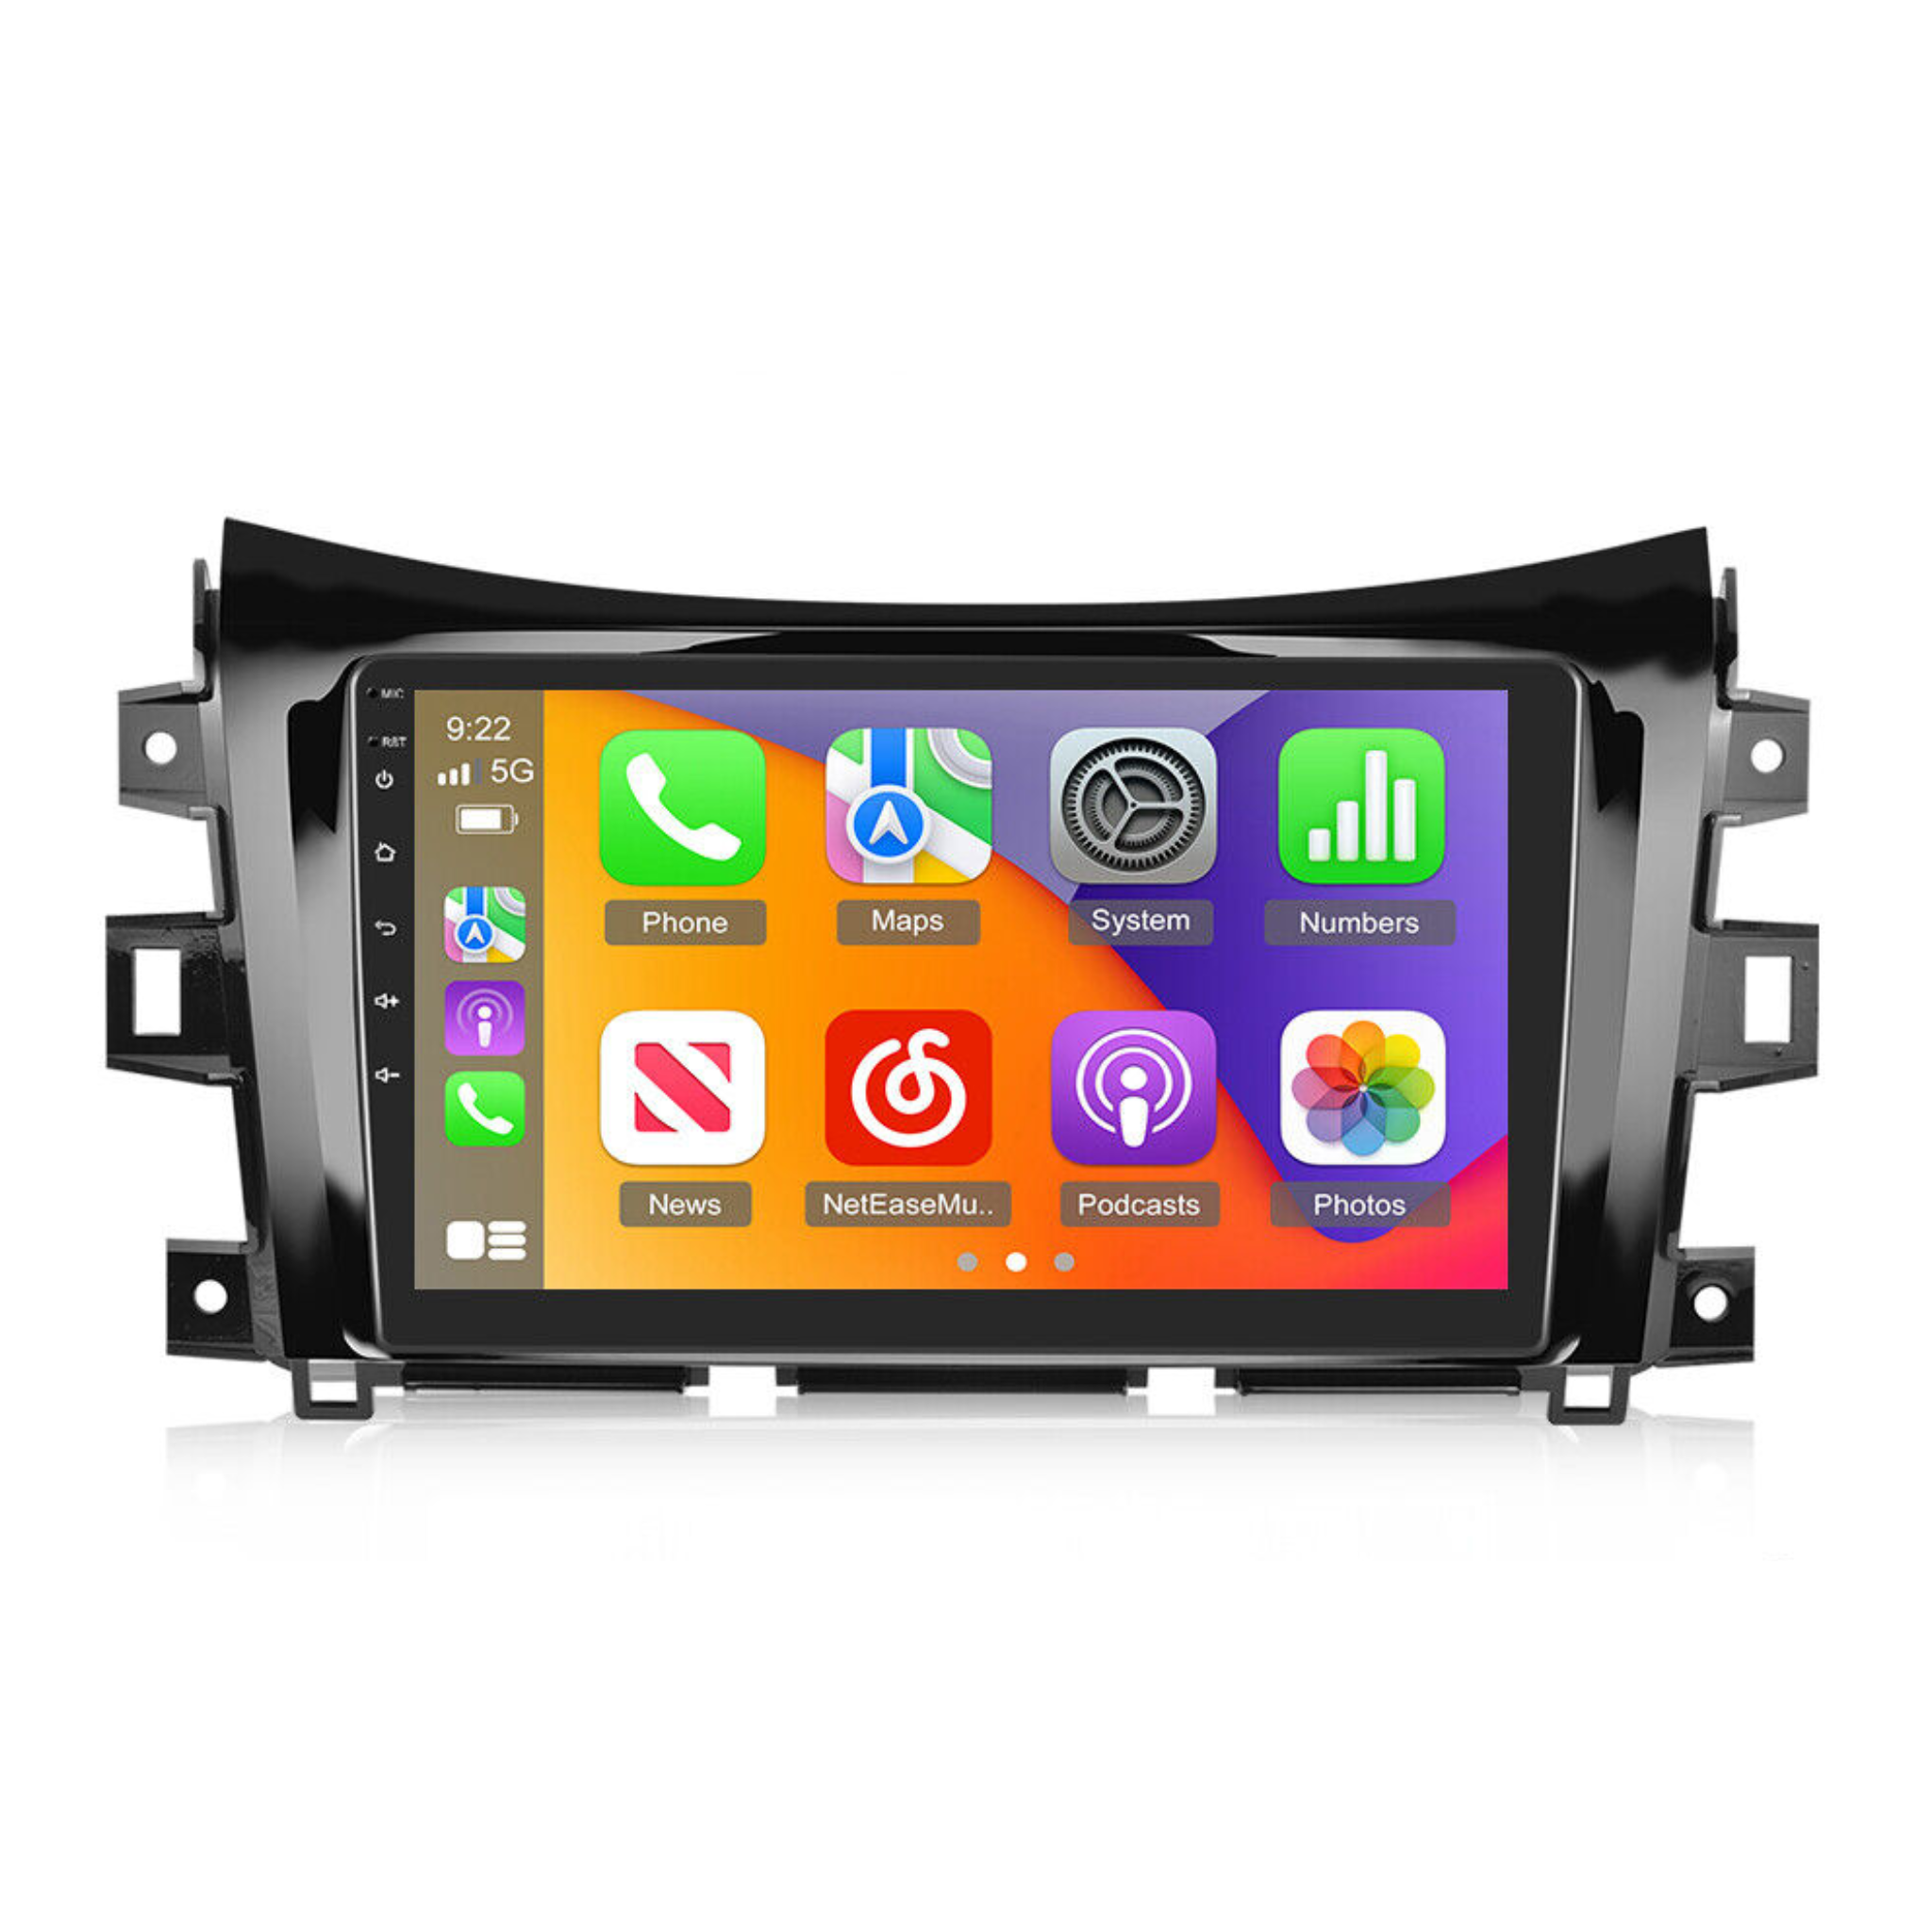
Nissan Navara NP300 2015-2022 | Apple CarPlay & Android Auto Head Unit Upgrade Kit
Sale priceFrom $359.99
Regular price$489.99
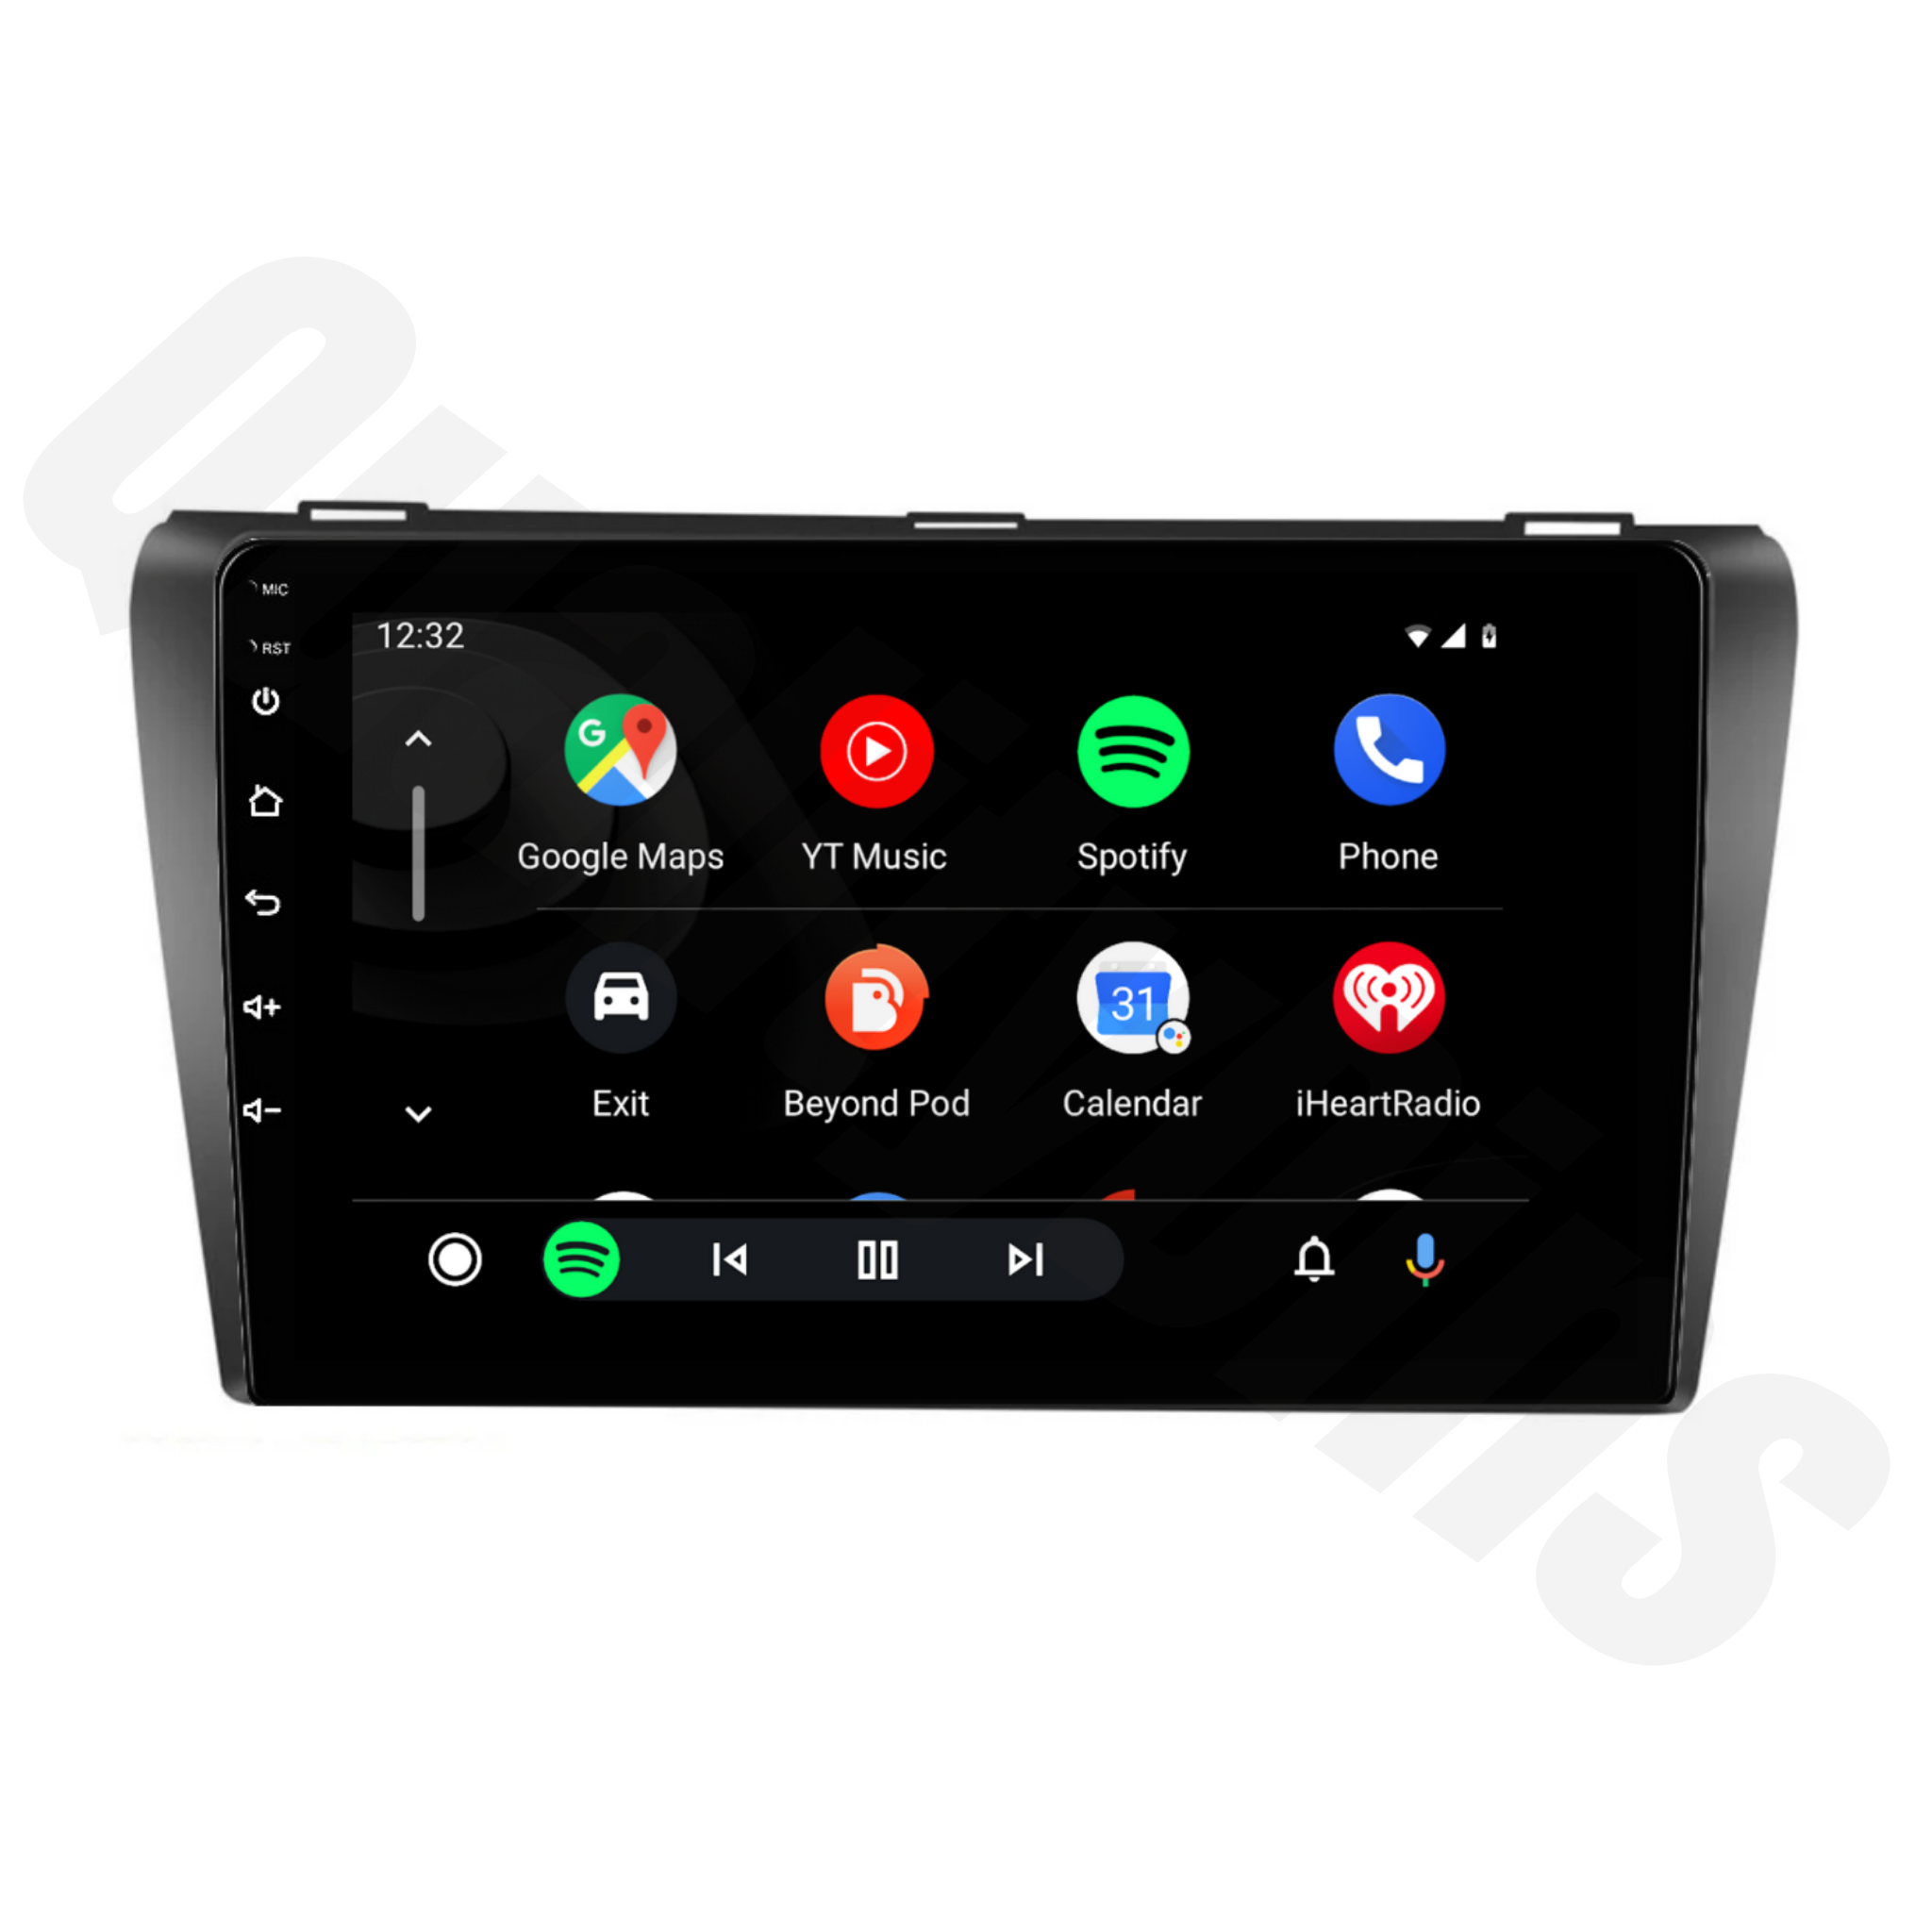
Mazda 3 BK Series 2004–2012 | Apple CarPlay & Android Auto Head Unit Upgrade Kit | Fits Early Dash (See Photo)
Sale priceFrom $329.95
Regular price$469.99
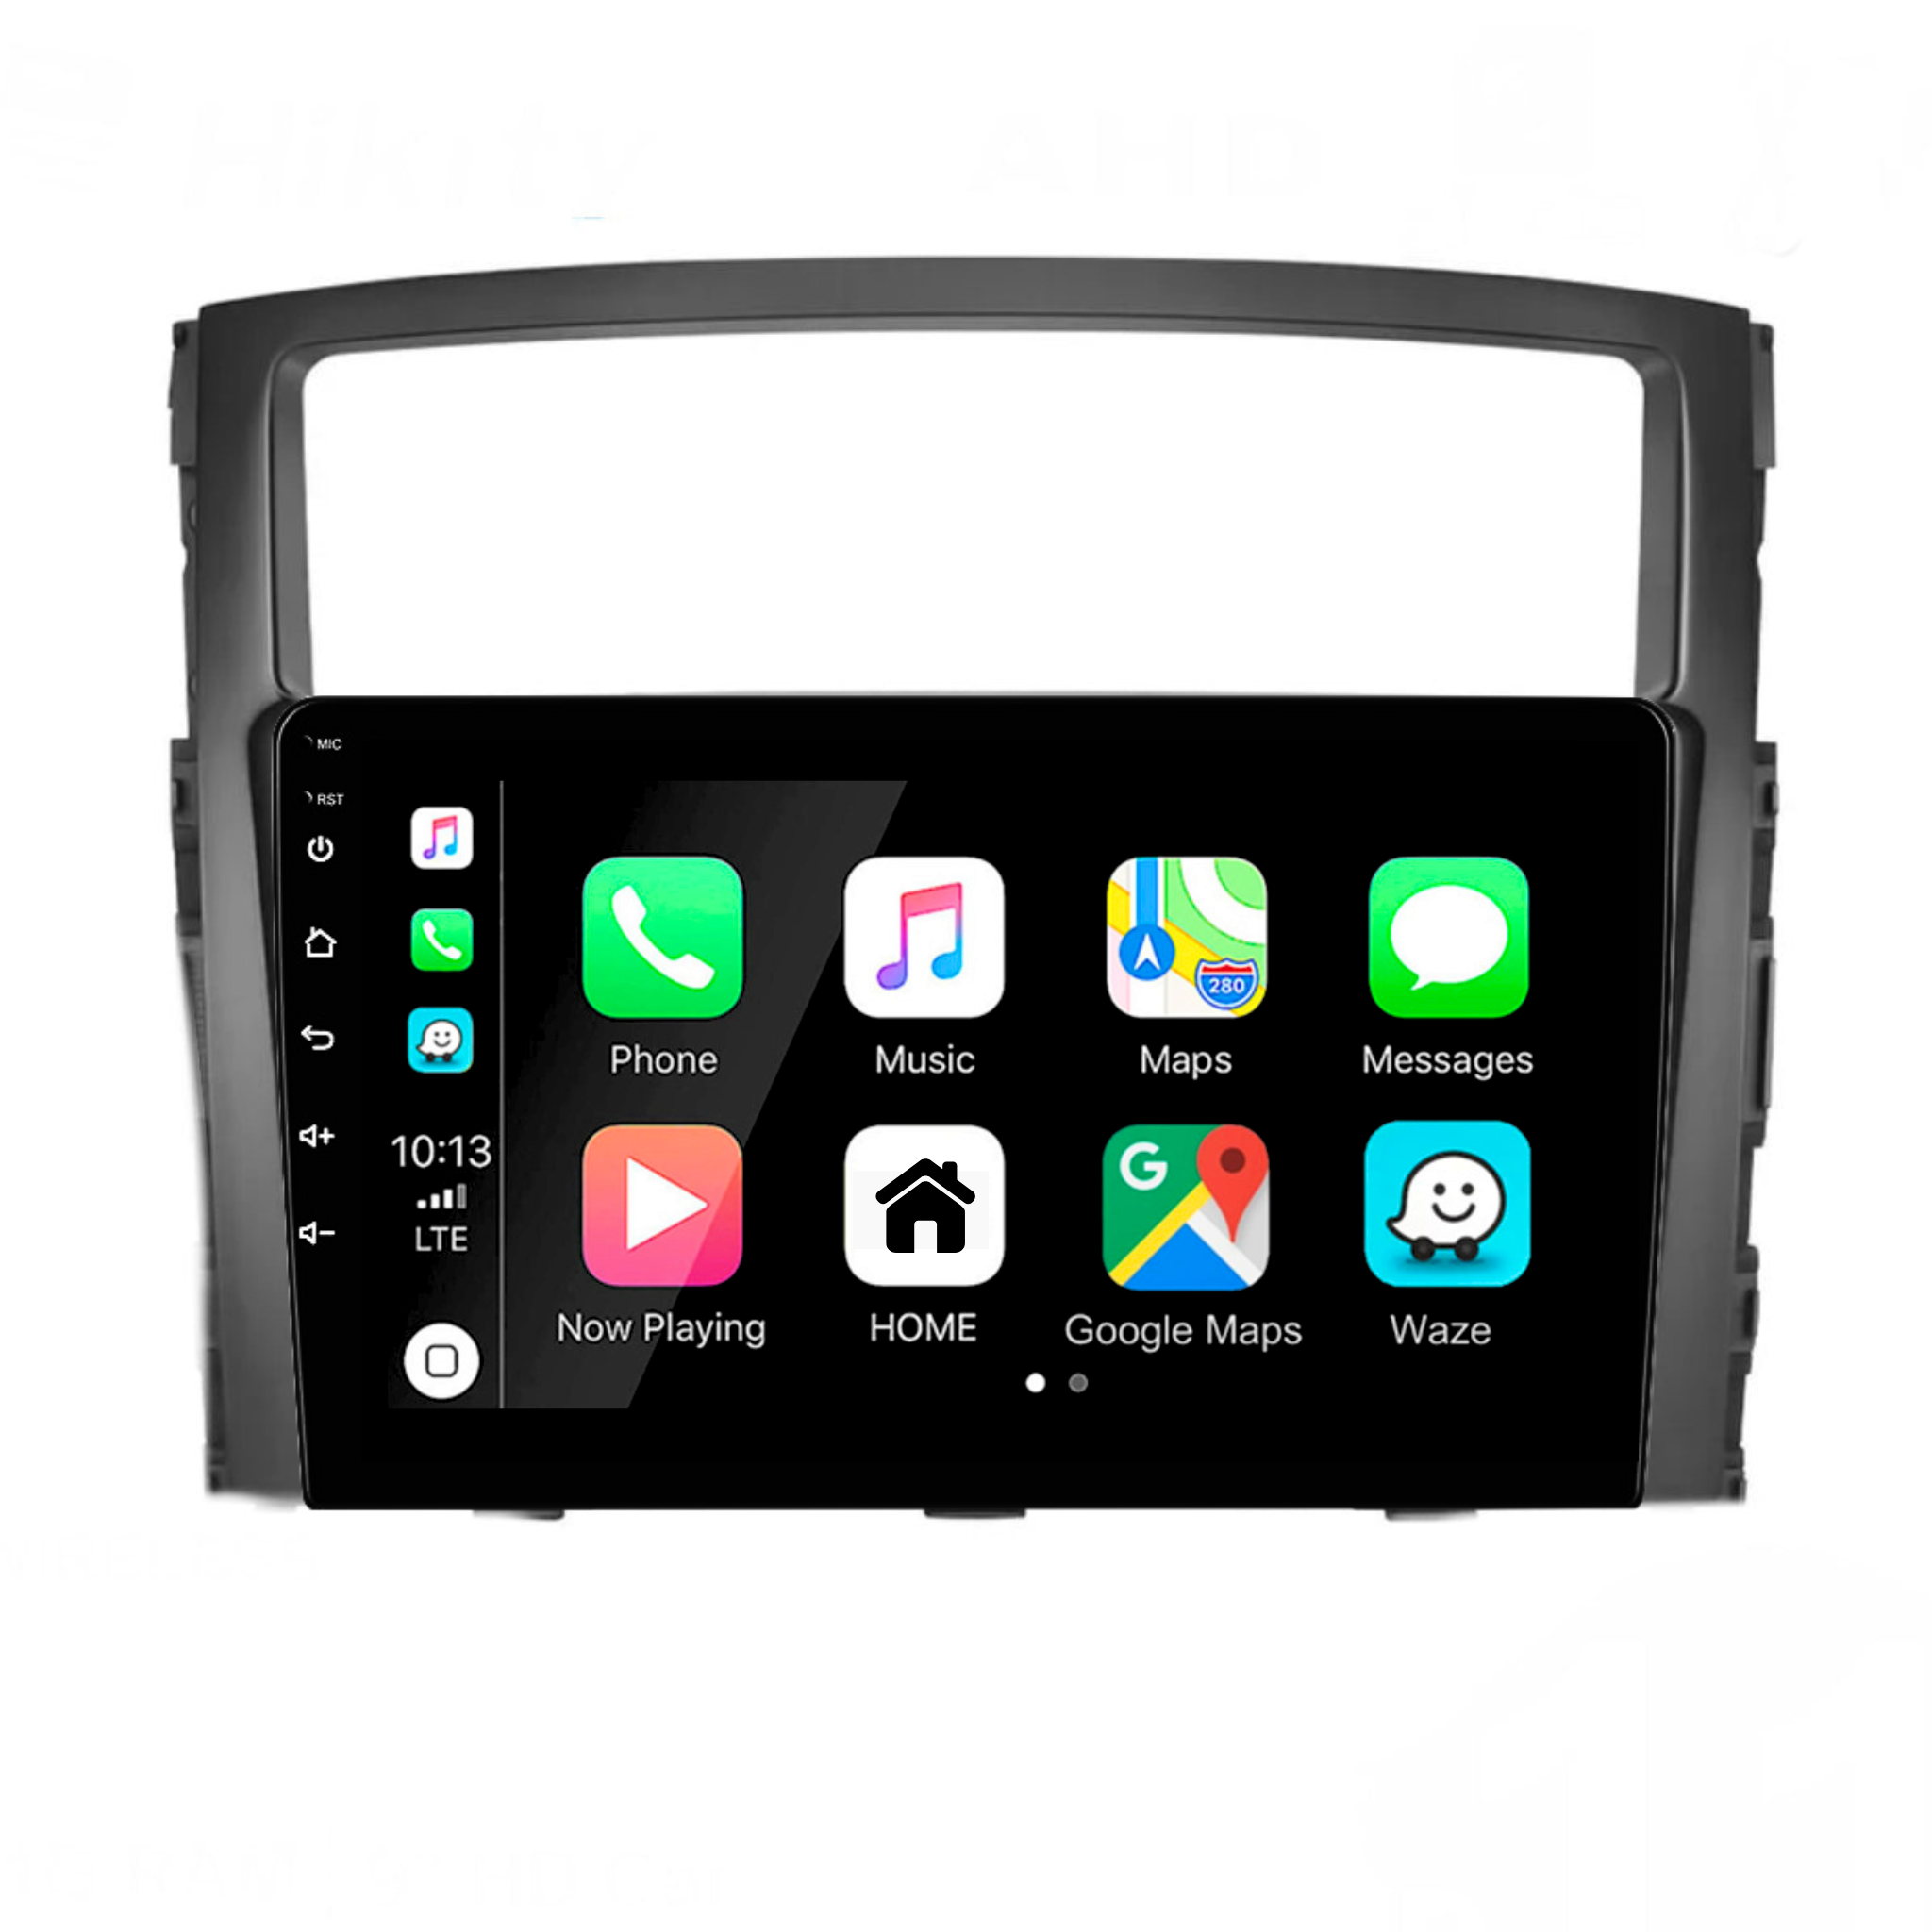
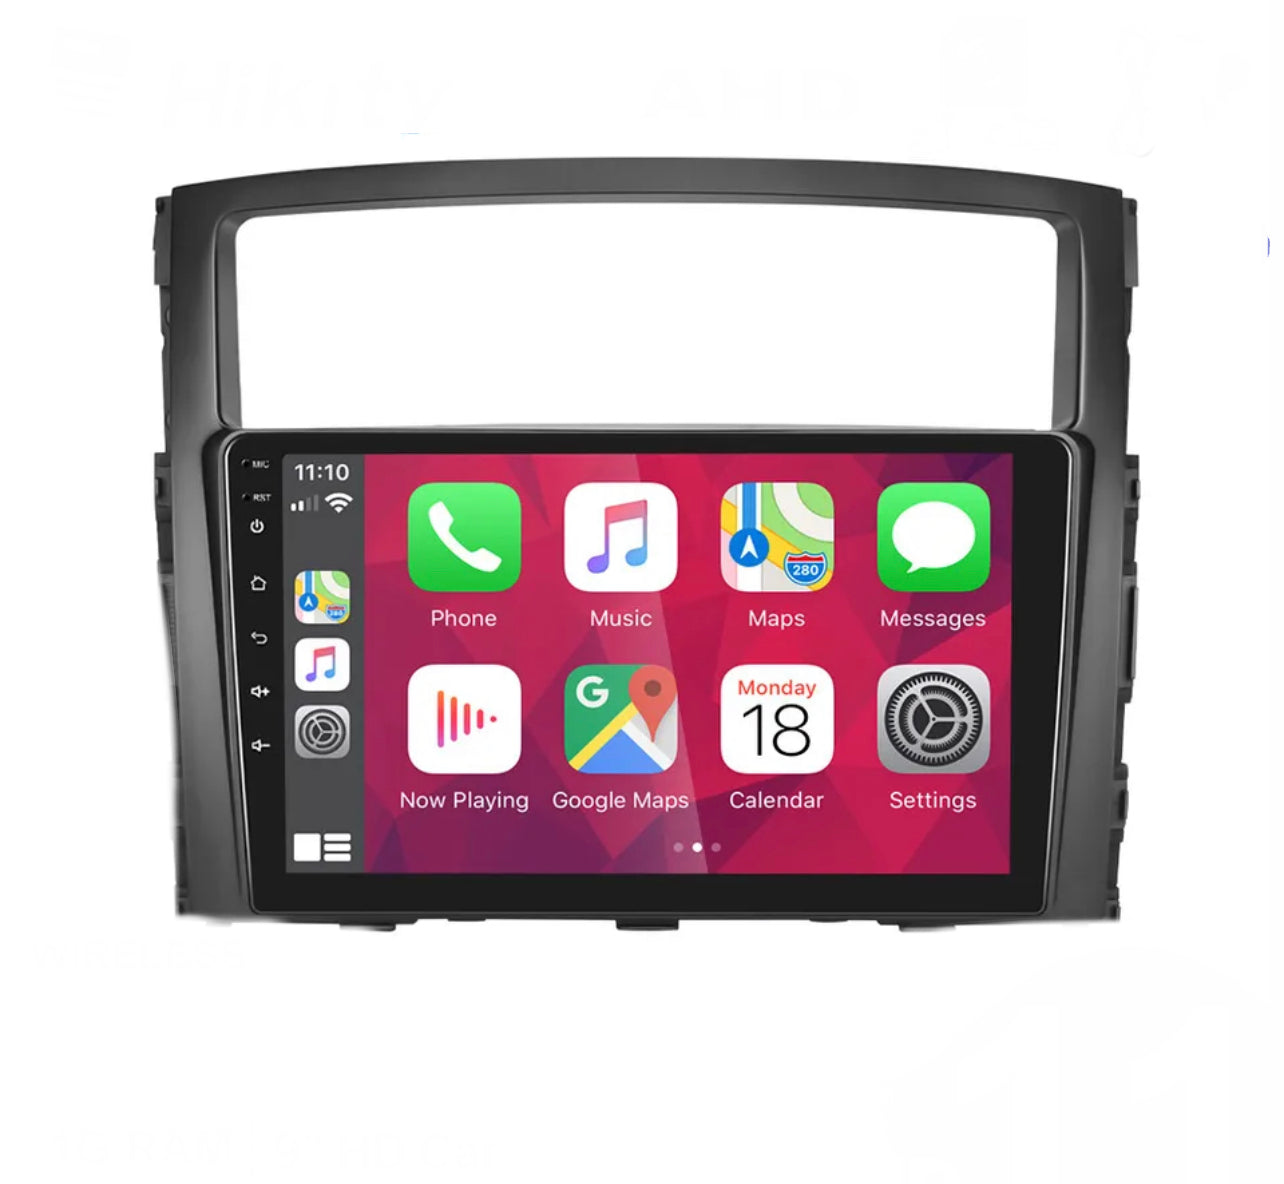
Mitsubishi Pajero 2006-2016 Apple Carplay & Android Auto Plug and Plug Head Unit Upgrade Kit
Sale priceFrom $379.99
Regular price$639.99
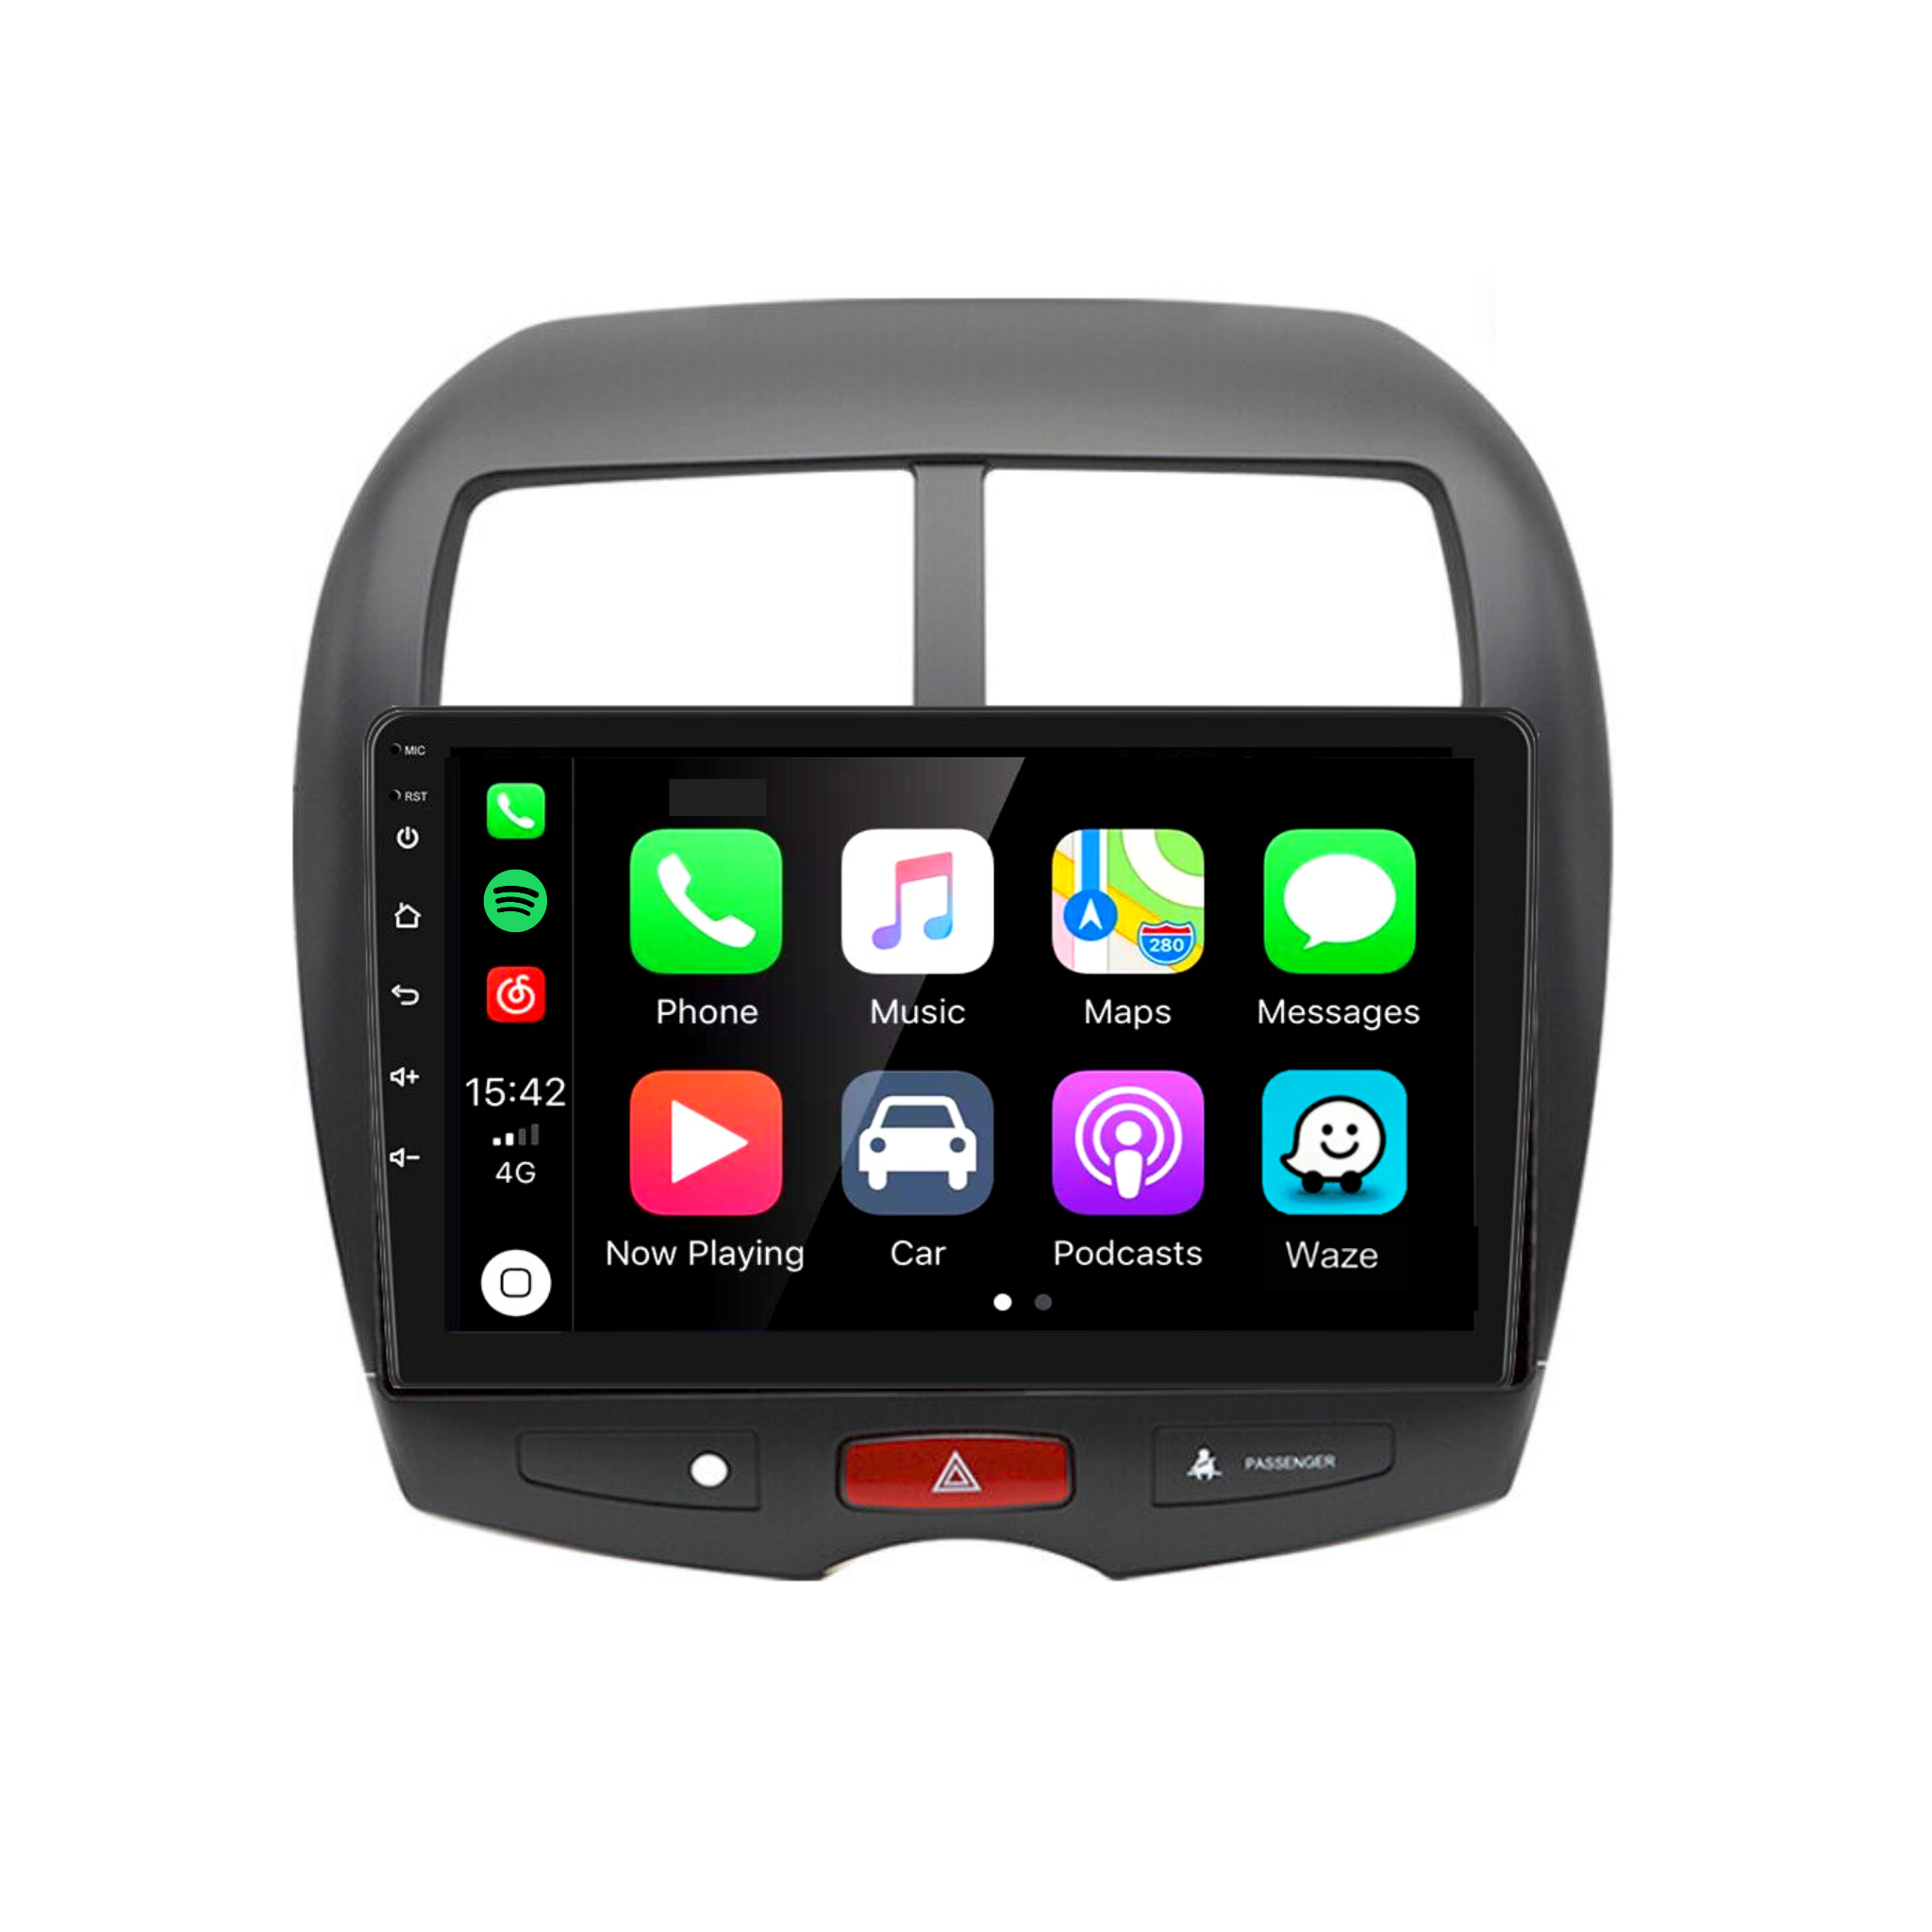
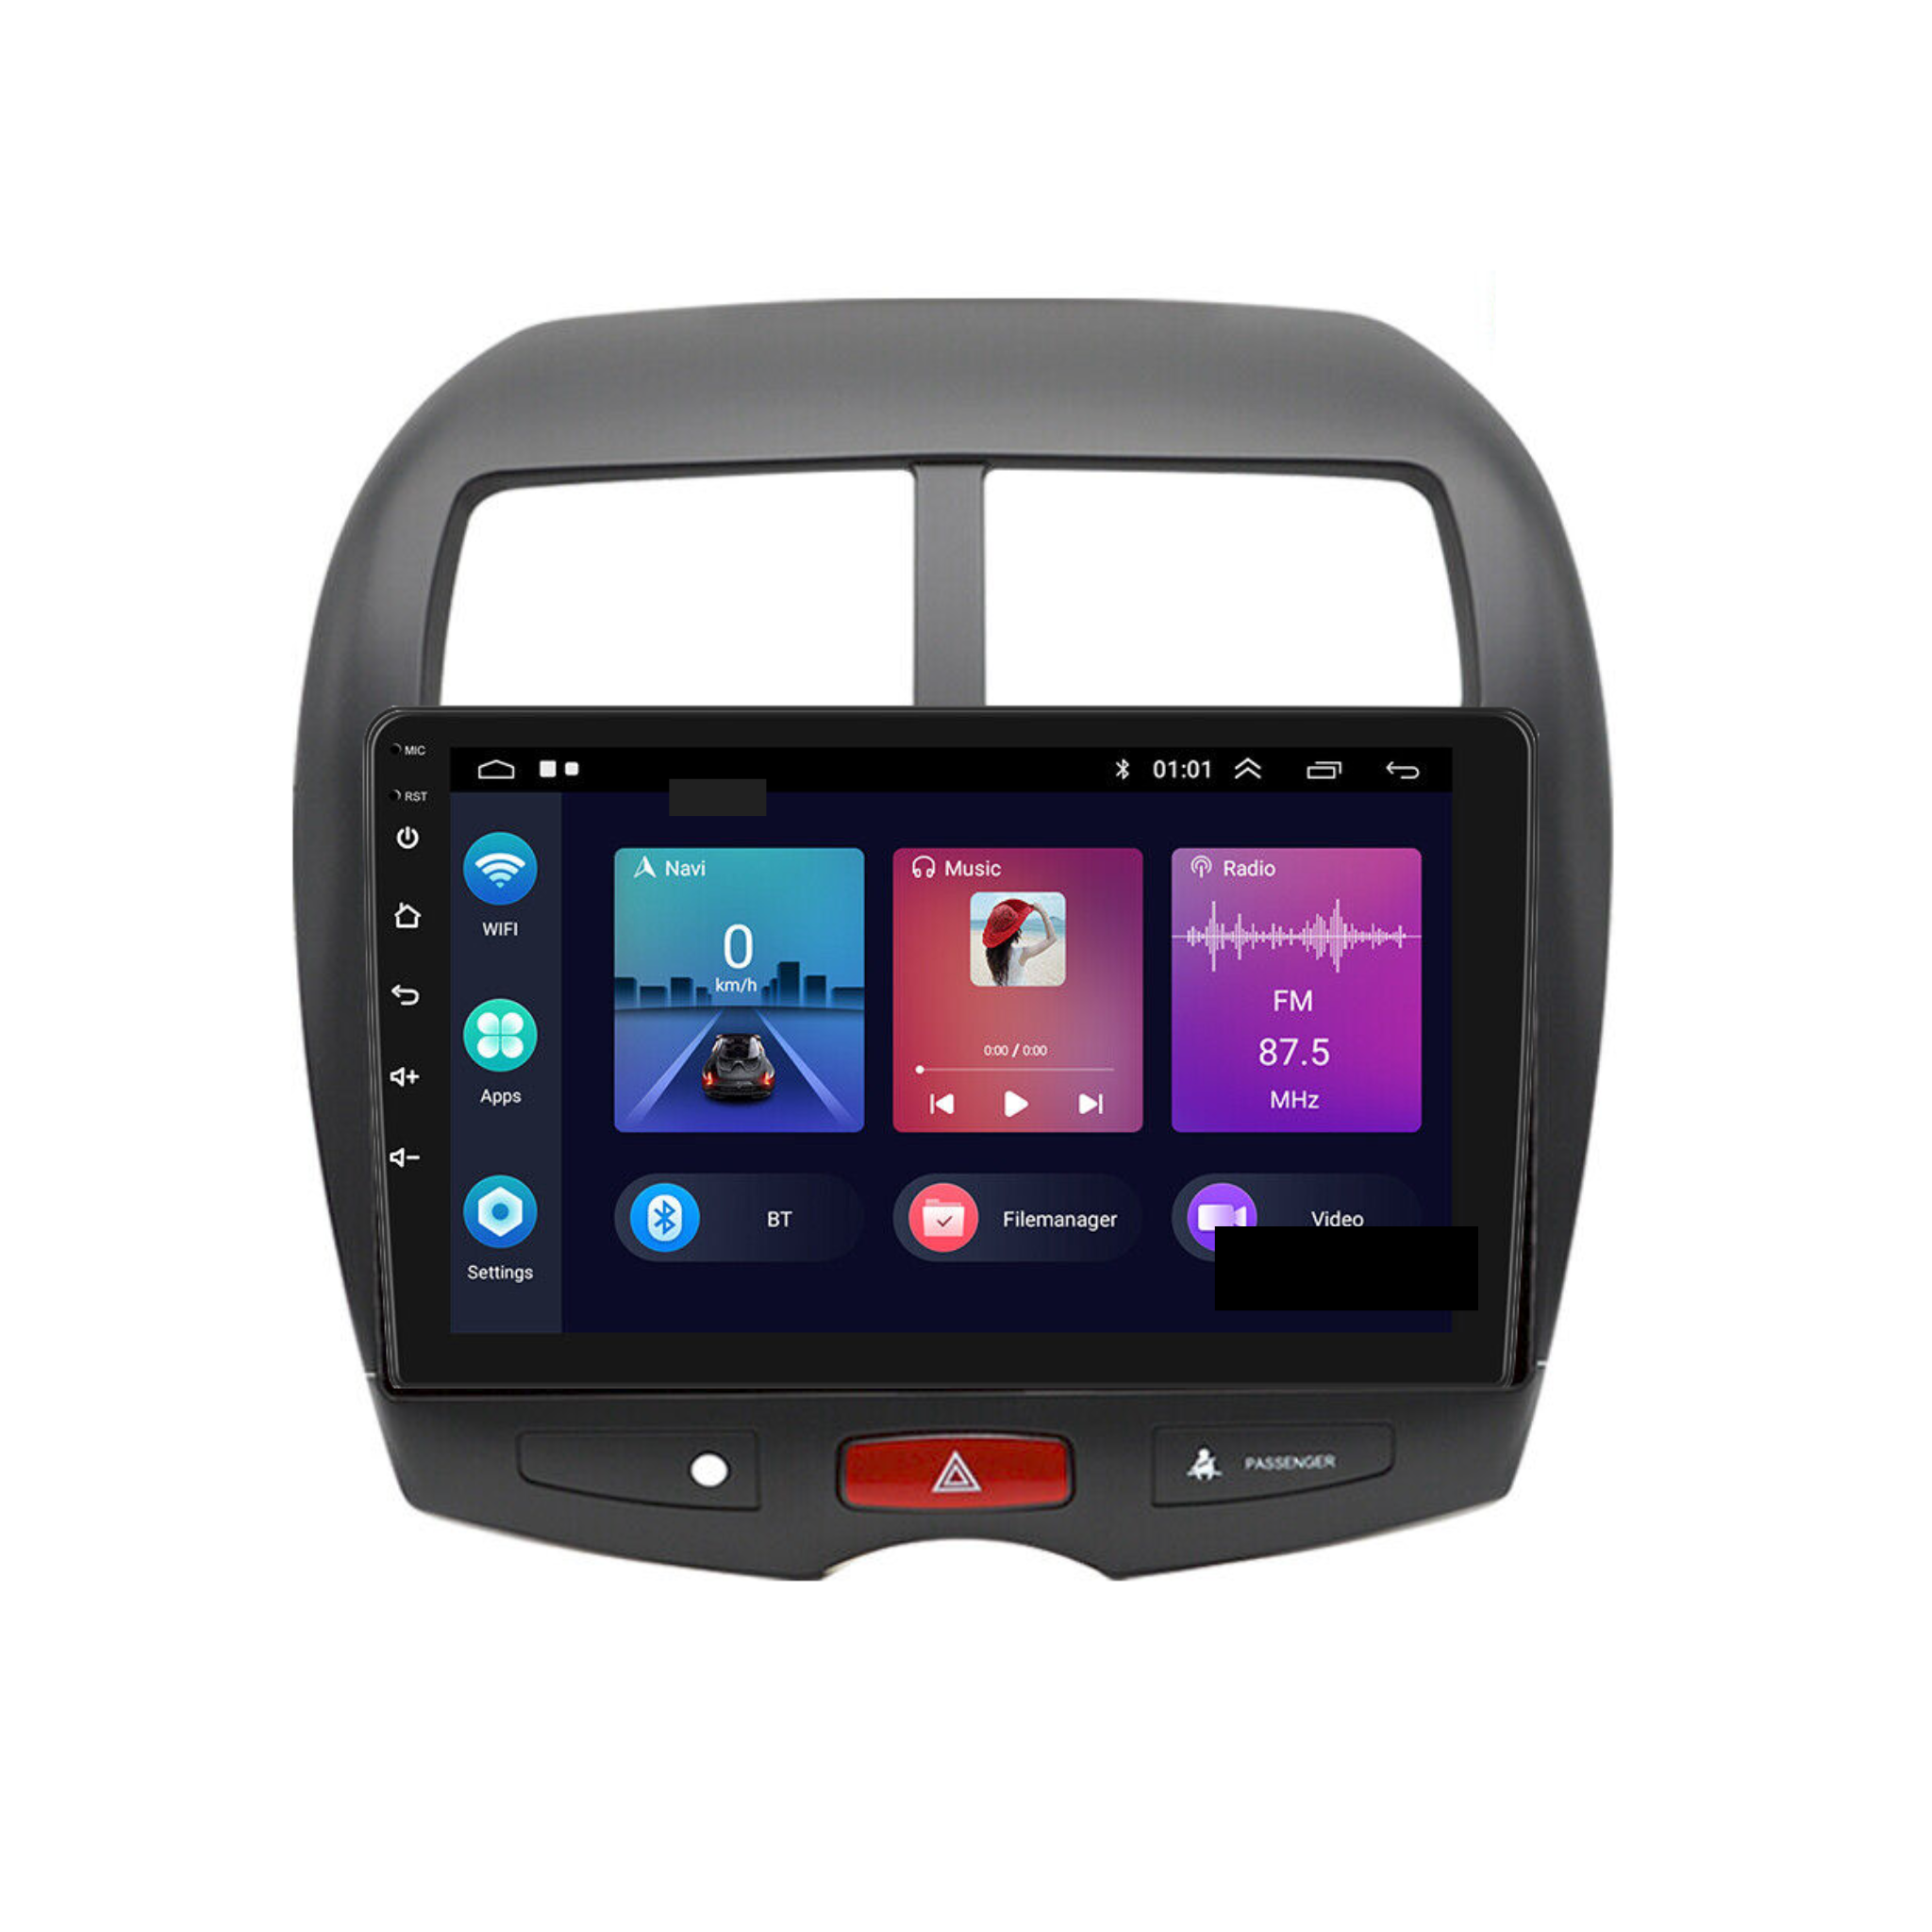
Mitsubishi ASX 2009-2017 Apple CarPlay and Android Auto Plug and Plug Head Unit Upgrade Kit
Sale priceFrom $299.95
Regular price$545.99

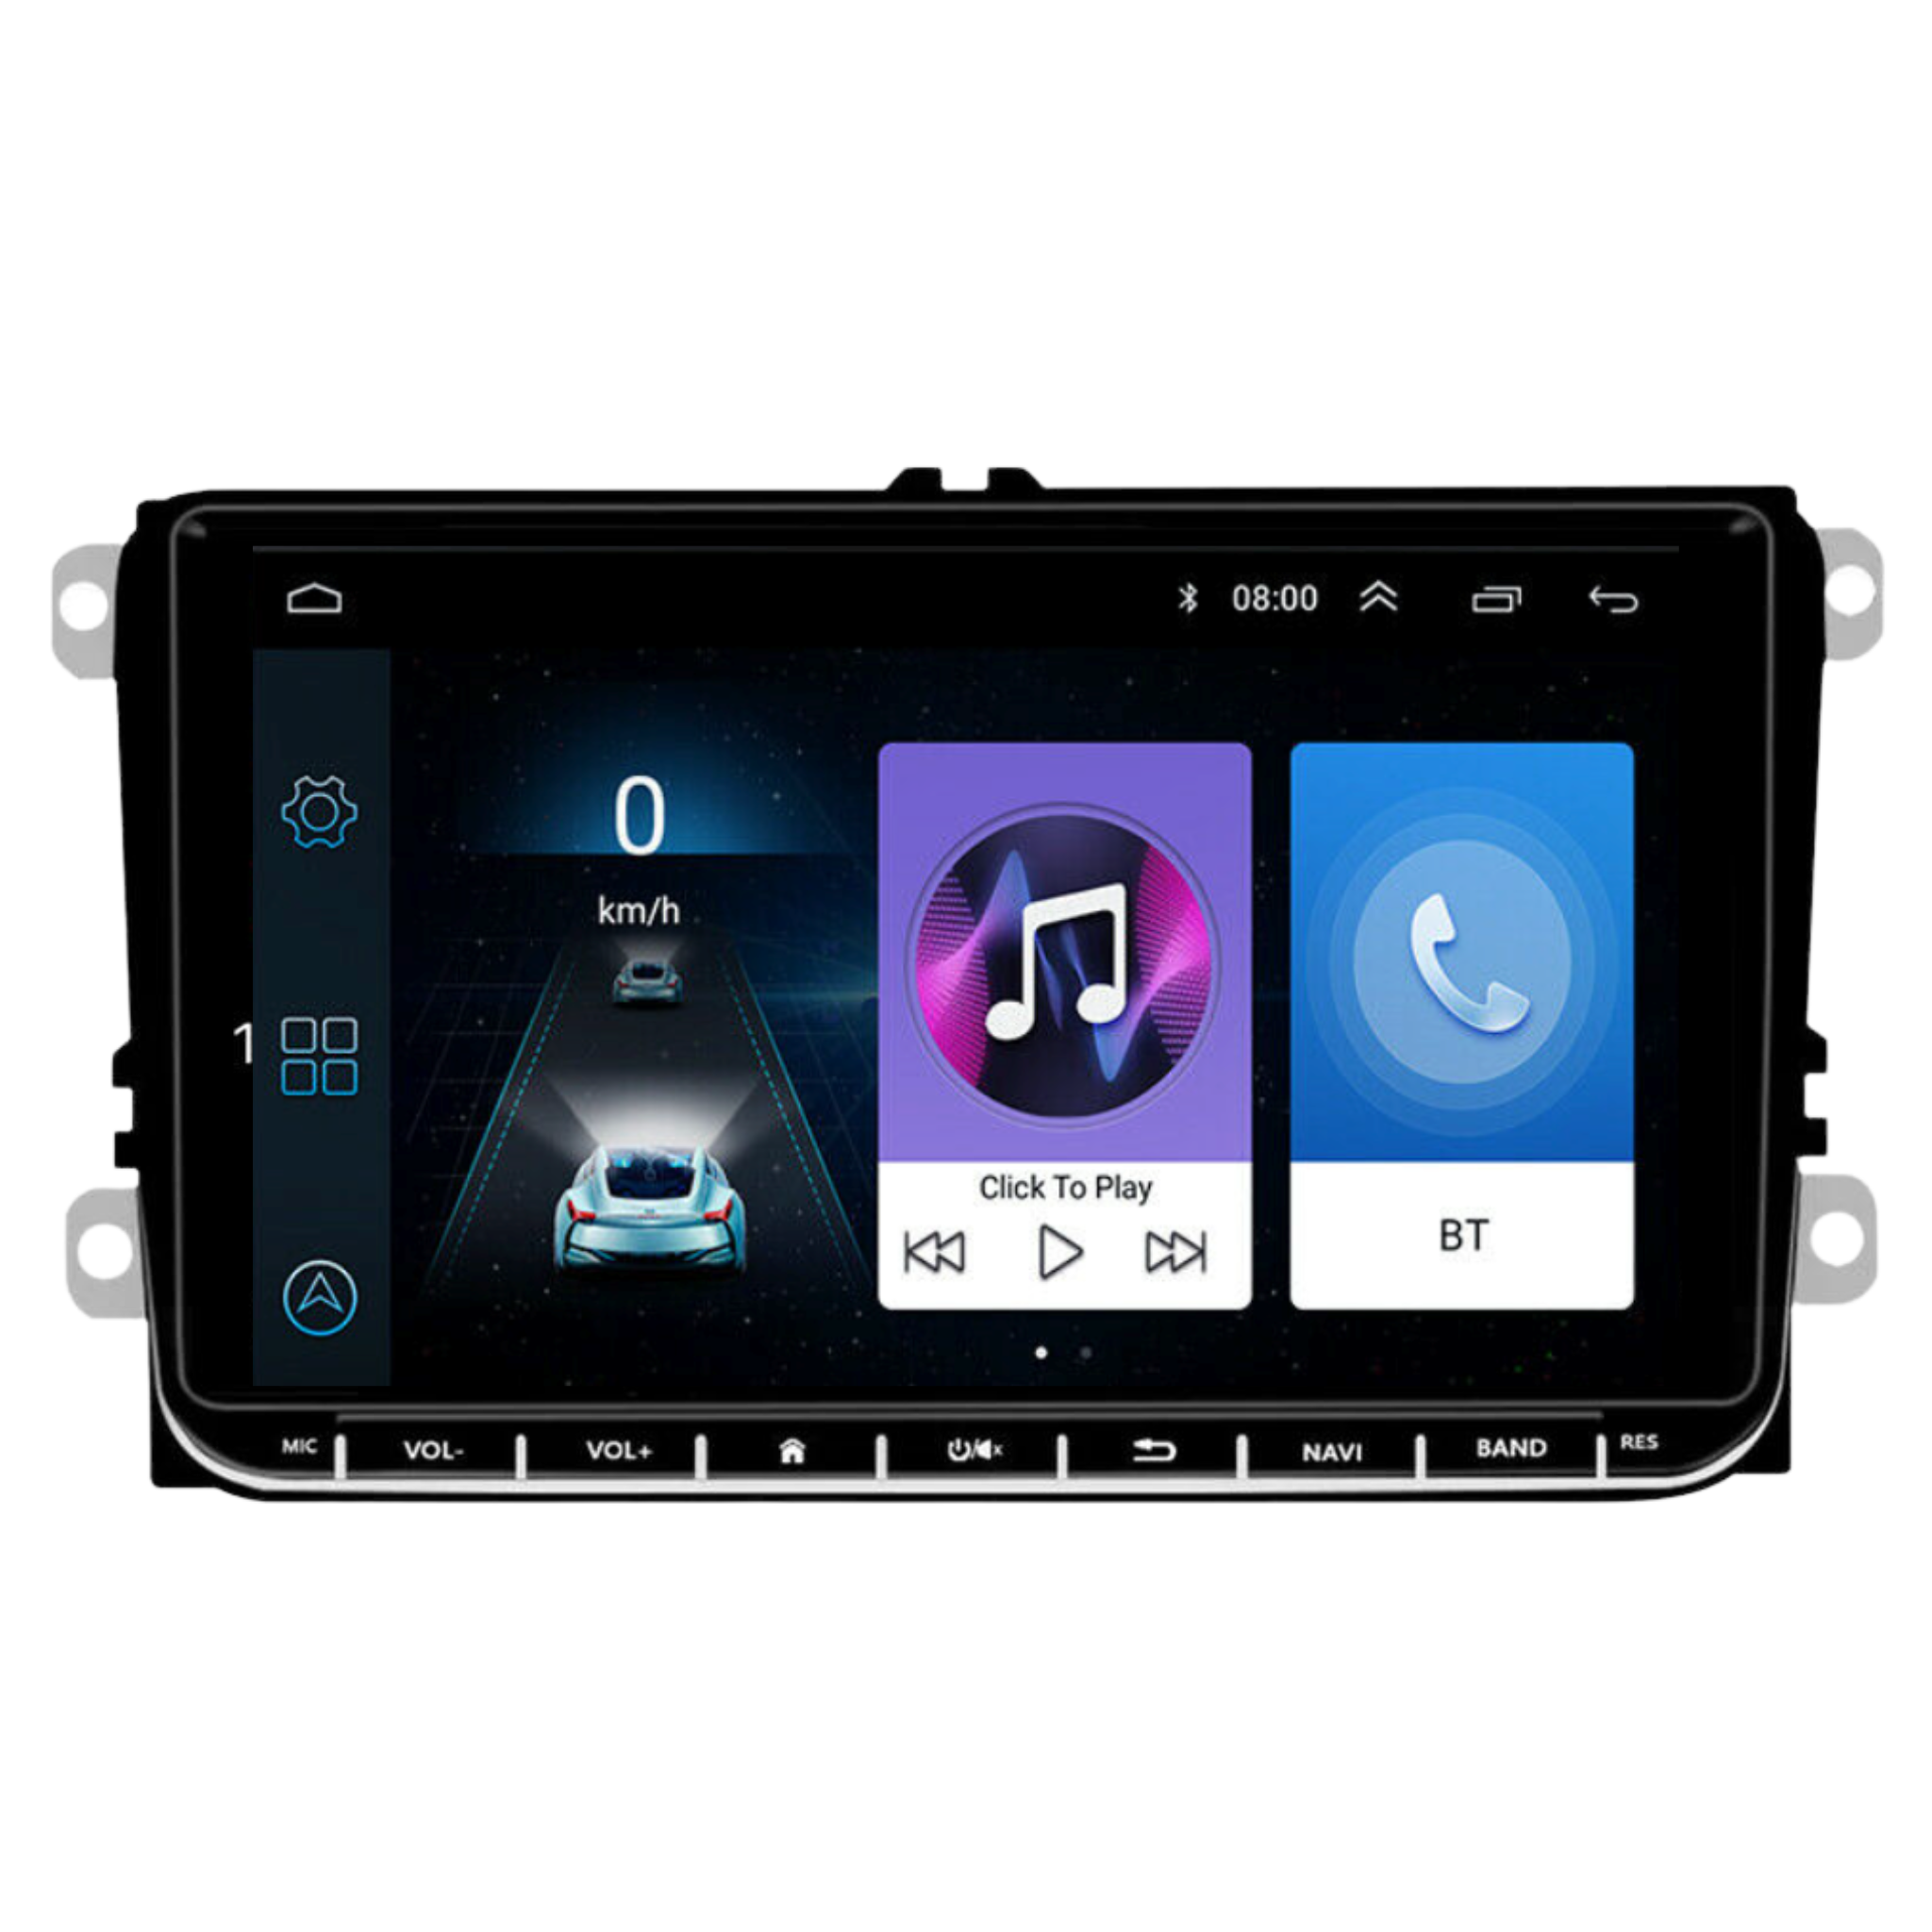
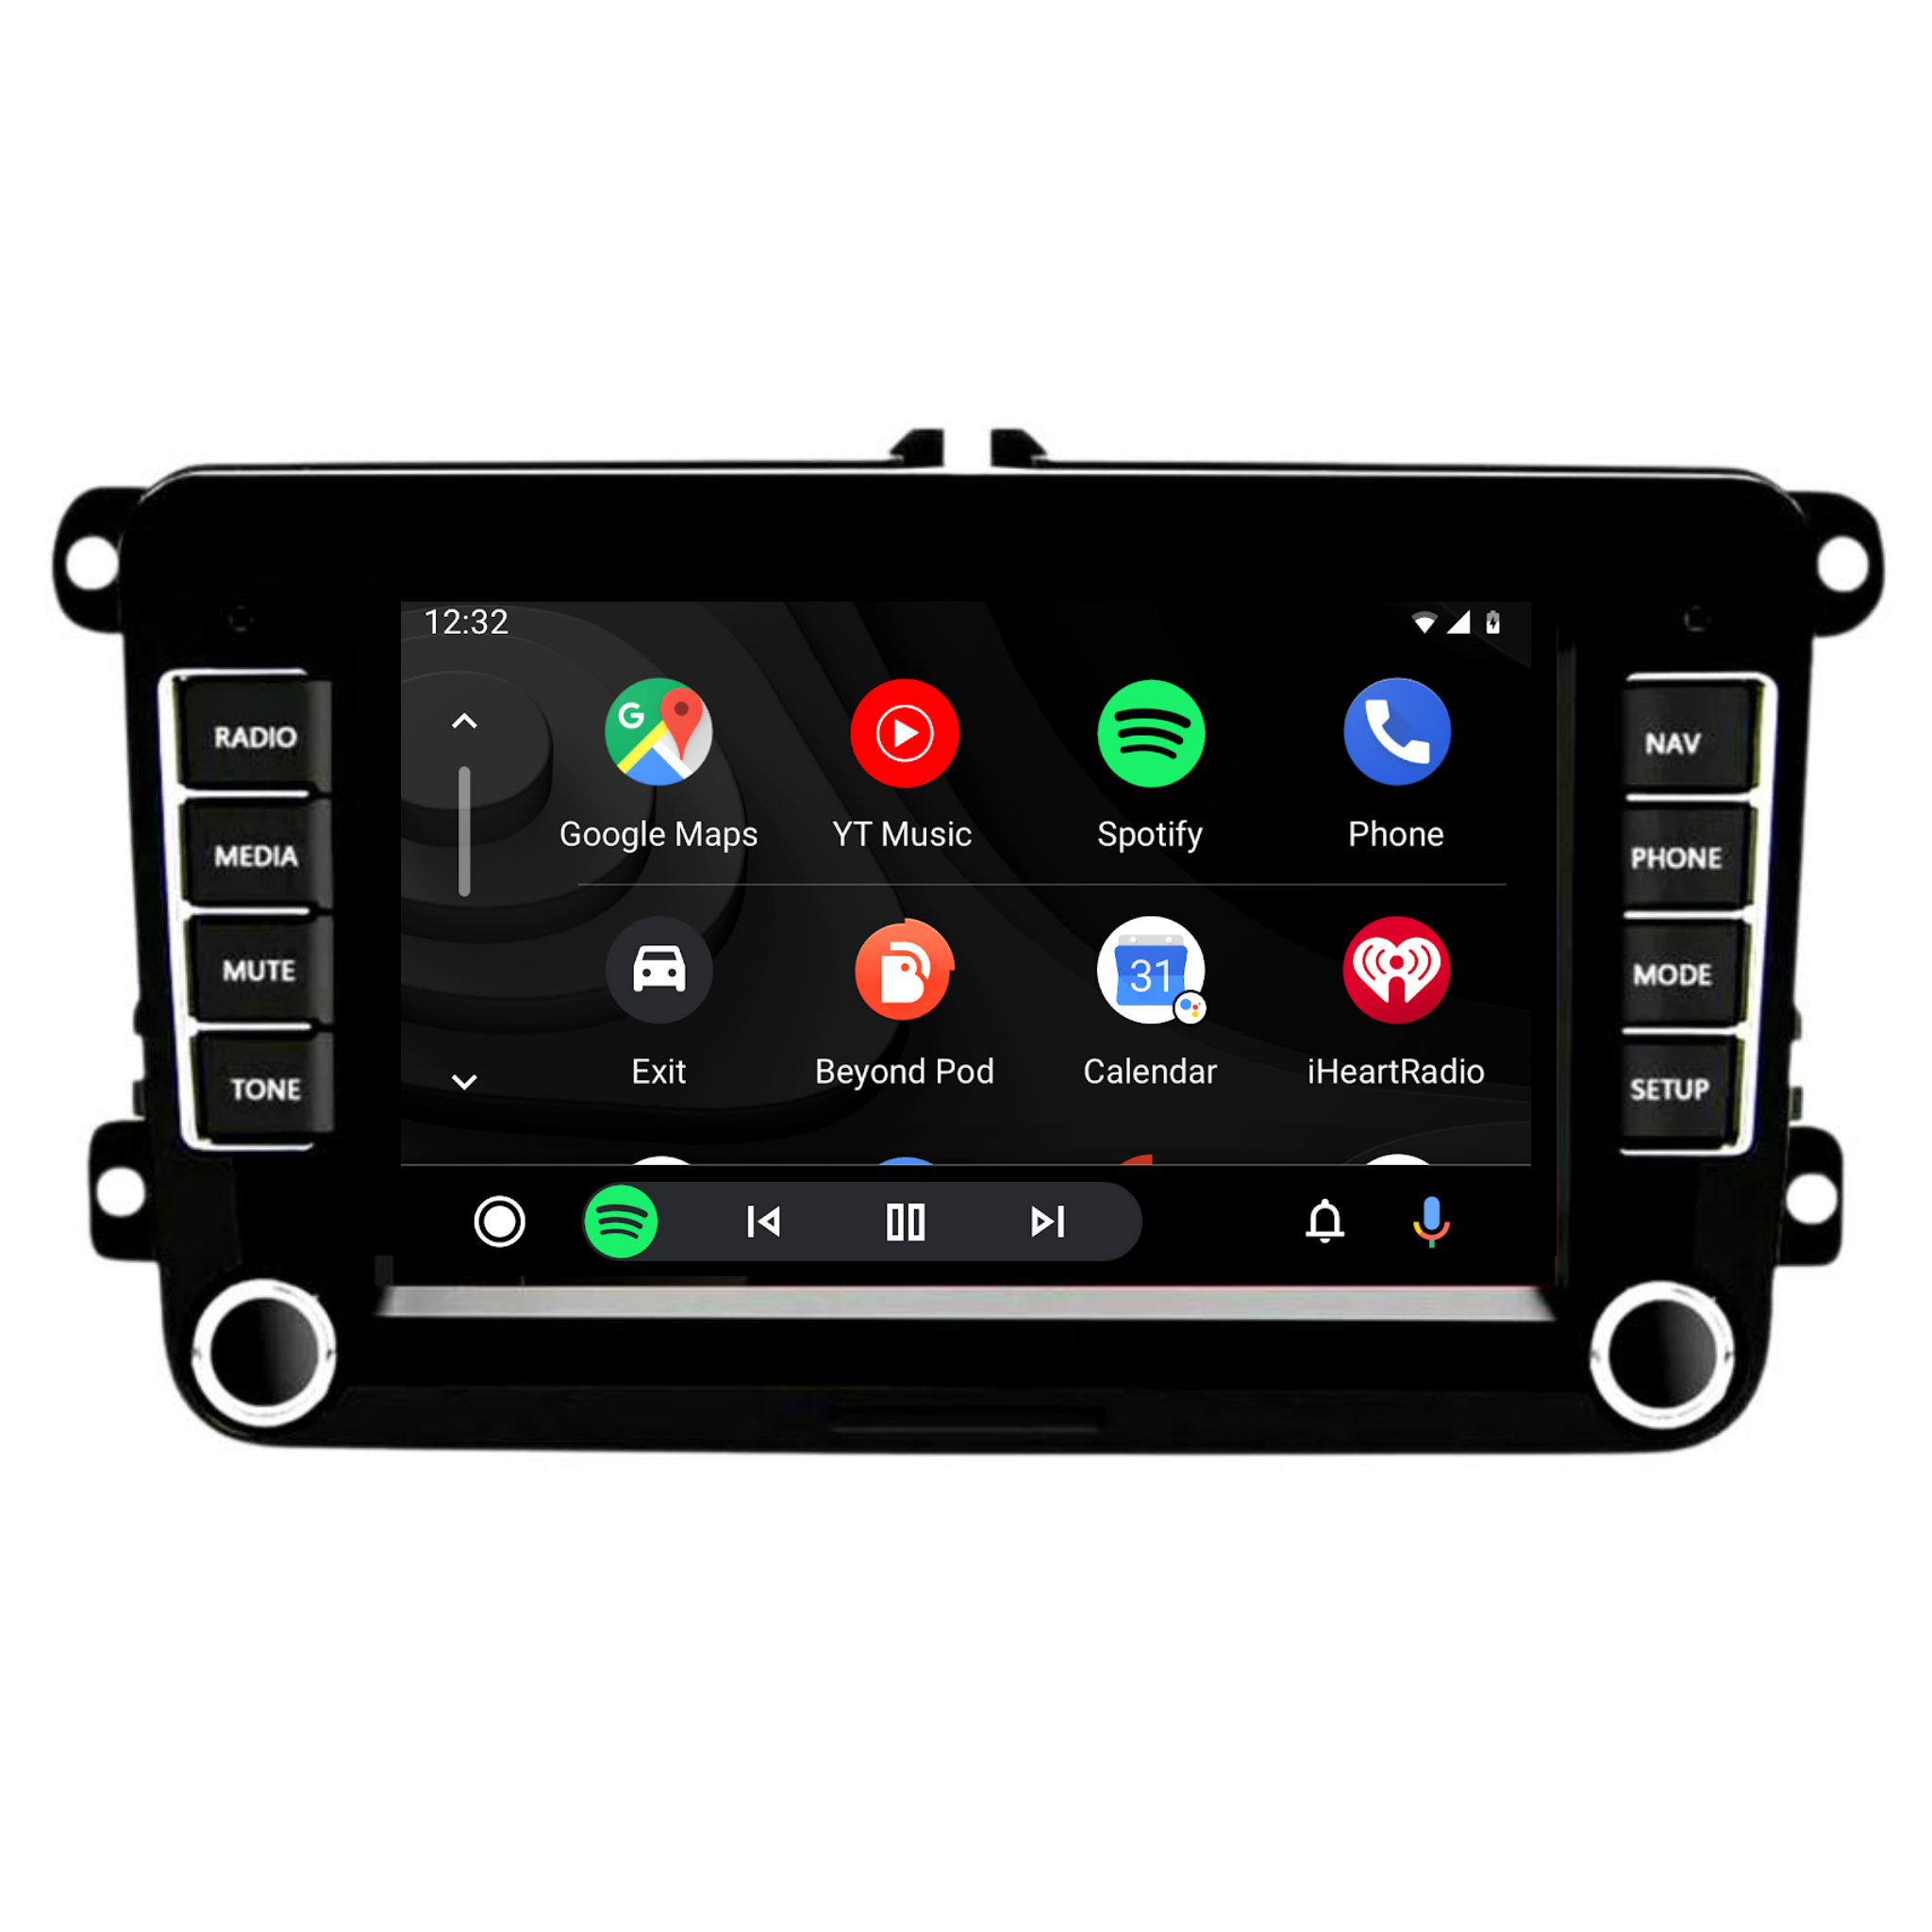
Volkswagen (Various Models) - Apple CarPlay and Android Auto Plug and Plug Head Unit Upgrade Kit
Sale priceFrom $379.95
Regular price$489.99
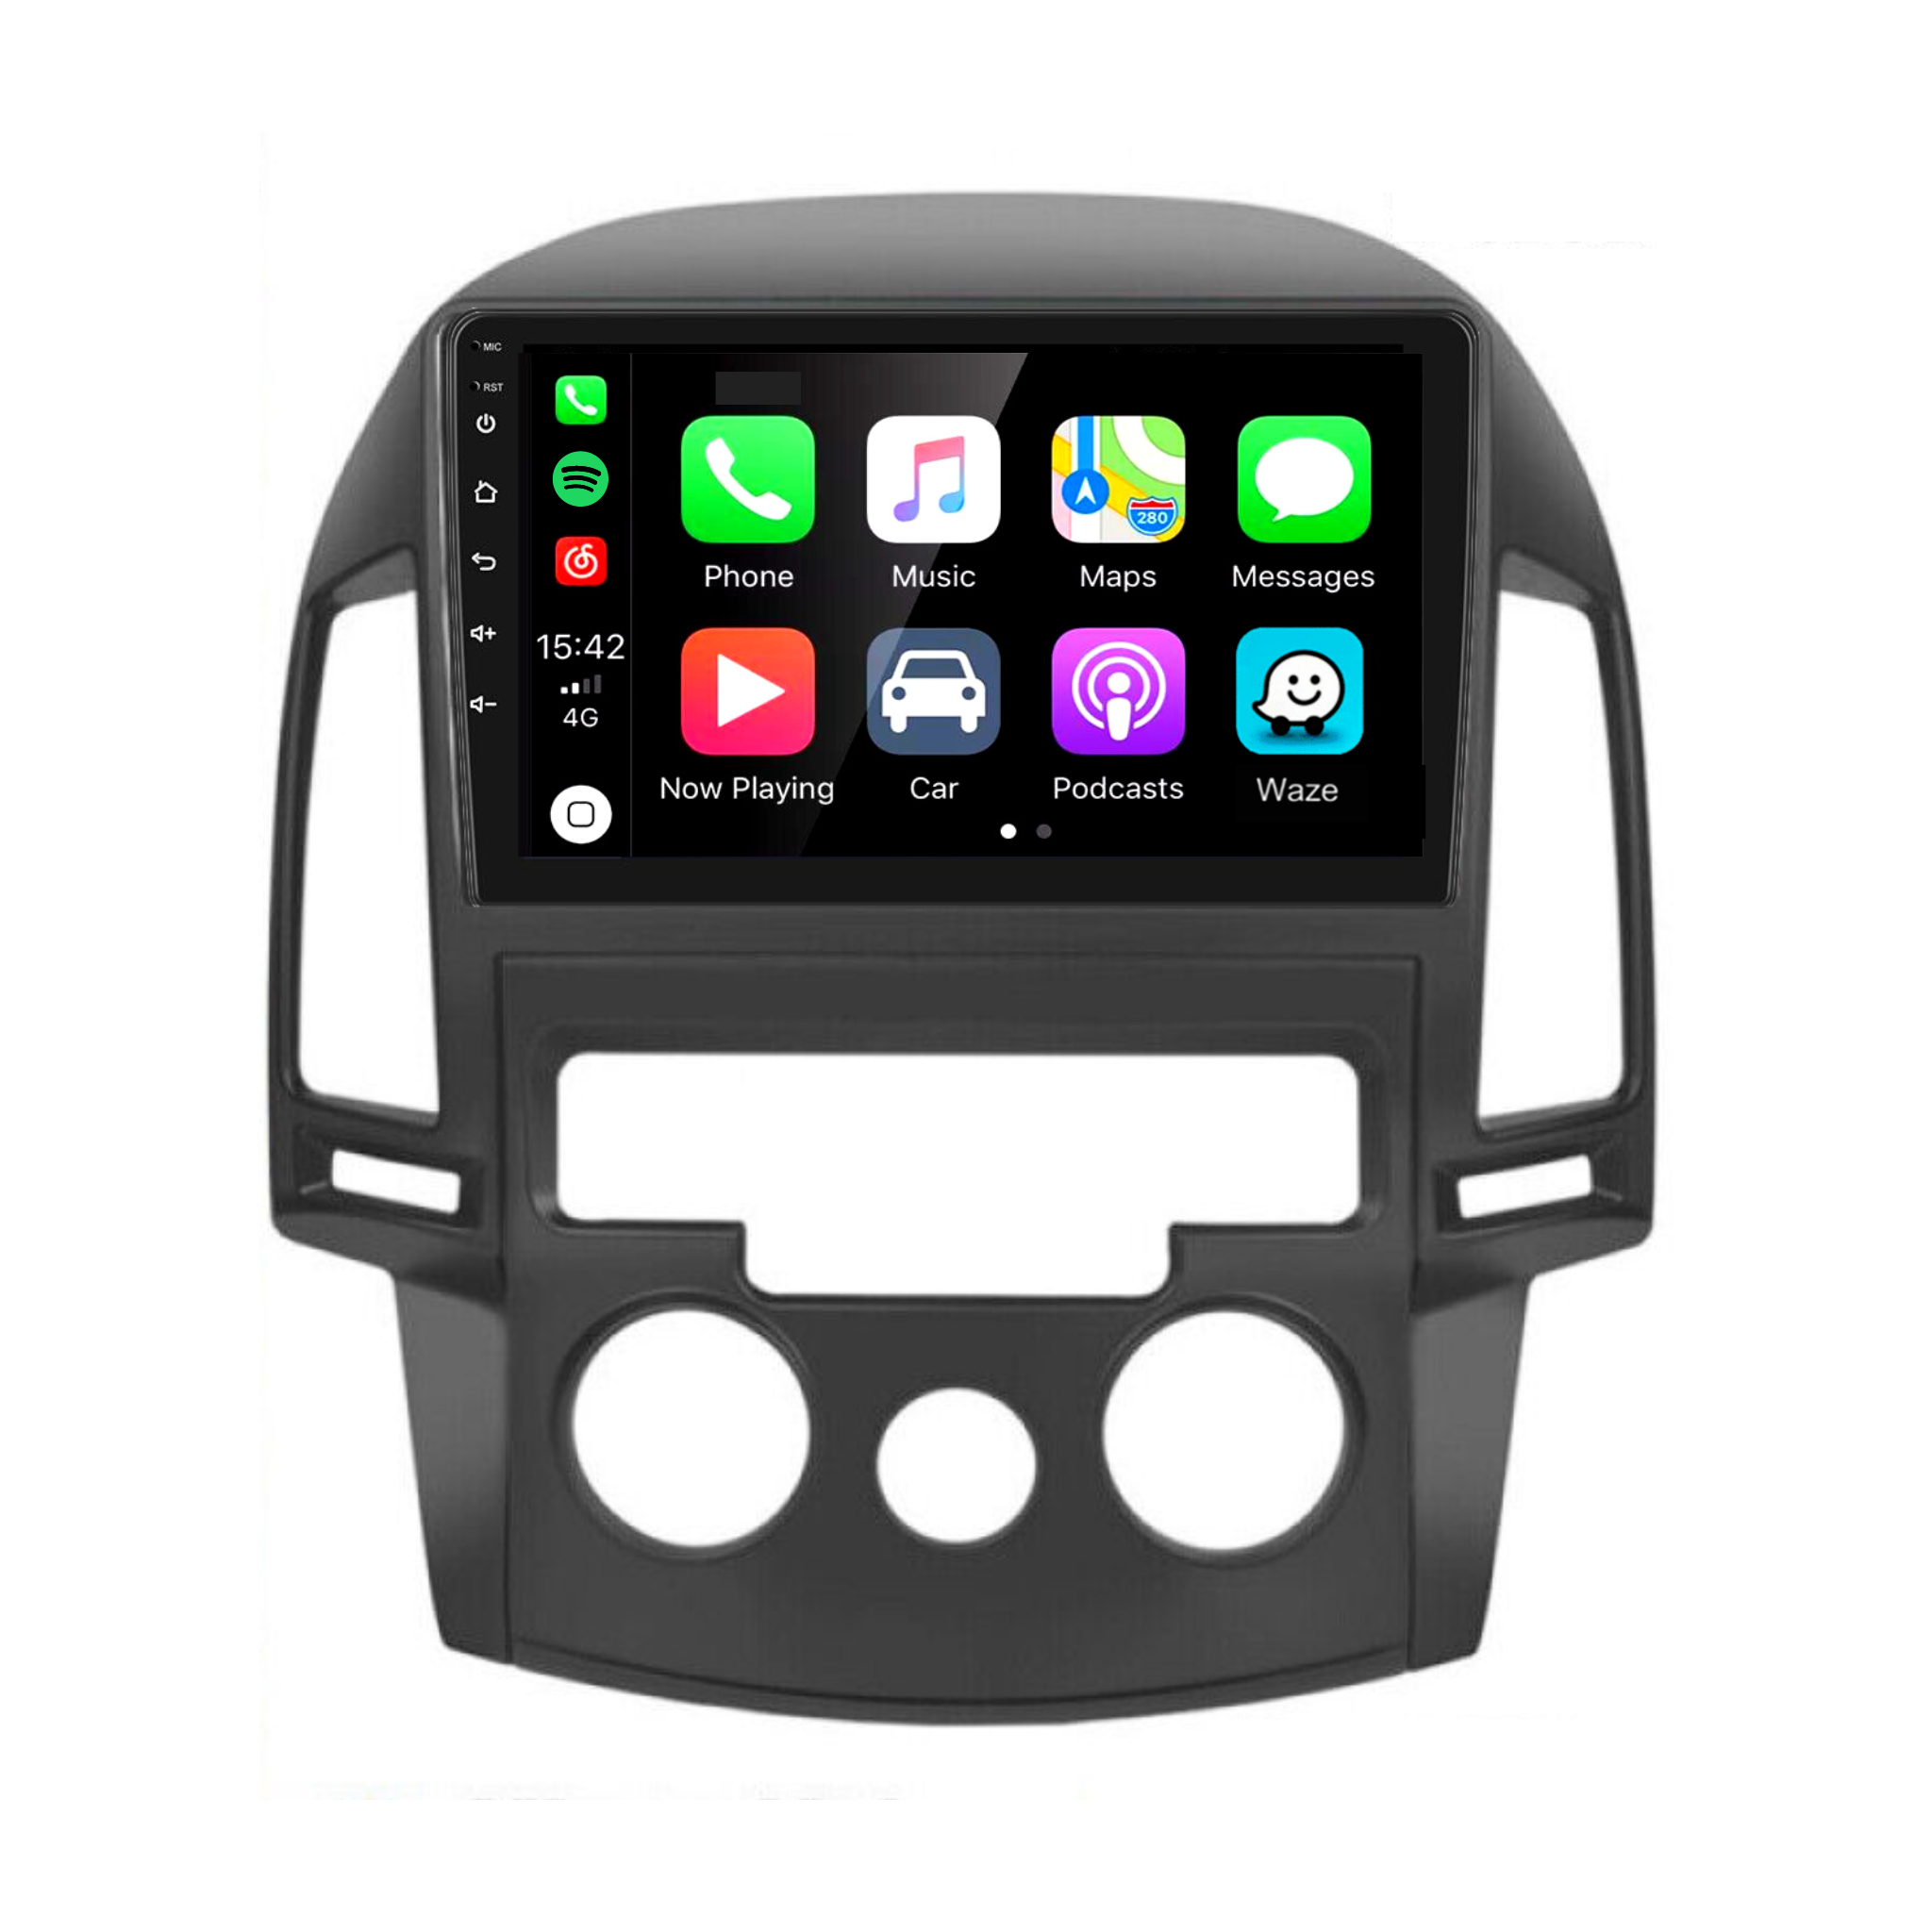
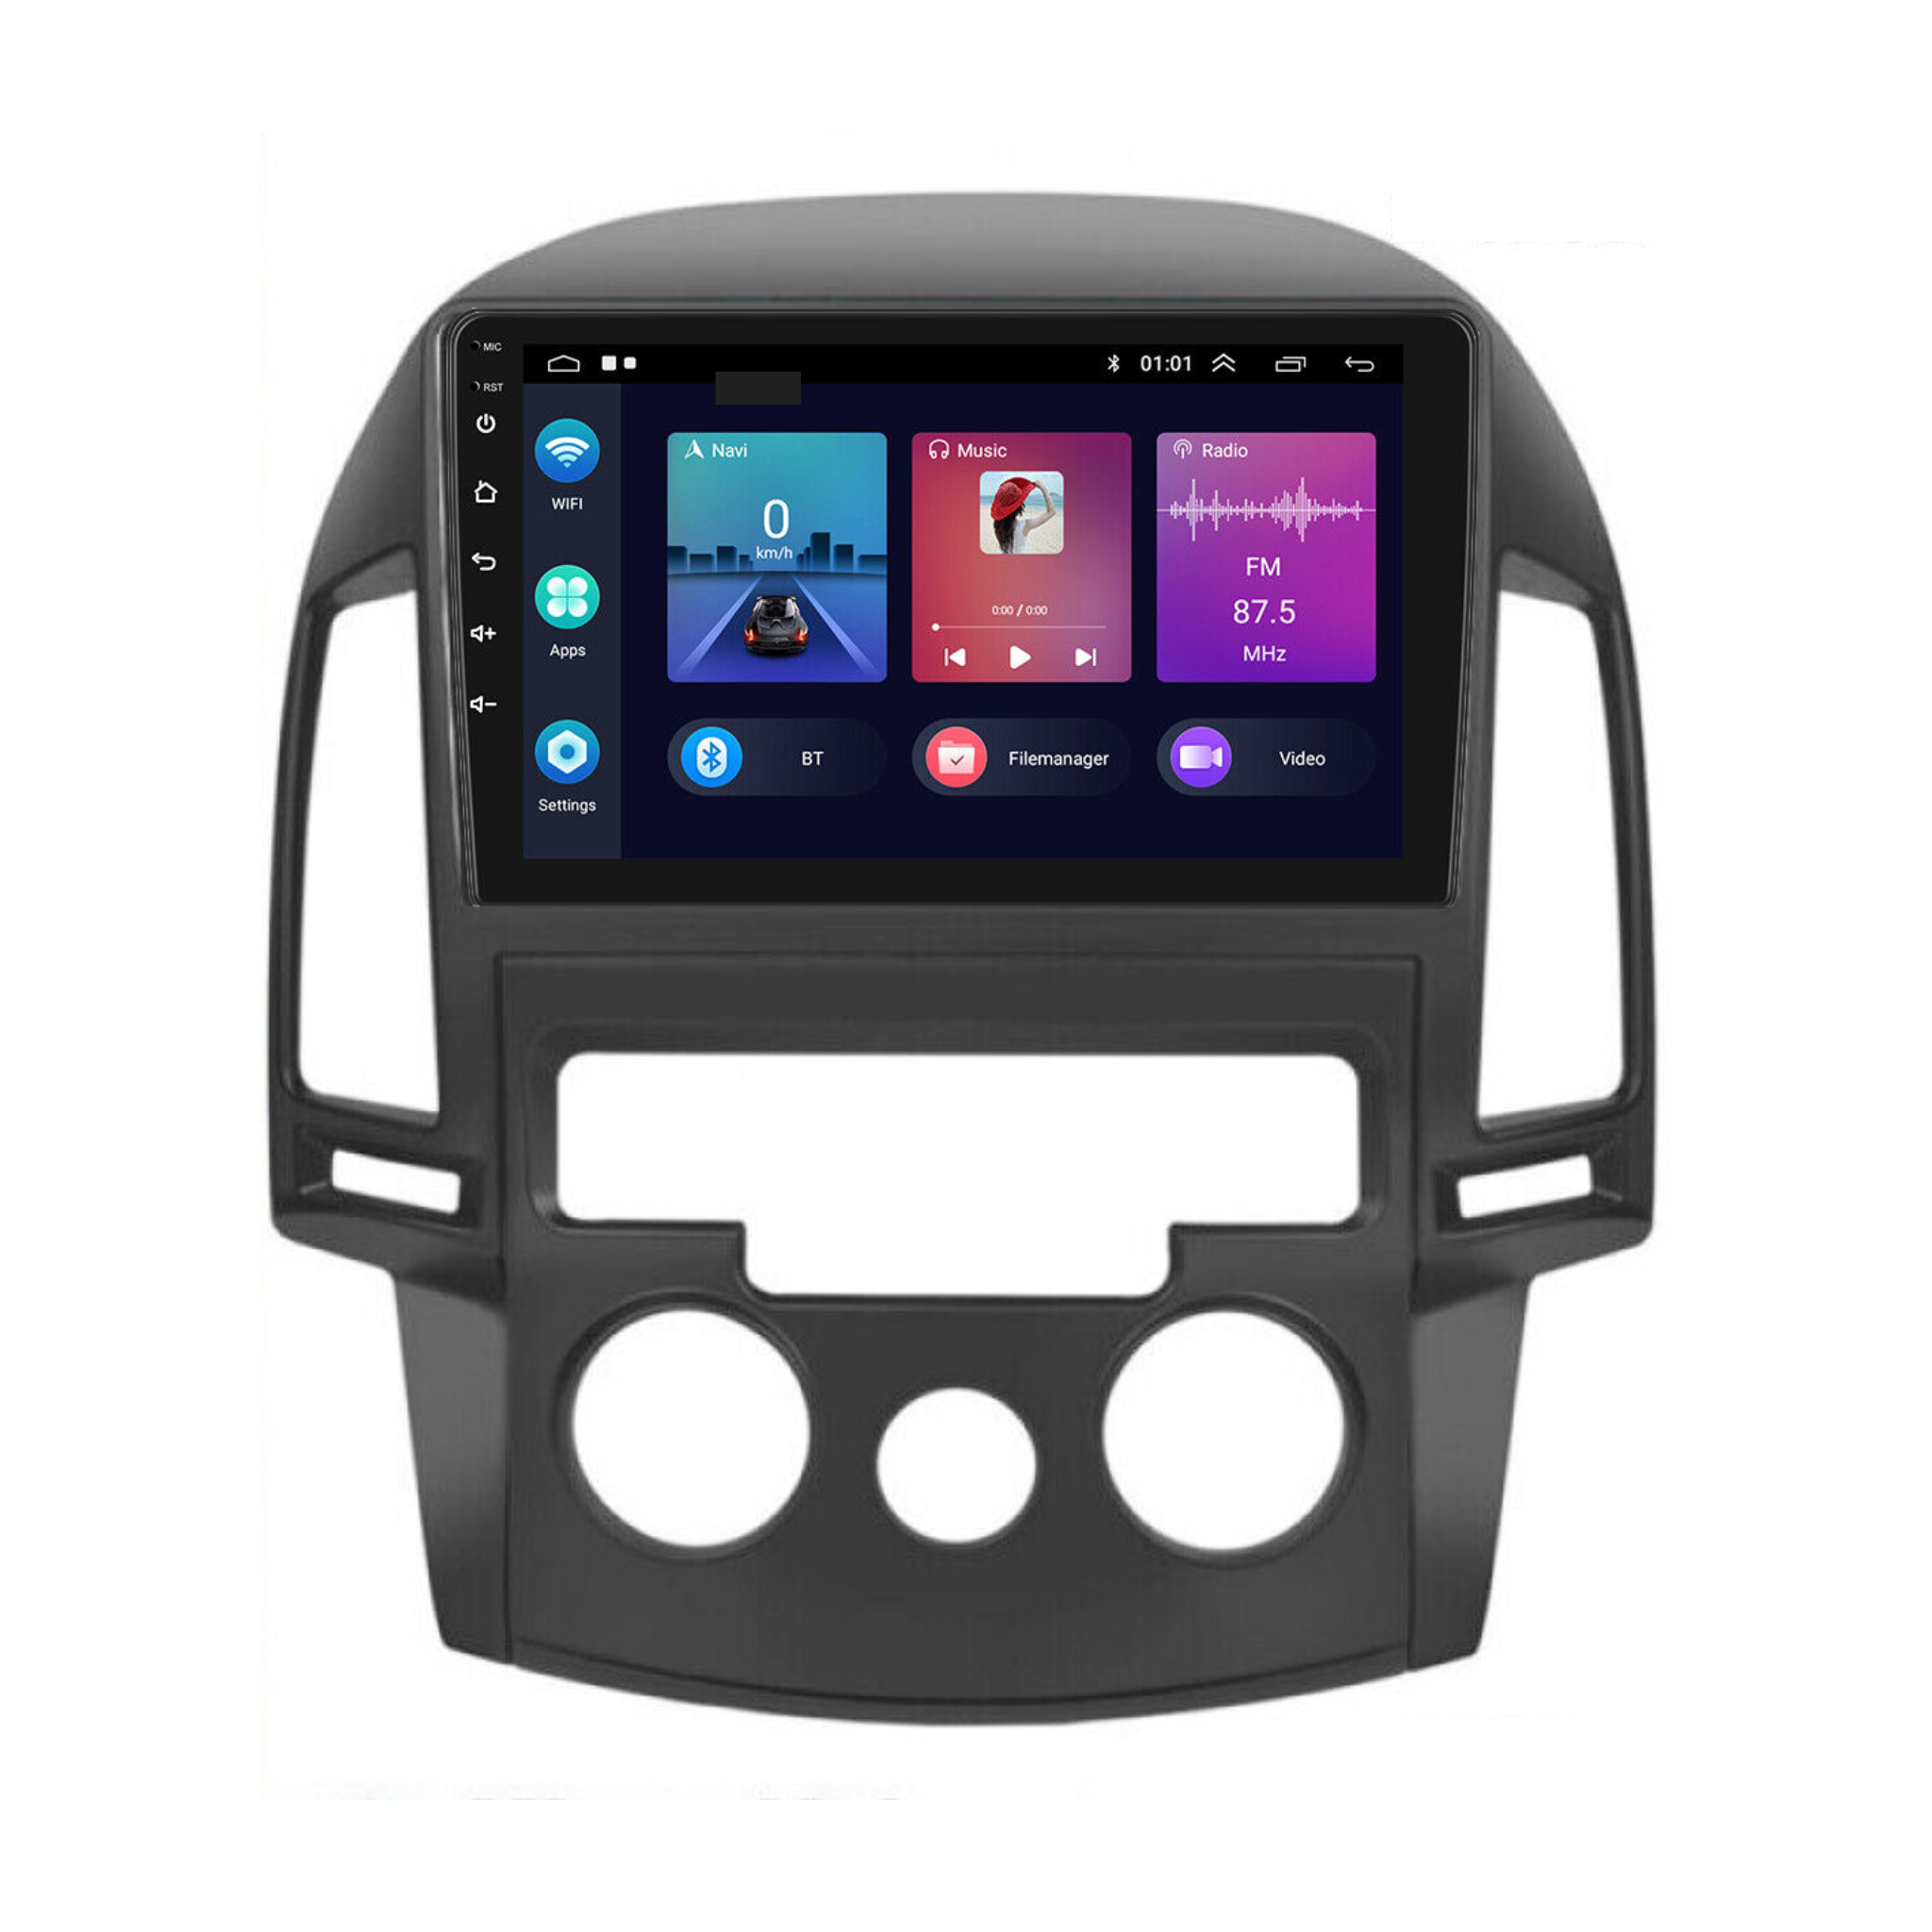
Hyundai I30 Manual A/C 2006-2011 Apple CarPlay and Android Auto Plug and Plug Head Unit Upgrade Kit
Sale priceFrom $379.95
Regular price$545.99
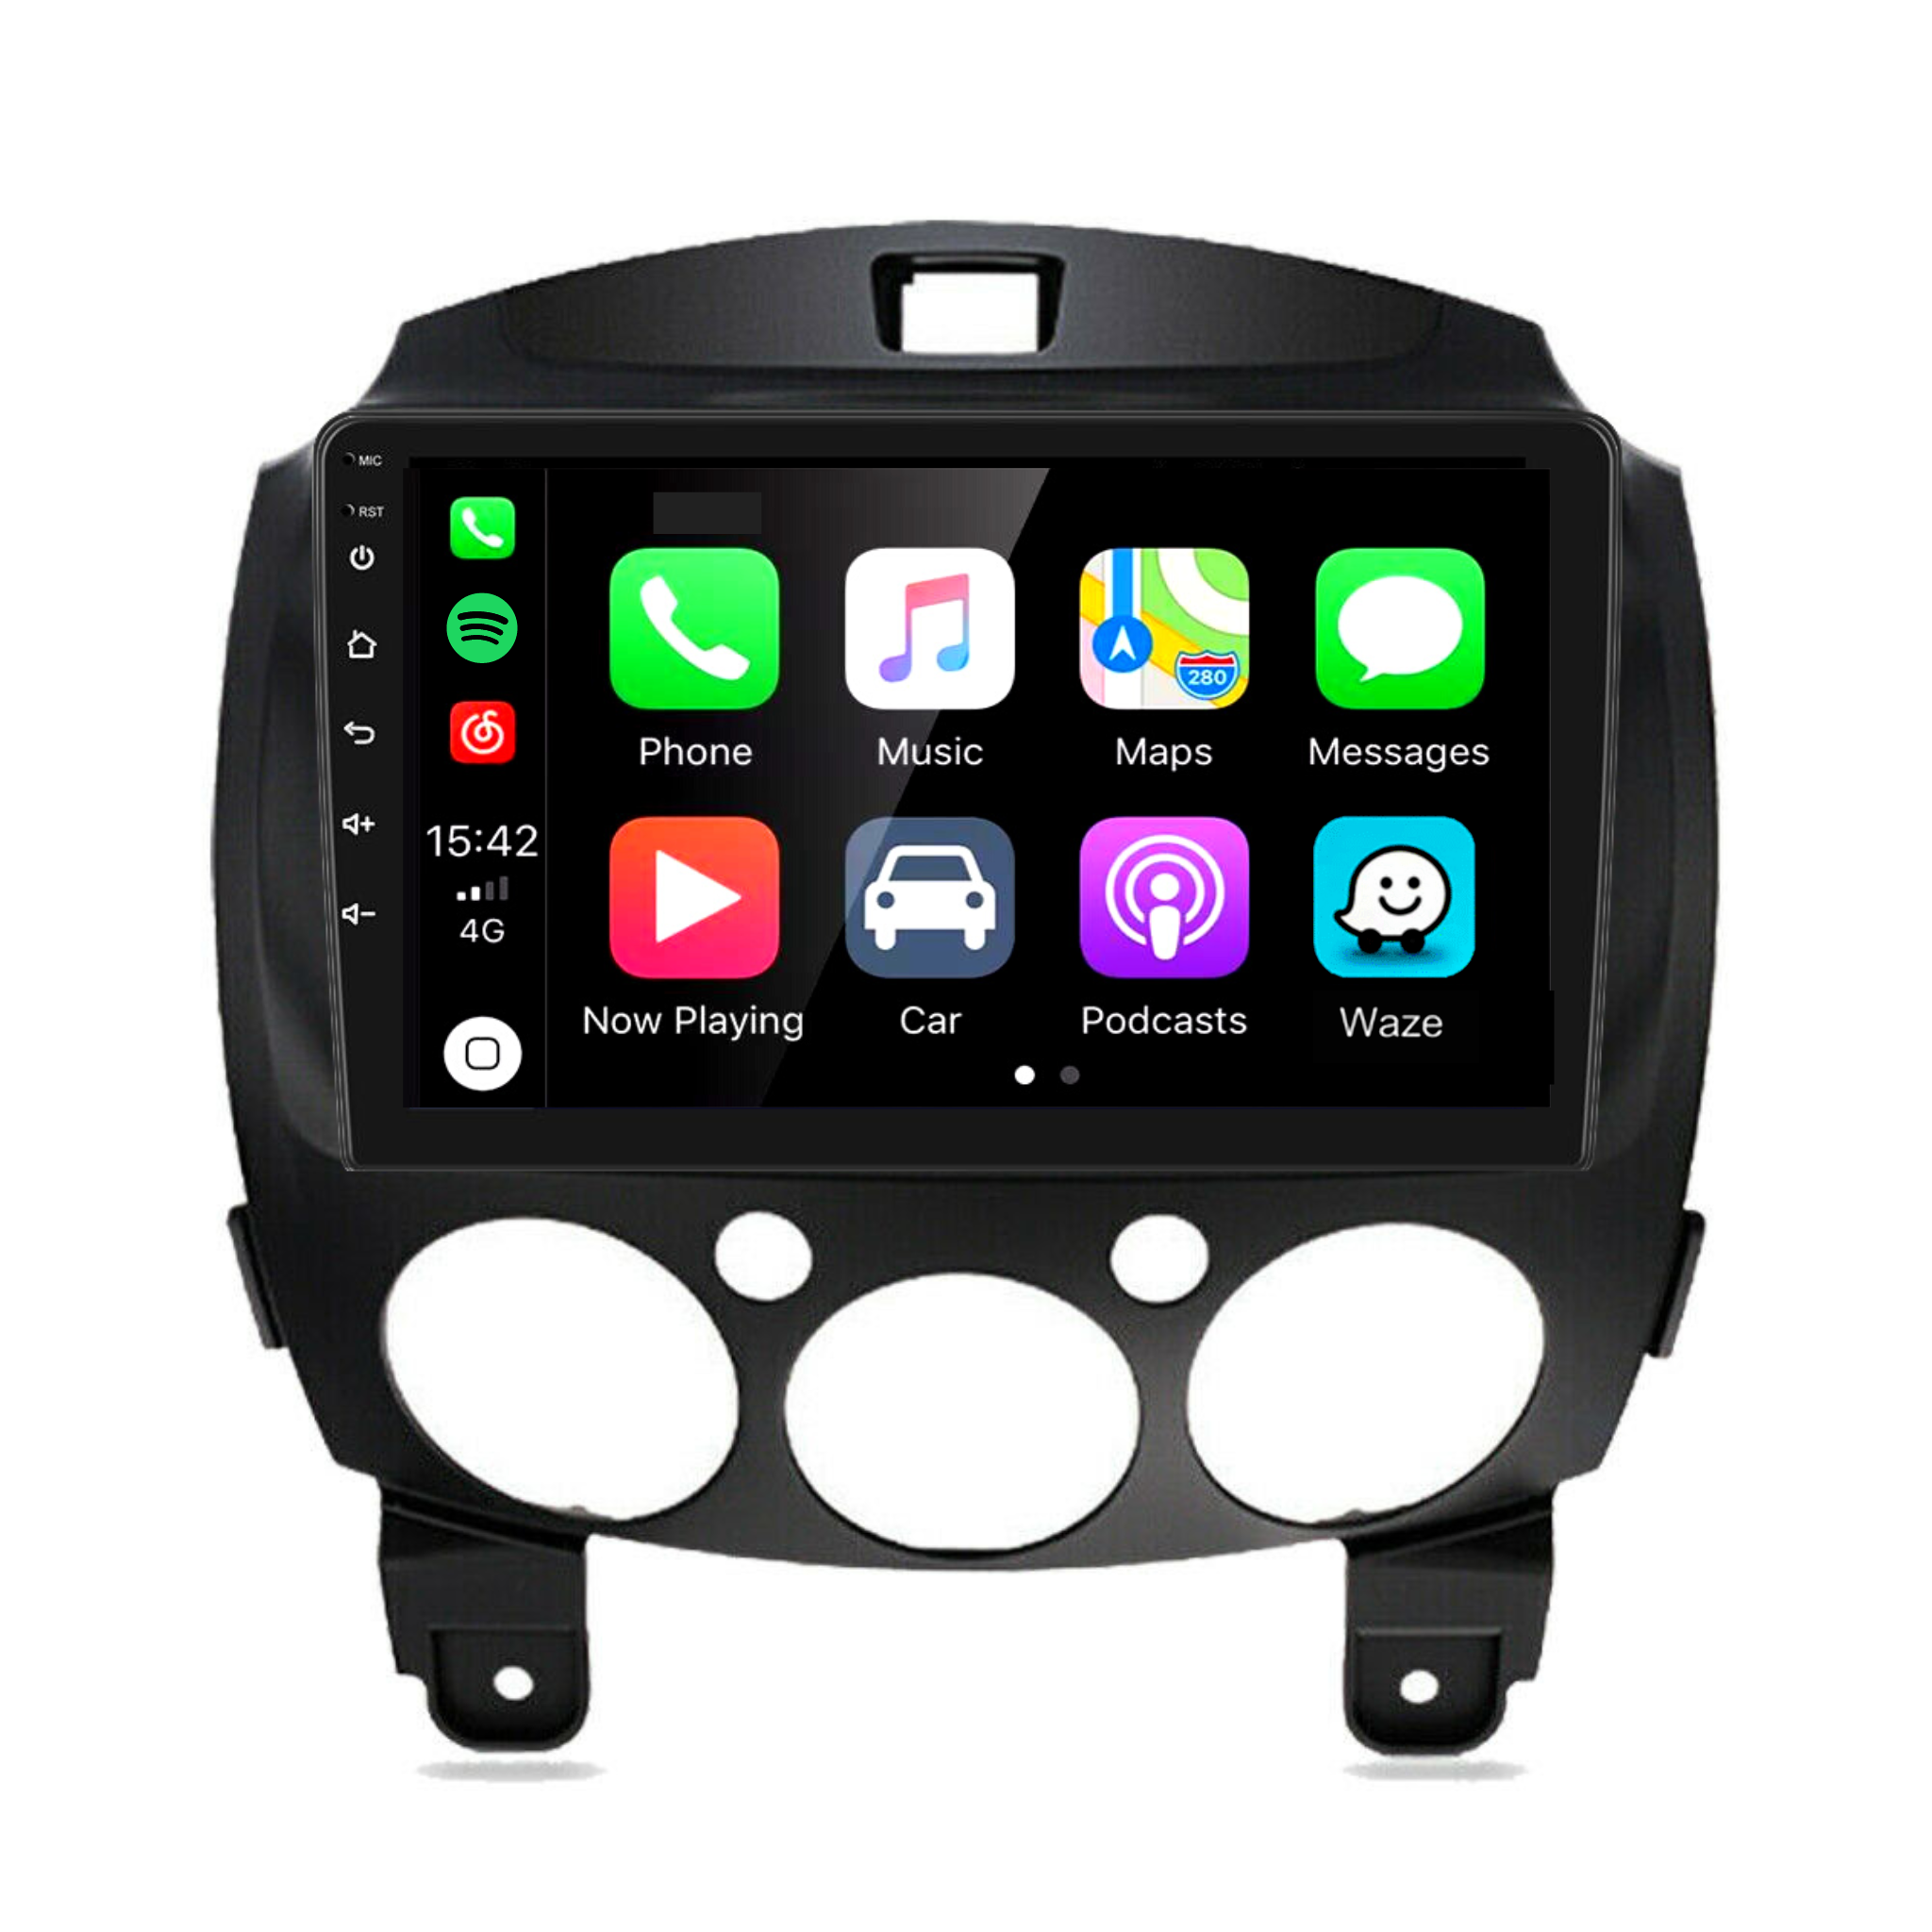
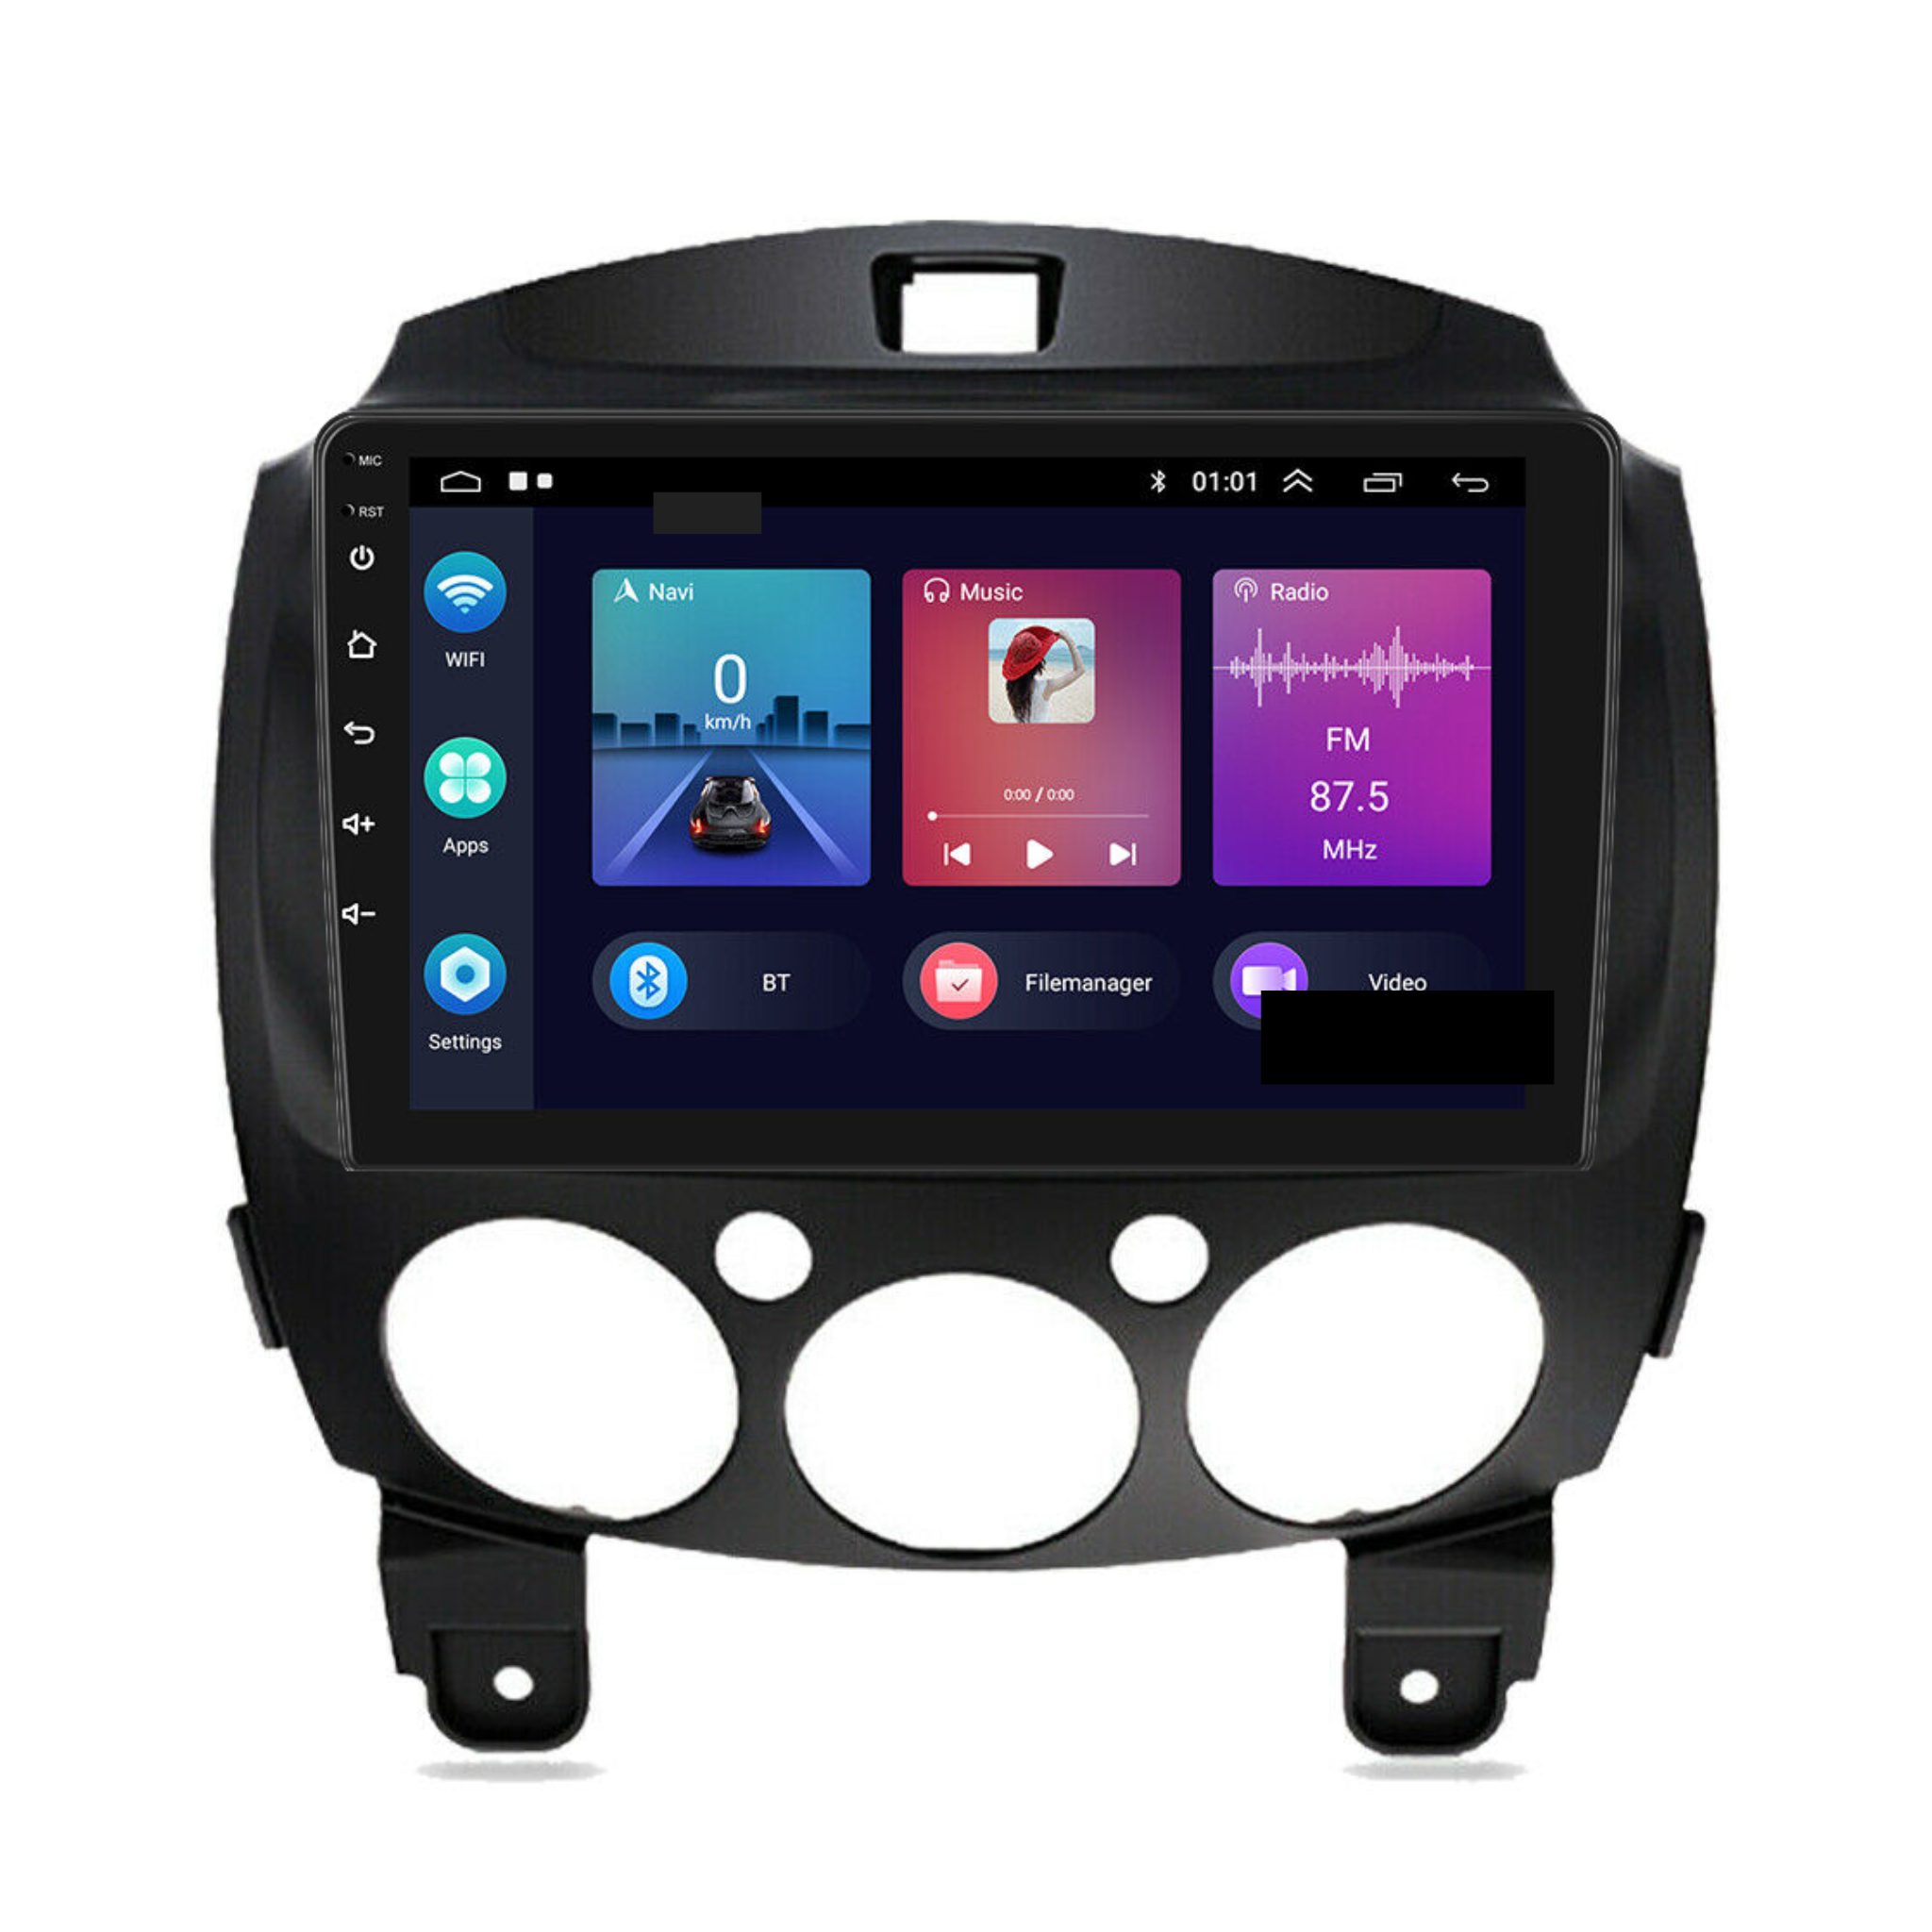
Mazda 2 2007-2013 Apple CarPlay and Android Auto Plug and Plug Head Unit Upgrade Kit
Sale priceFrom $389.95
Regular price$739.99
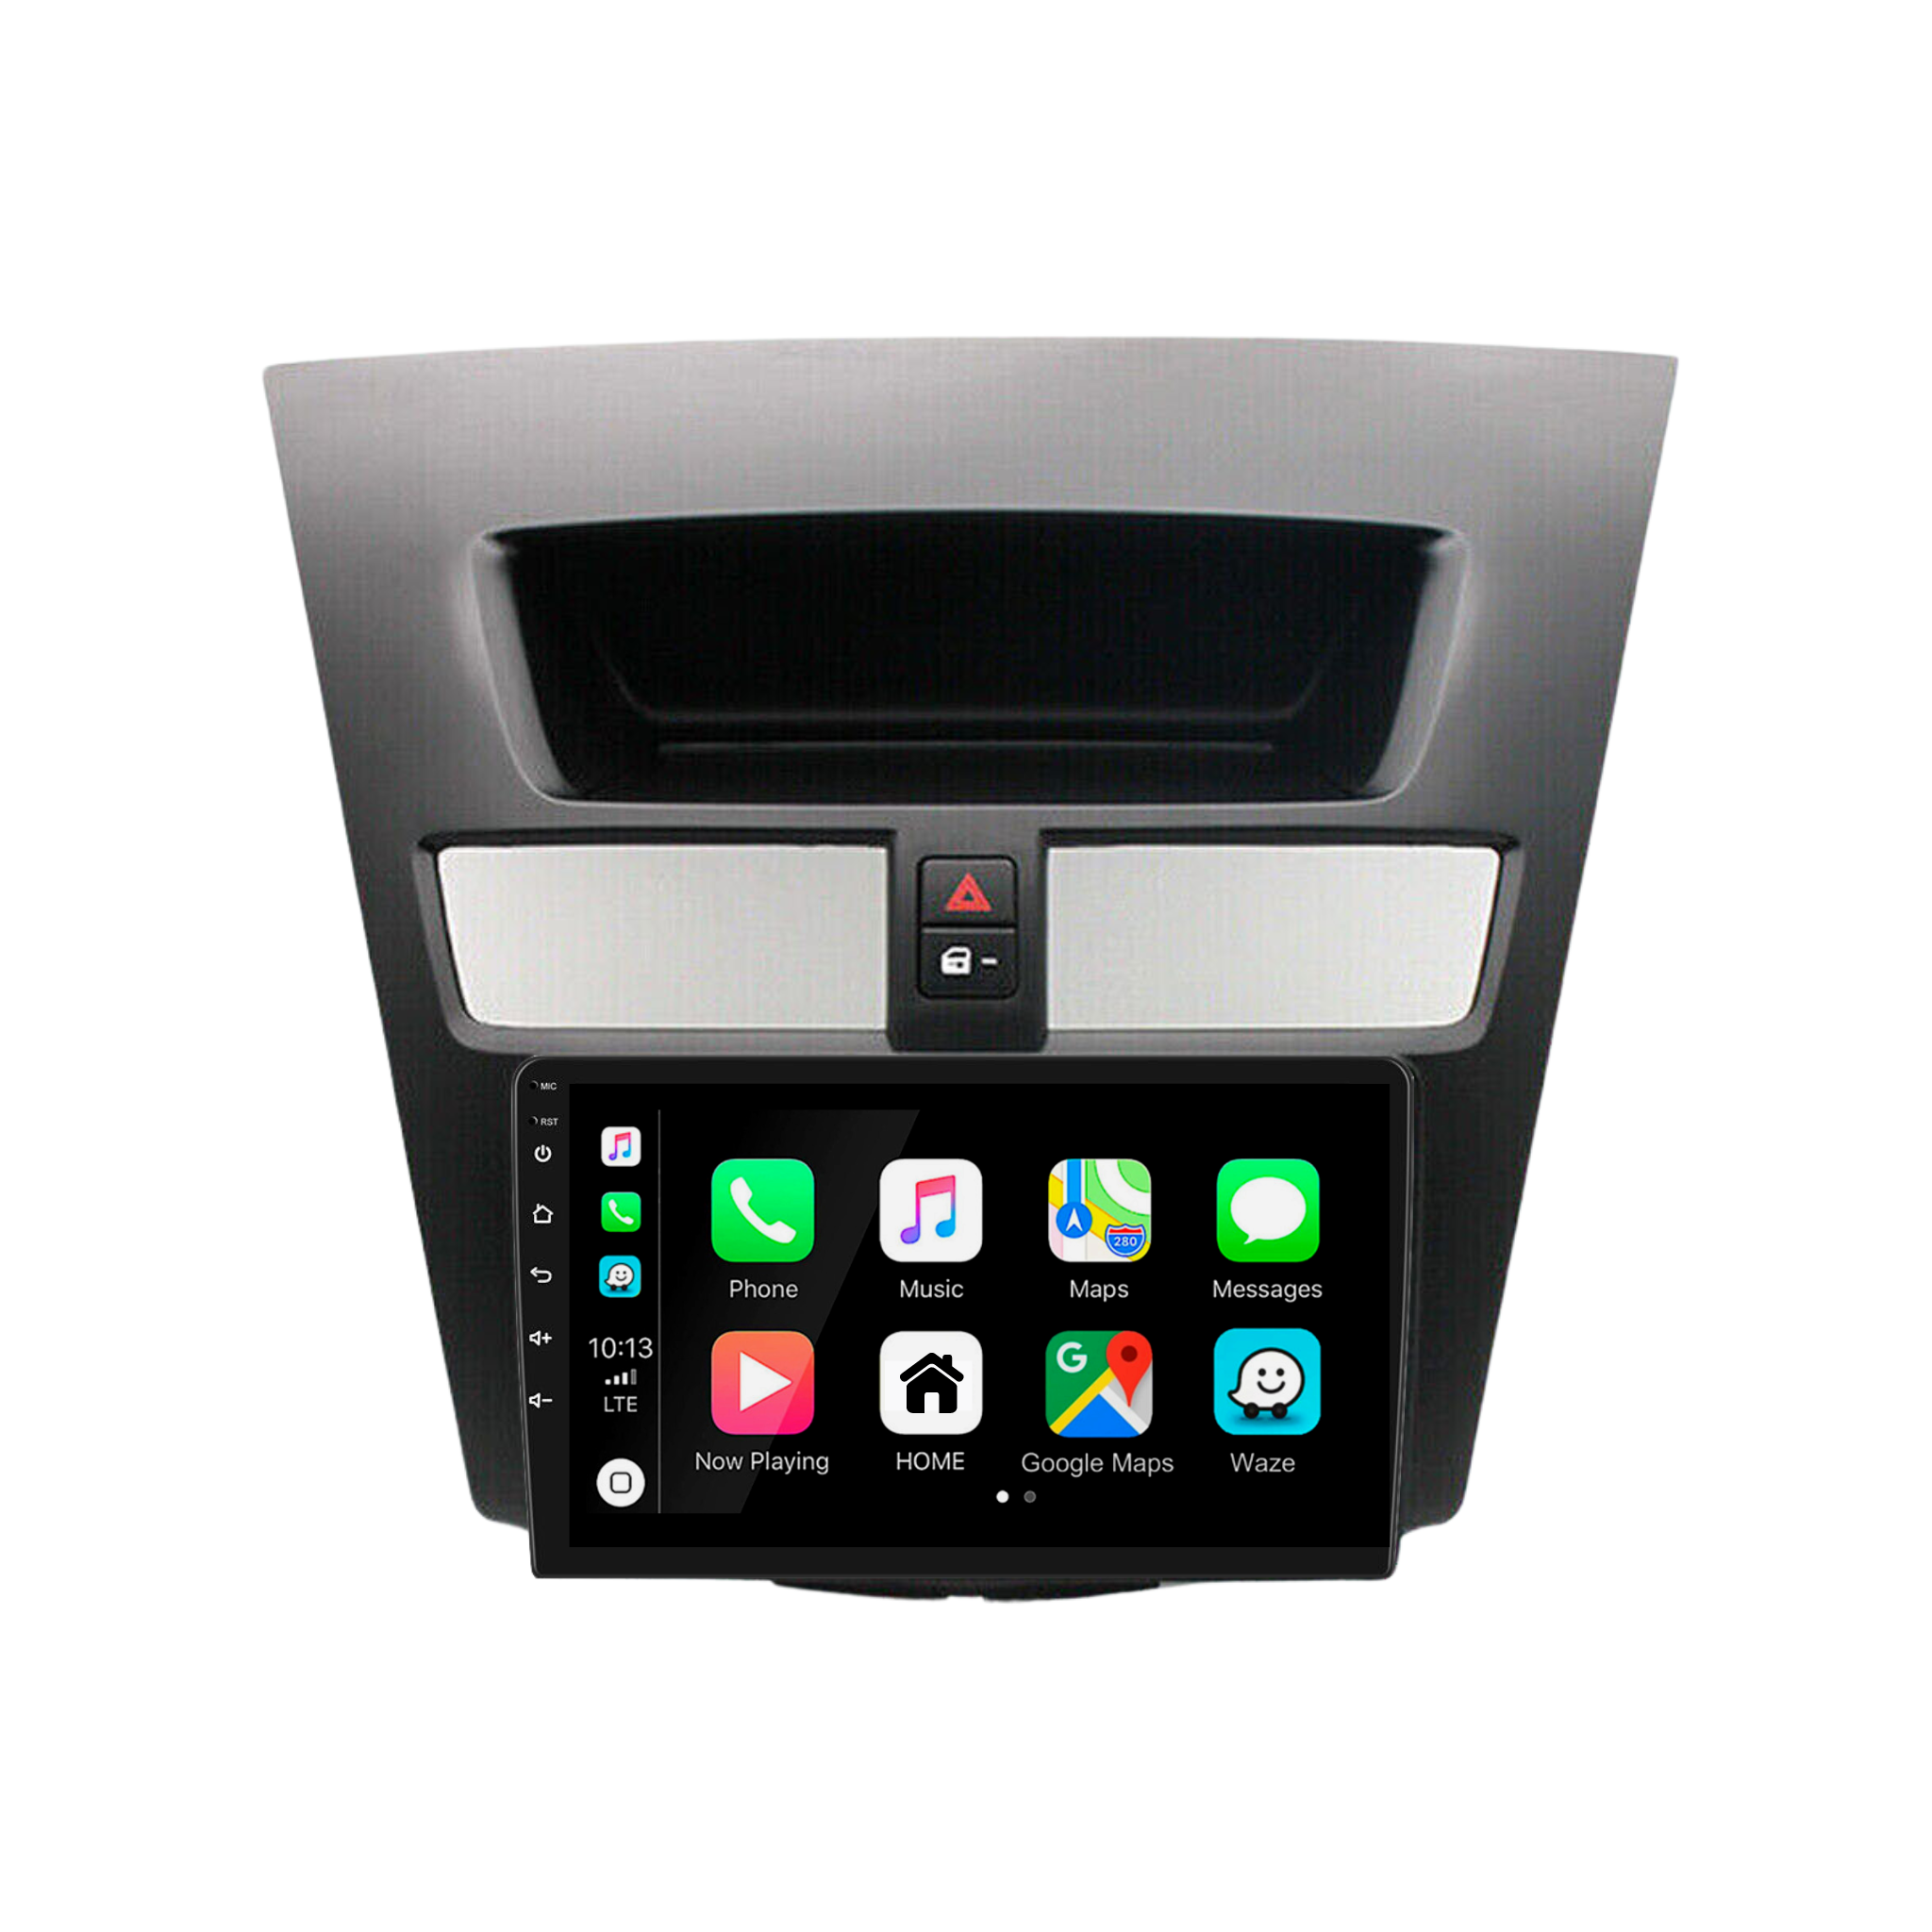
Holden Colorado 2012-2016 (MyLink) Apple CarPlay and Android Auto Plug and Plug Head Unit Upgrade Kit
Sale priceFrom $359.95
Regular price$599.95

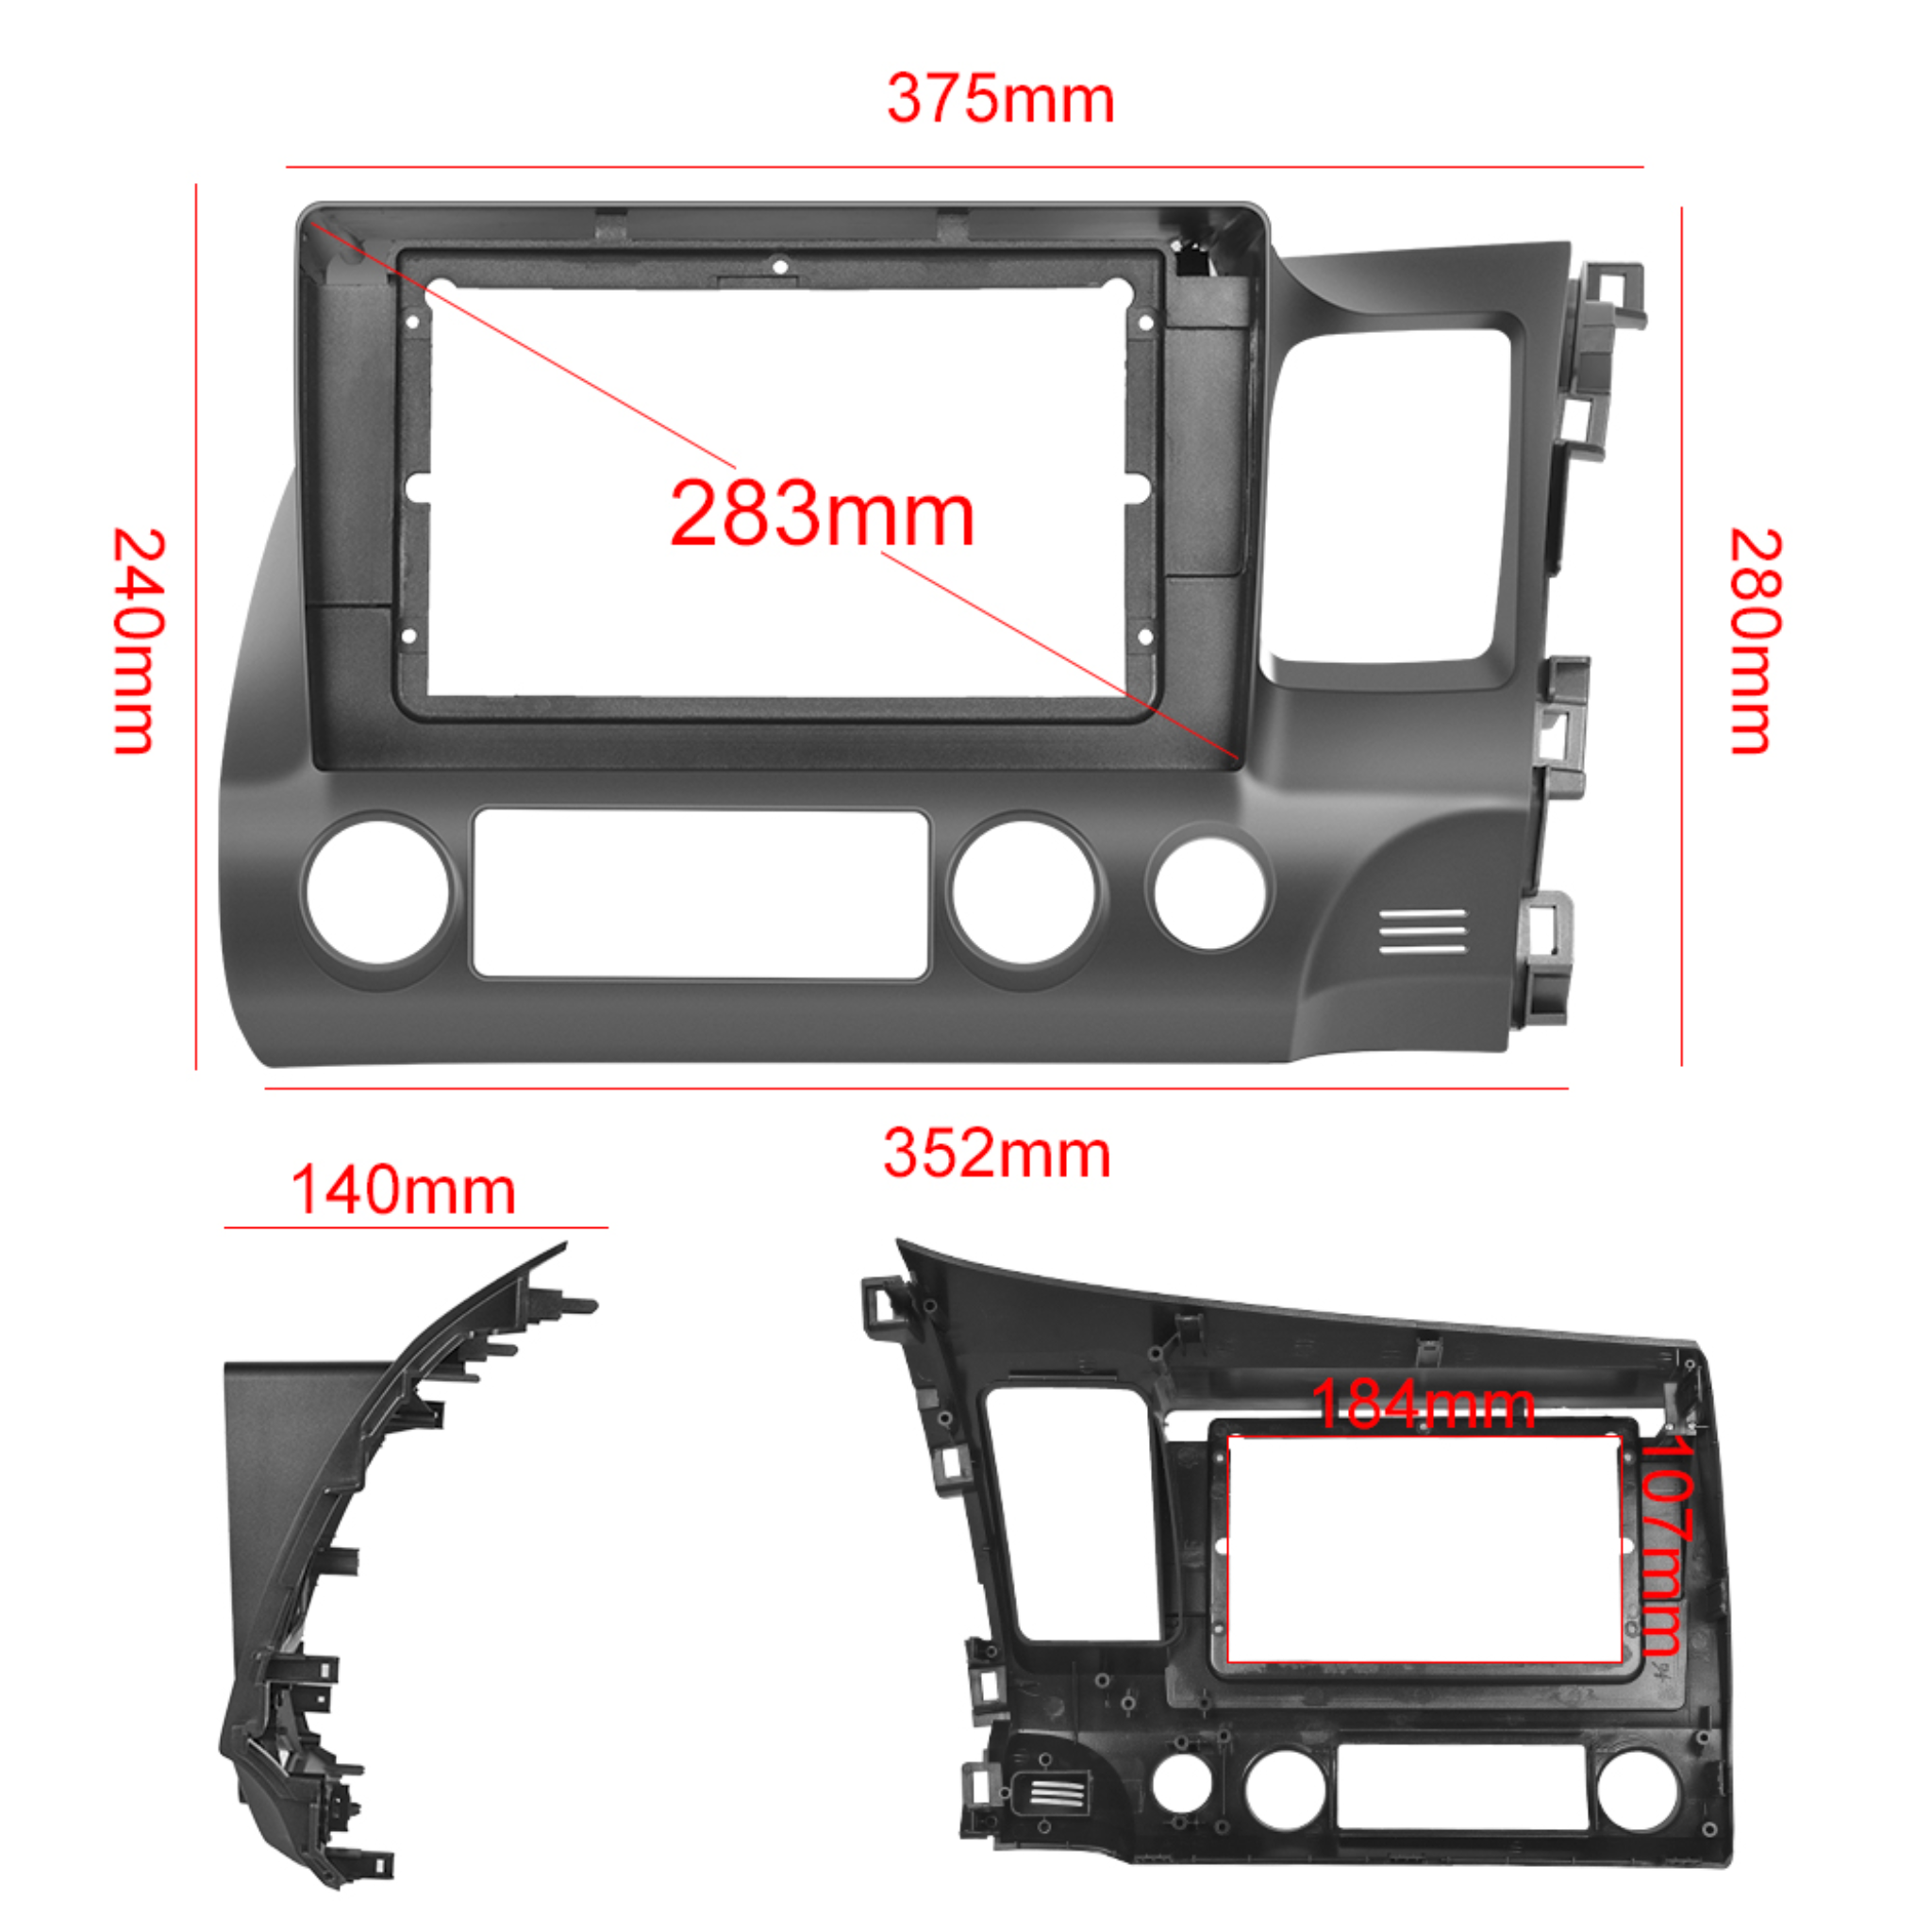
Honda Civic 2006-2011 Apple CarPlay and Android Auto Plug and Plug Head Unit Upgrade Kit
Sale price$309.99
Regular price$599.99
Holden Colorado 2008-2012 Apple CarPlay and Android Auto Plug and Plug Head Unit Upgrade Kit
Sale priceFrom $379.95
Regular price$555.99

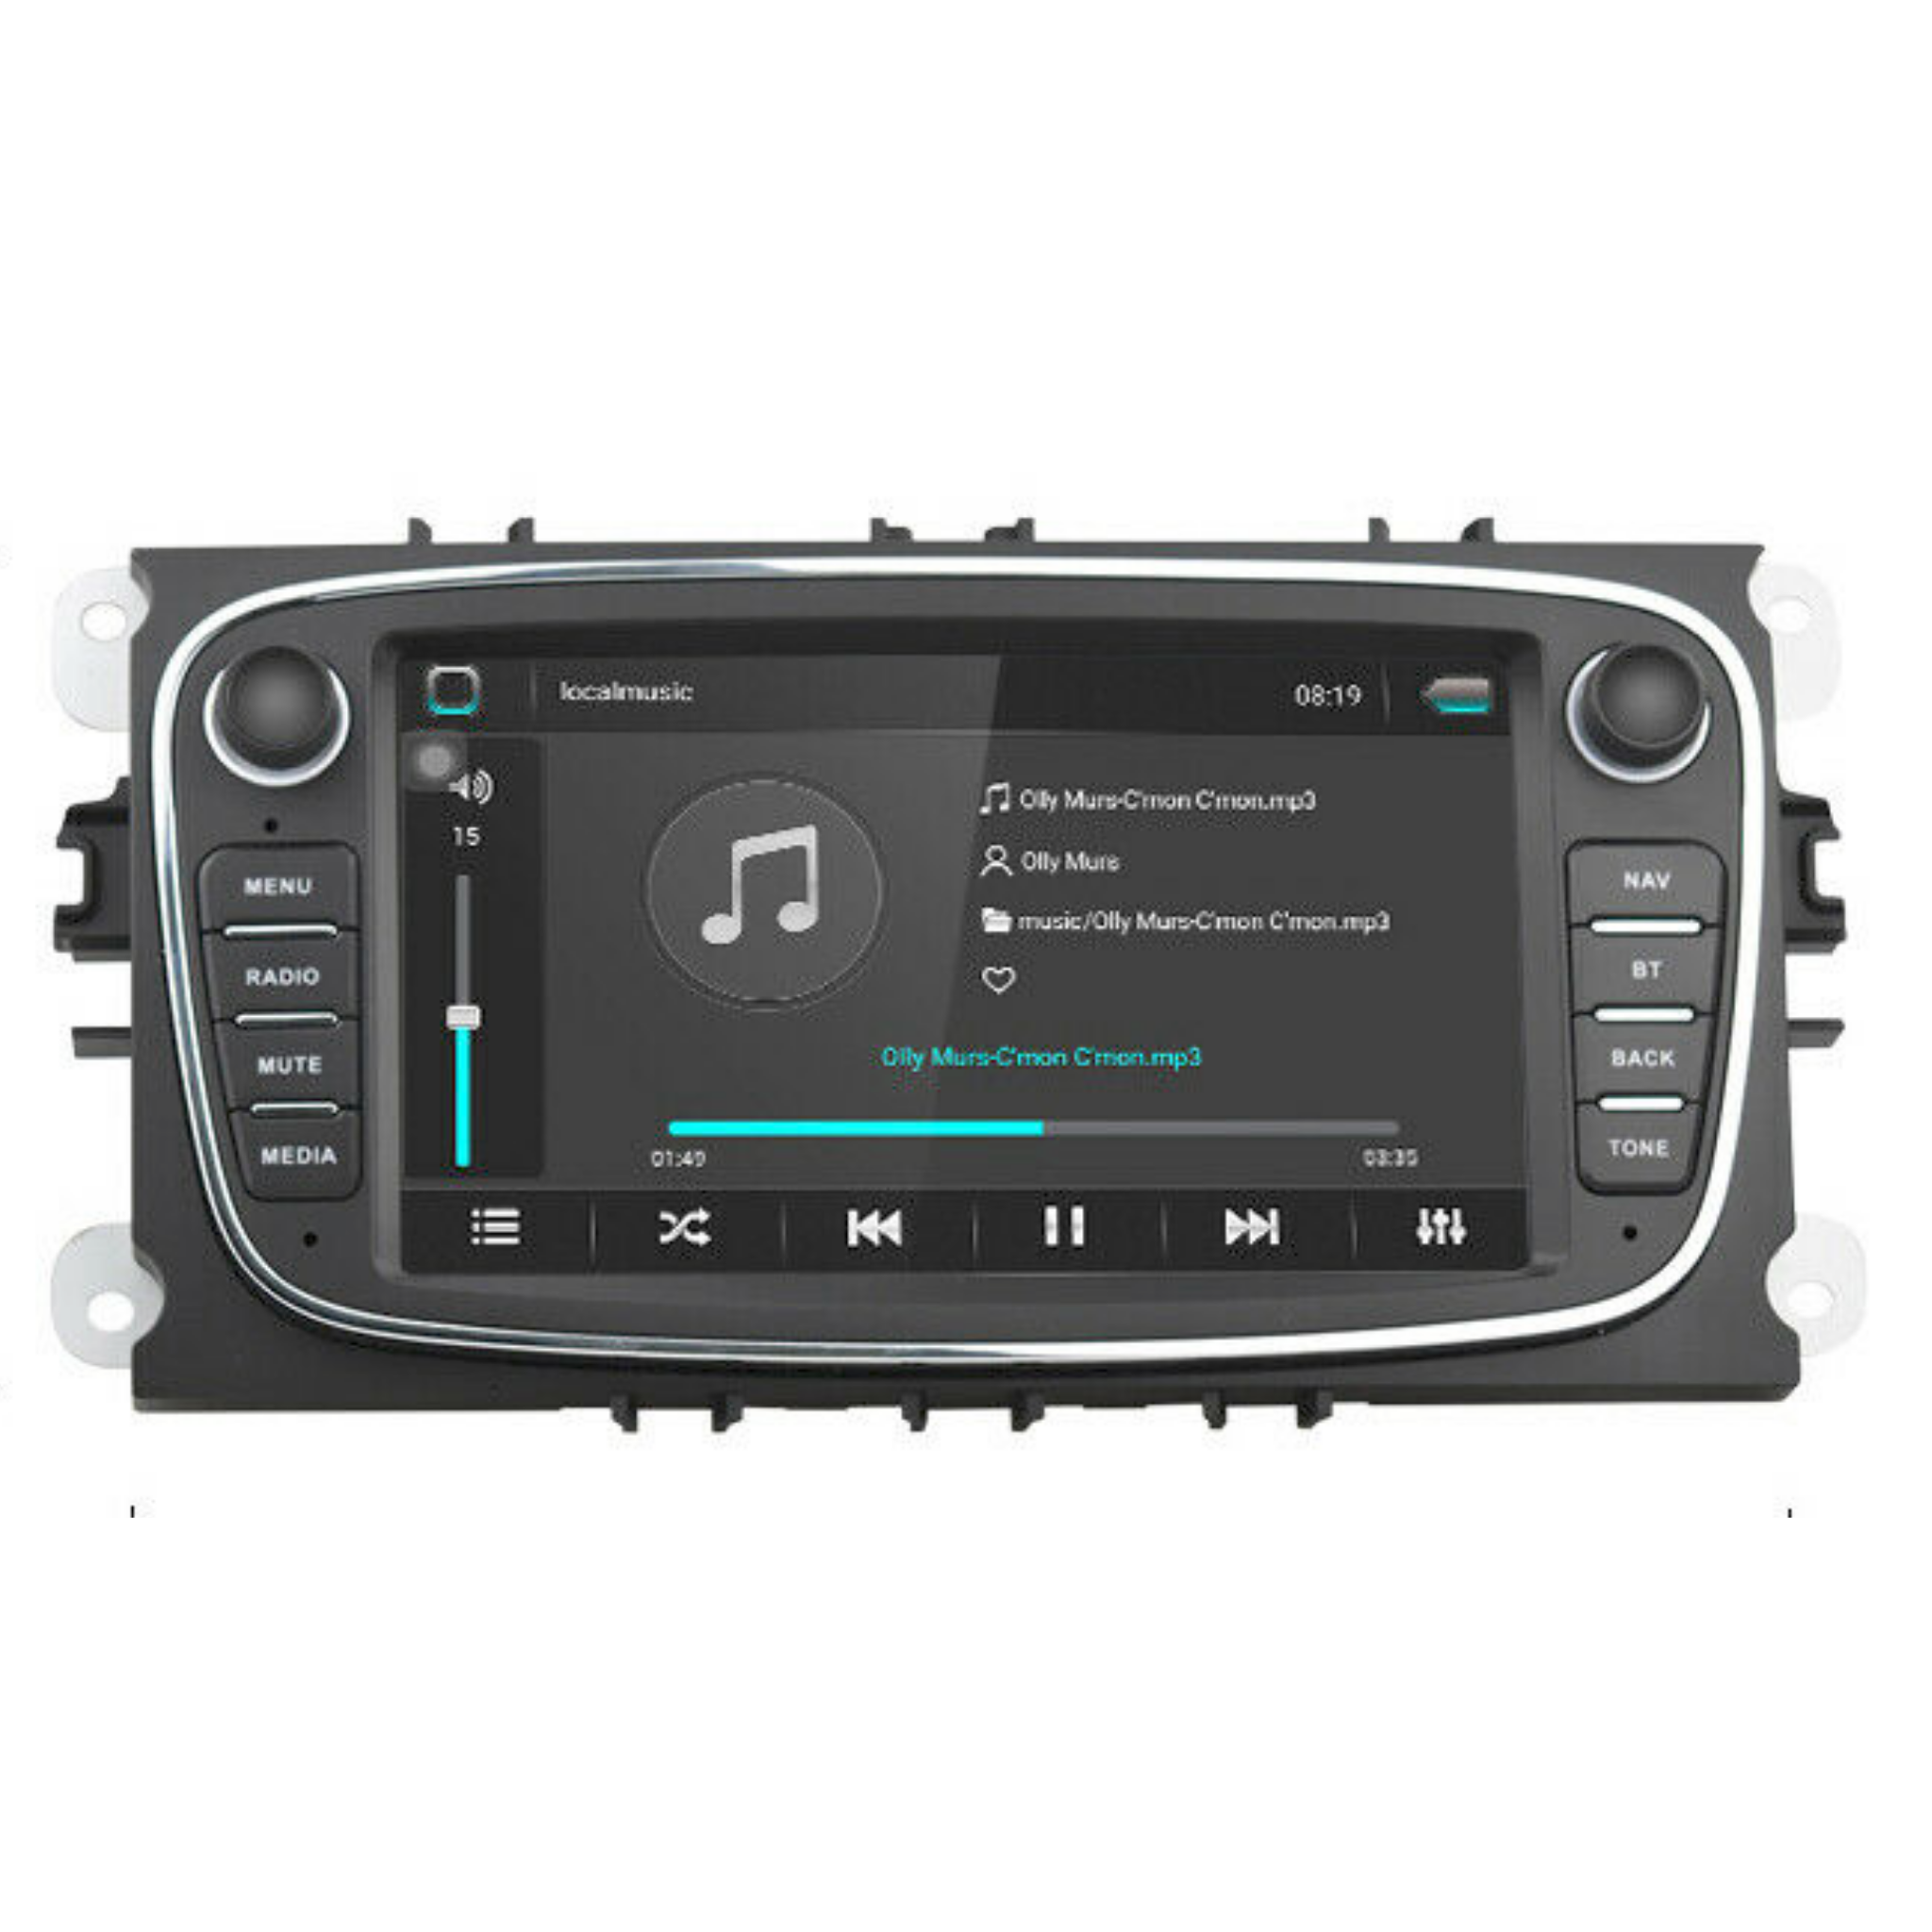
Ford Focus LV LS LT 2004-2011 Apple CarPlay and Android Auto Plug and Plug Head Unit Upgrade Kit
Sale priceFrom $369.95
Regular price$545.99
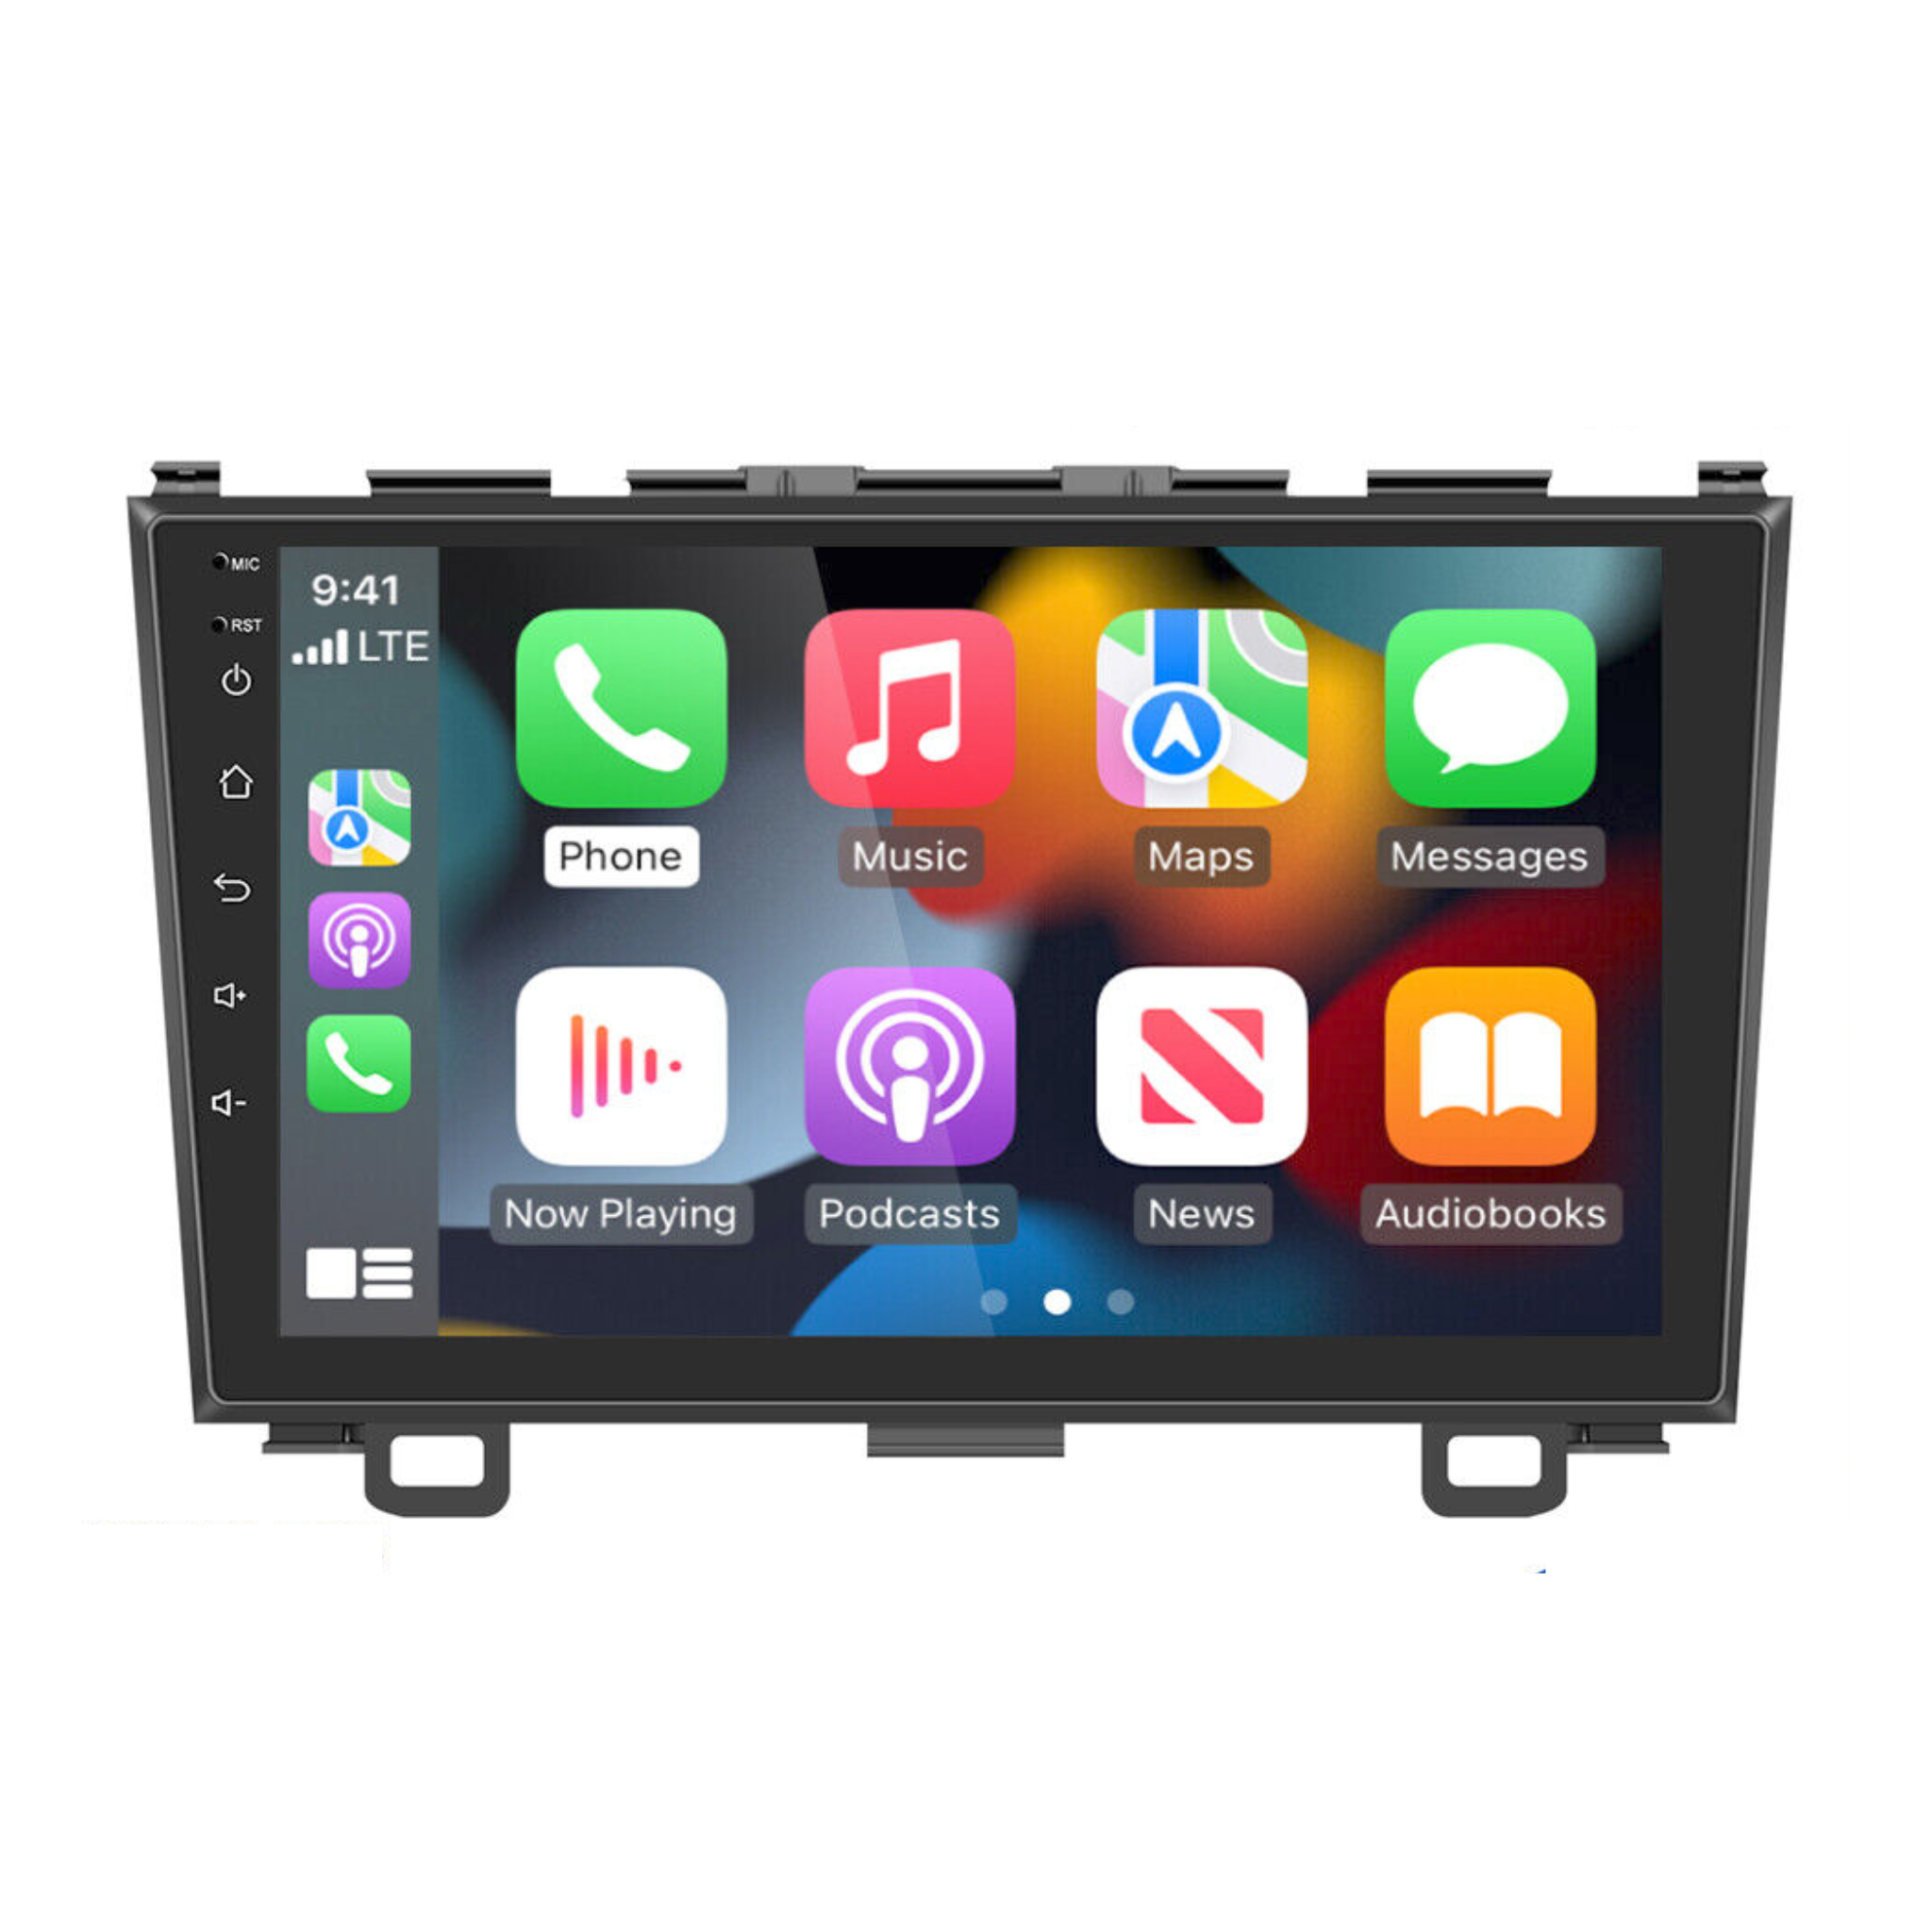
Honda CRV 2007-2011 Apple CarPlay and Android Auto Plug and Plug Head Unit Upgrade Kit
Sale price$329.99
Regular price$489.99
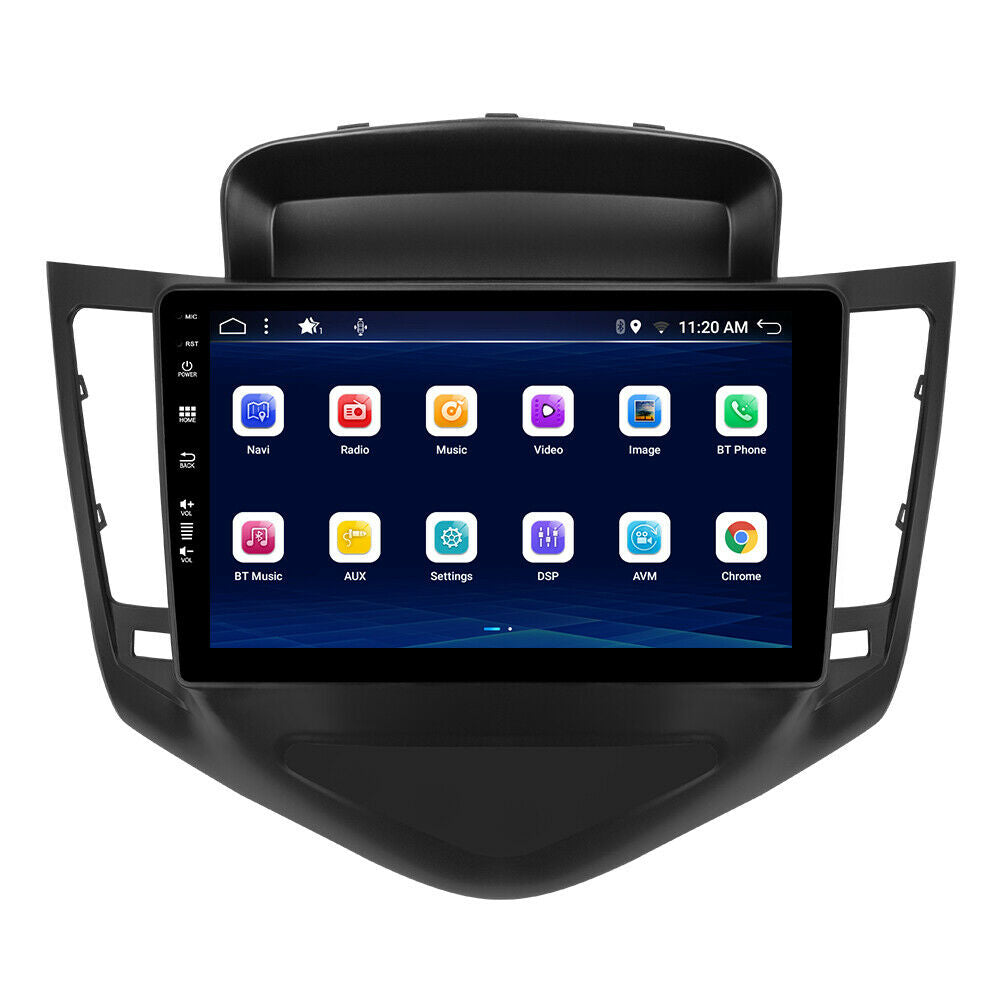
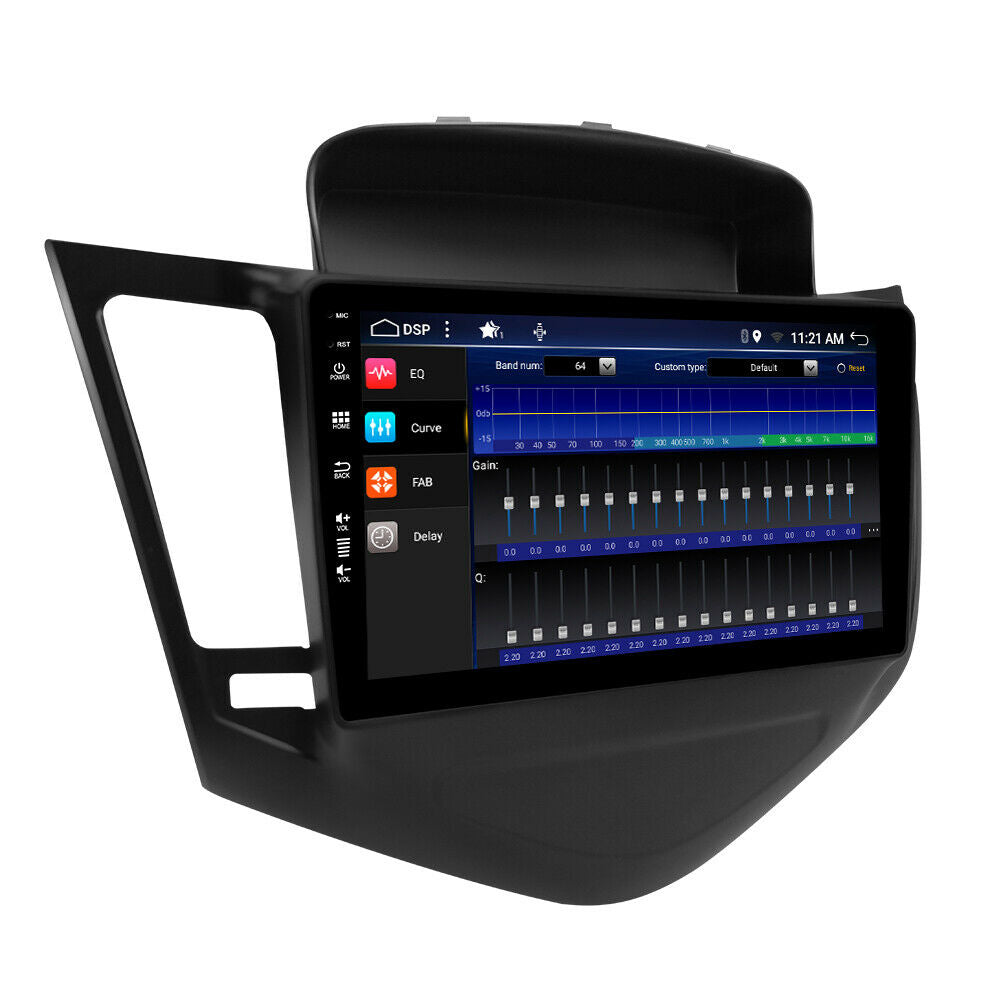
Holden Cruze 2009-2015 Apple CarPlay/Android Auto Plug & Plug Upgrade Kit
Sale price$339.99
Regular price$559.99
Holden Colorado (Non MyLink) 2012-2016 Apple CarPlay and Android Auto Plug and Plug Head Unit Upgrade Kit
Sale priceFrom $349.95
Regular price$599.95
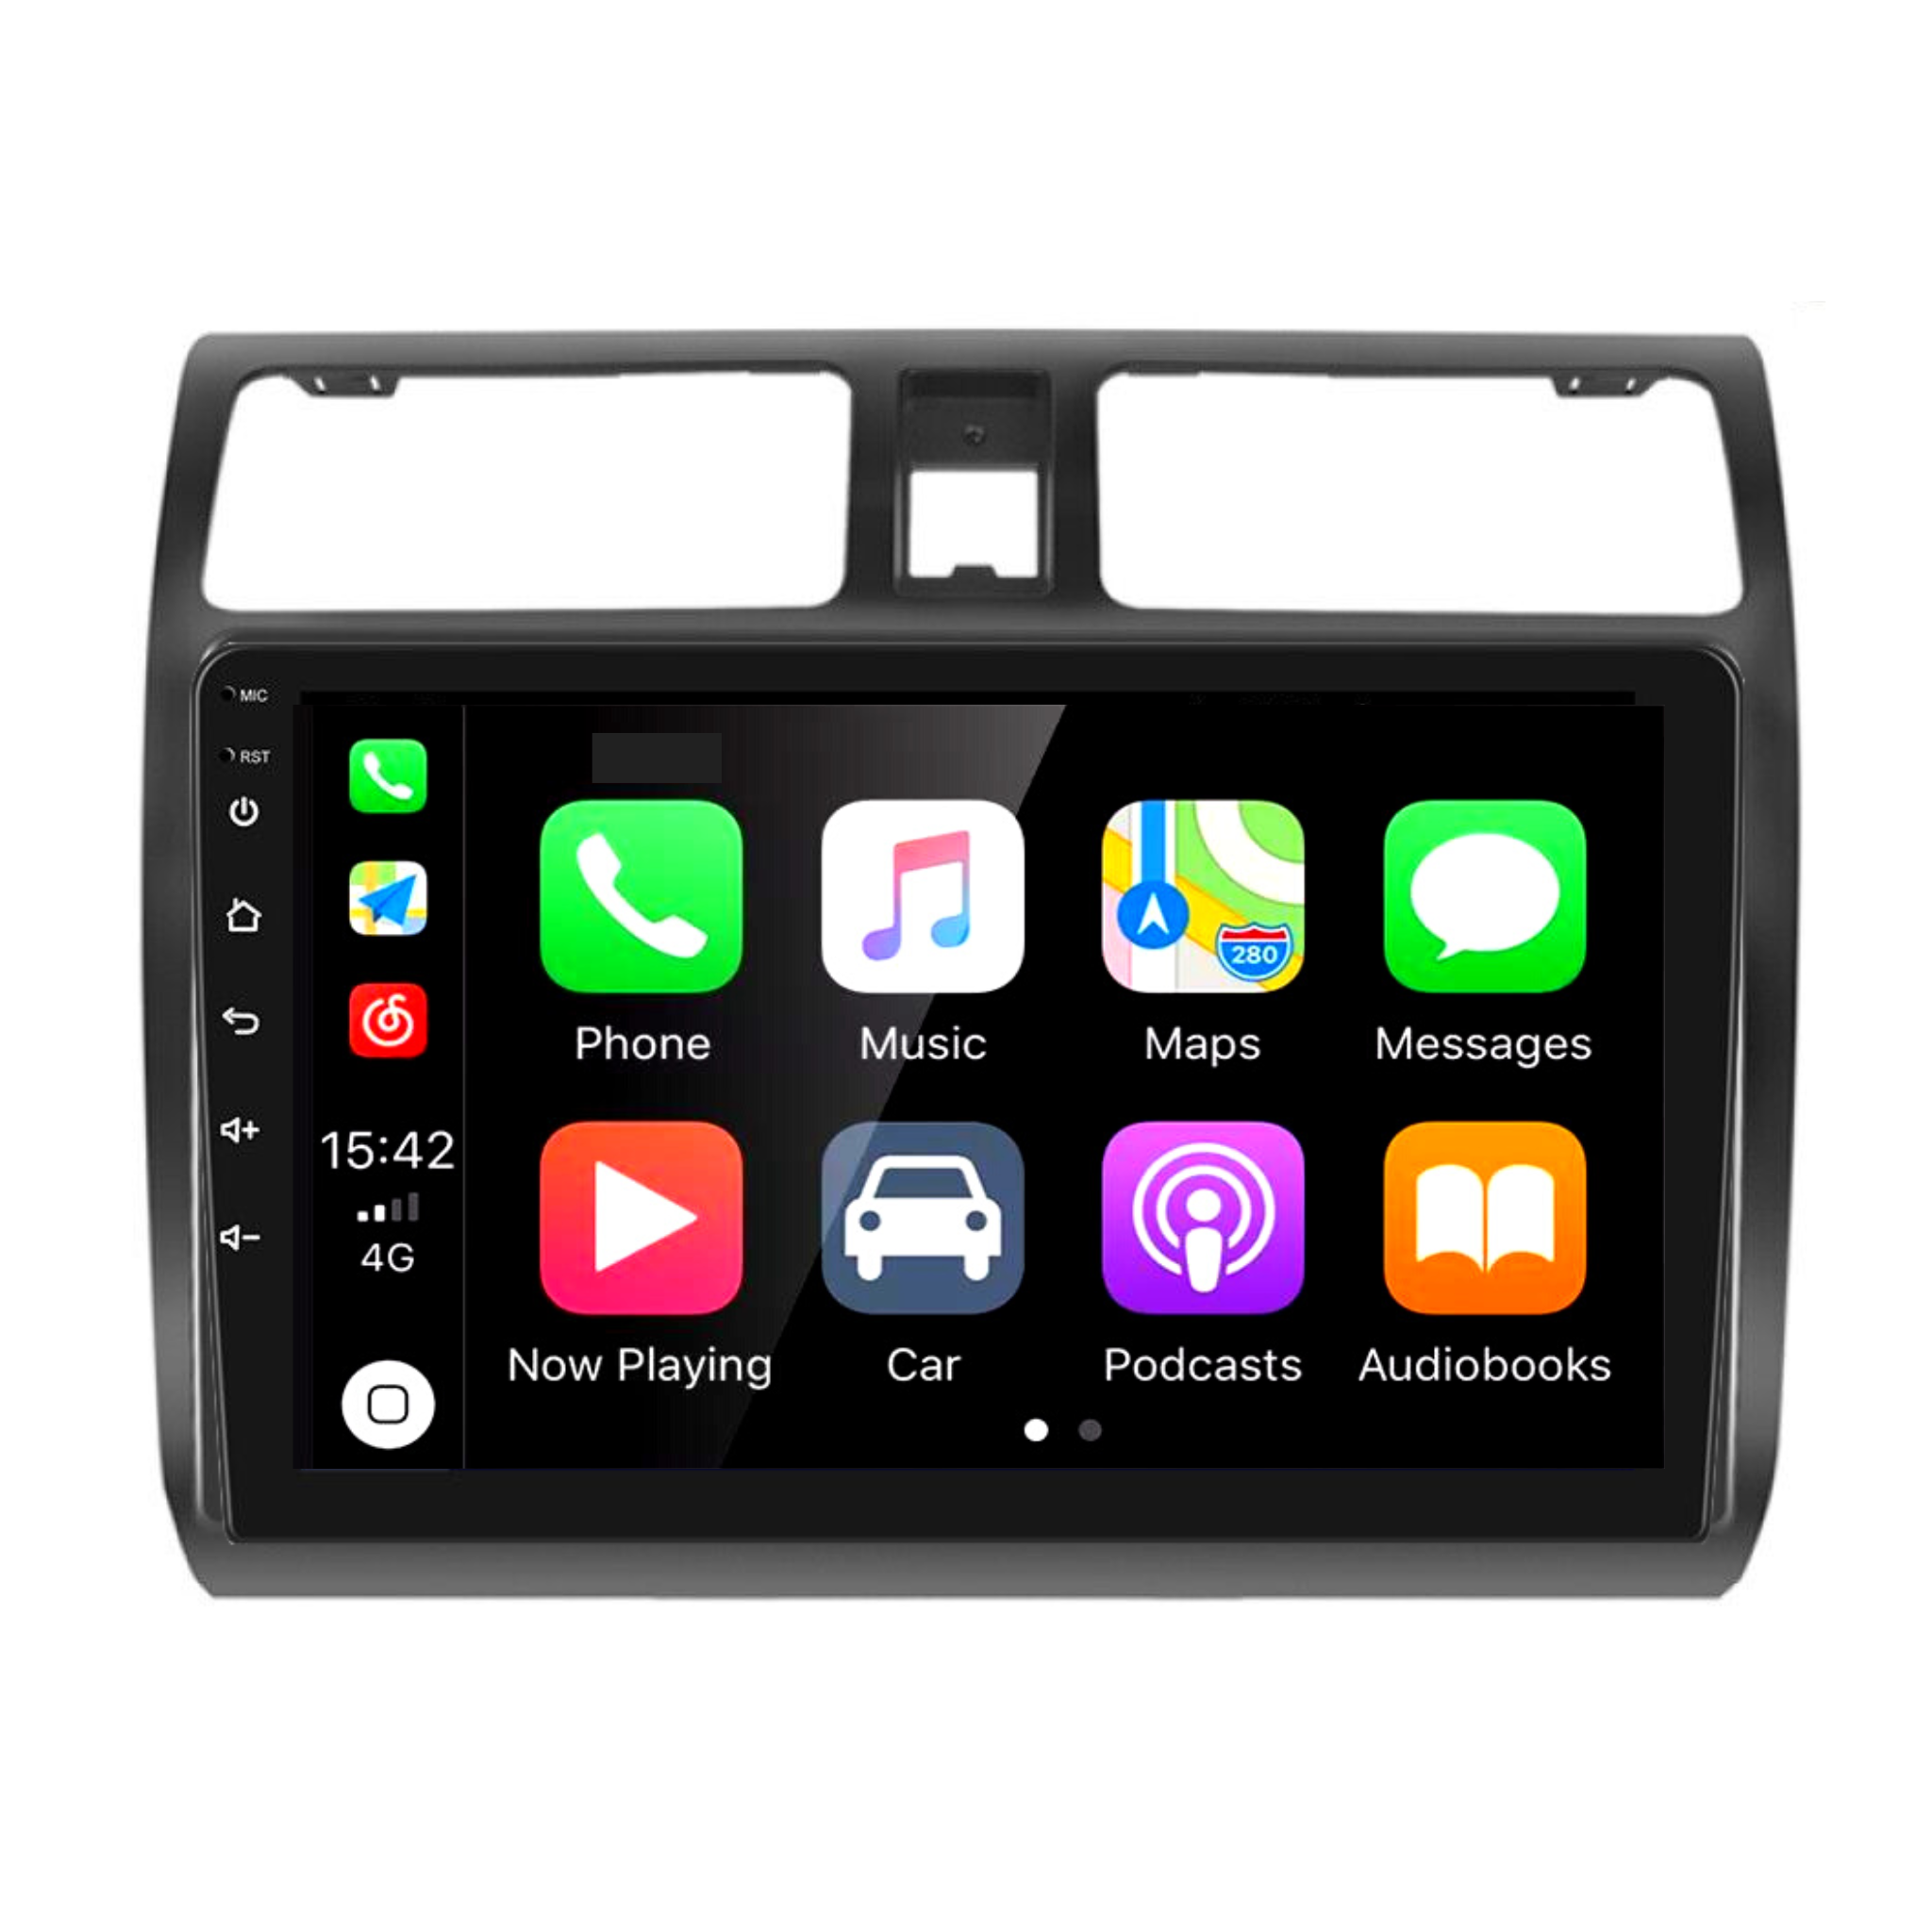
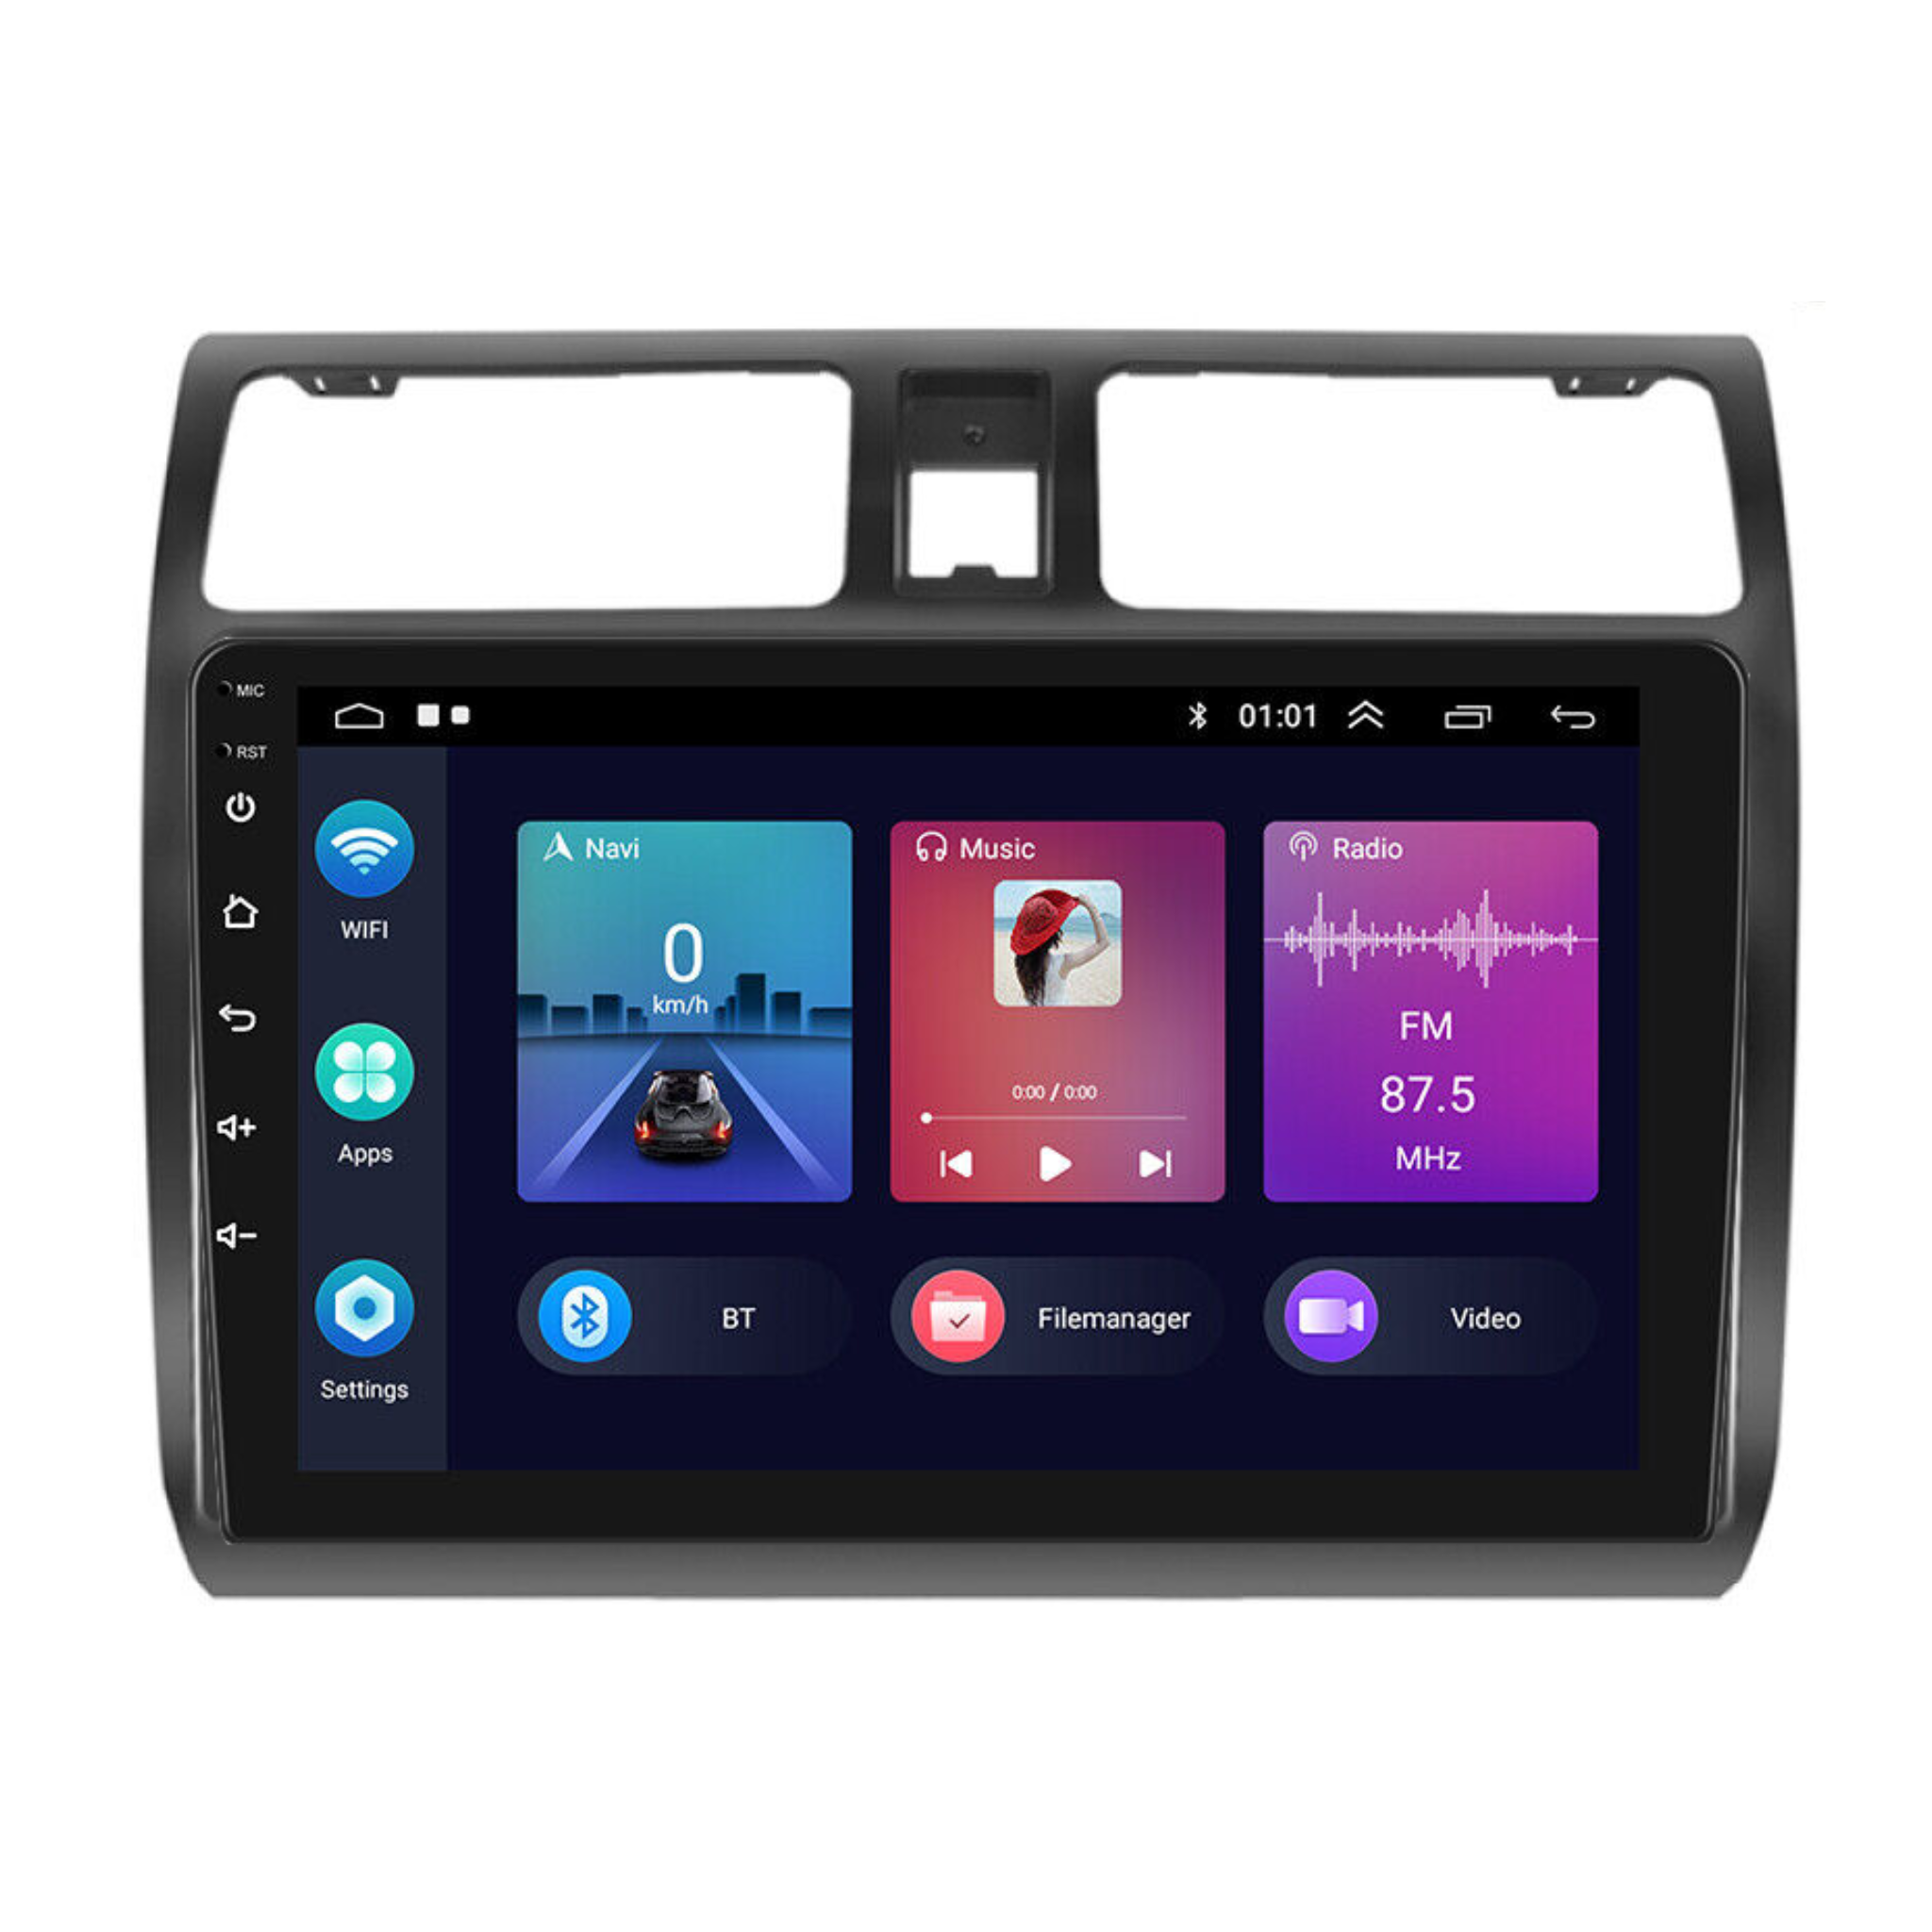
Suzuki Swift 2005-2010 - Apple CarPlay and Android Auto Plug and Plug Head Unit Upgrade Kit
Sale price$389.99
Regular price$489.99
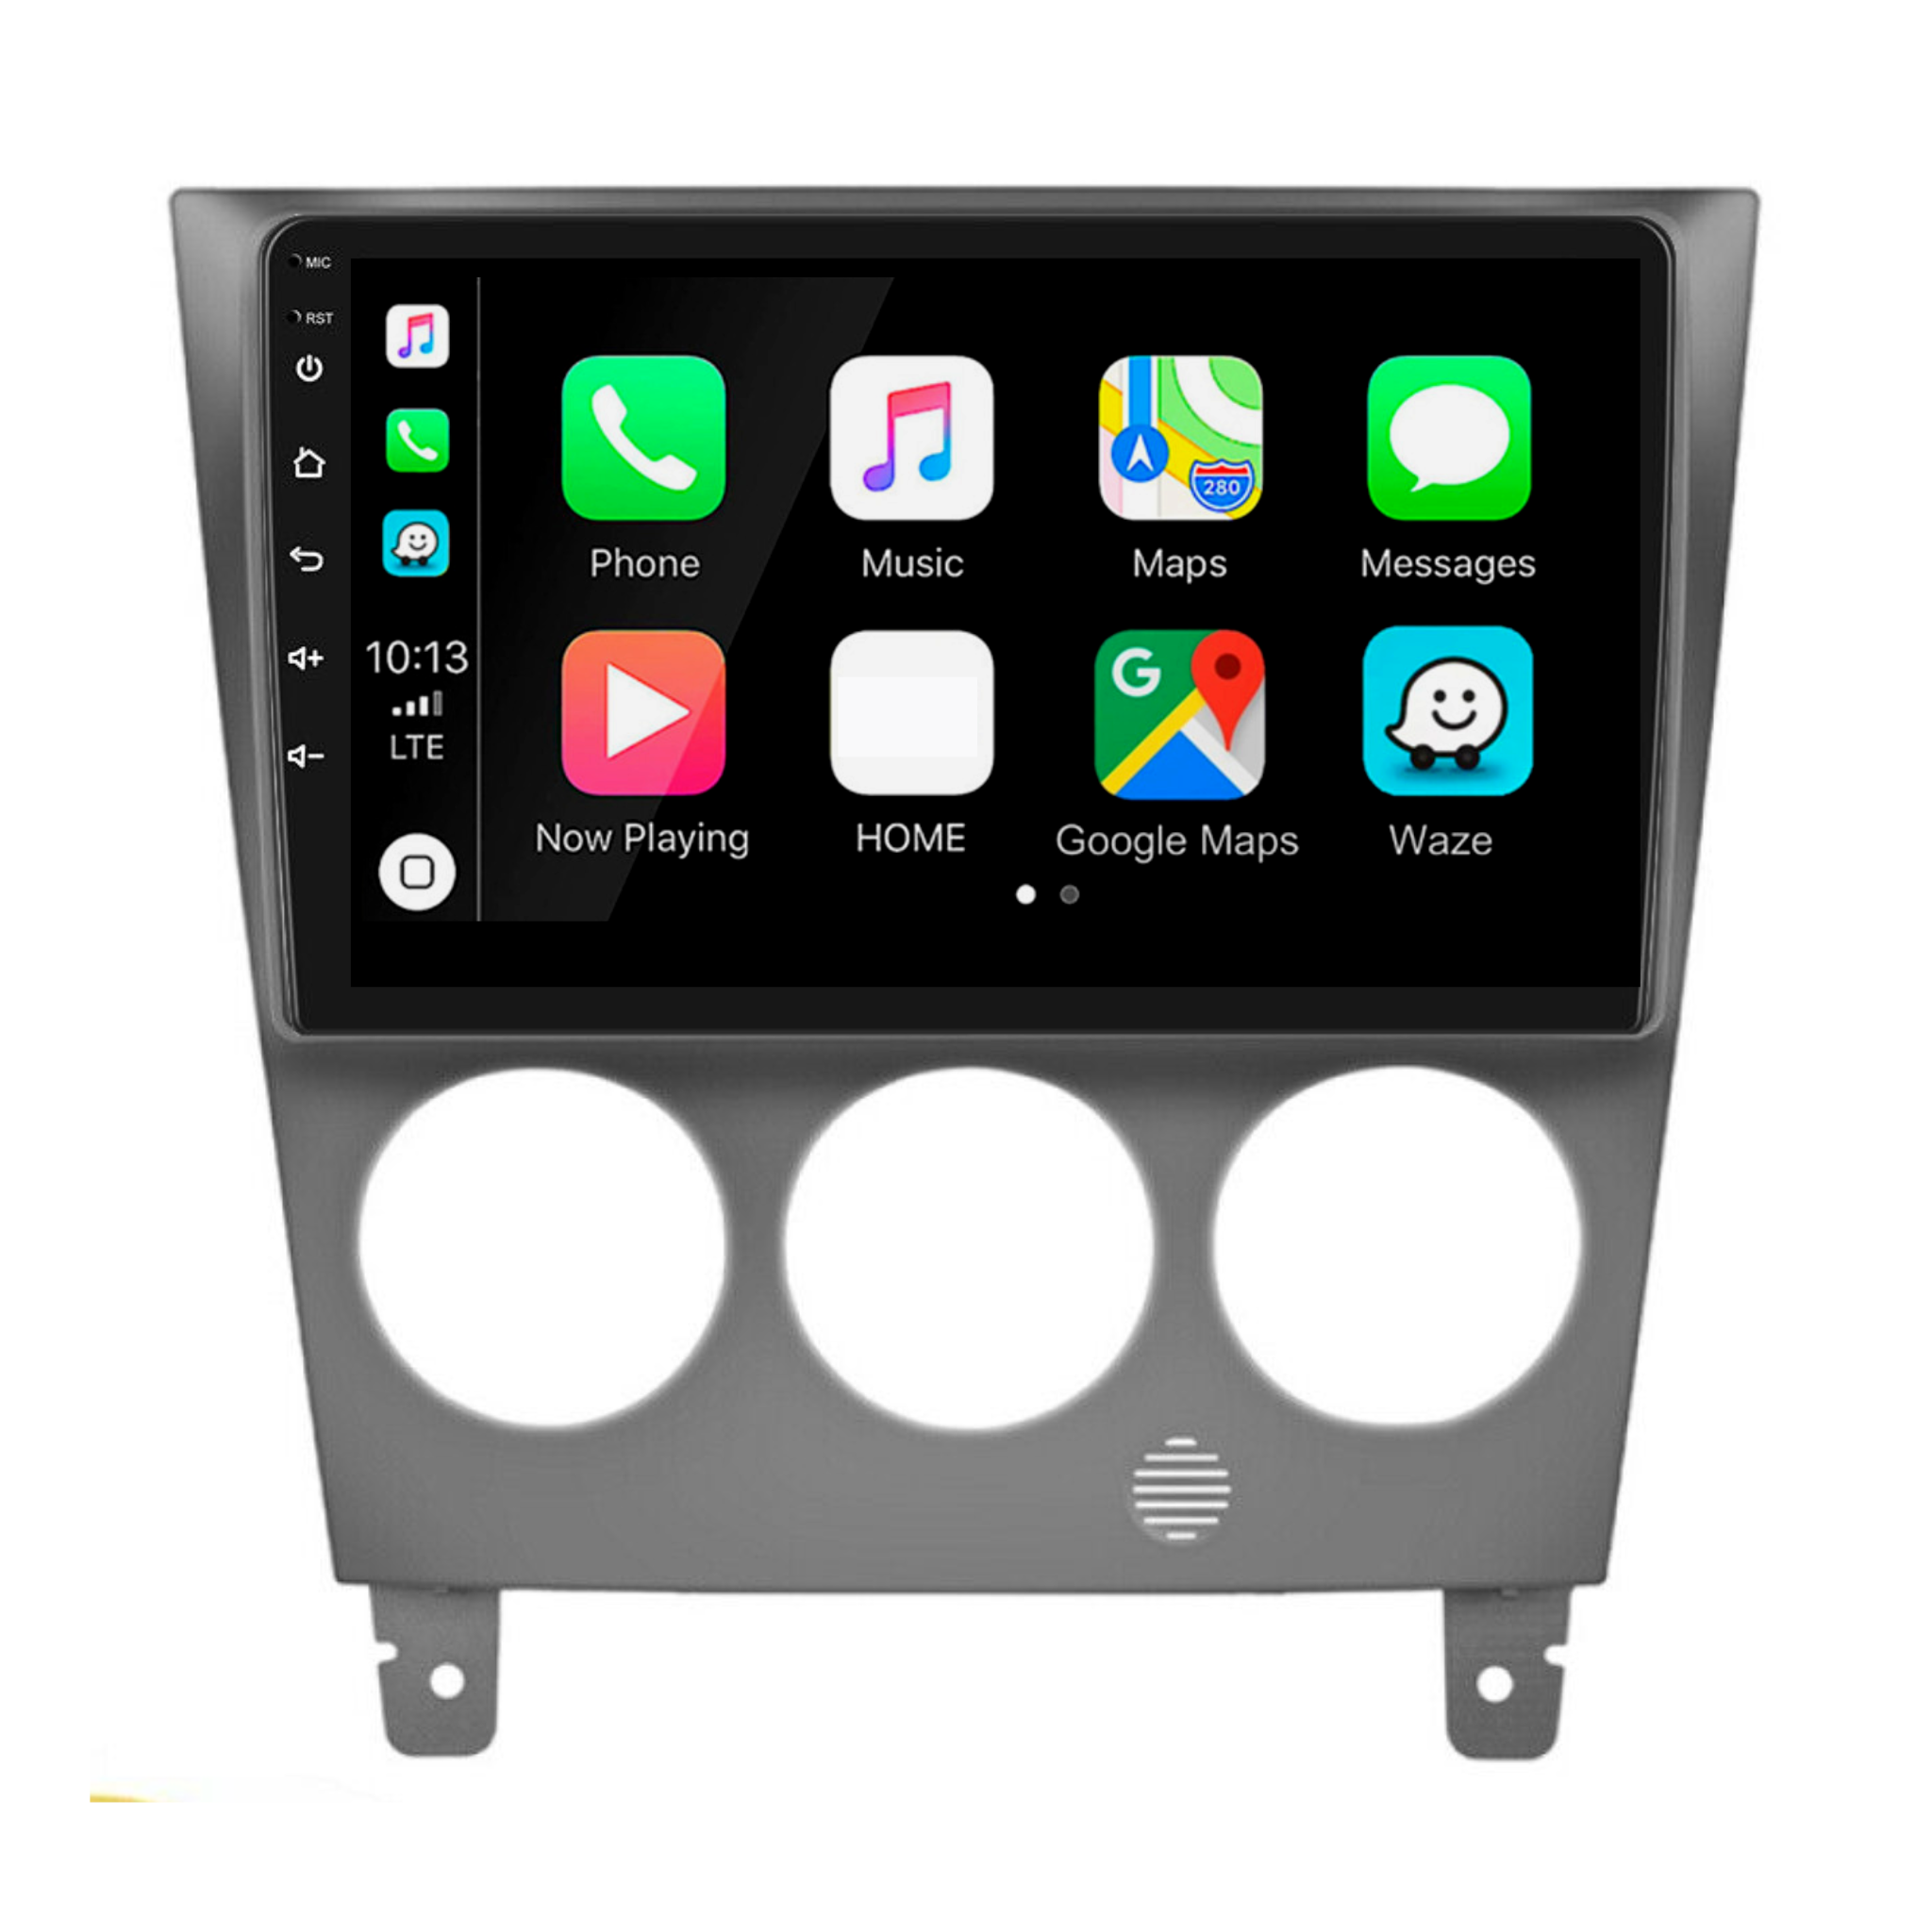
Subaru Impreza/WRX 2002-2007 Apple CarPlay and Android Auto Plug and Plug Head Unit Upgrade Kit
Sale priceFrom $389.99
Regular price$589.99
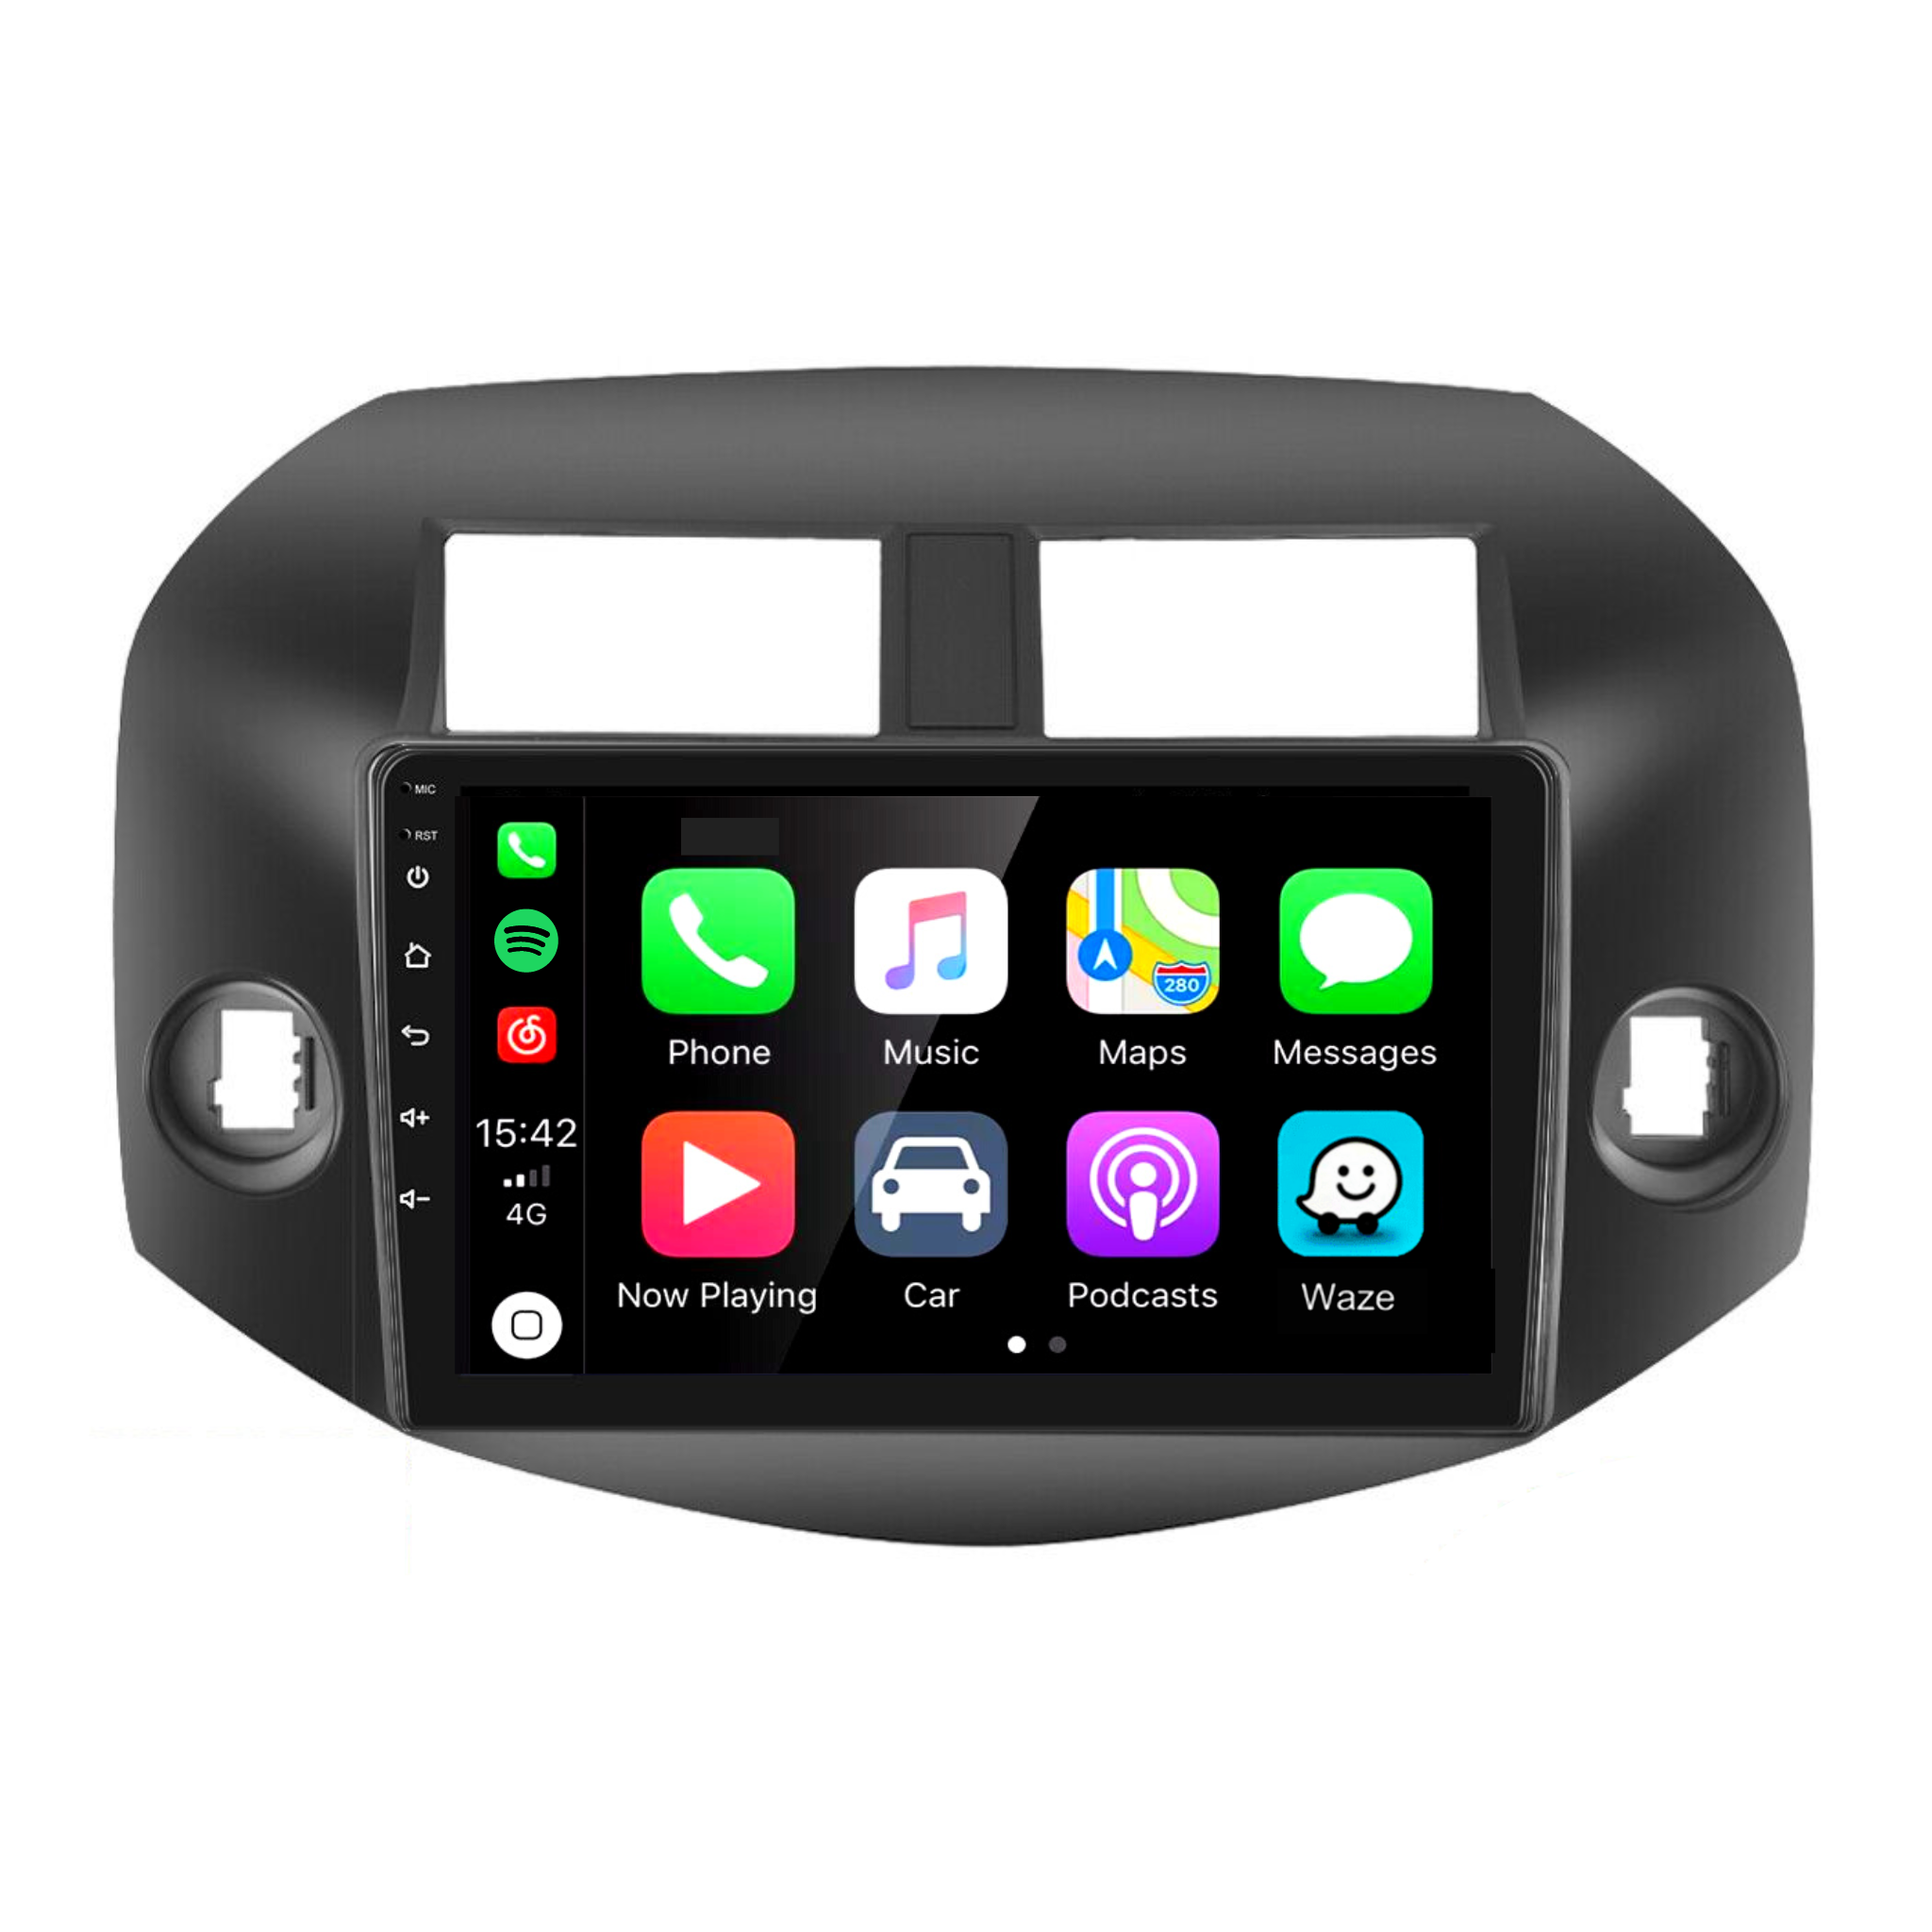
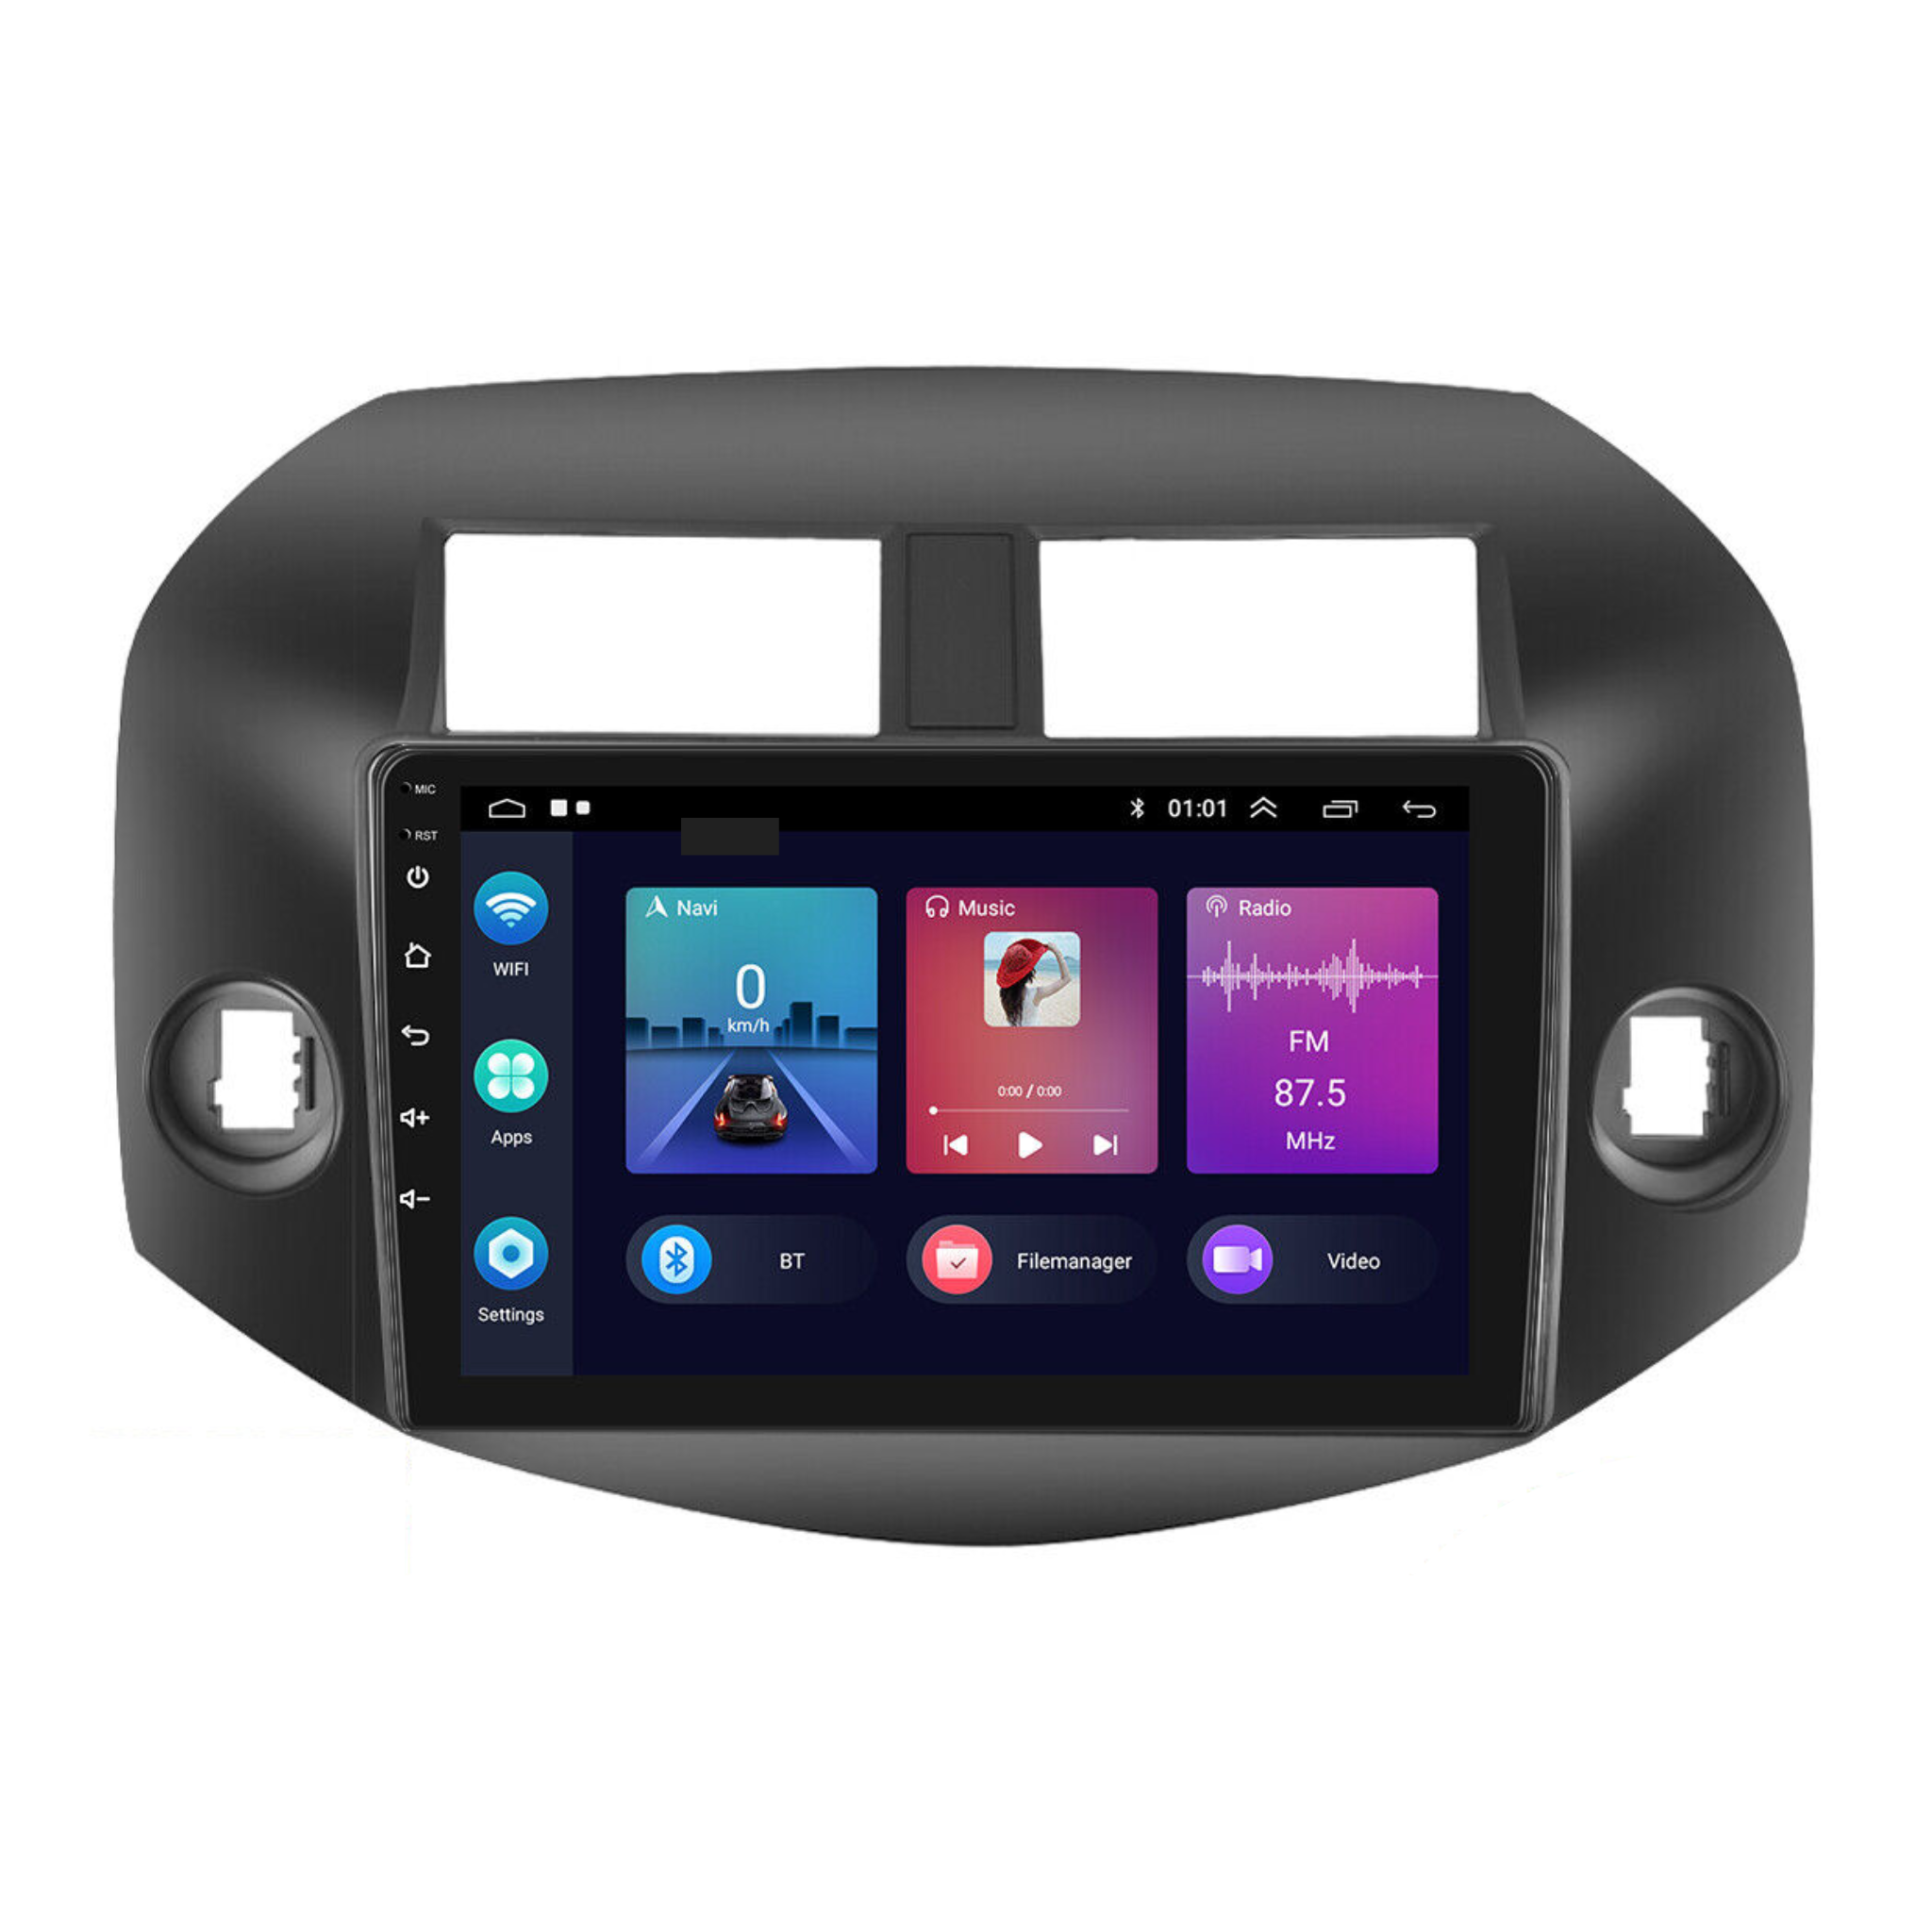
Toyota RAV4 2006-2012 Apple CarPlay and Android Auto Plug and Plug Head Unit Upgrade Kit
Sale priceFrom $369.95
Regular price$545.99
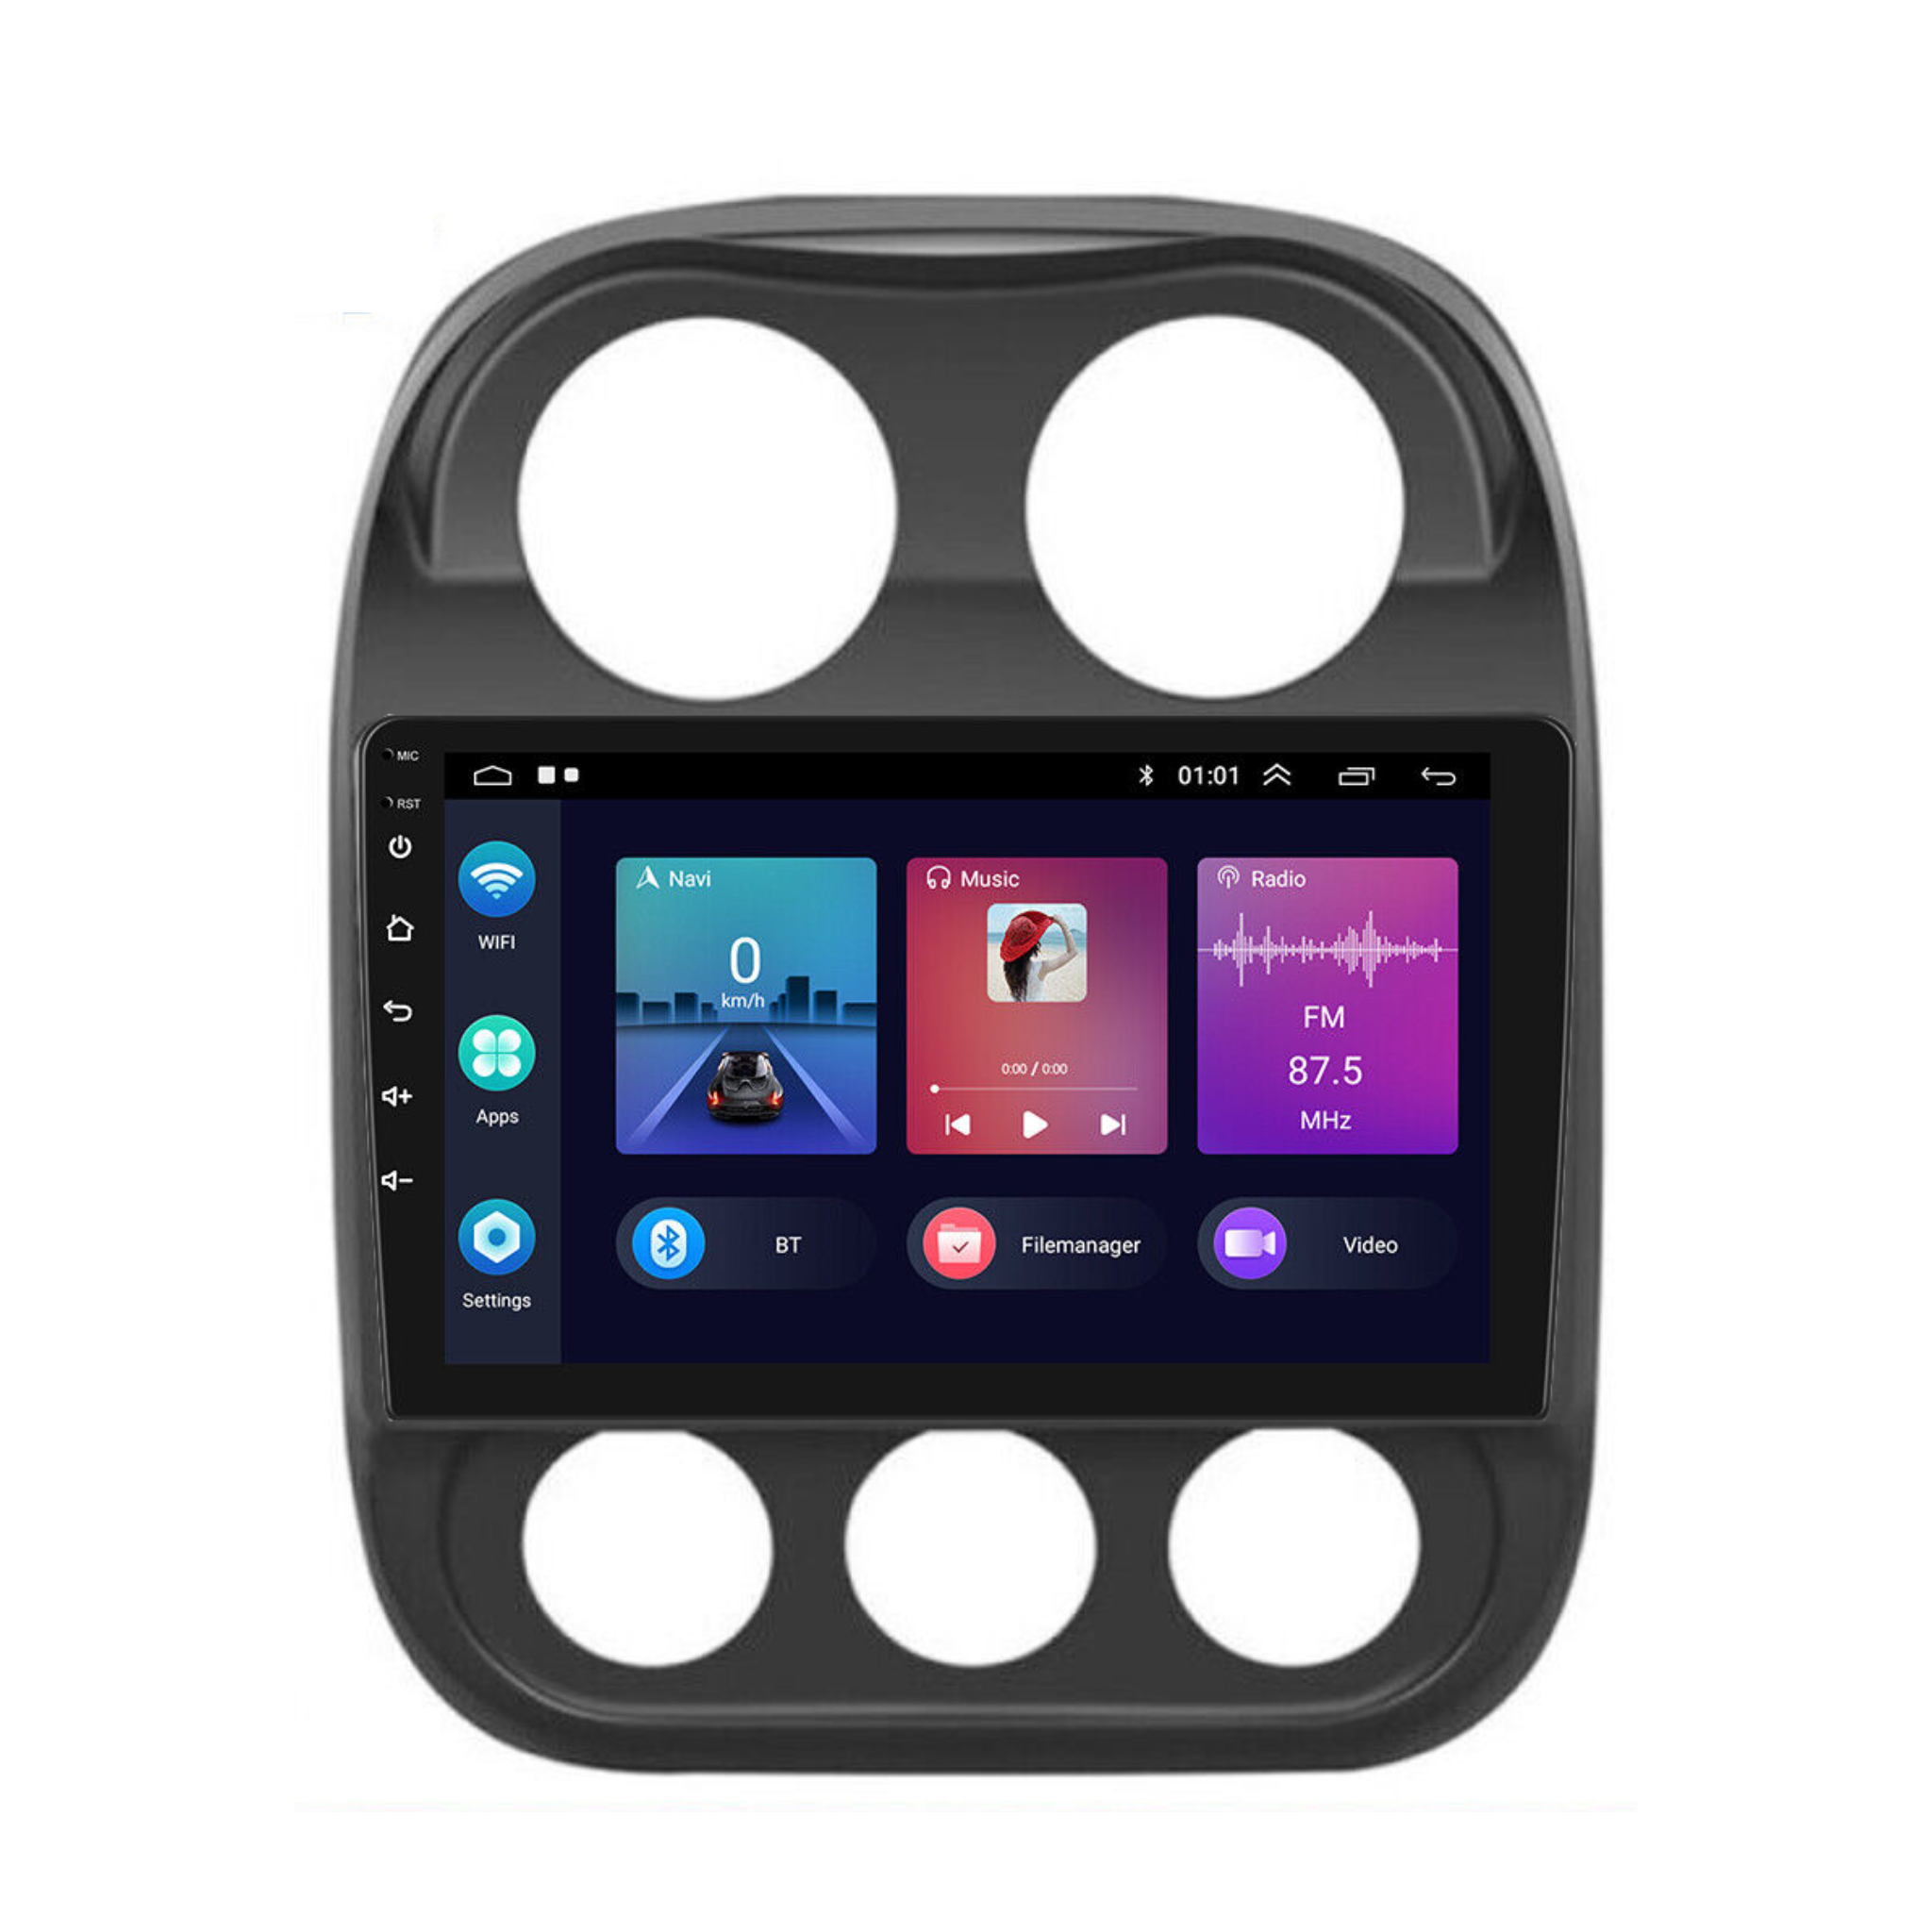
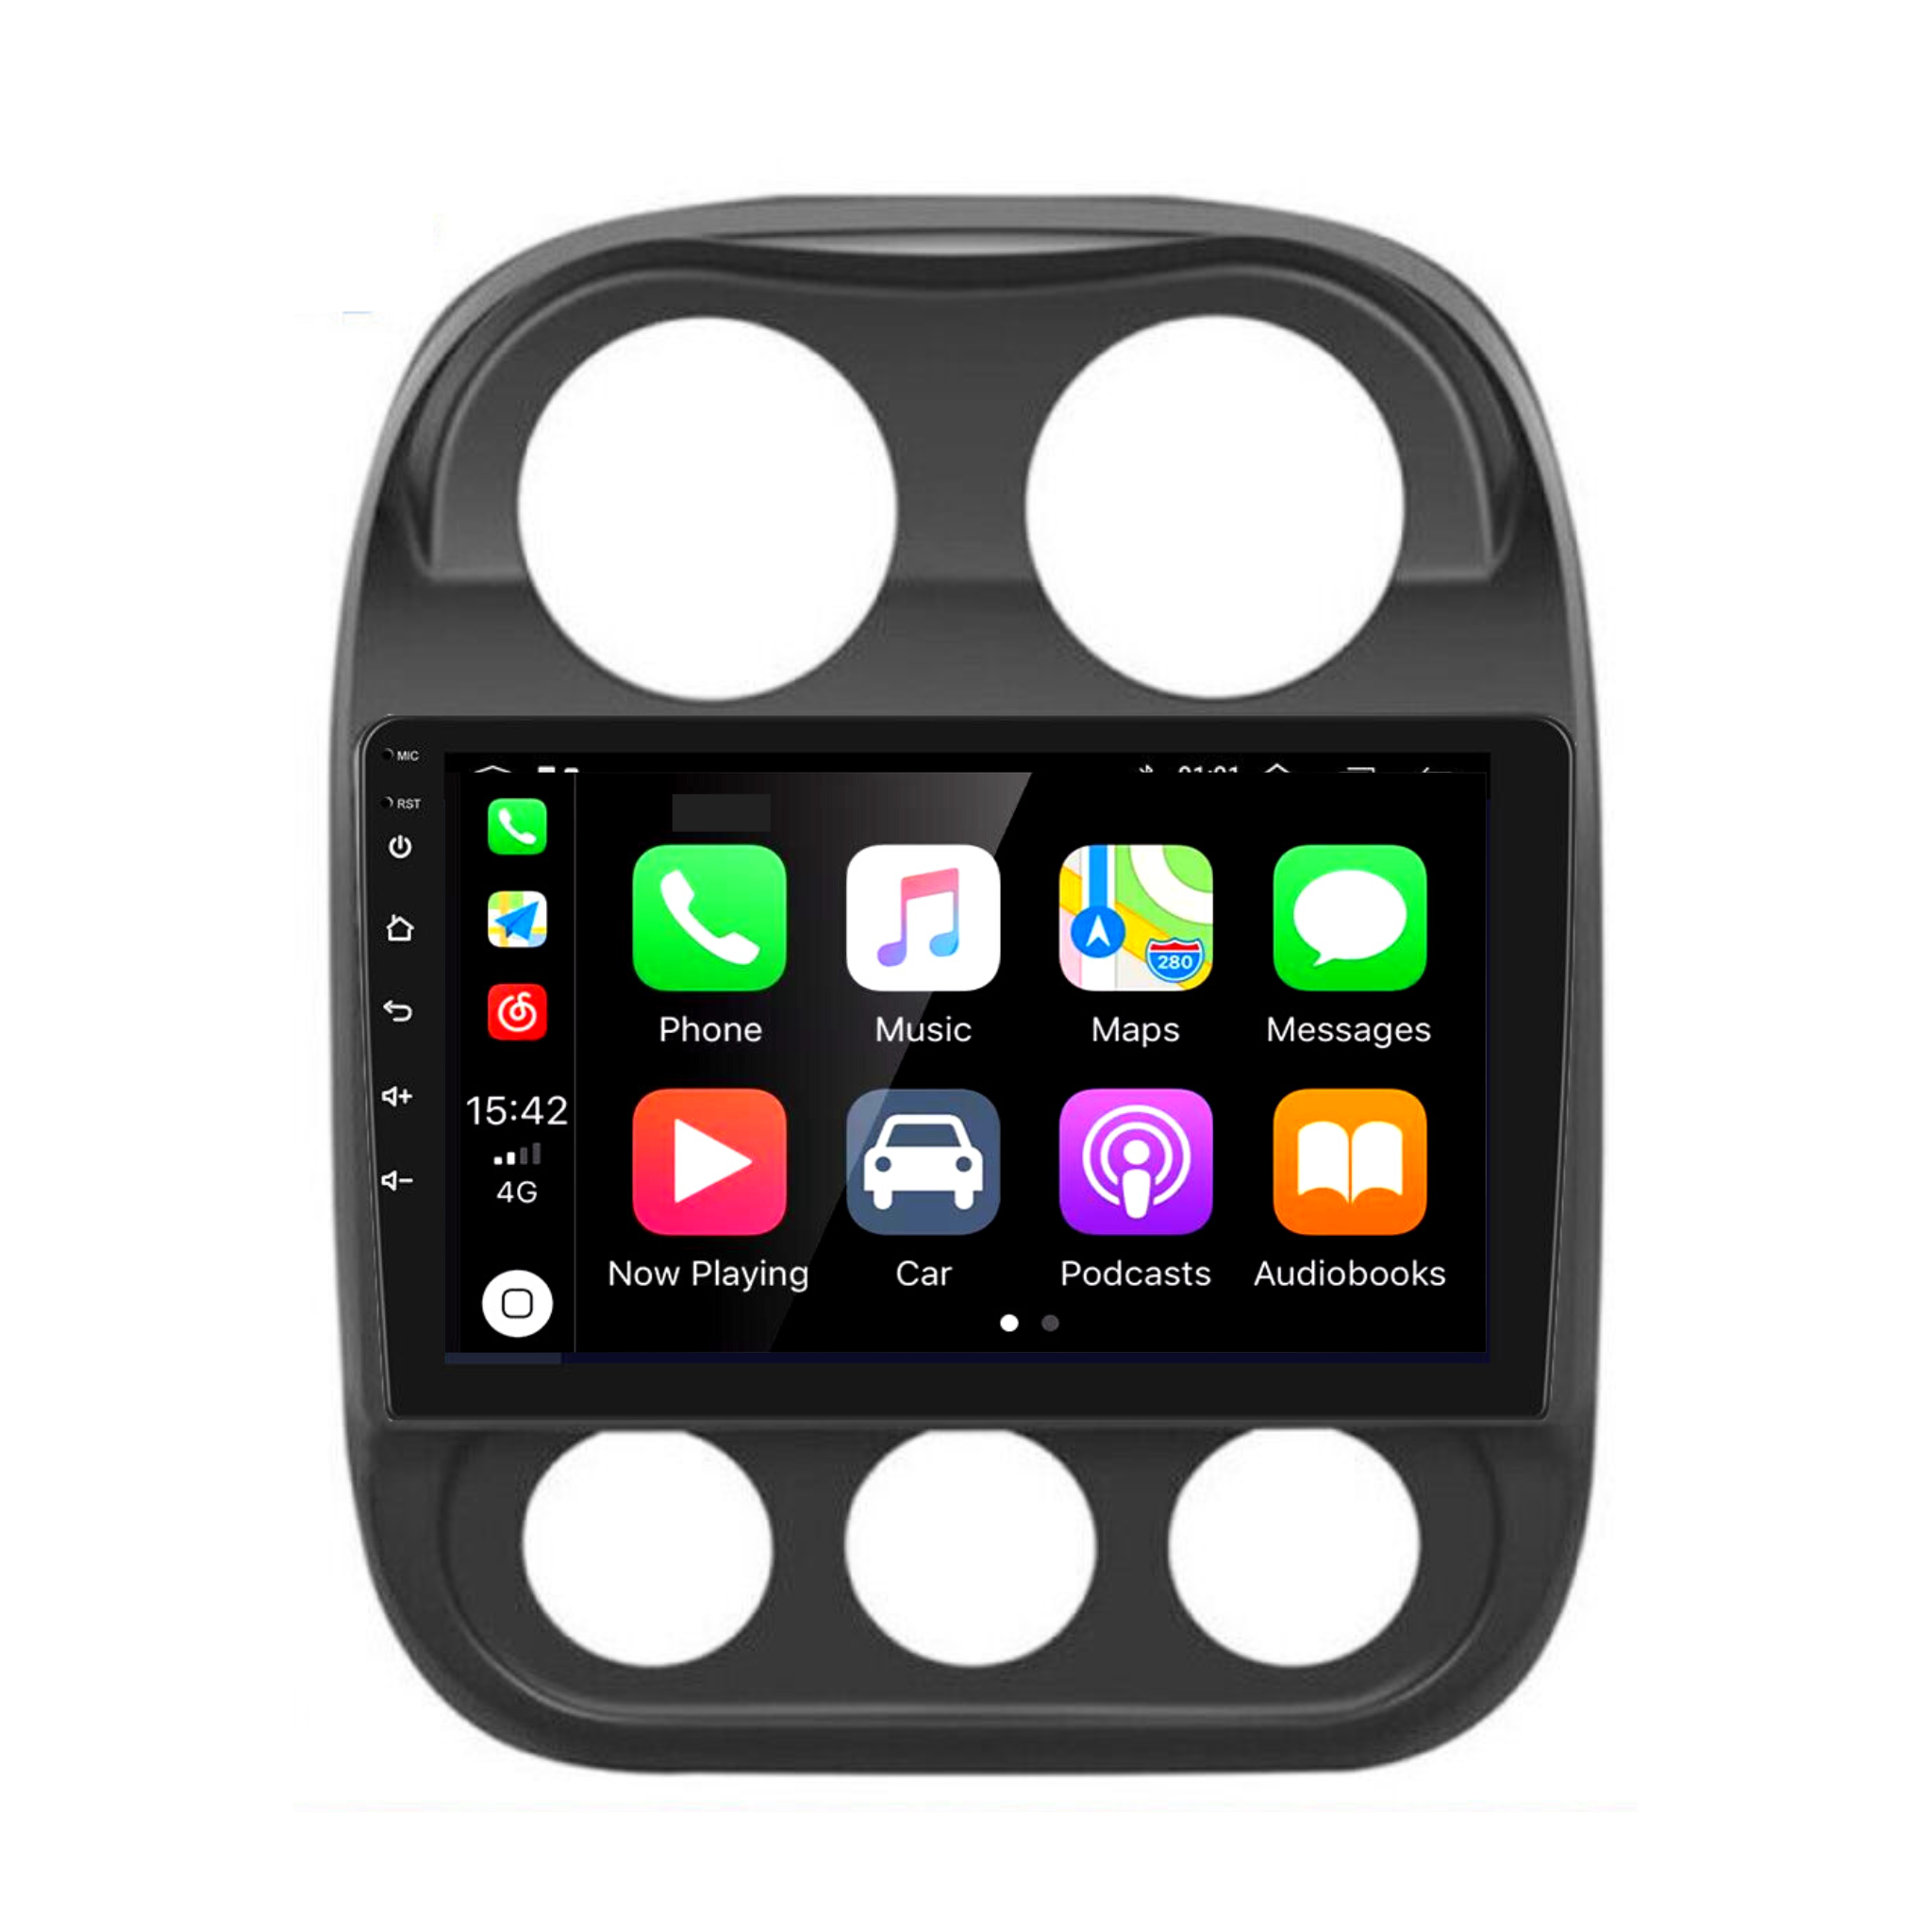
Jeep Patriot & Compass 2009-2016 - Apple CarPlay and Android Auto Plug and Plug Head Unit Upgrade Kit
Sale price$399.99
Regular price$749.99
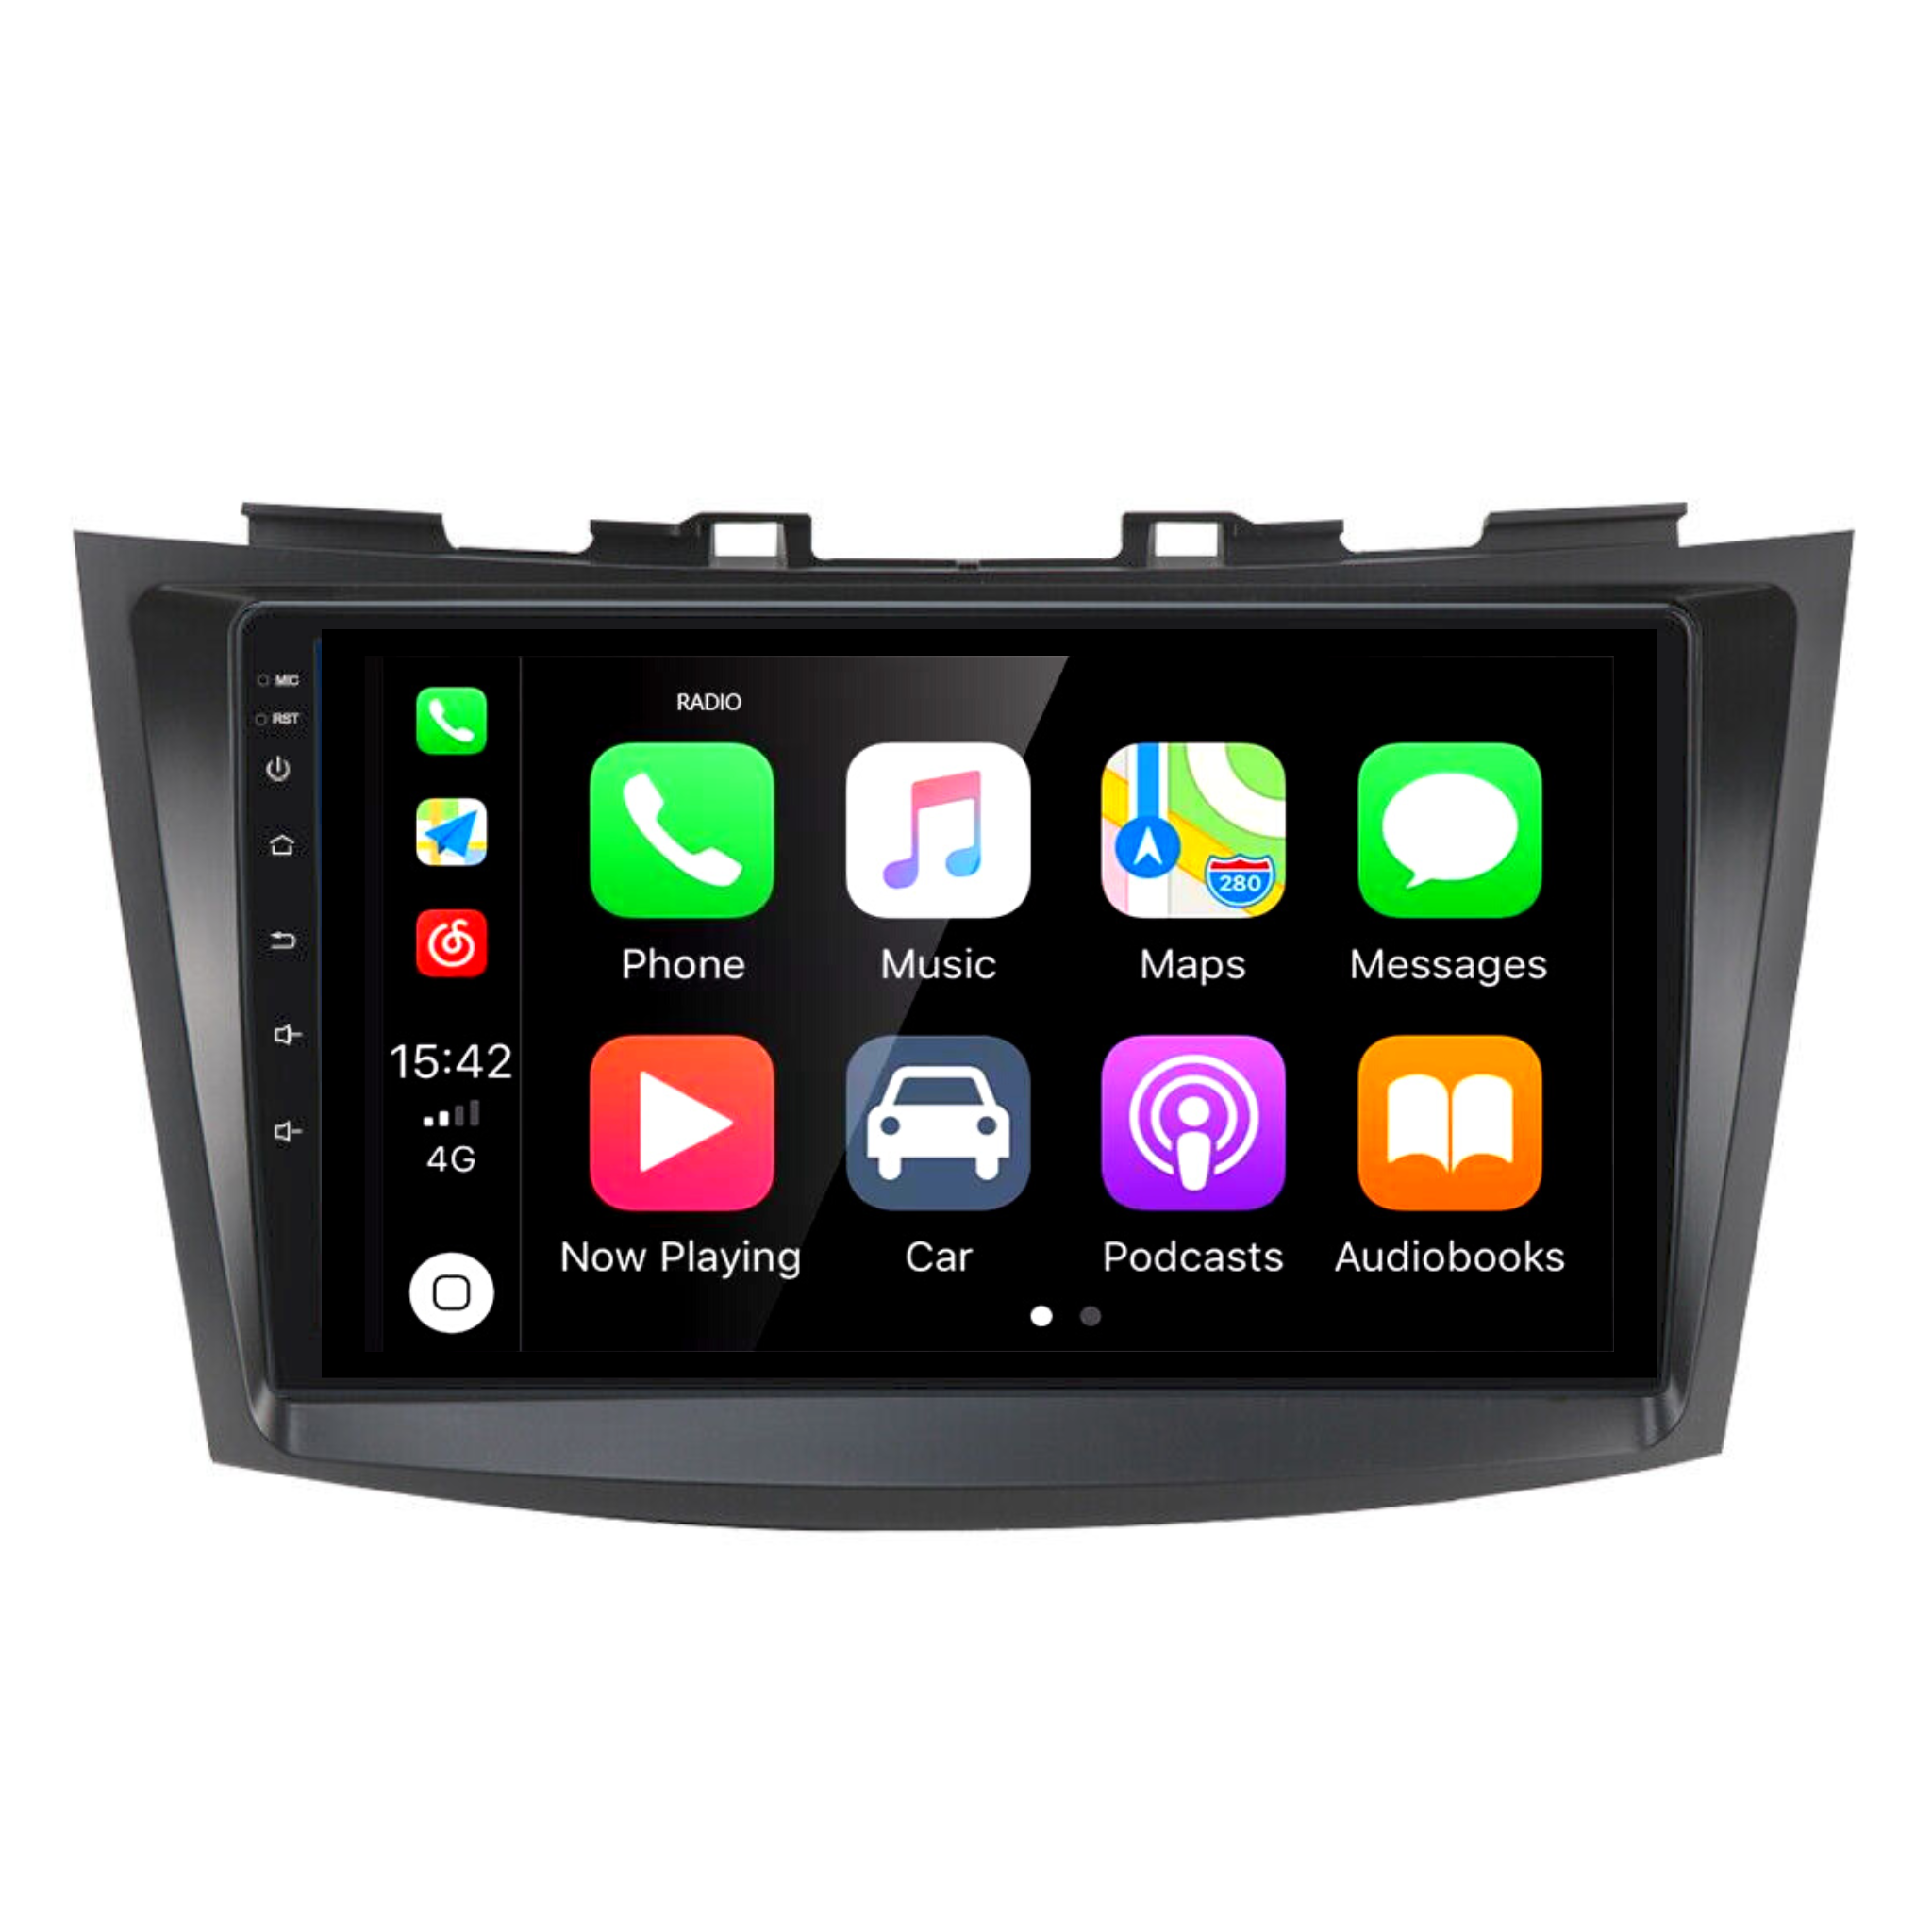
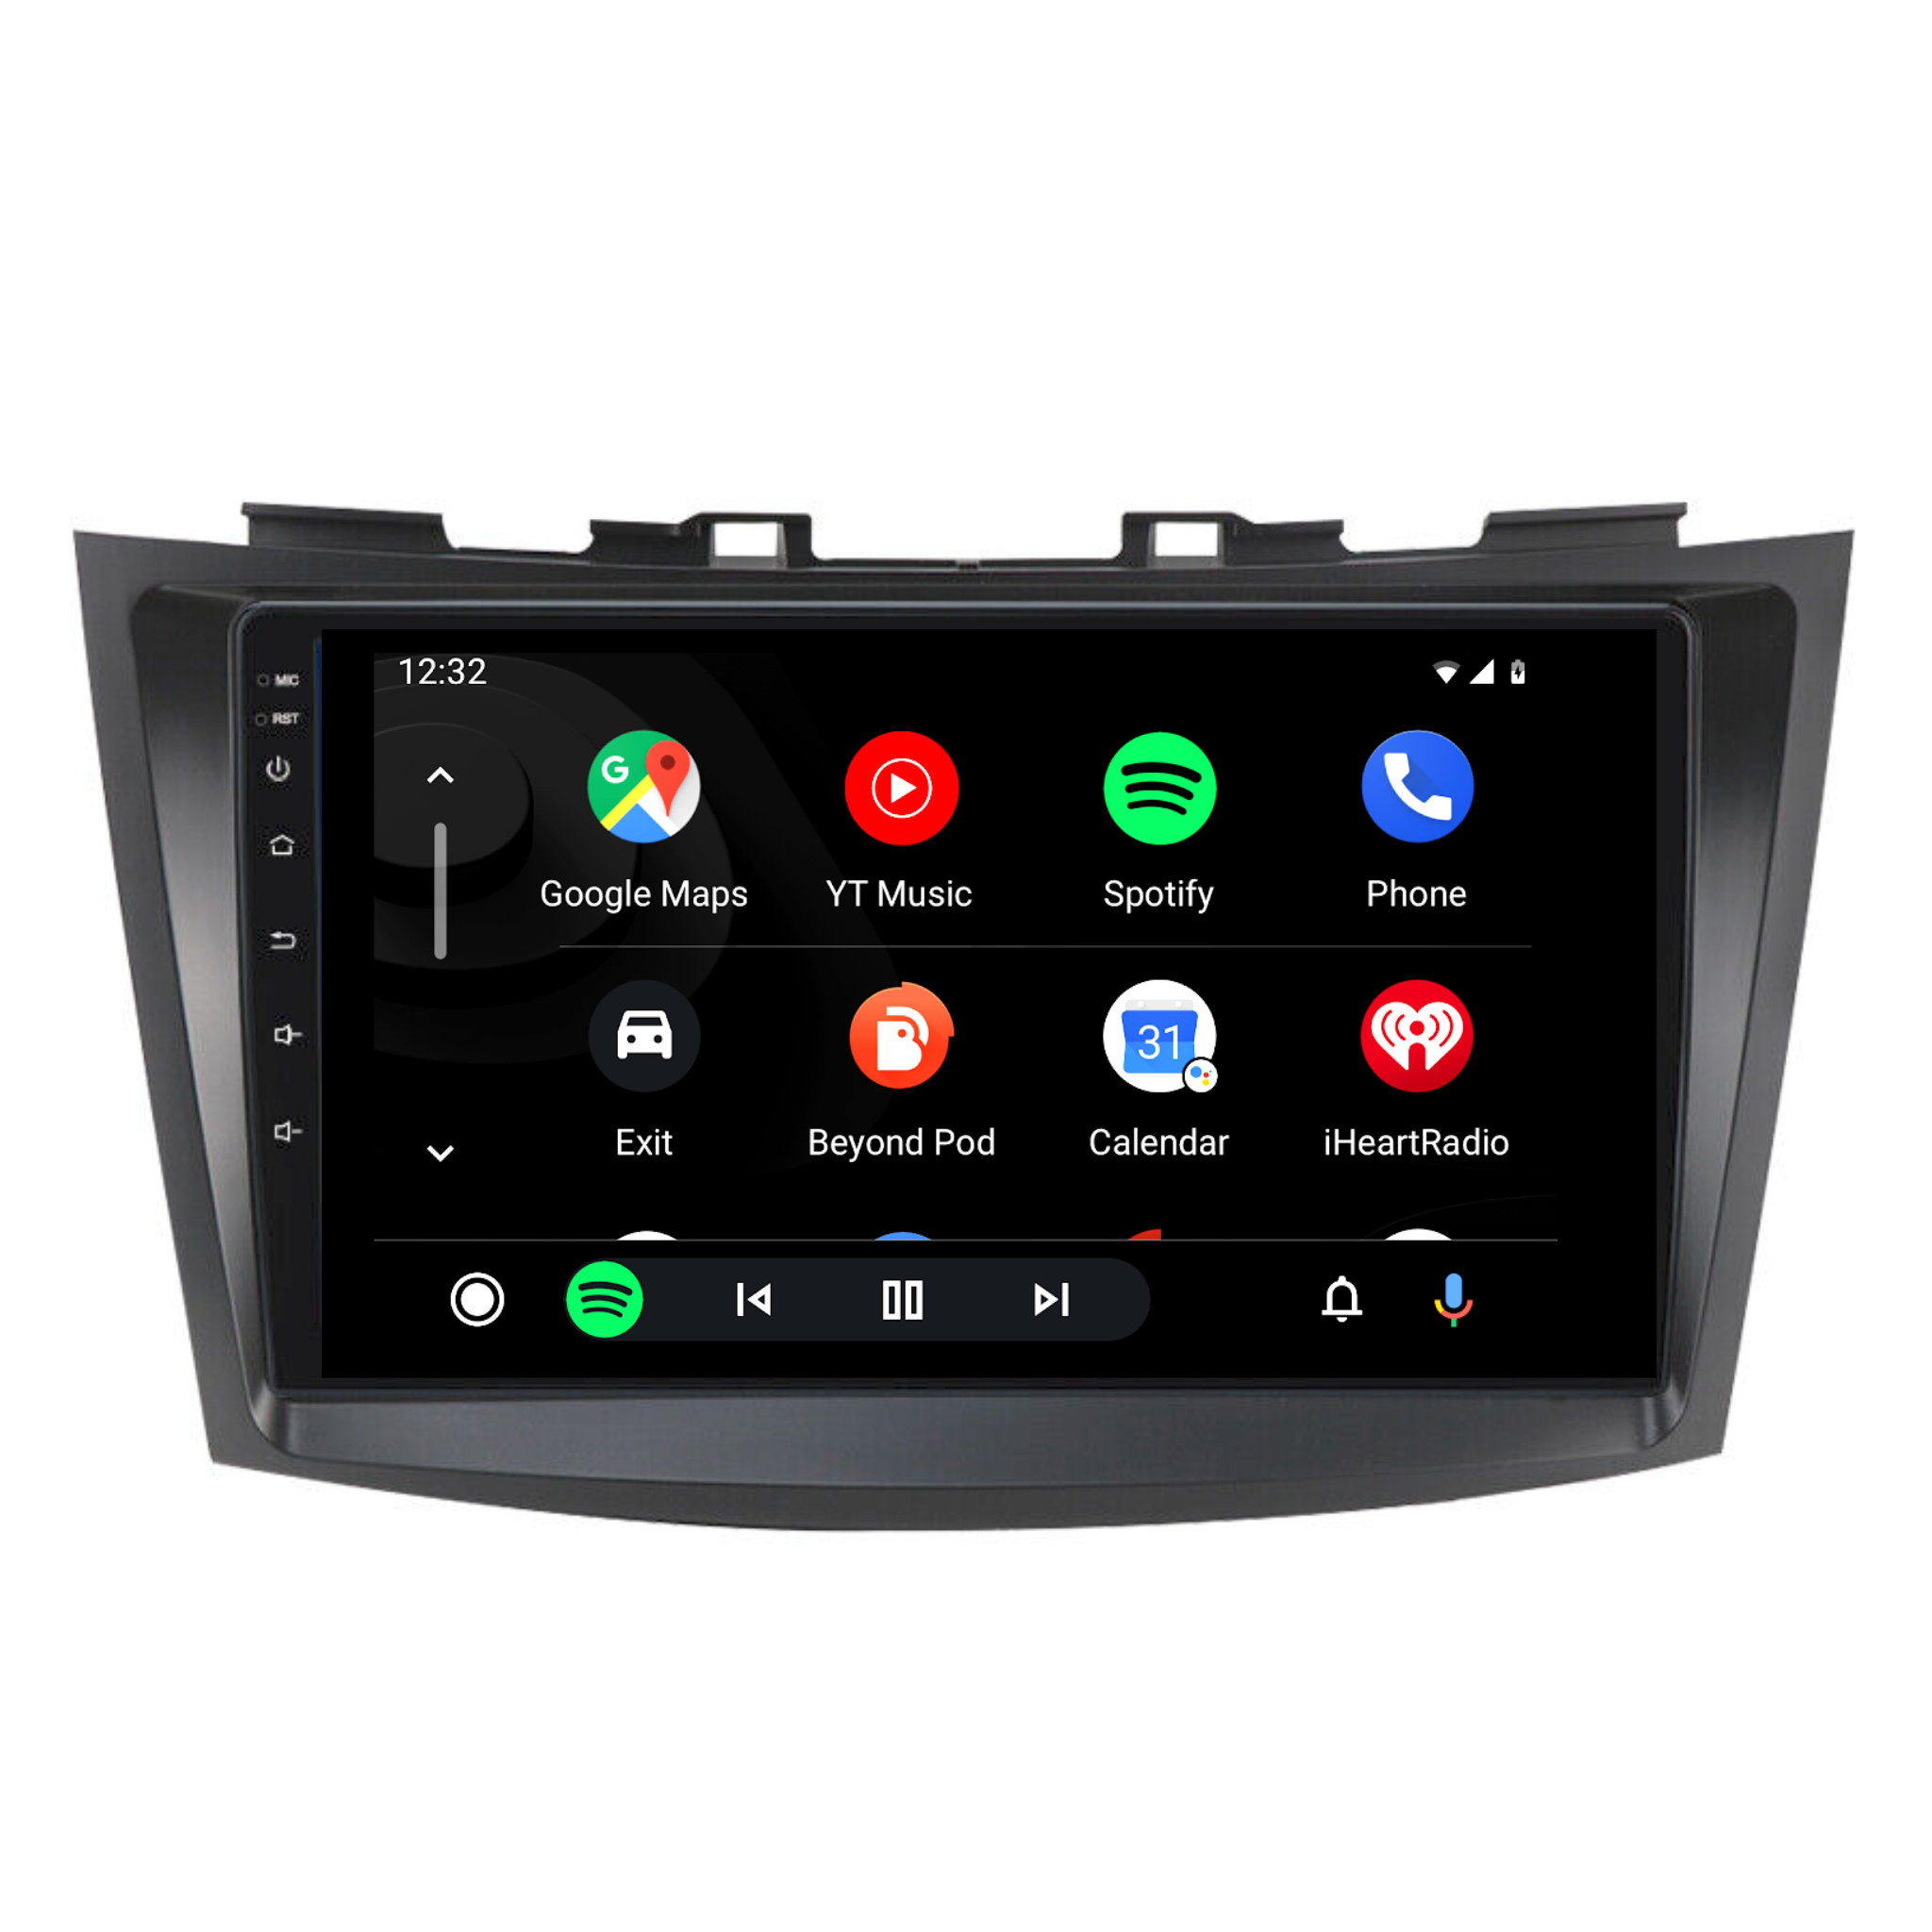
Suzuki Swift 2011-2015 Apple CarPlay and Android Auto Plug and Plug Head Unit Upgrade Kit
Sale priceFrom $369.99
Regular price$599.99
Subaru Outback & Liberty 2009-2014 Apple CarPlay and Android Auto Plug and Plug Head Unit Upgrade Kit
Sale priceFrom $369.95
Regular price$545.99
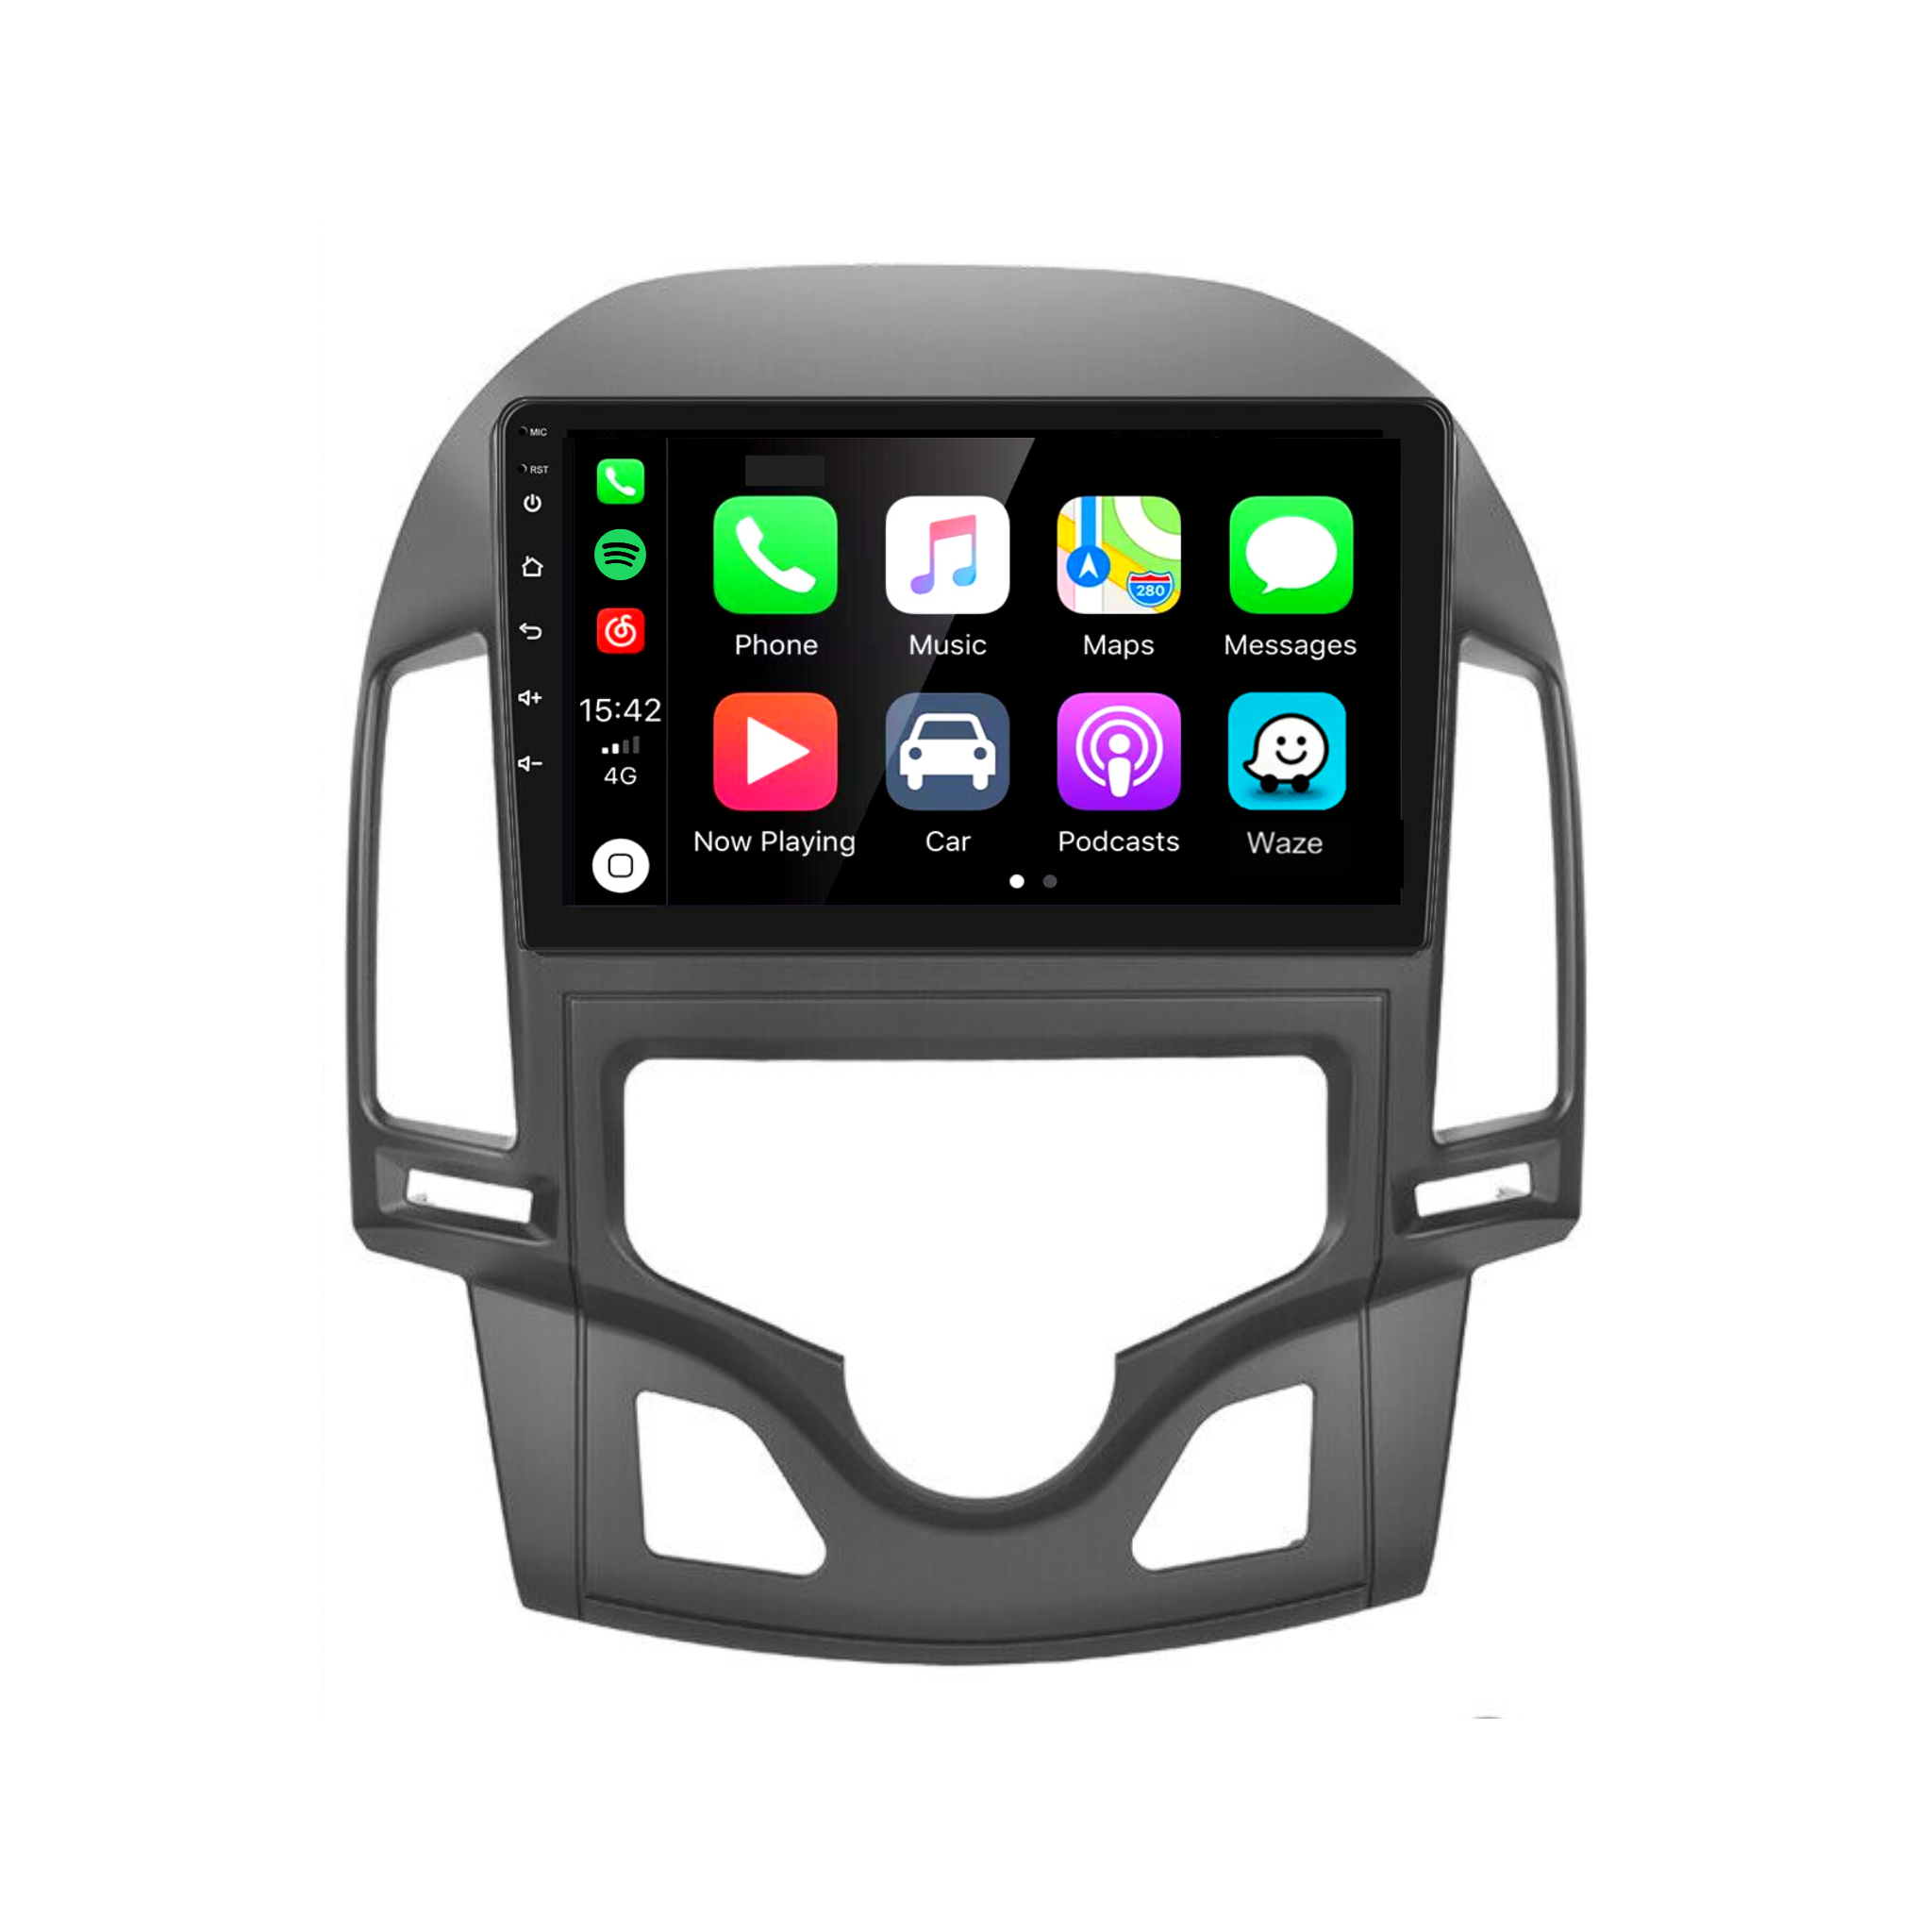
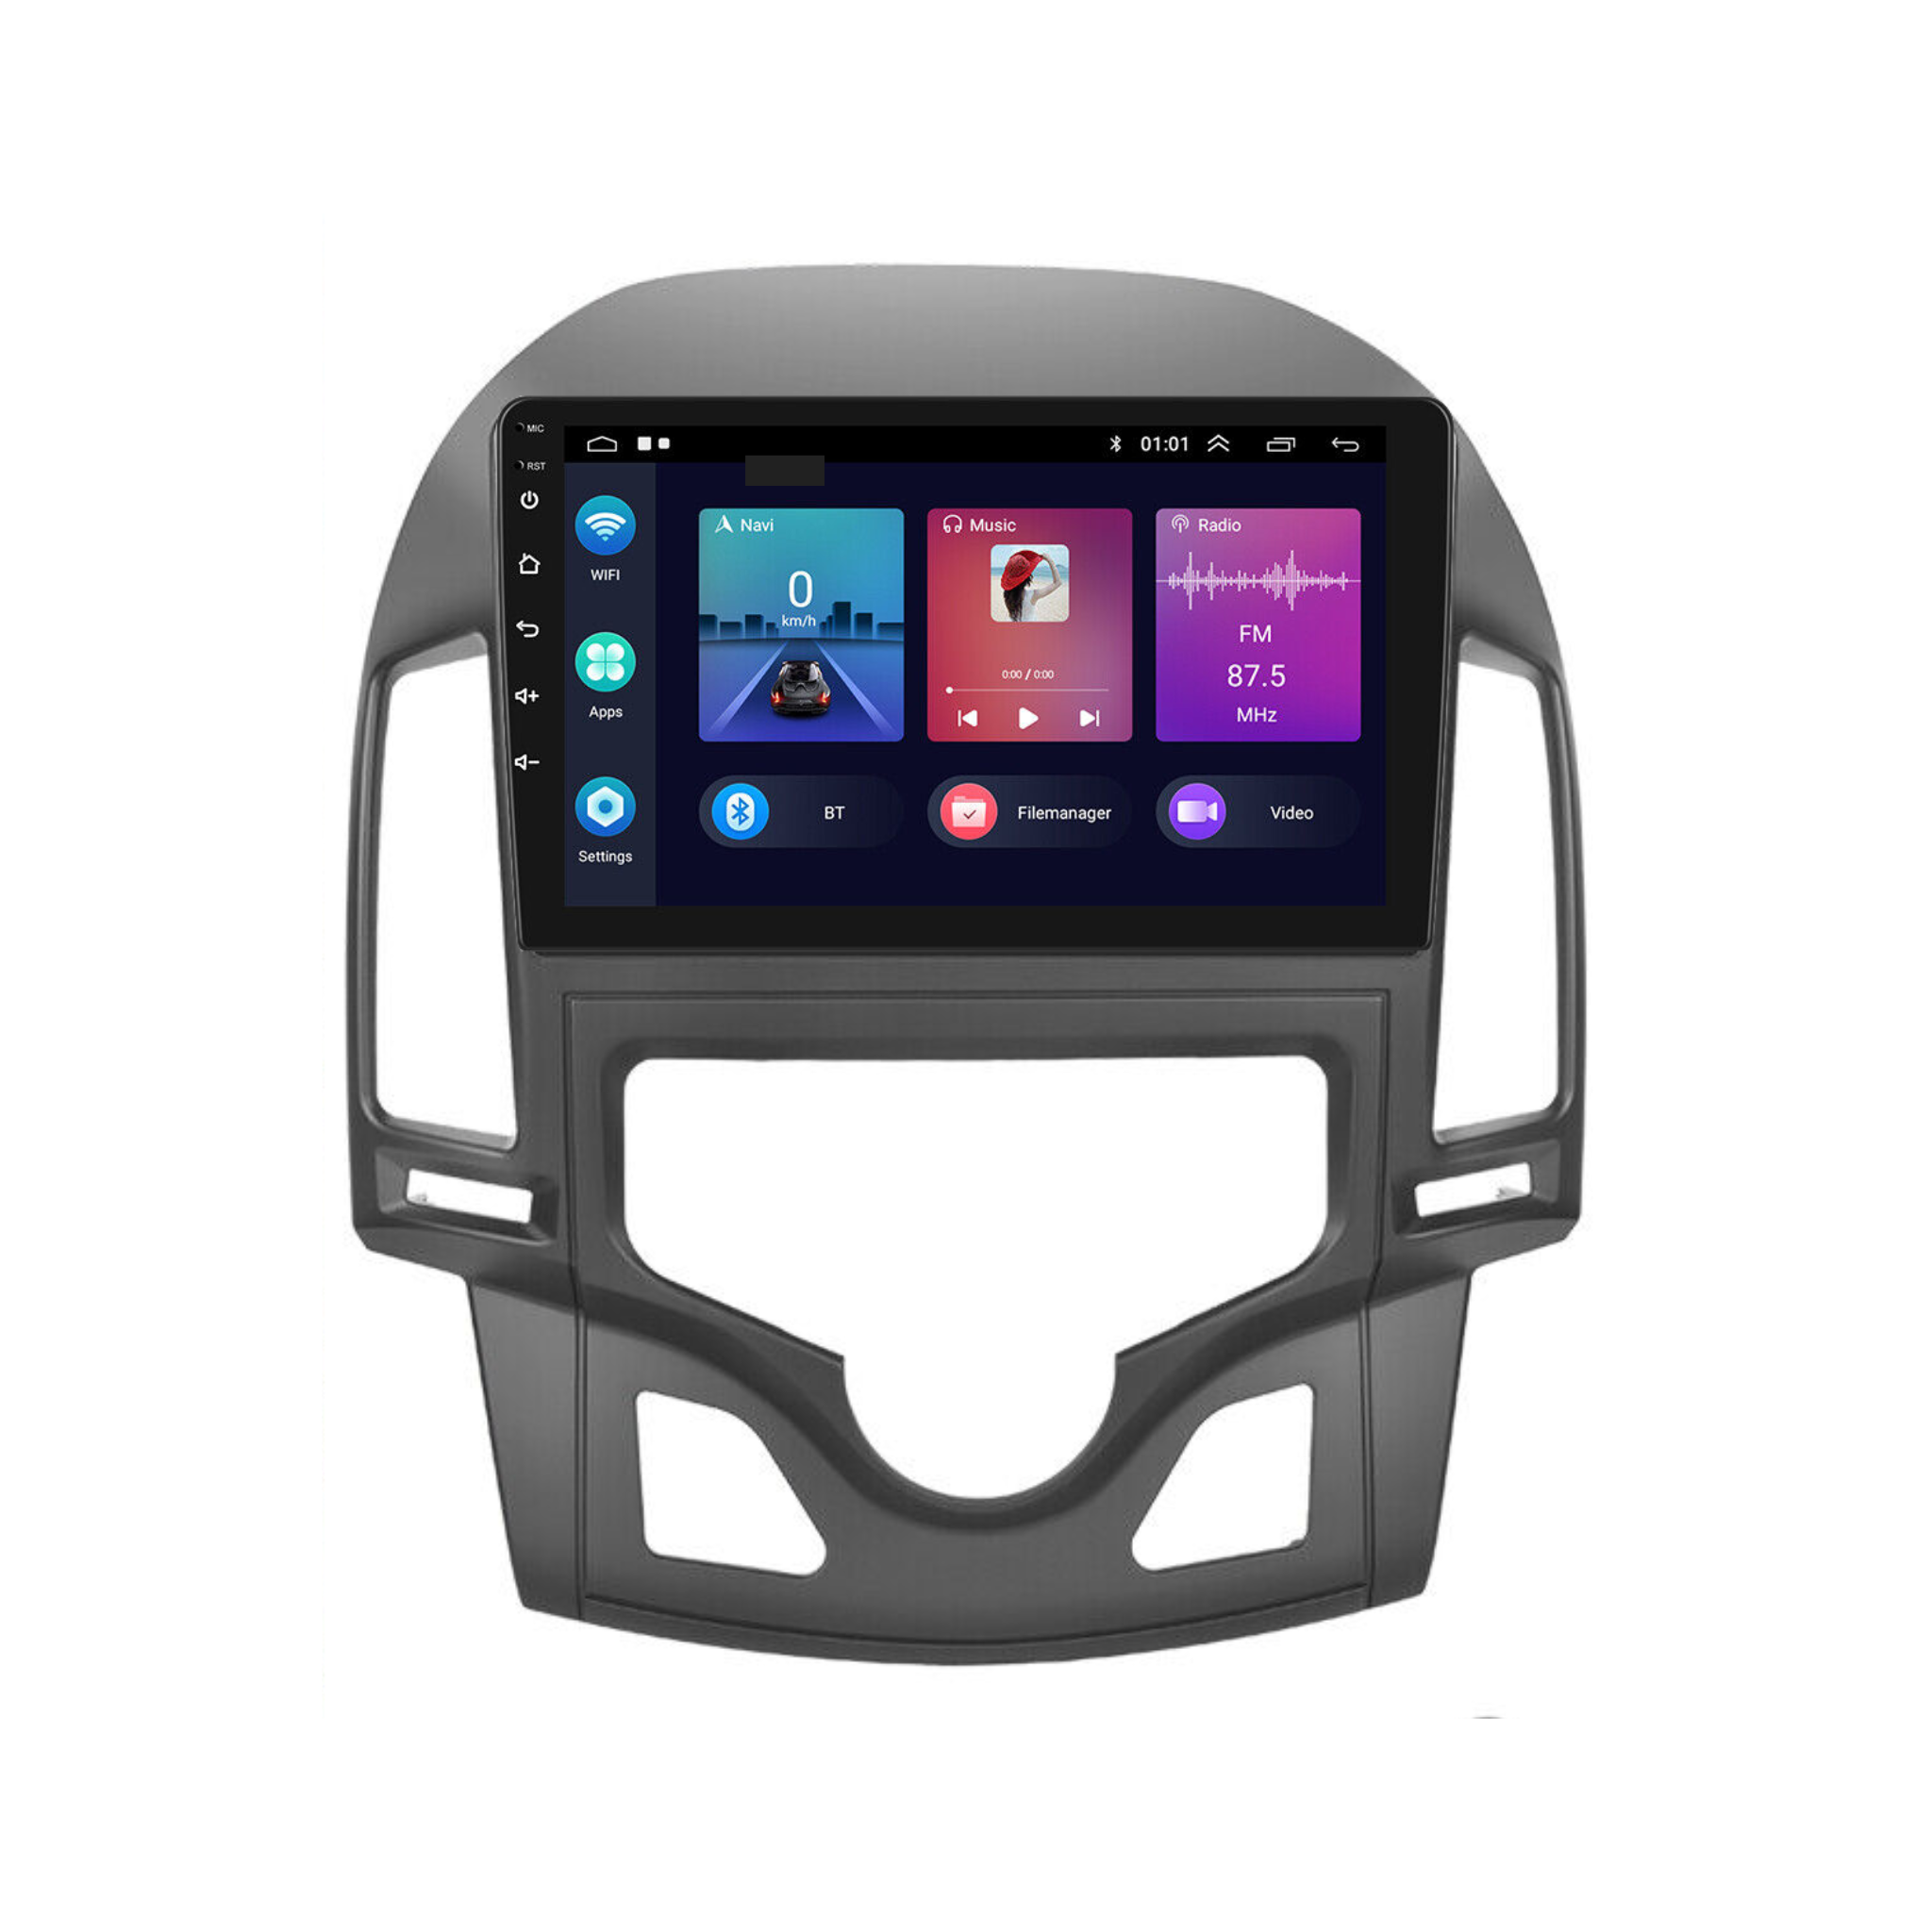
Hyundai I30 Auto A/C 2006-2011 Apple CarPlay and Android Auto Plug and Plug Head Unit Upgrade Kit
Sale priceFrom $379.95
Regular price$545.99
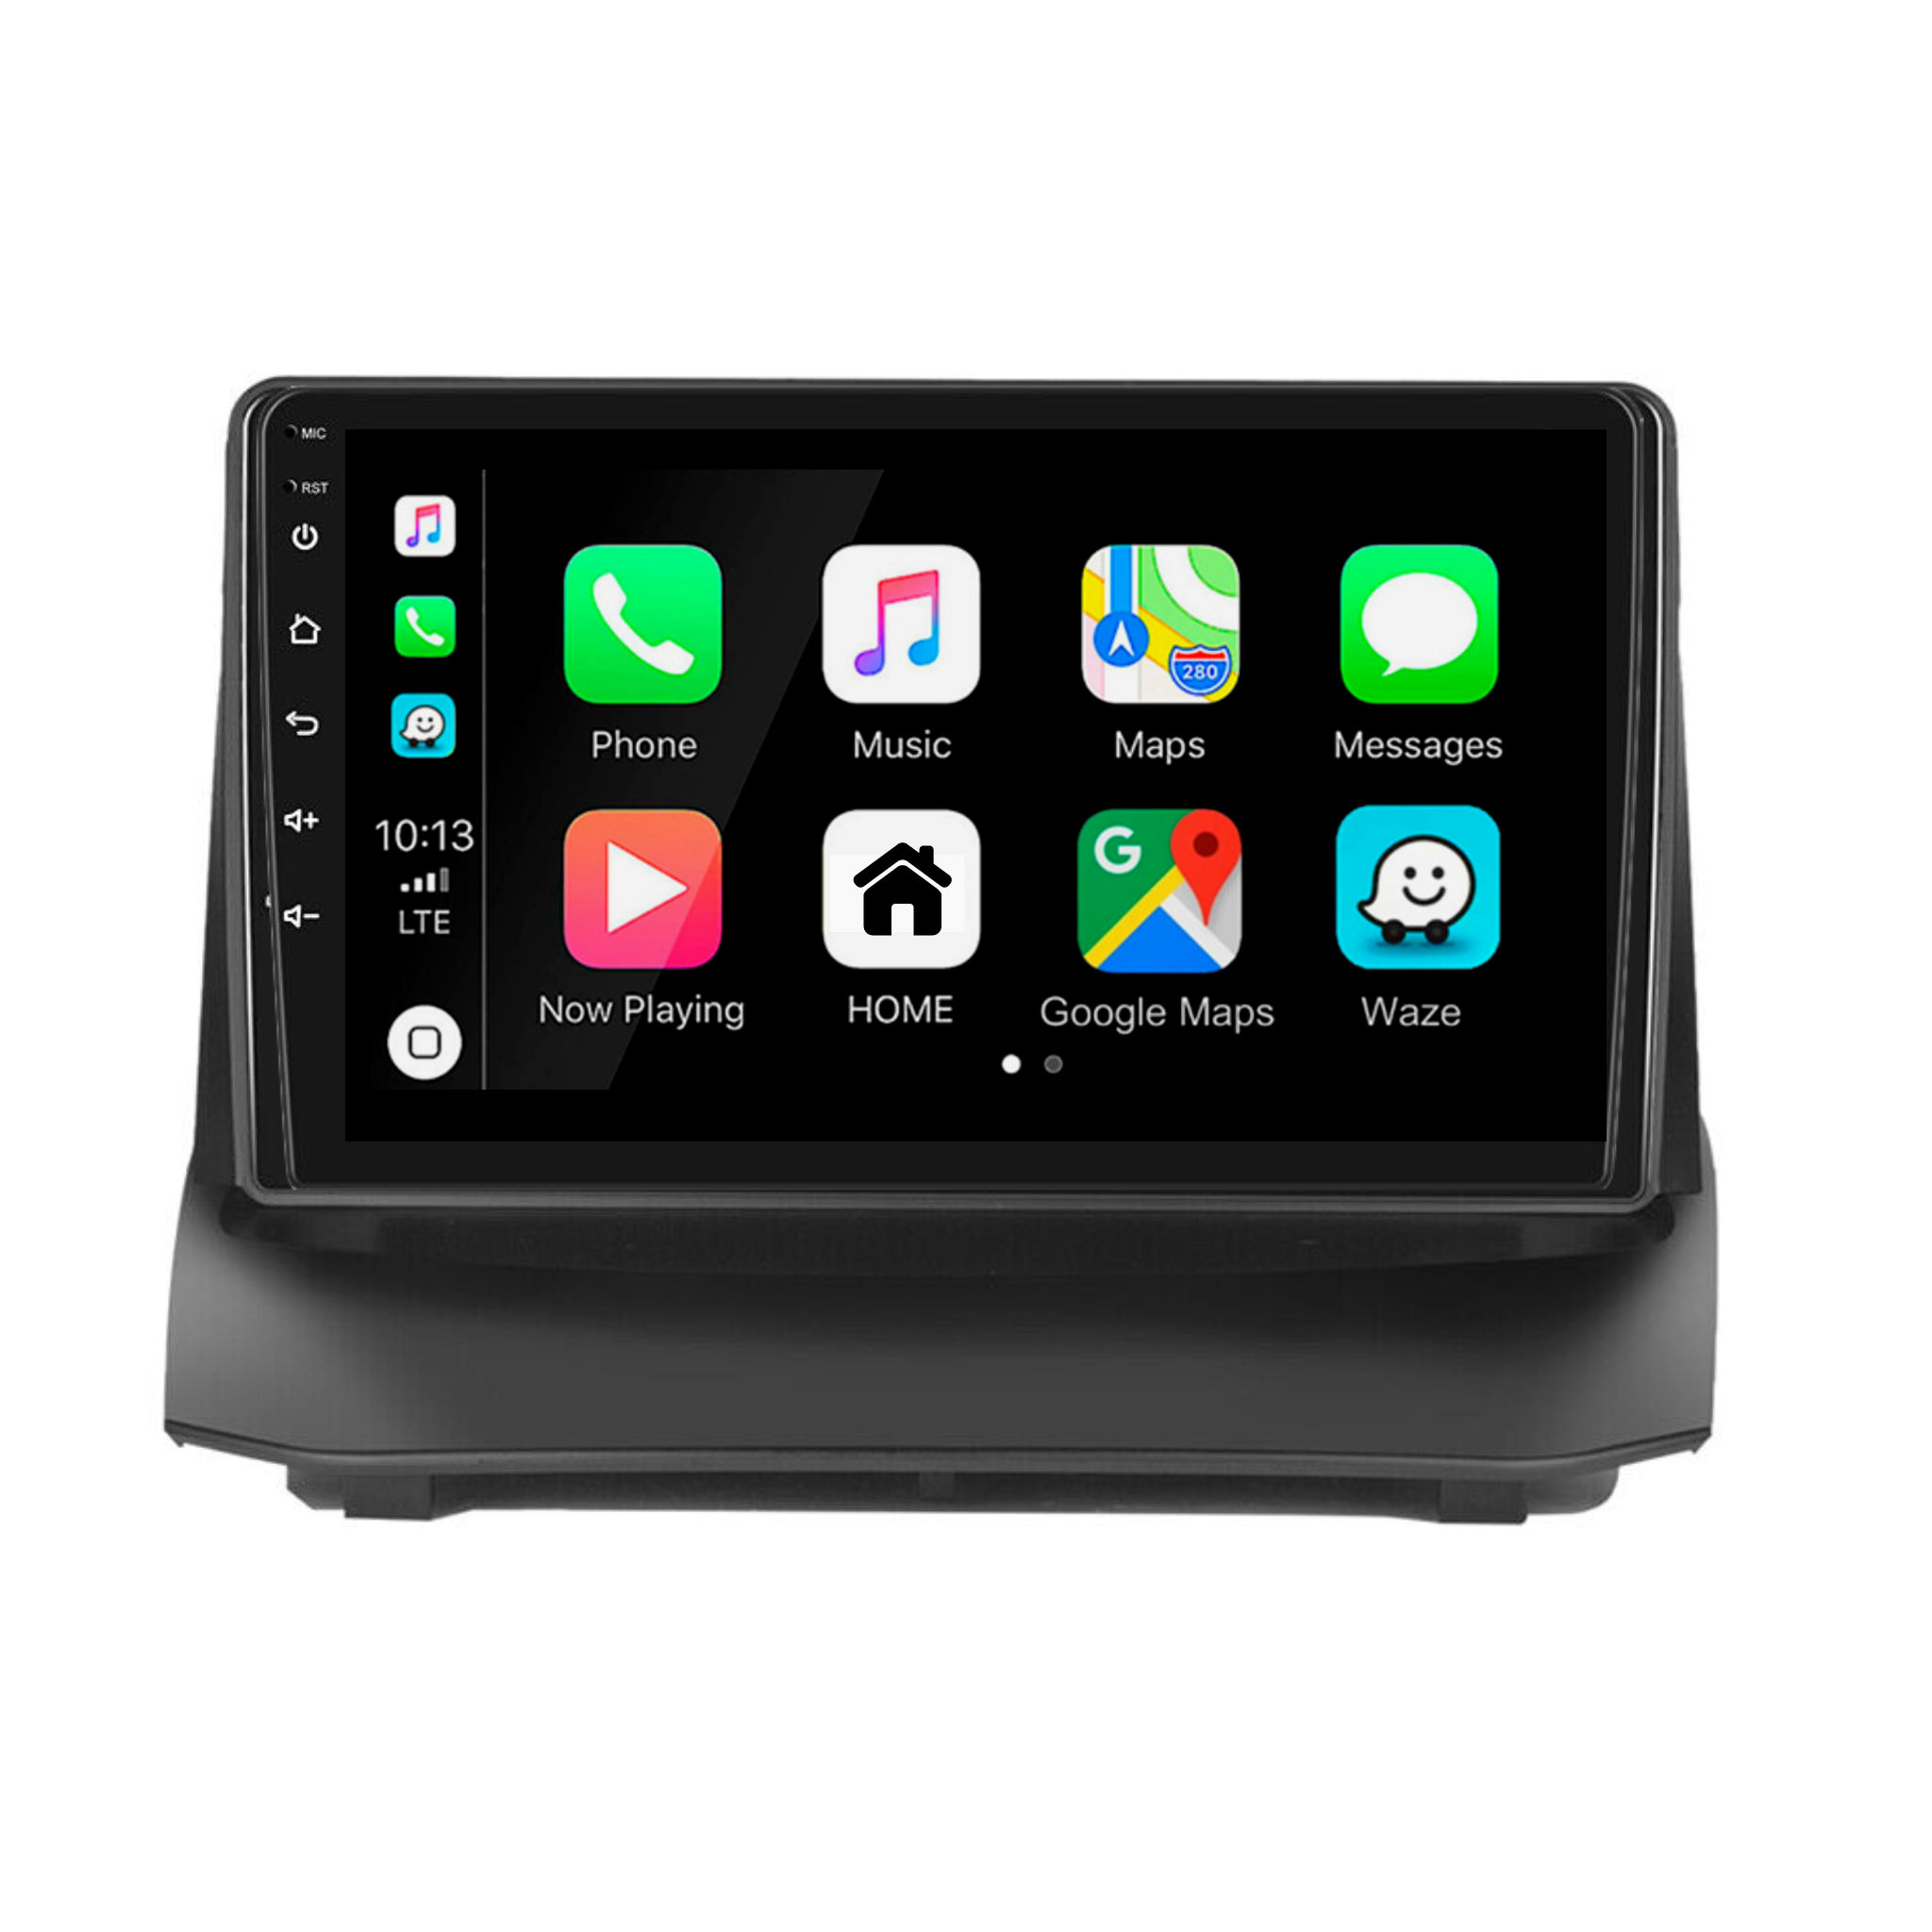
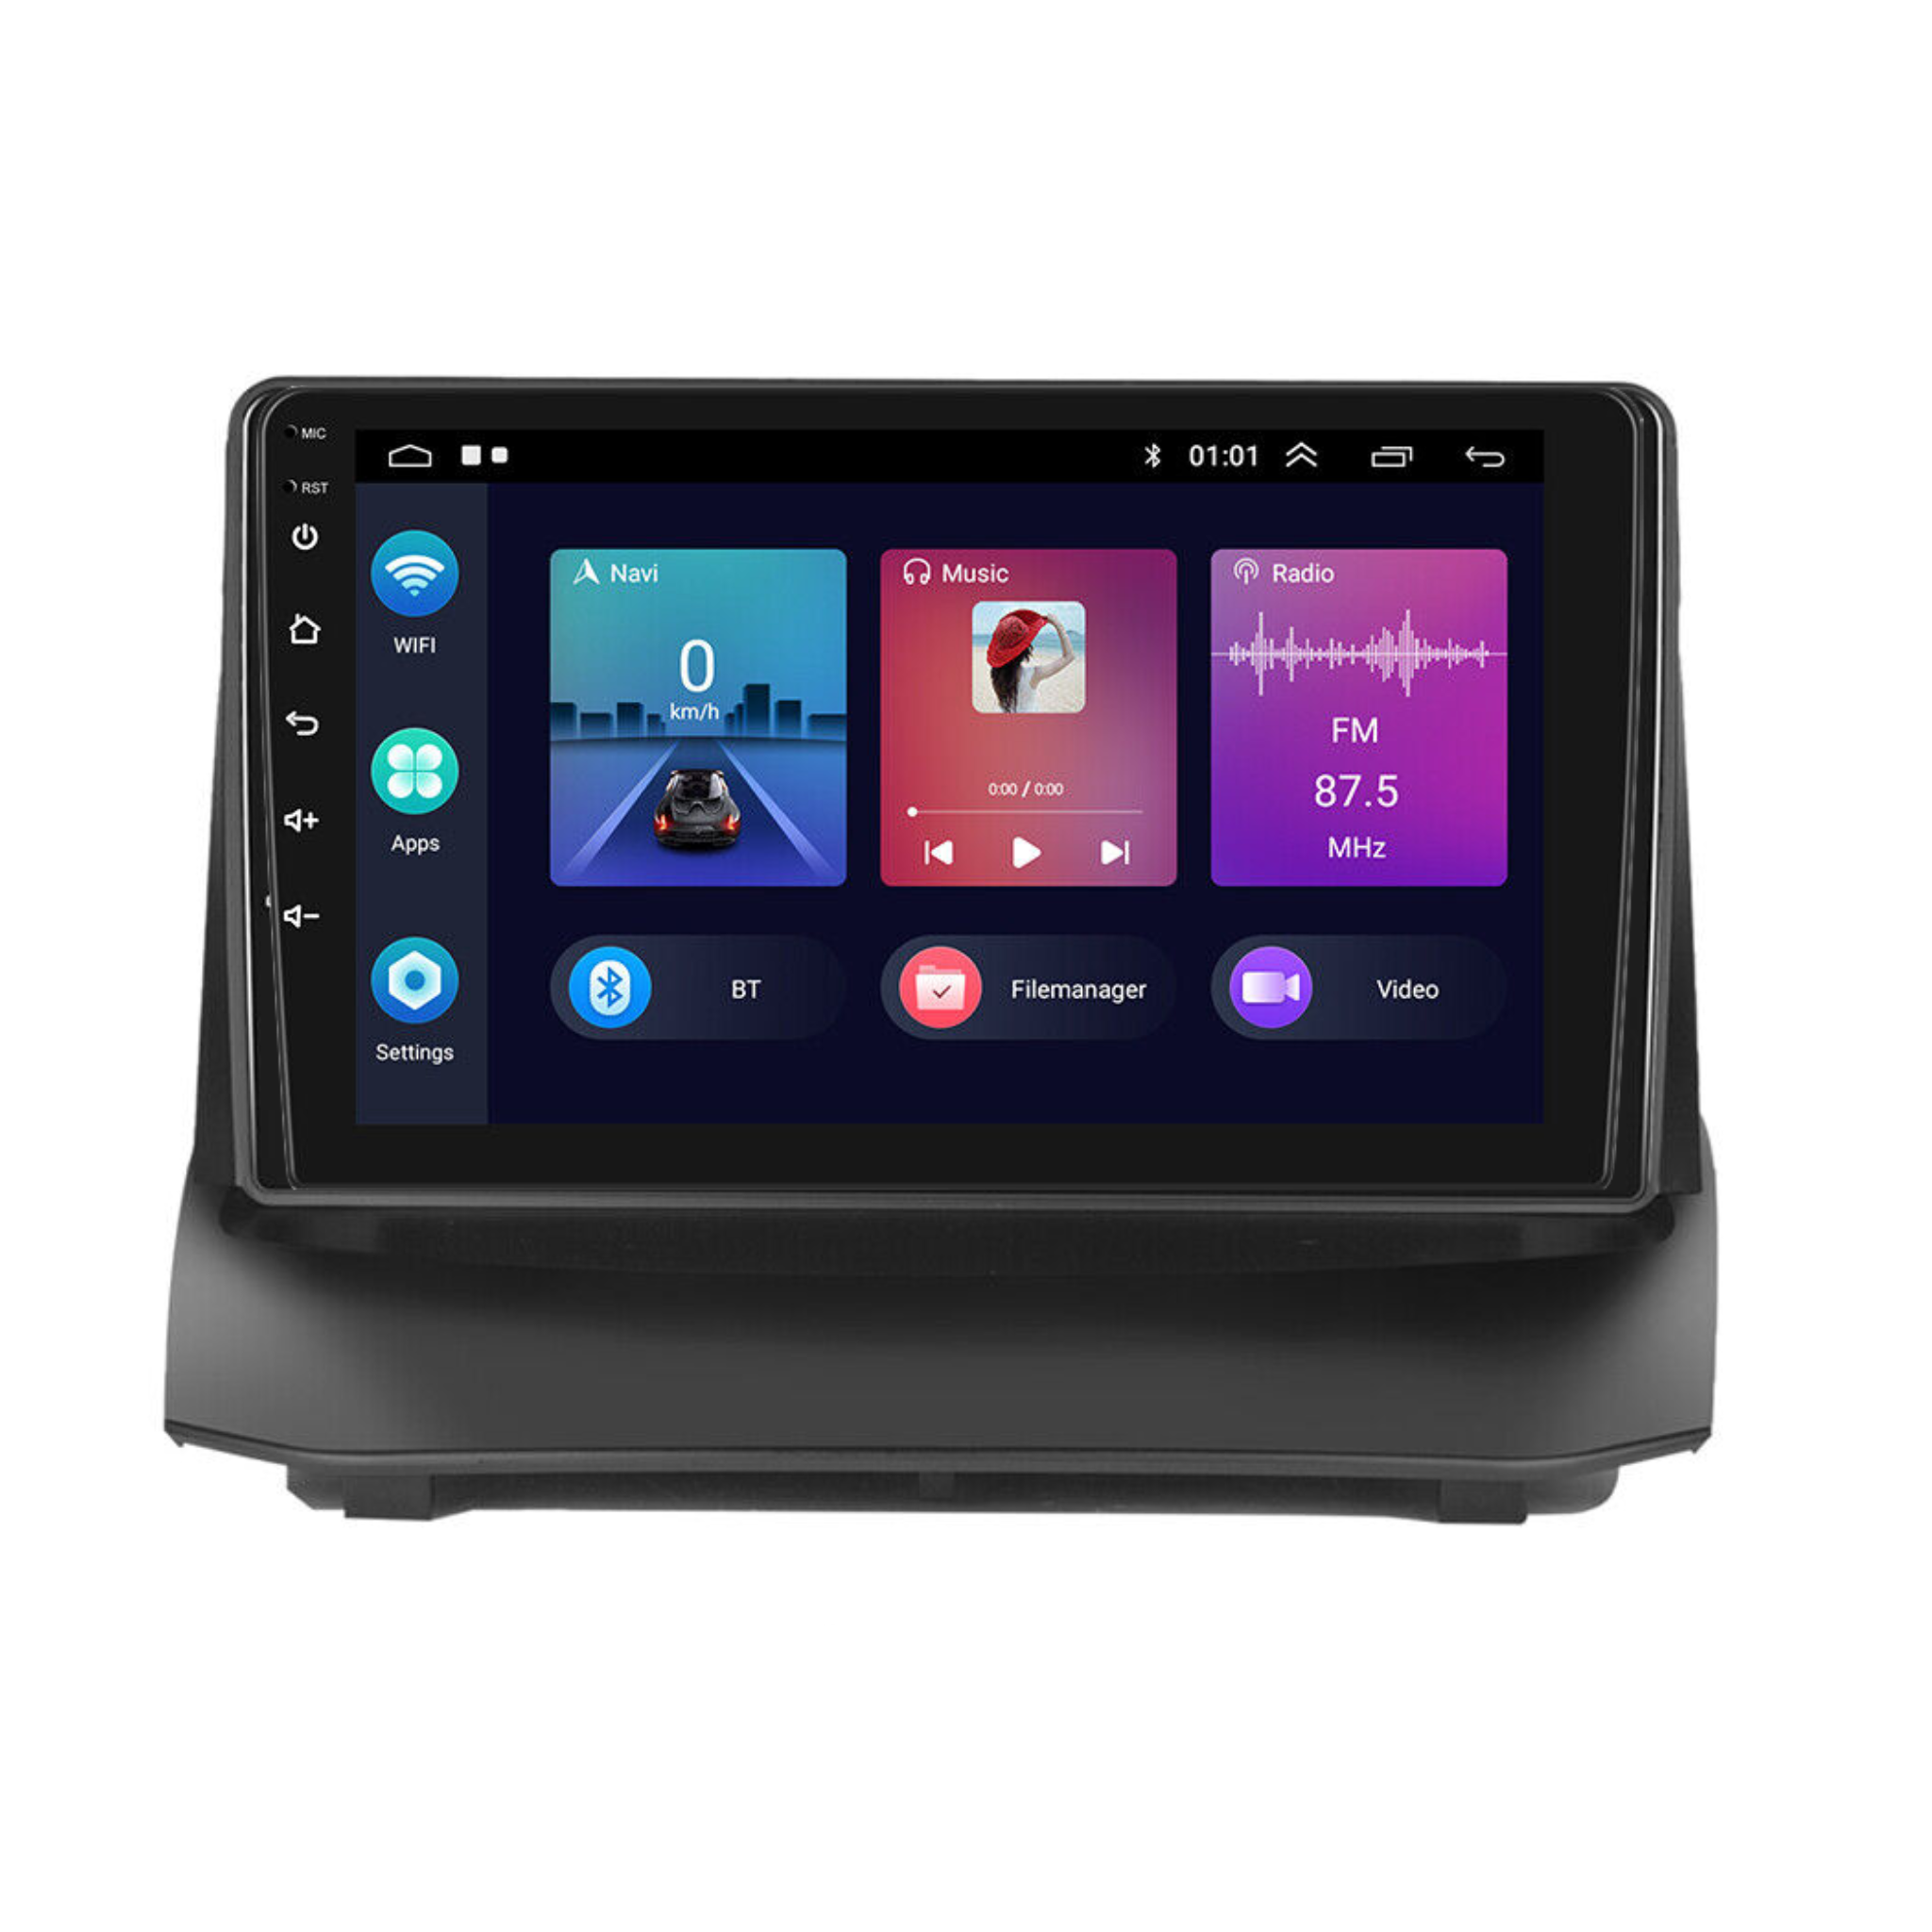
Ford Fiesta 2009-2014 Apple CarPlay and Android Auto Plug and Plug Head Unit Upgrade Kit
Sale priceFrom $319.99
Regular price$449.99
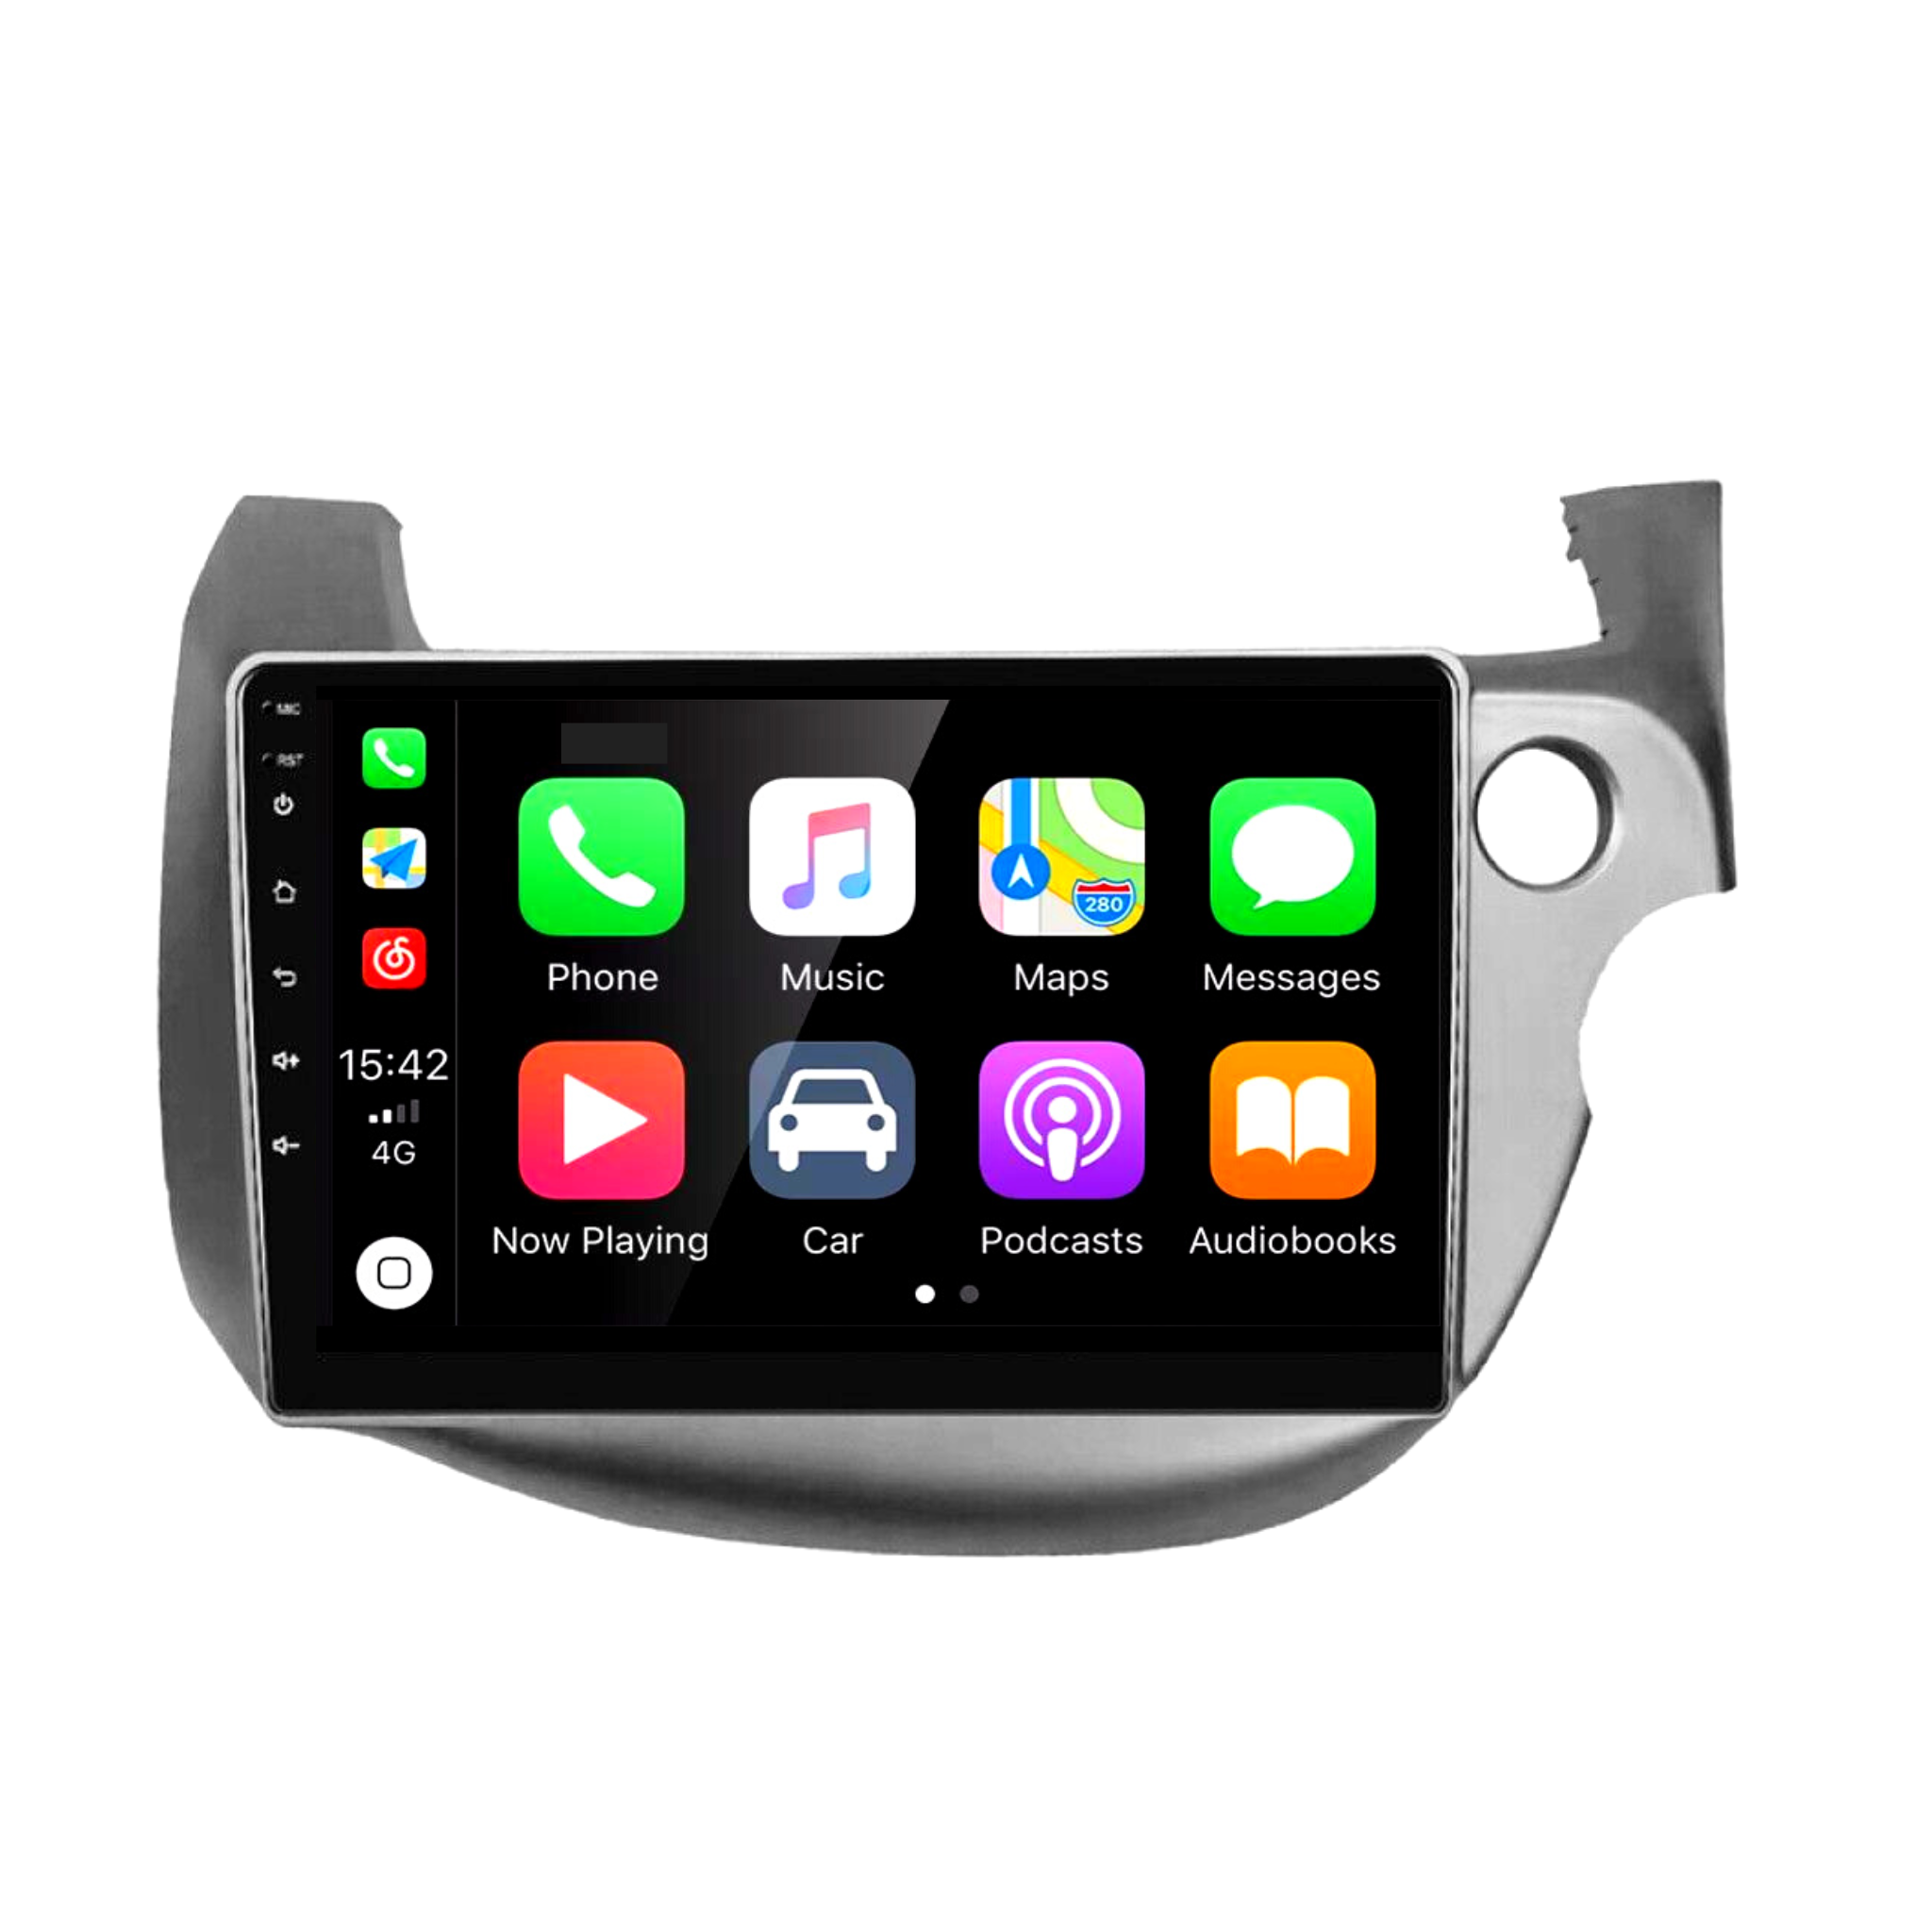
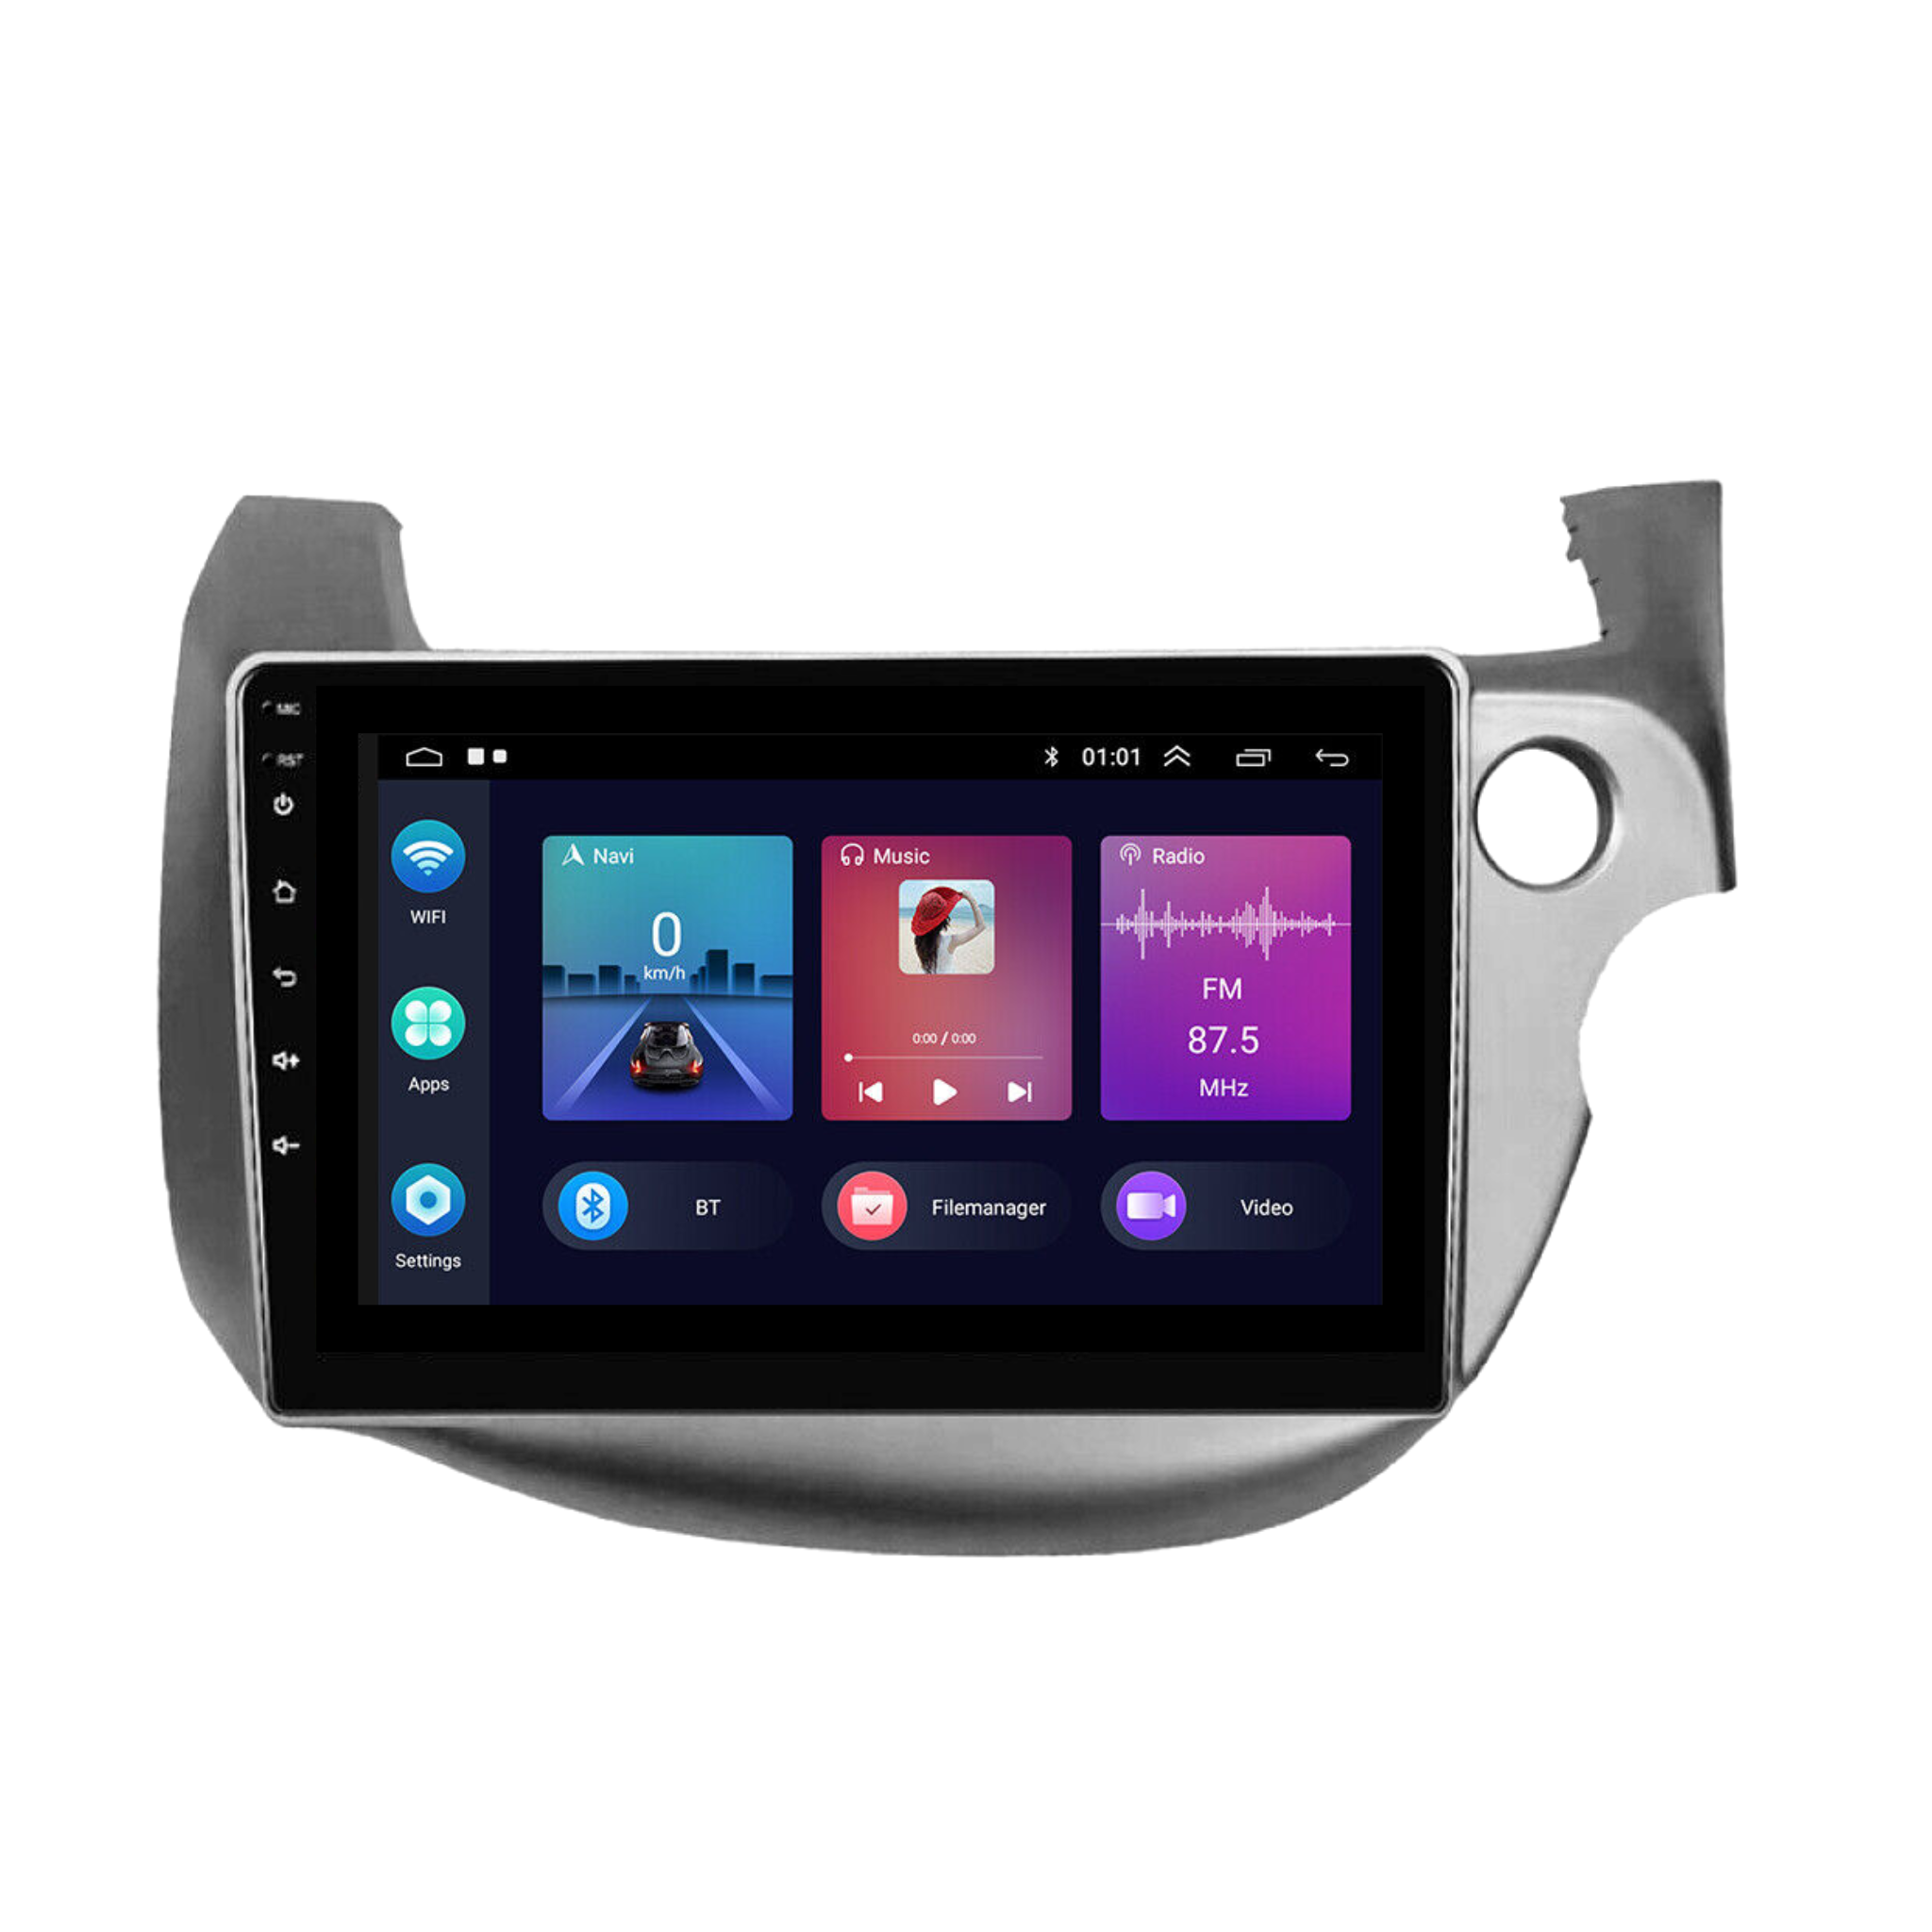
Honda Jazz/Fit 2007-2013 Apple CarPlay and Android Auto Plug and Plug Head Unit Upgrade Kit
Sale price$359.95
Regular price$689.99
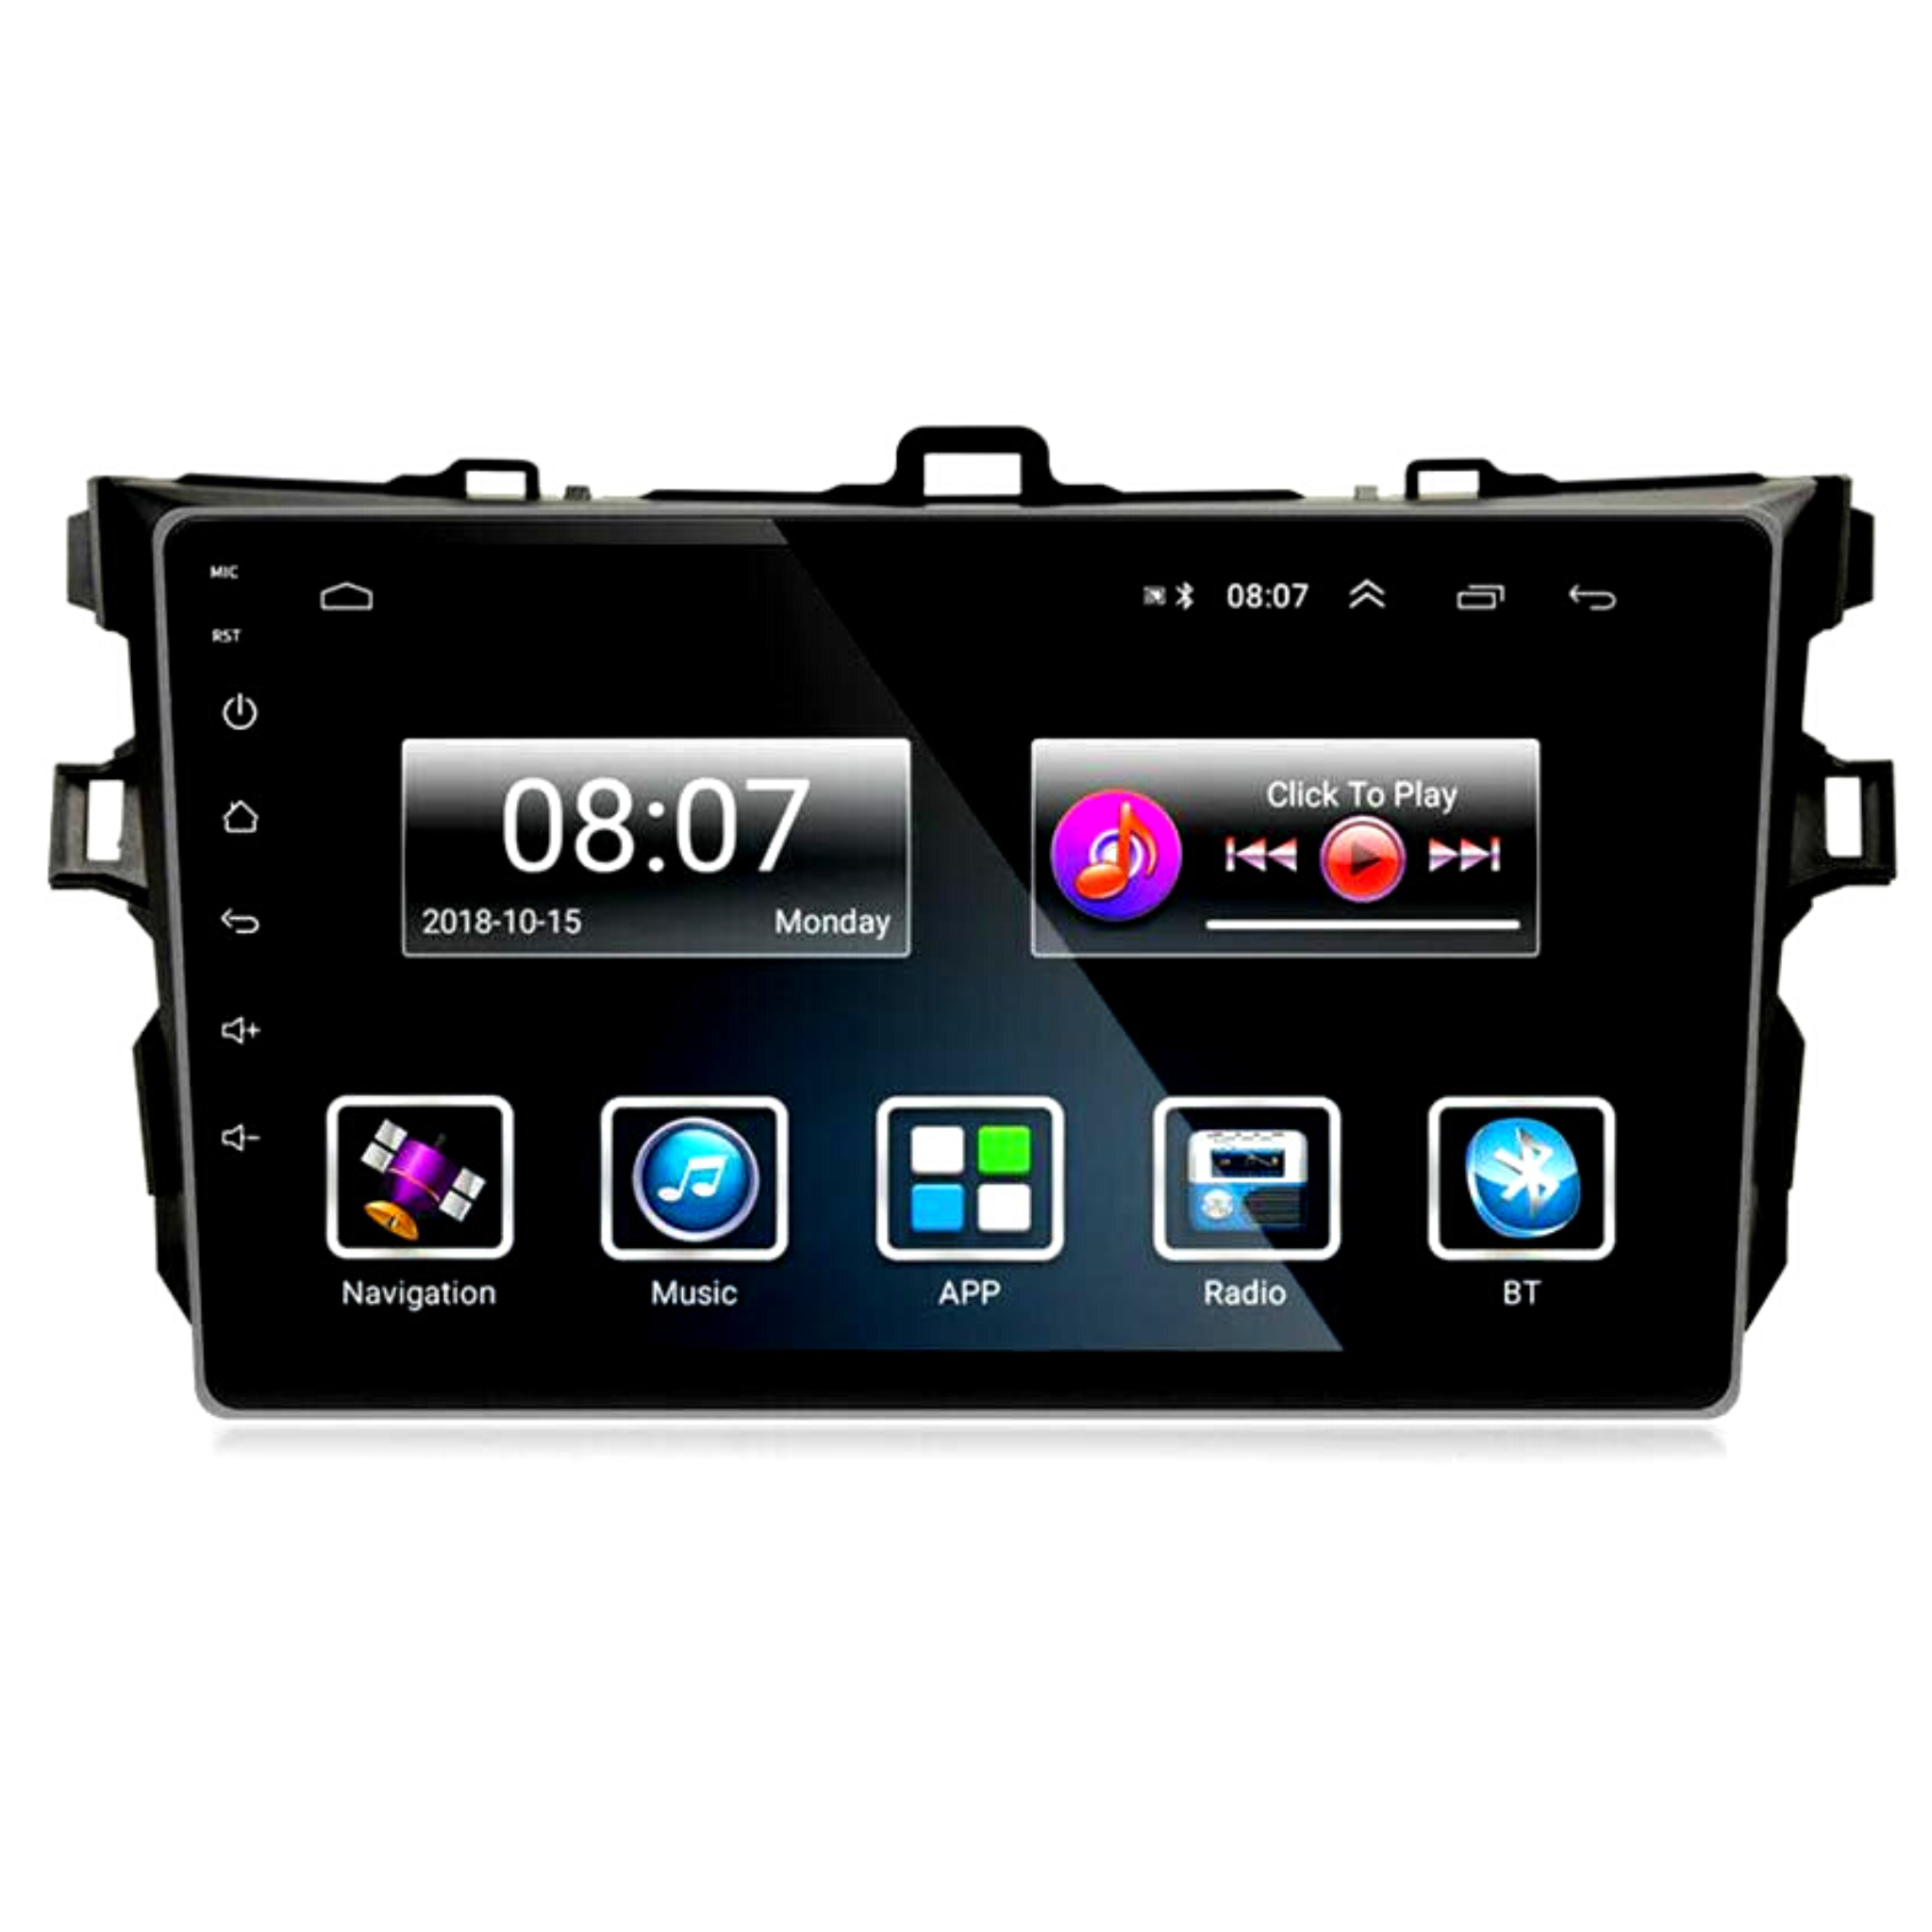
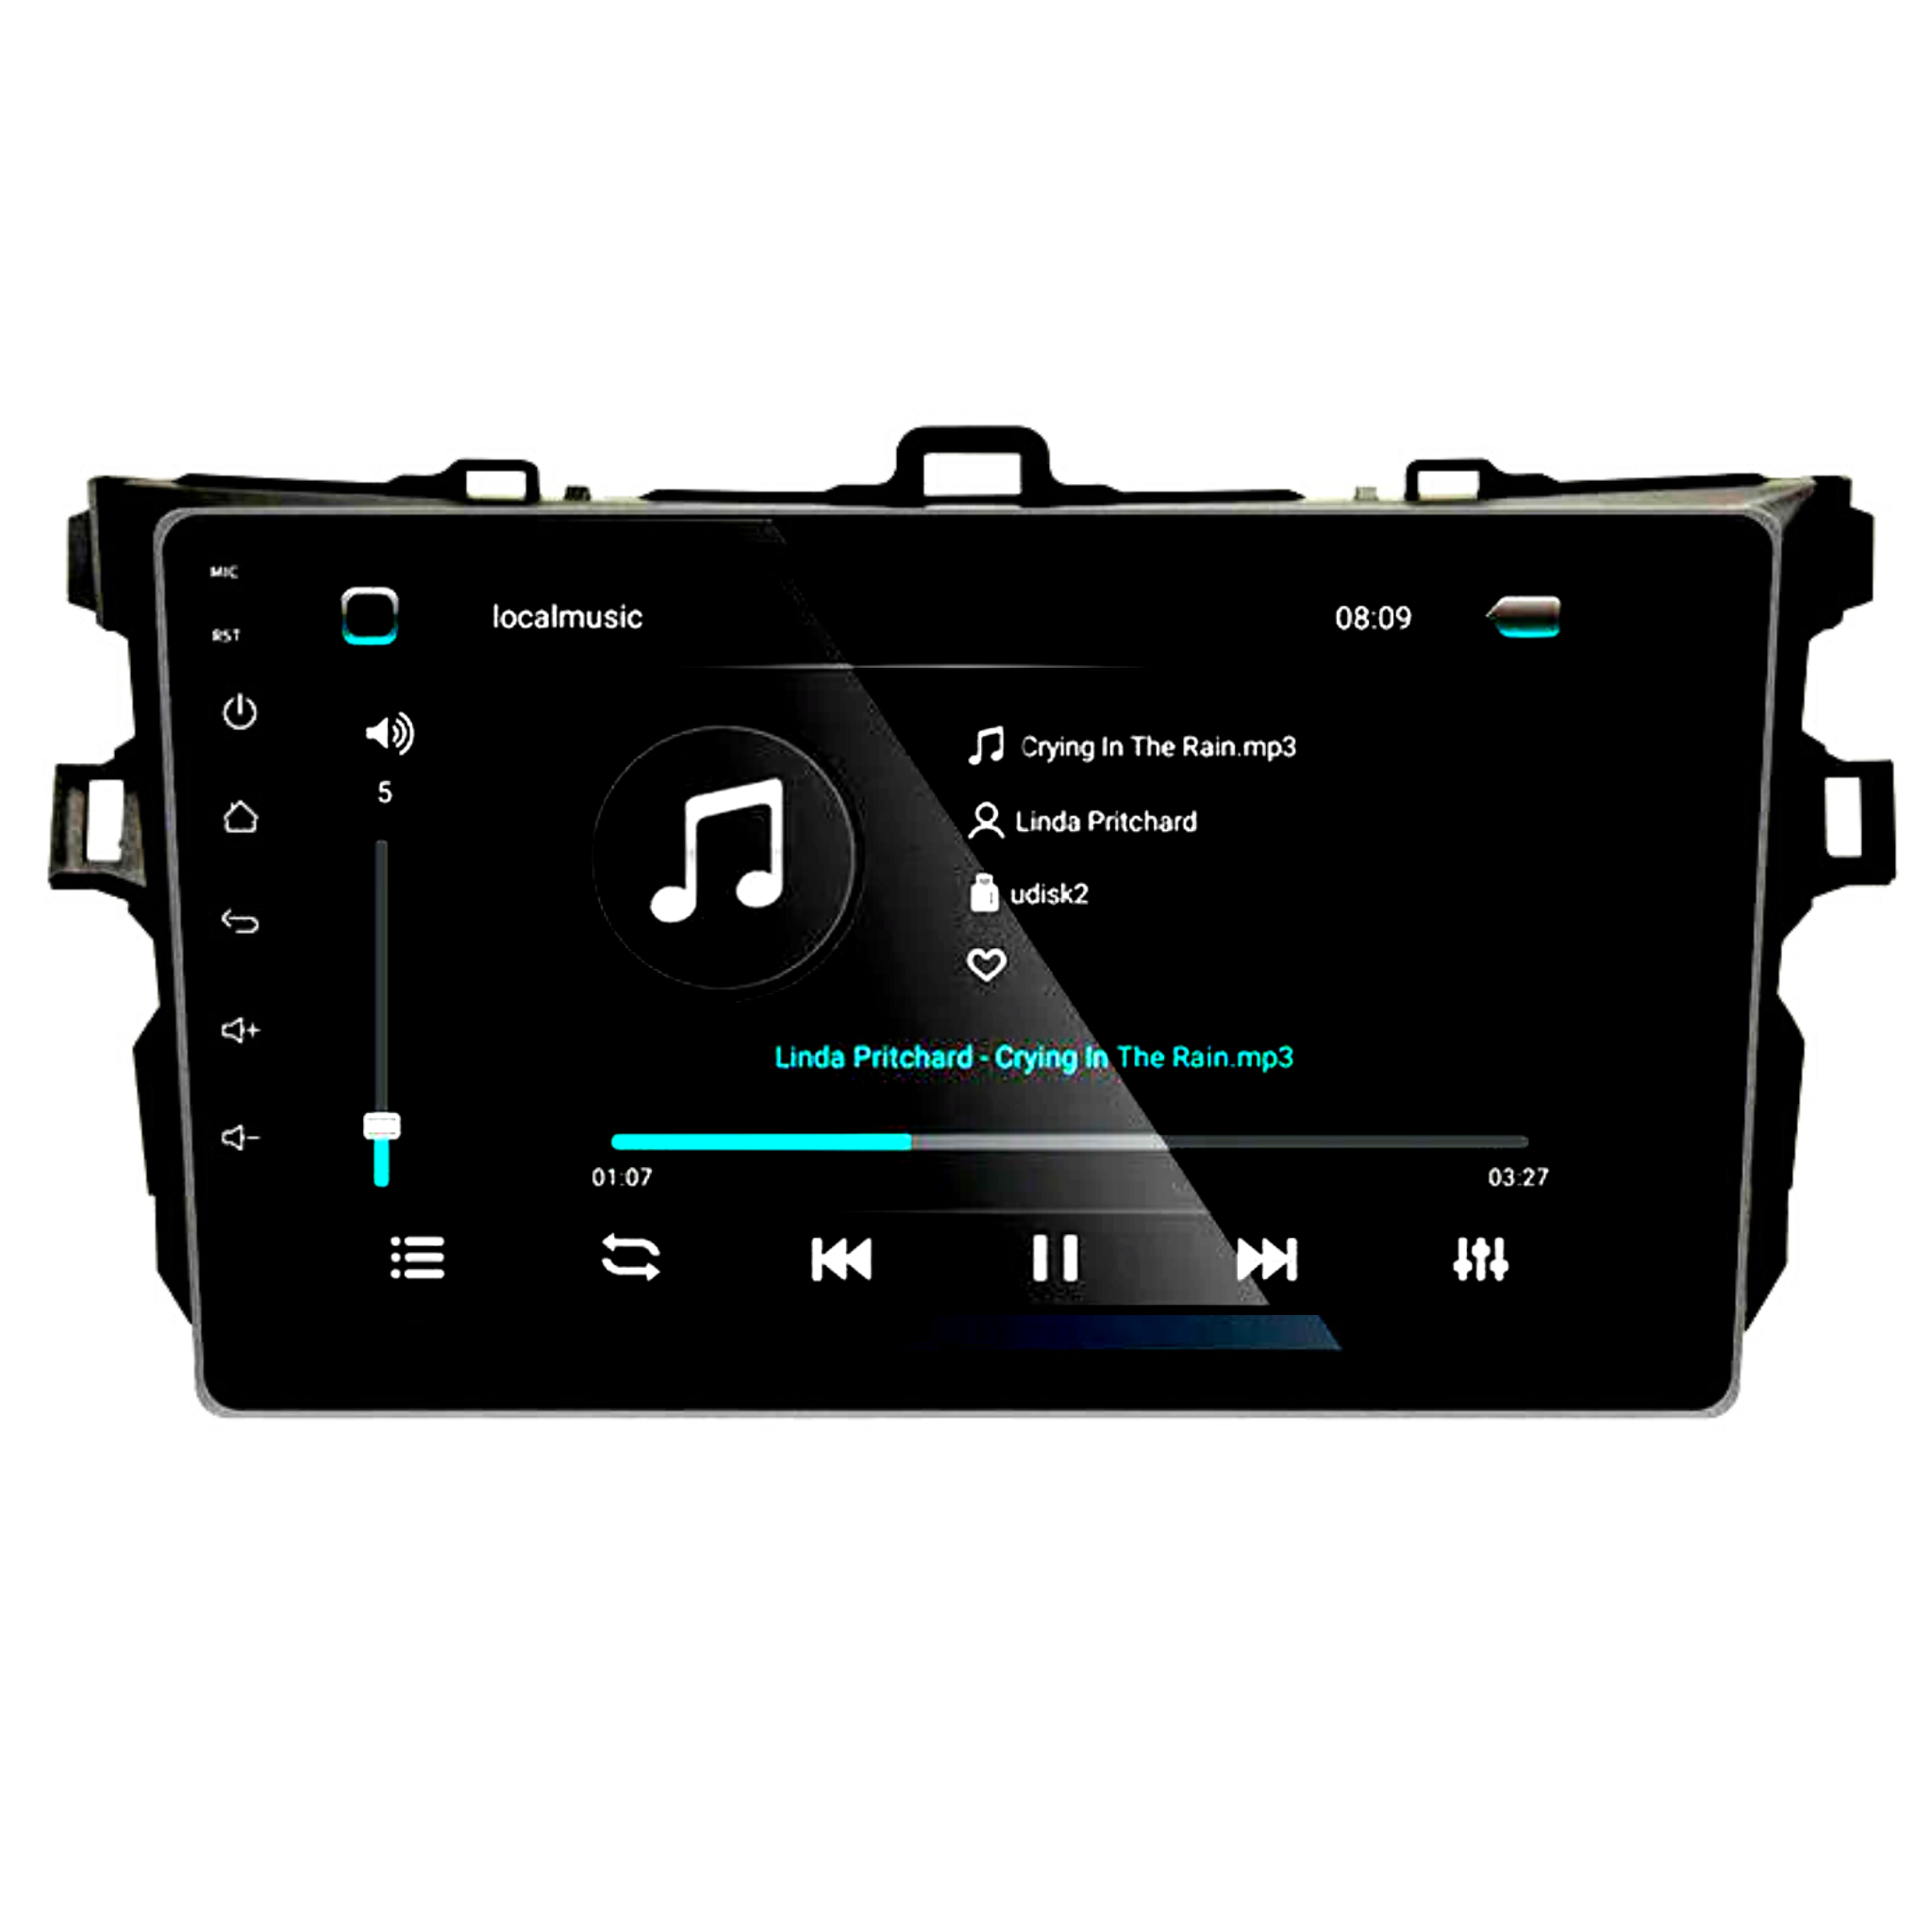
Toyota Corolla (CD VERSION ONLY) 2006 - 2012 Apple CarPlay and Android Auto Plug and Plug Head Unit Upgrade Kit
(1)
Sale price$309.99
Regular price$599.99

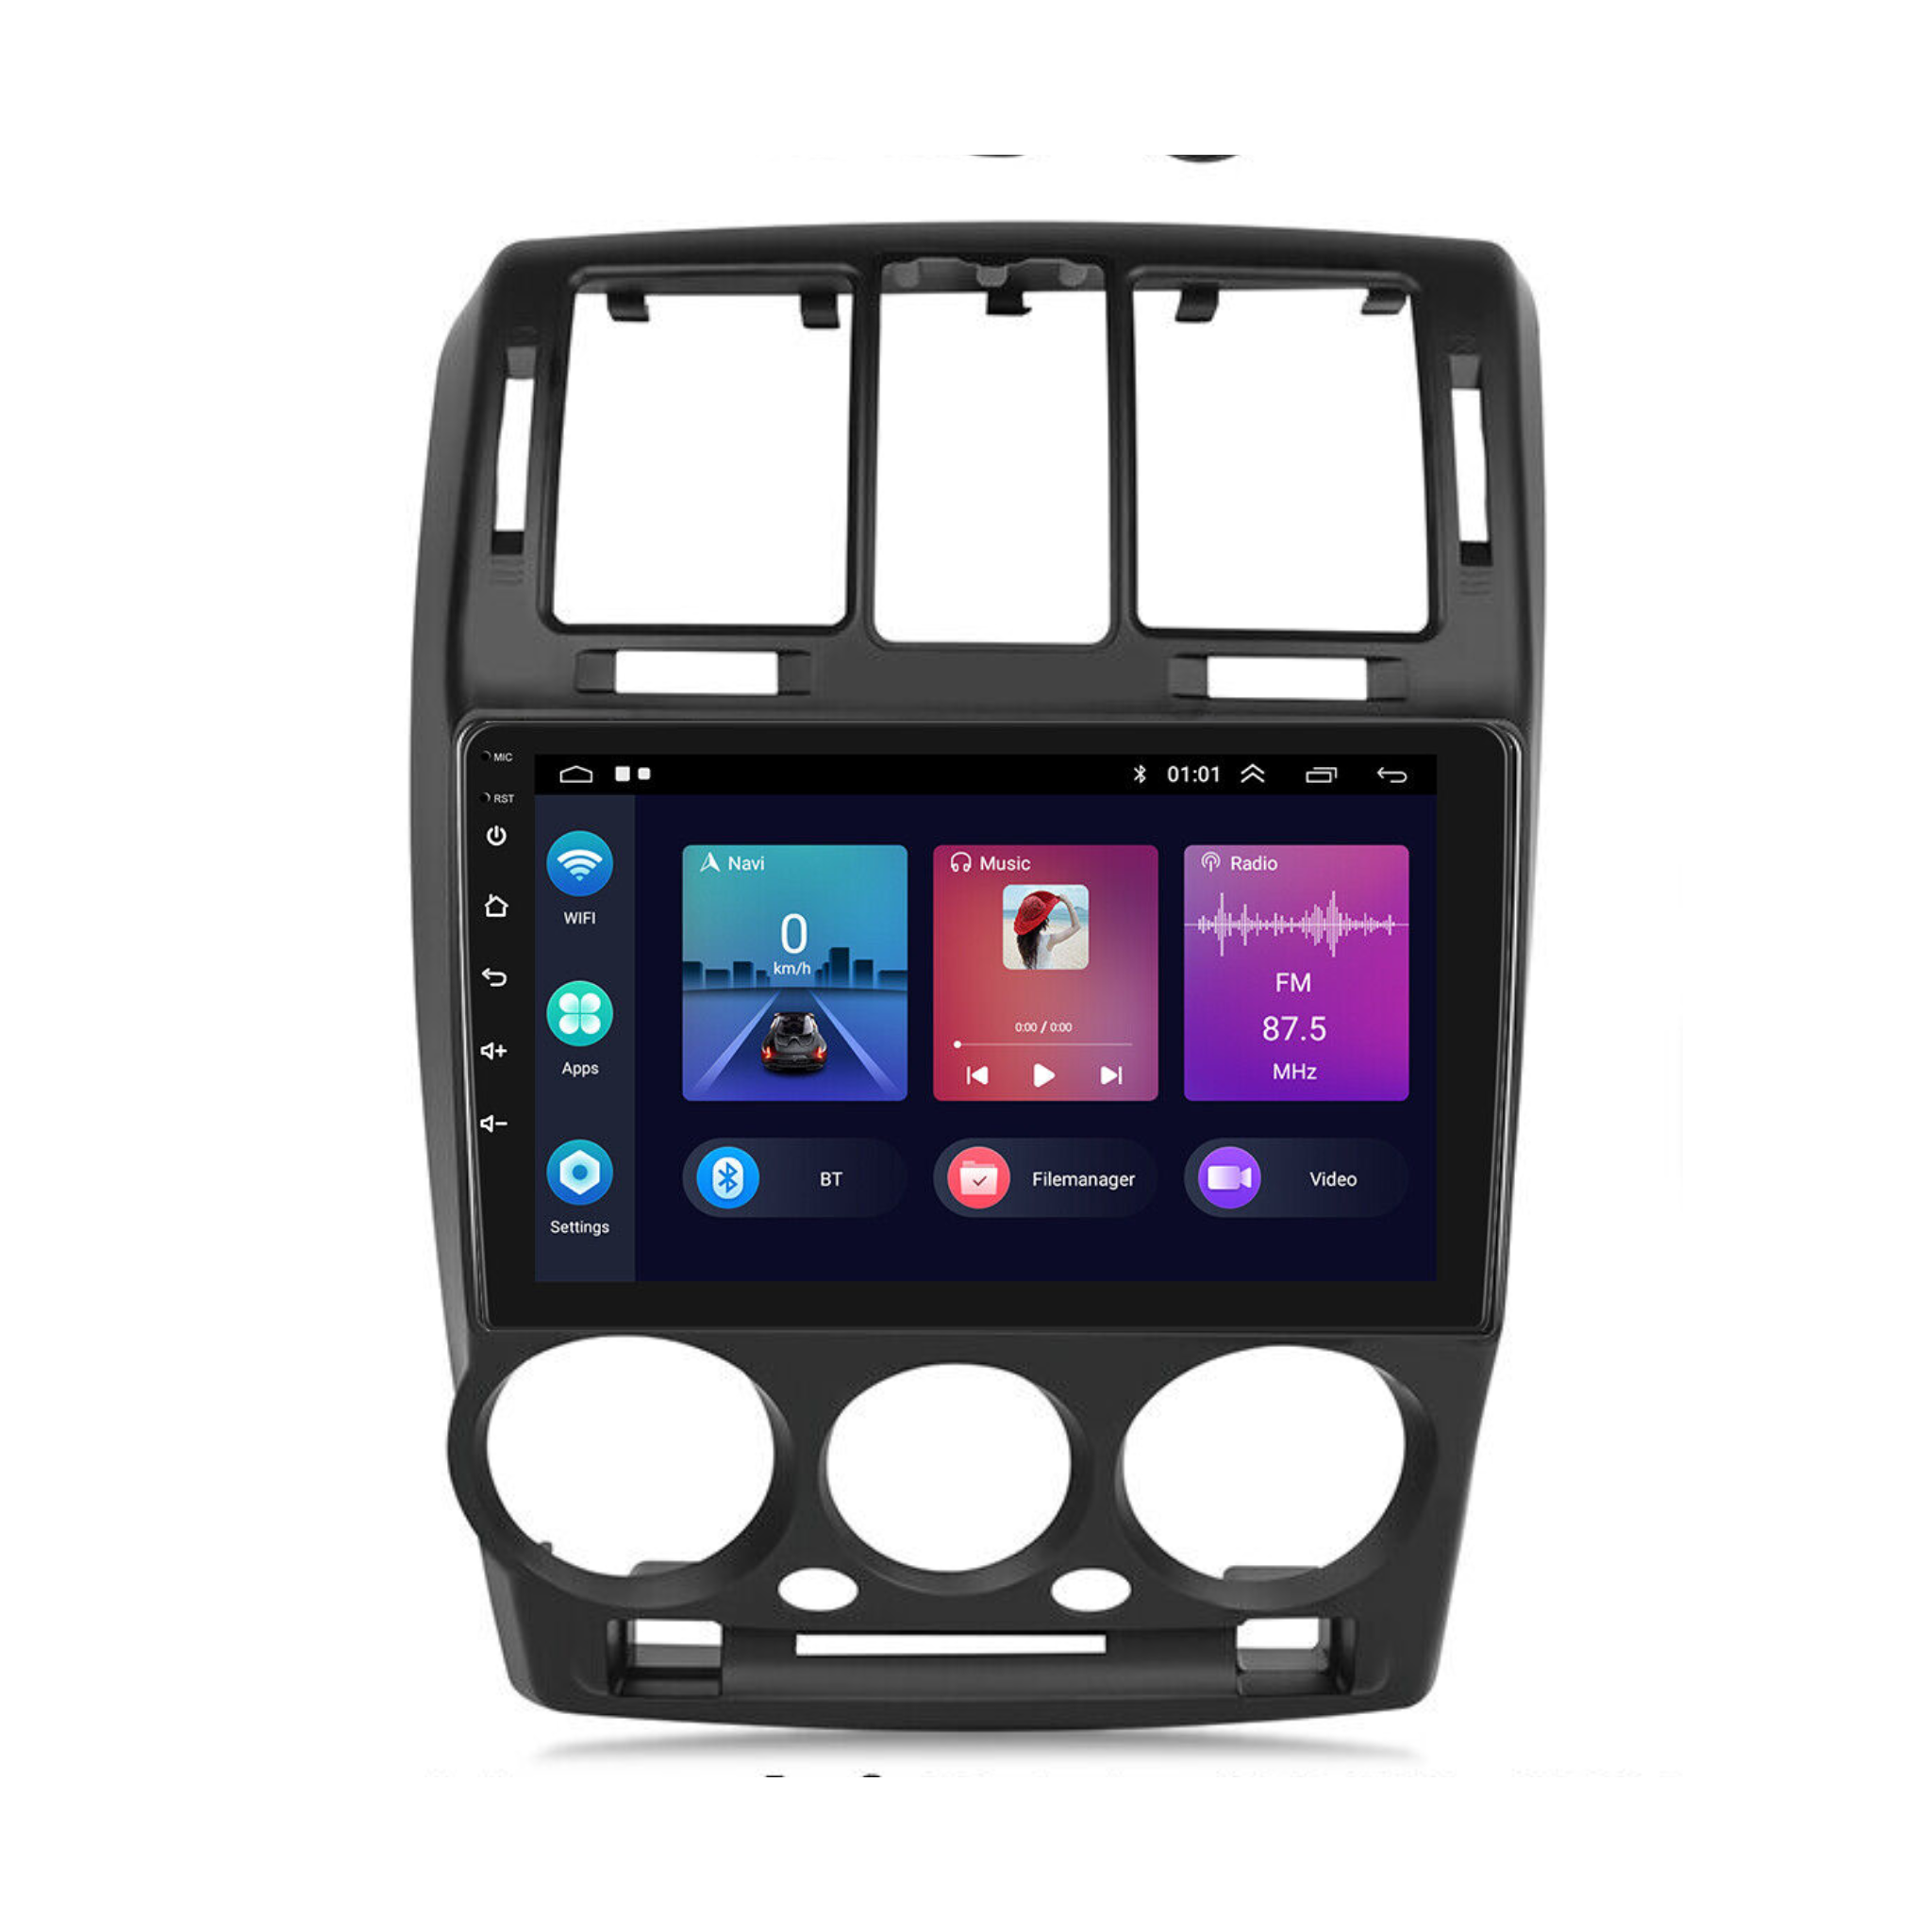
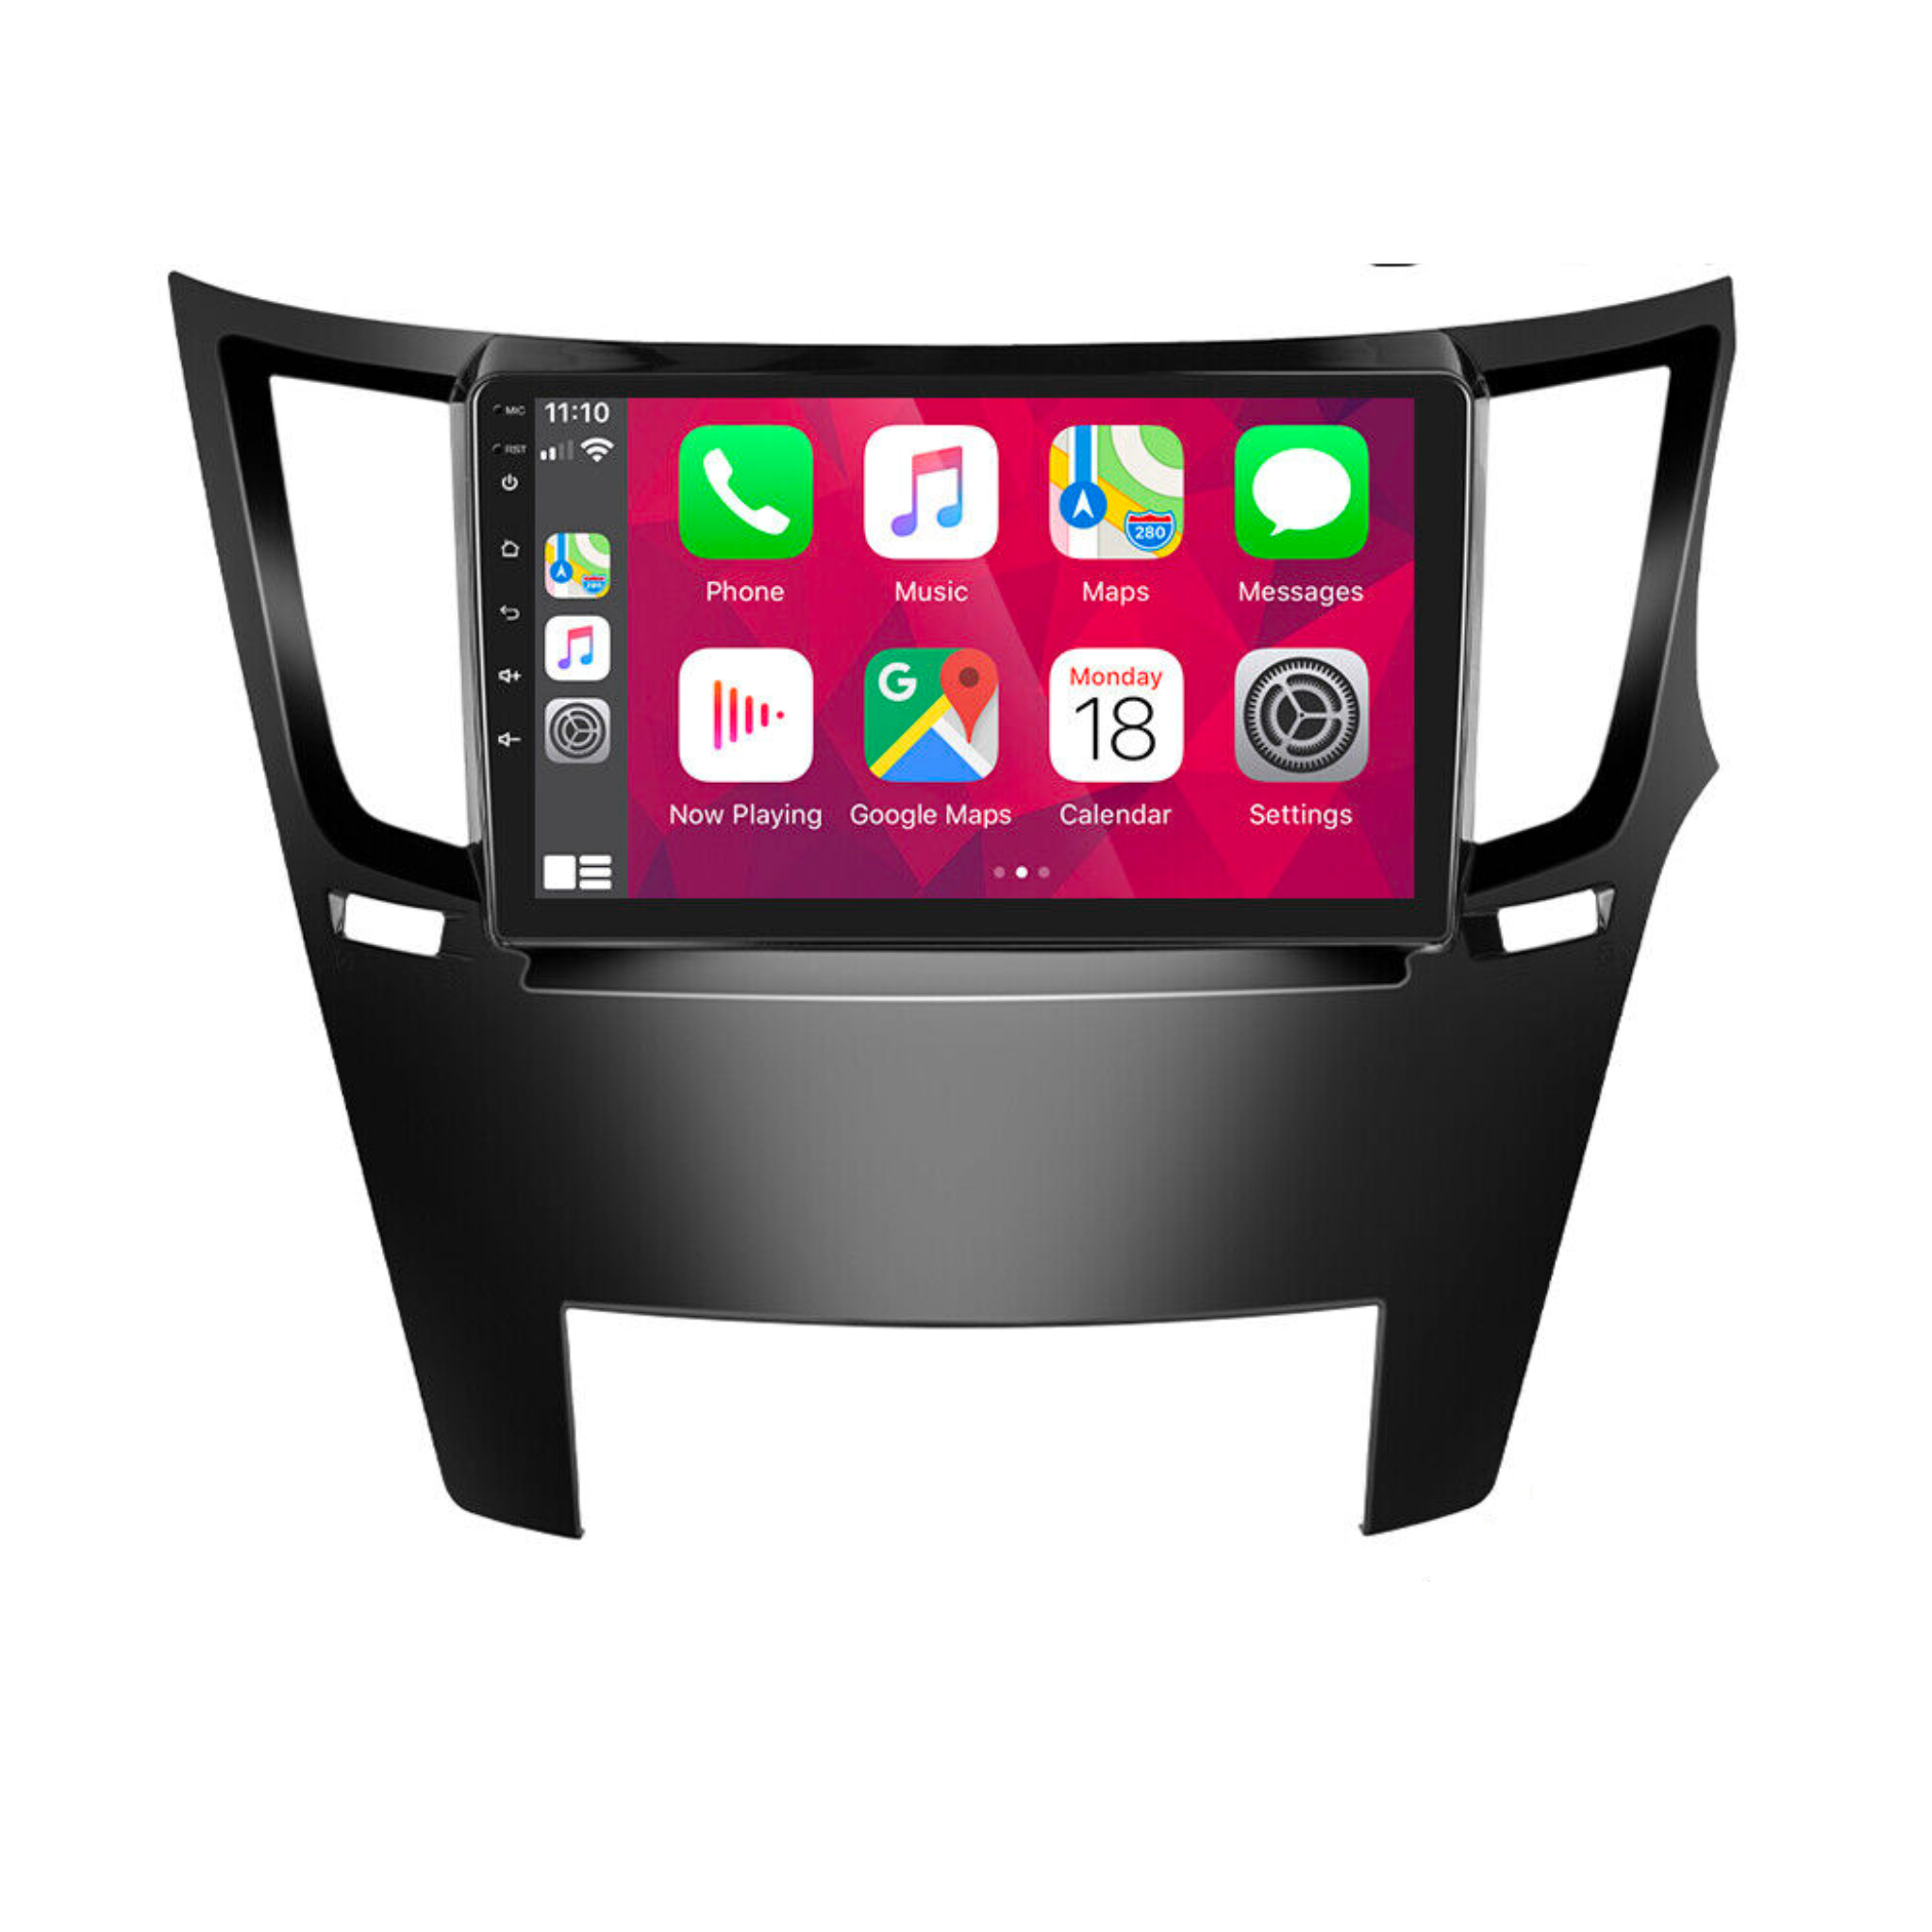
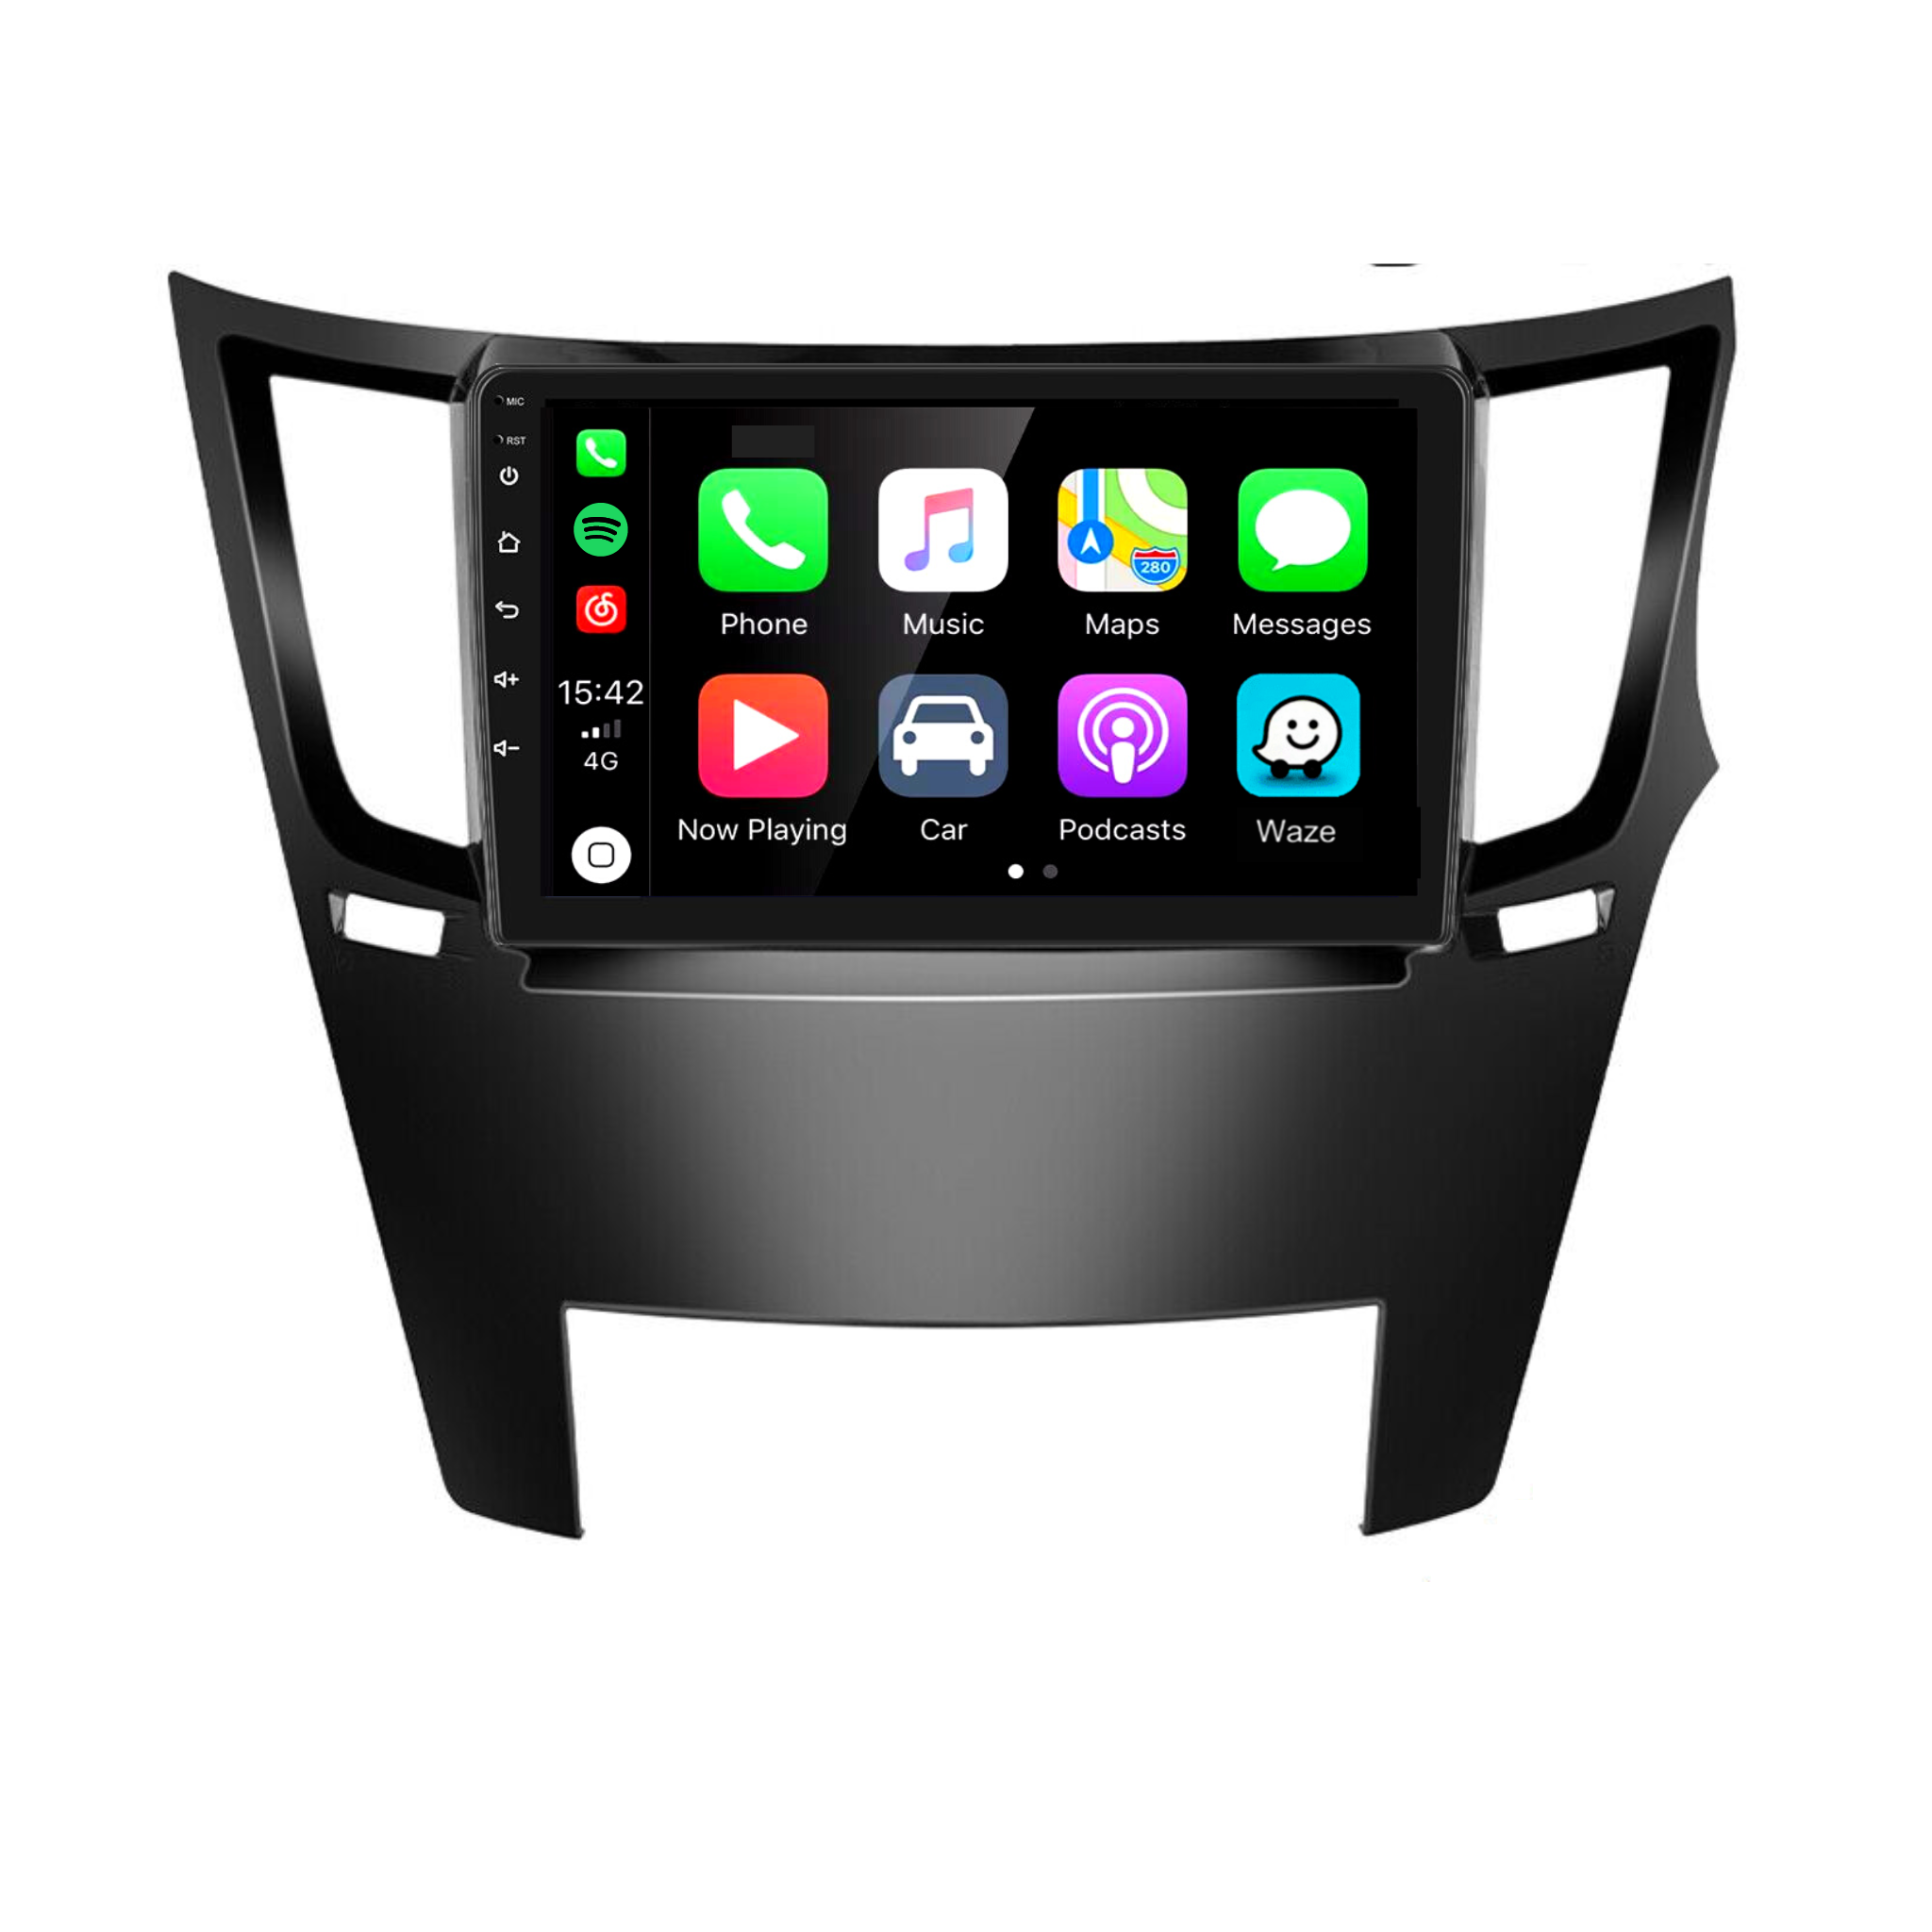
Hyundai Getz 2002~2011 Apple CarPlay and Android Auto Plug and Plug Head Unit Upgrade Kit
Sale priceFrom $359.99
Regular price$709.99
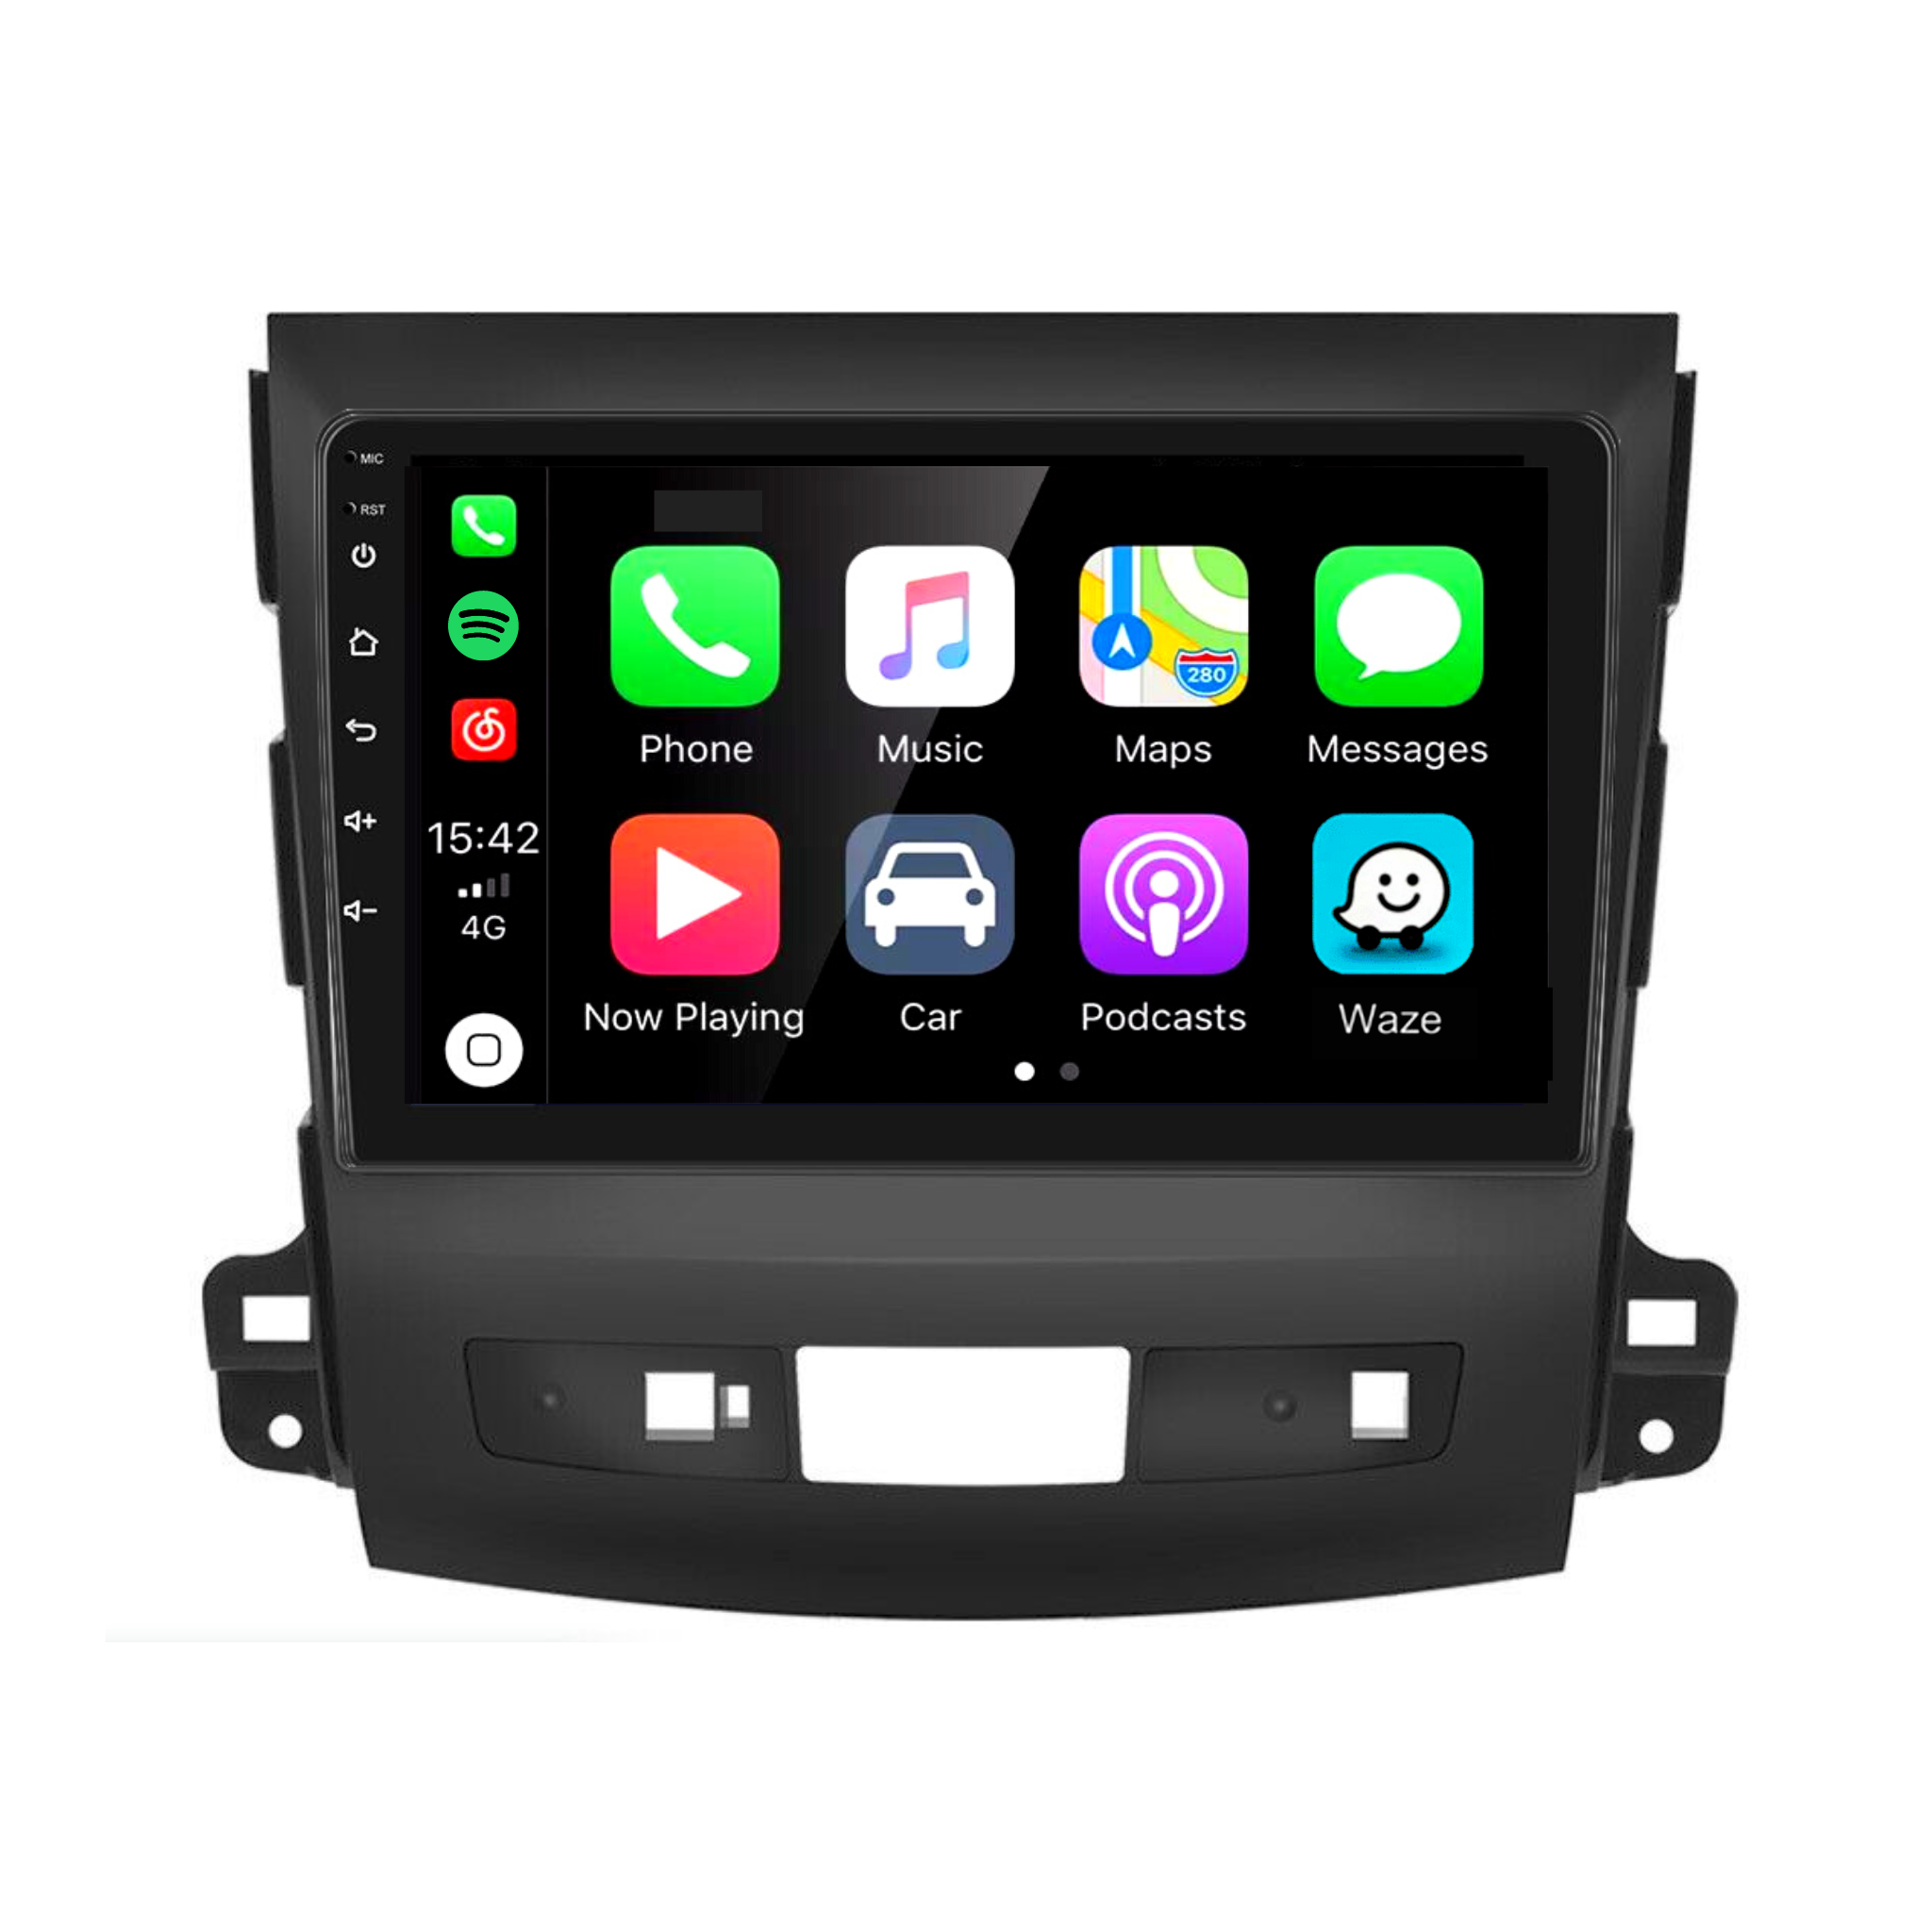
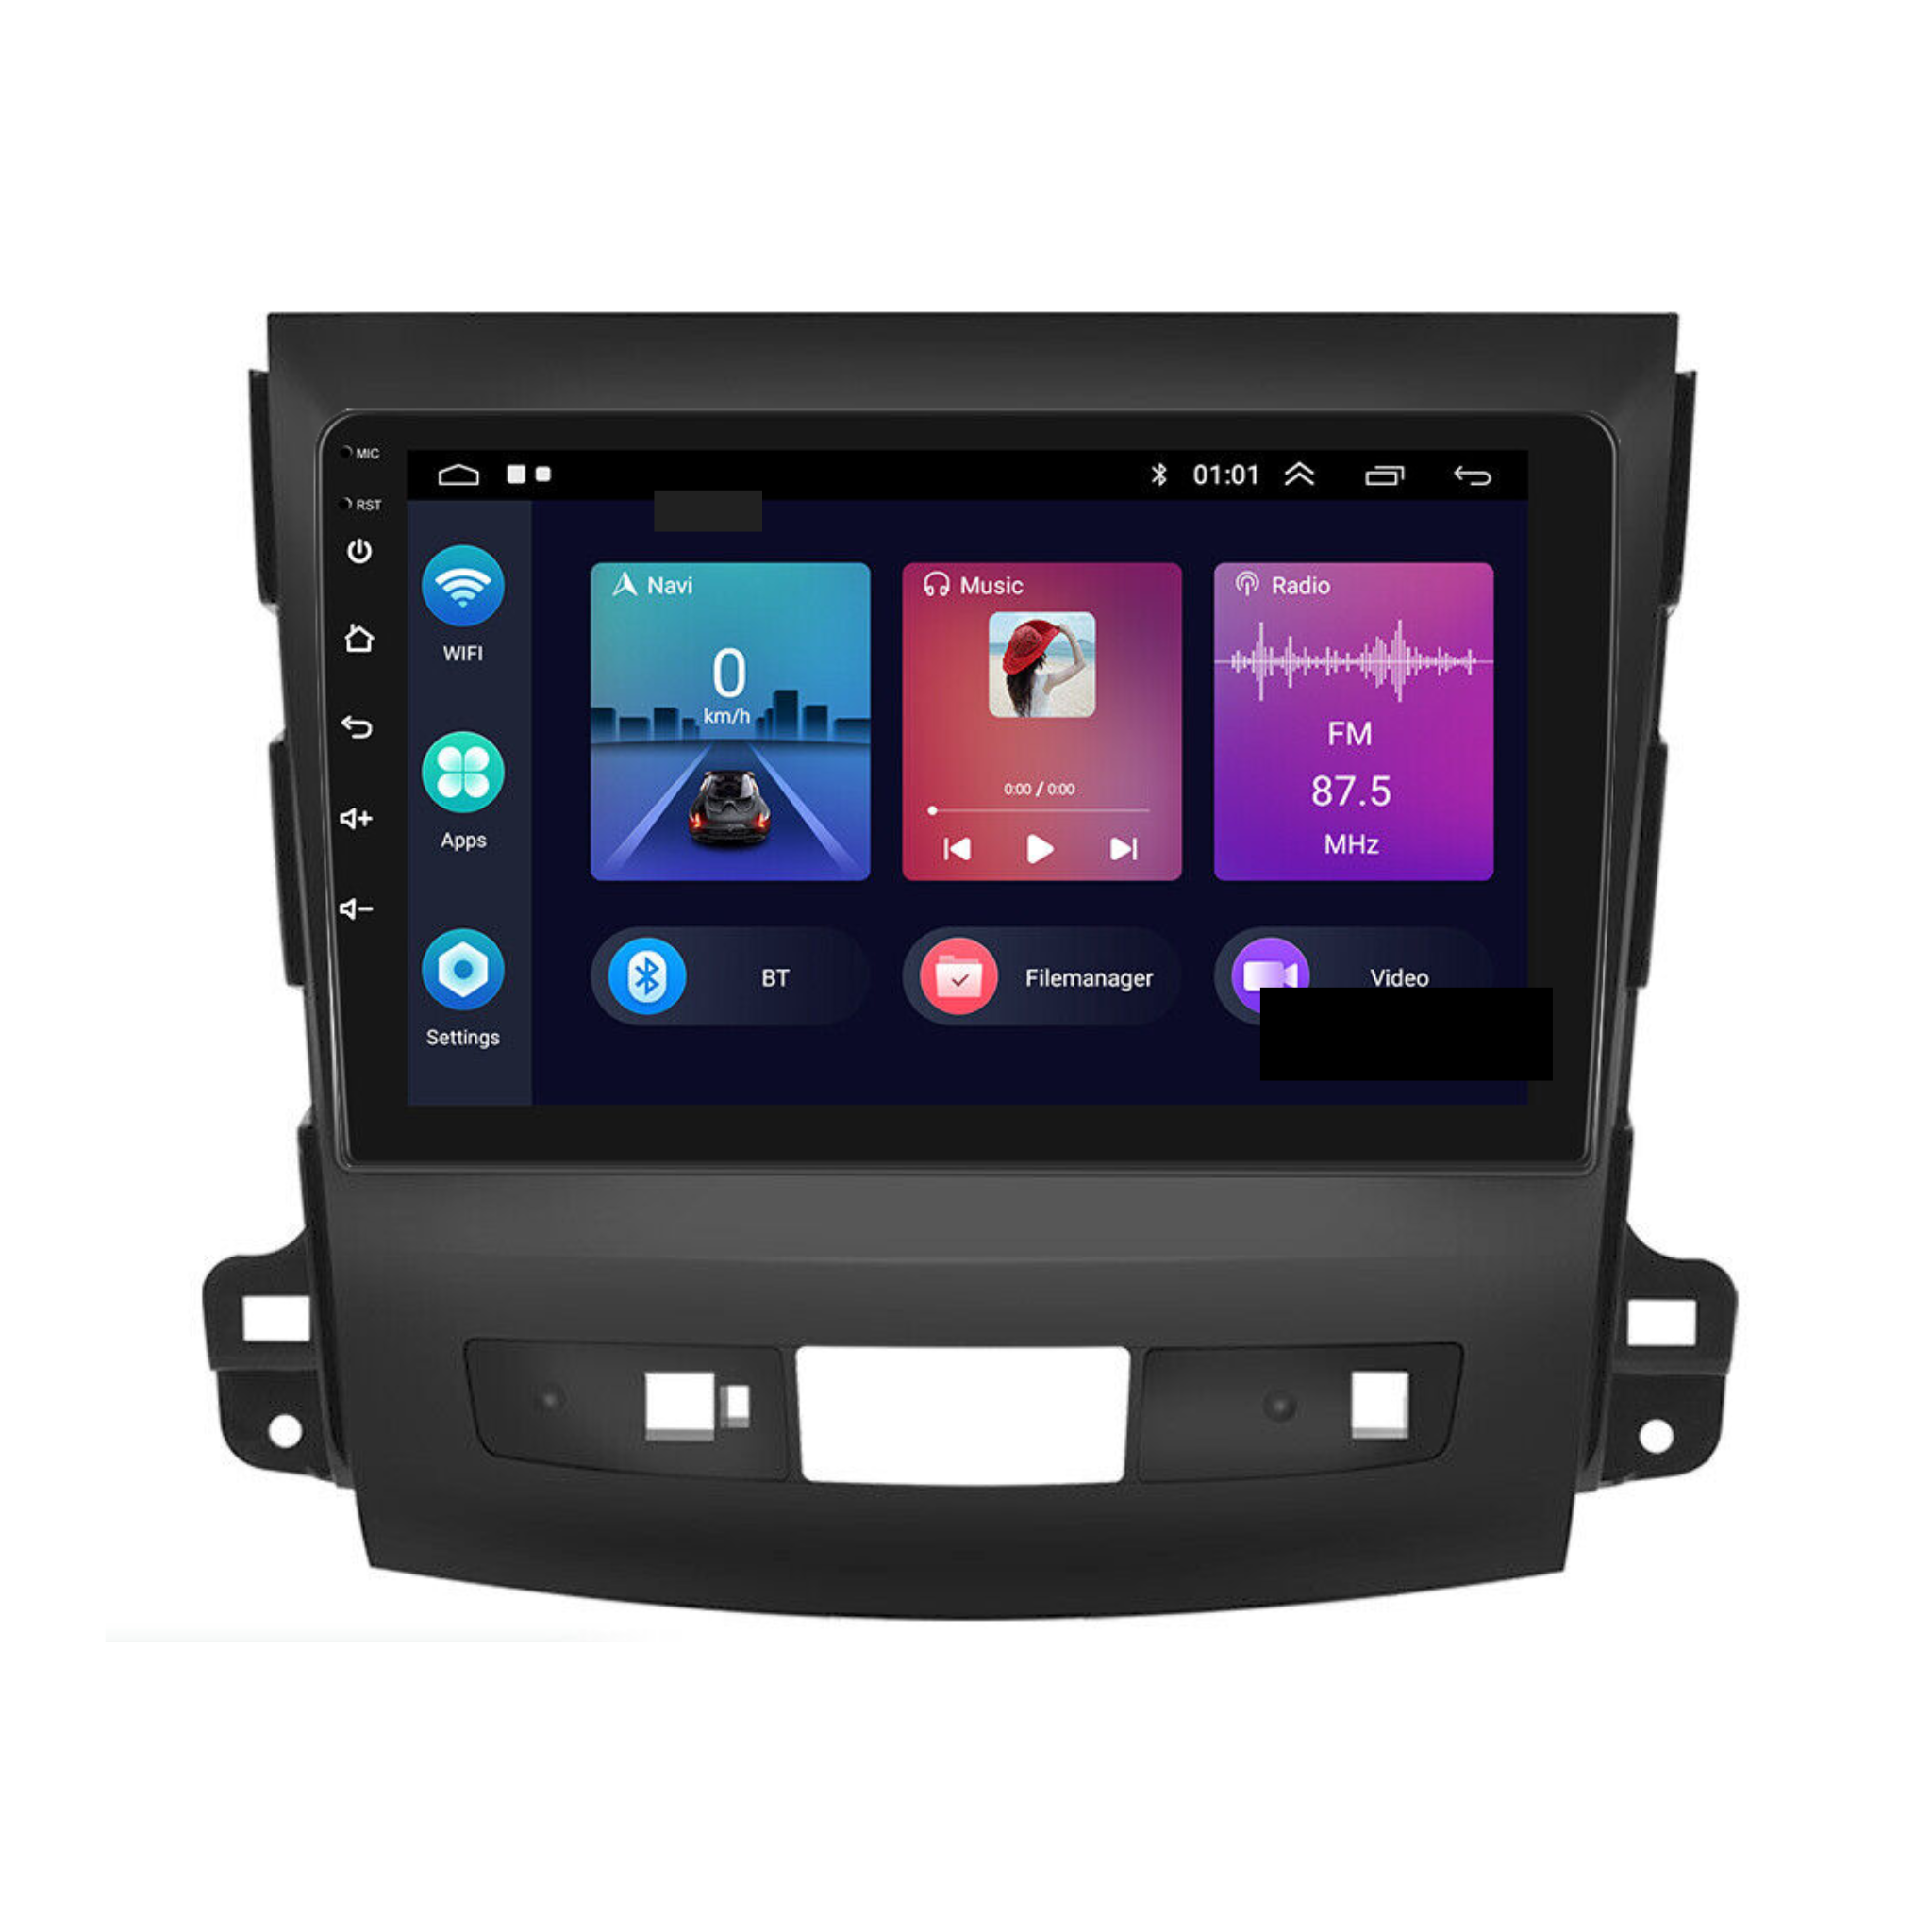
Mitsubishi Outlander 2005-2011 Apple CarPlay and Android Auto Plug and Plug Head Unit Upgrade Kit
Sale priceFrom $409.95
Regular price$545.99
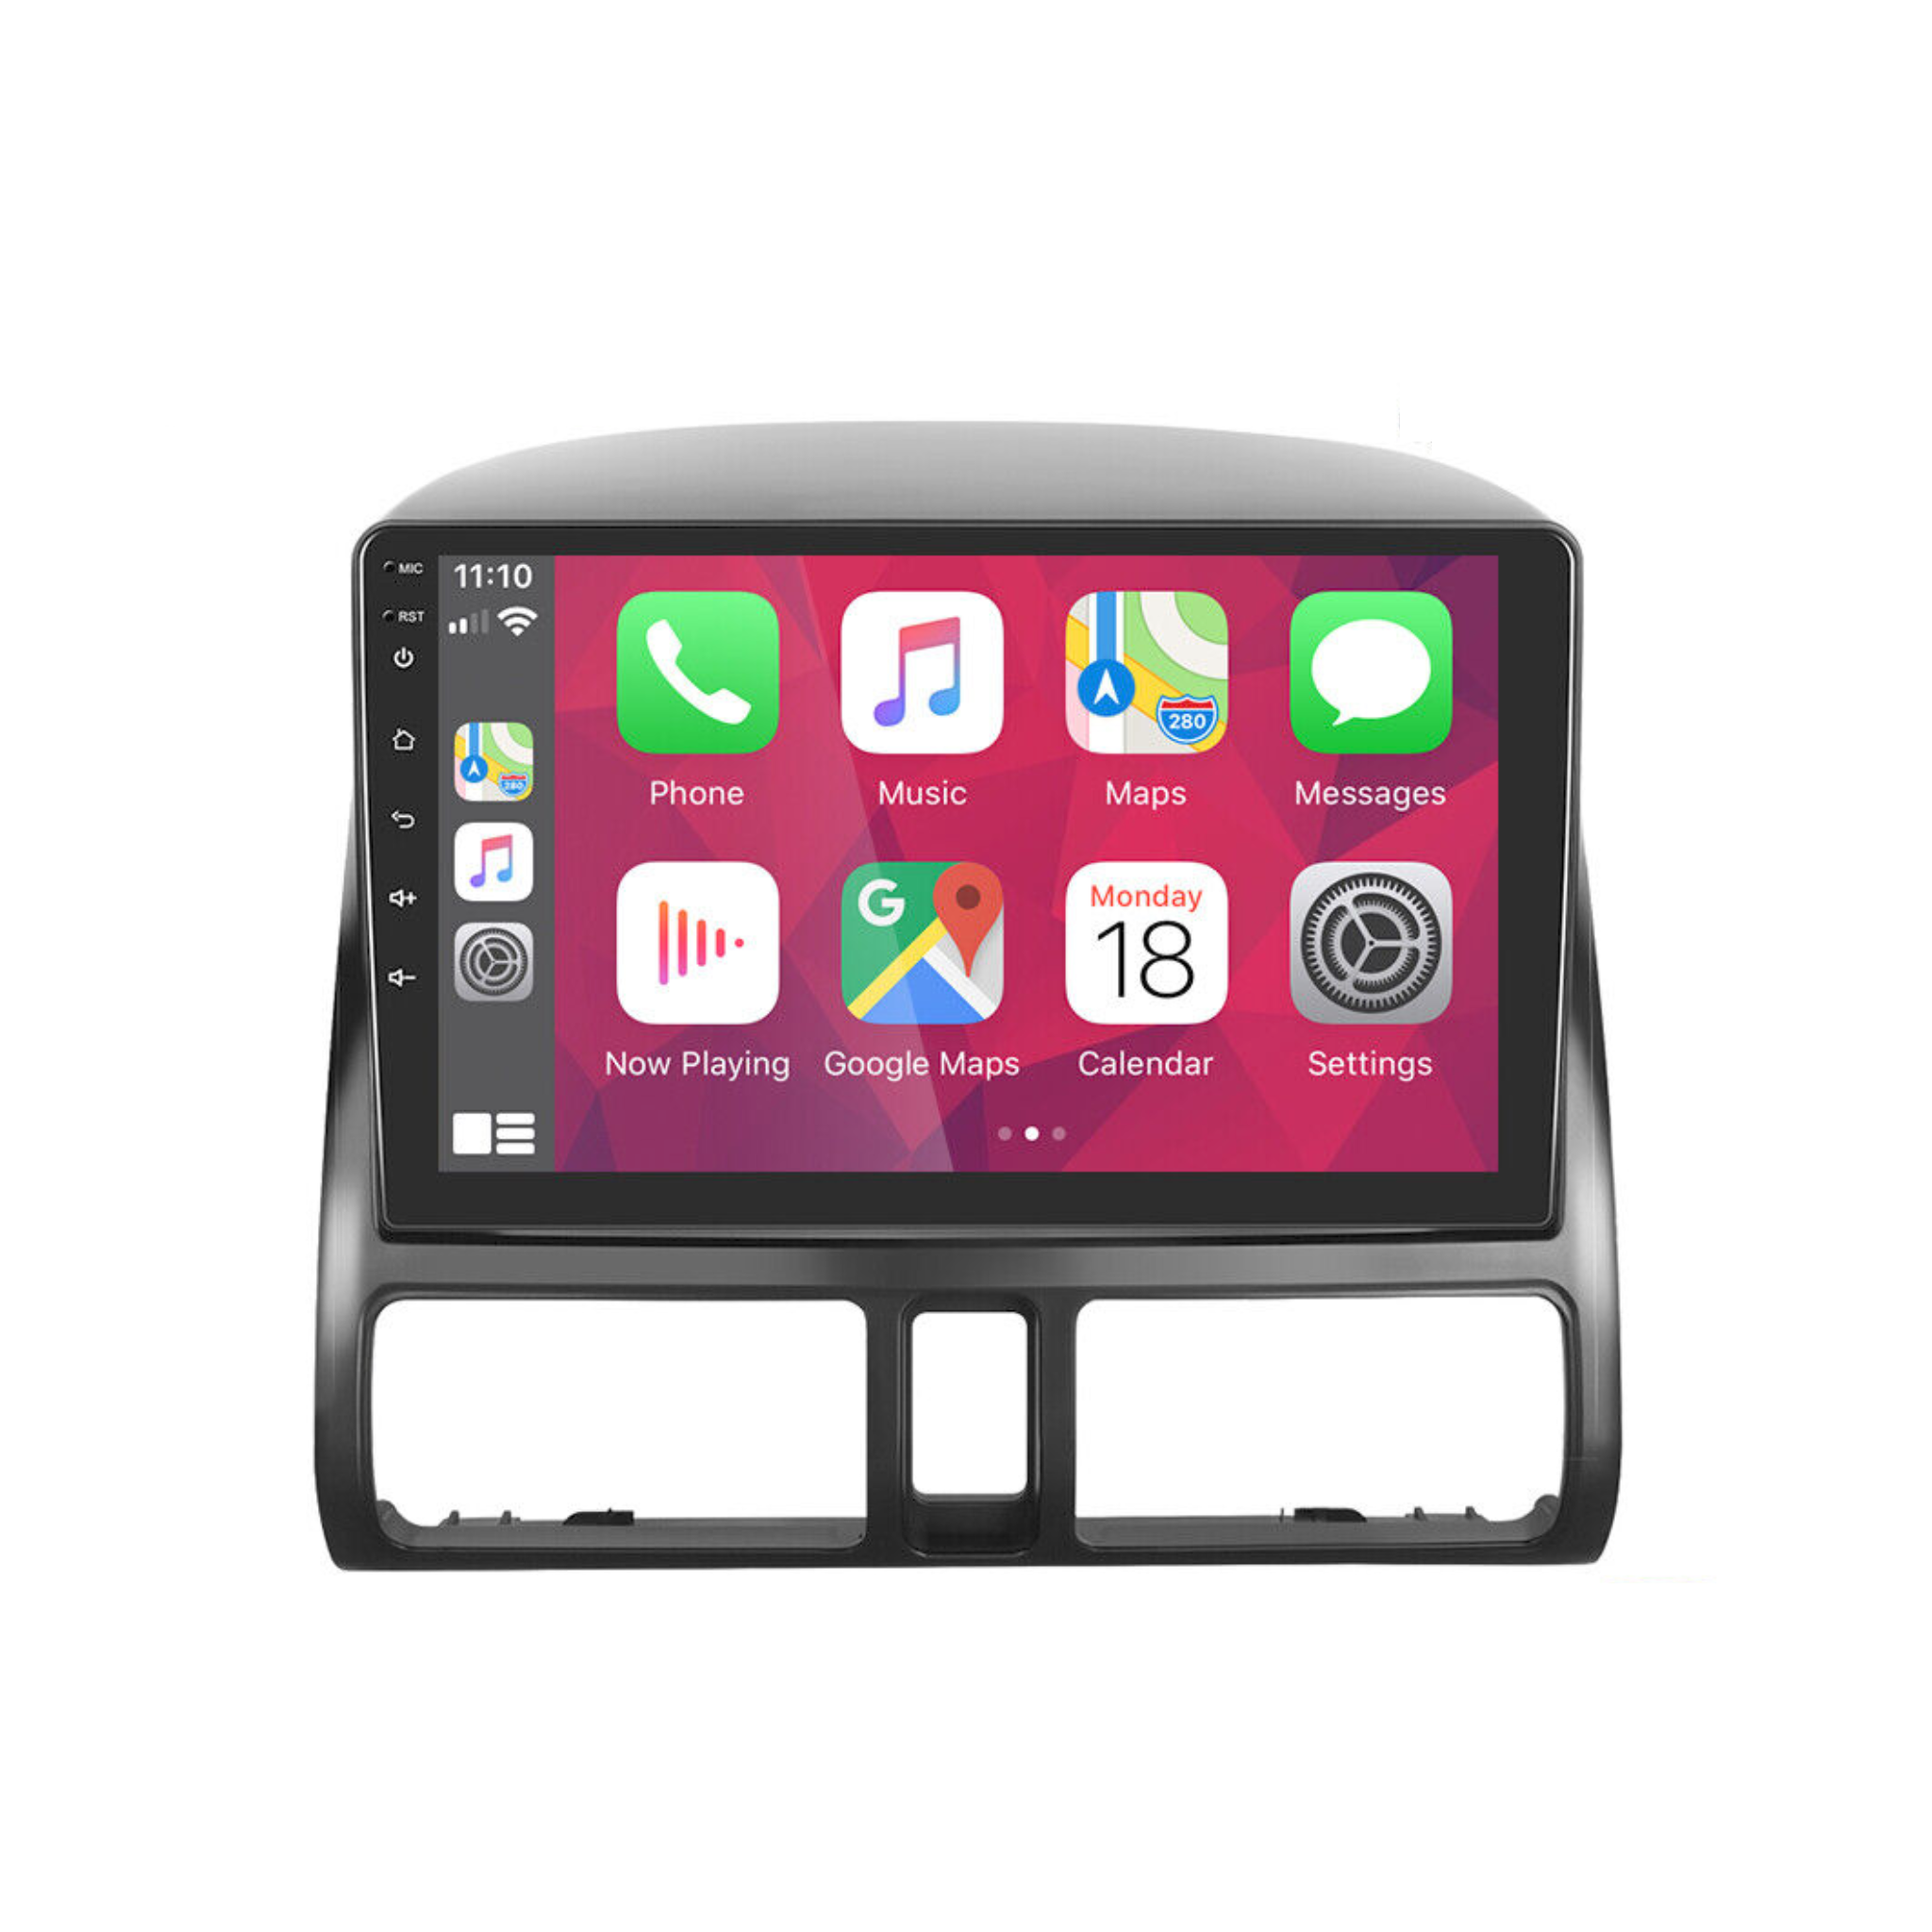
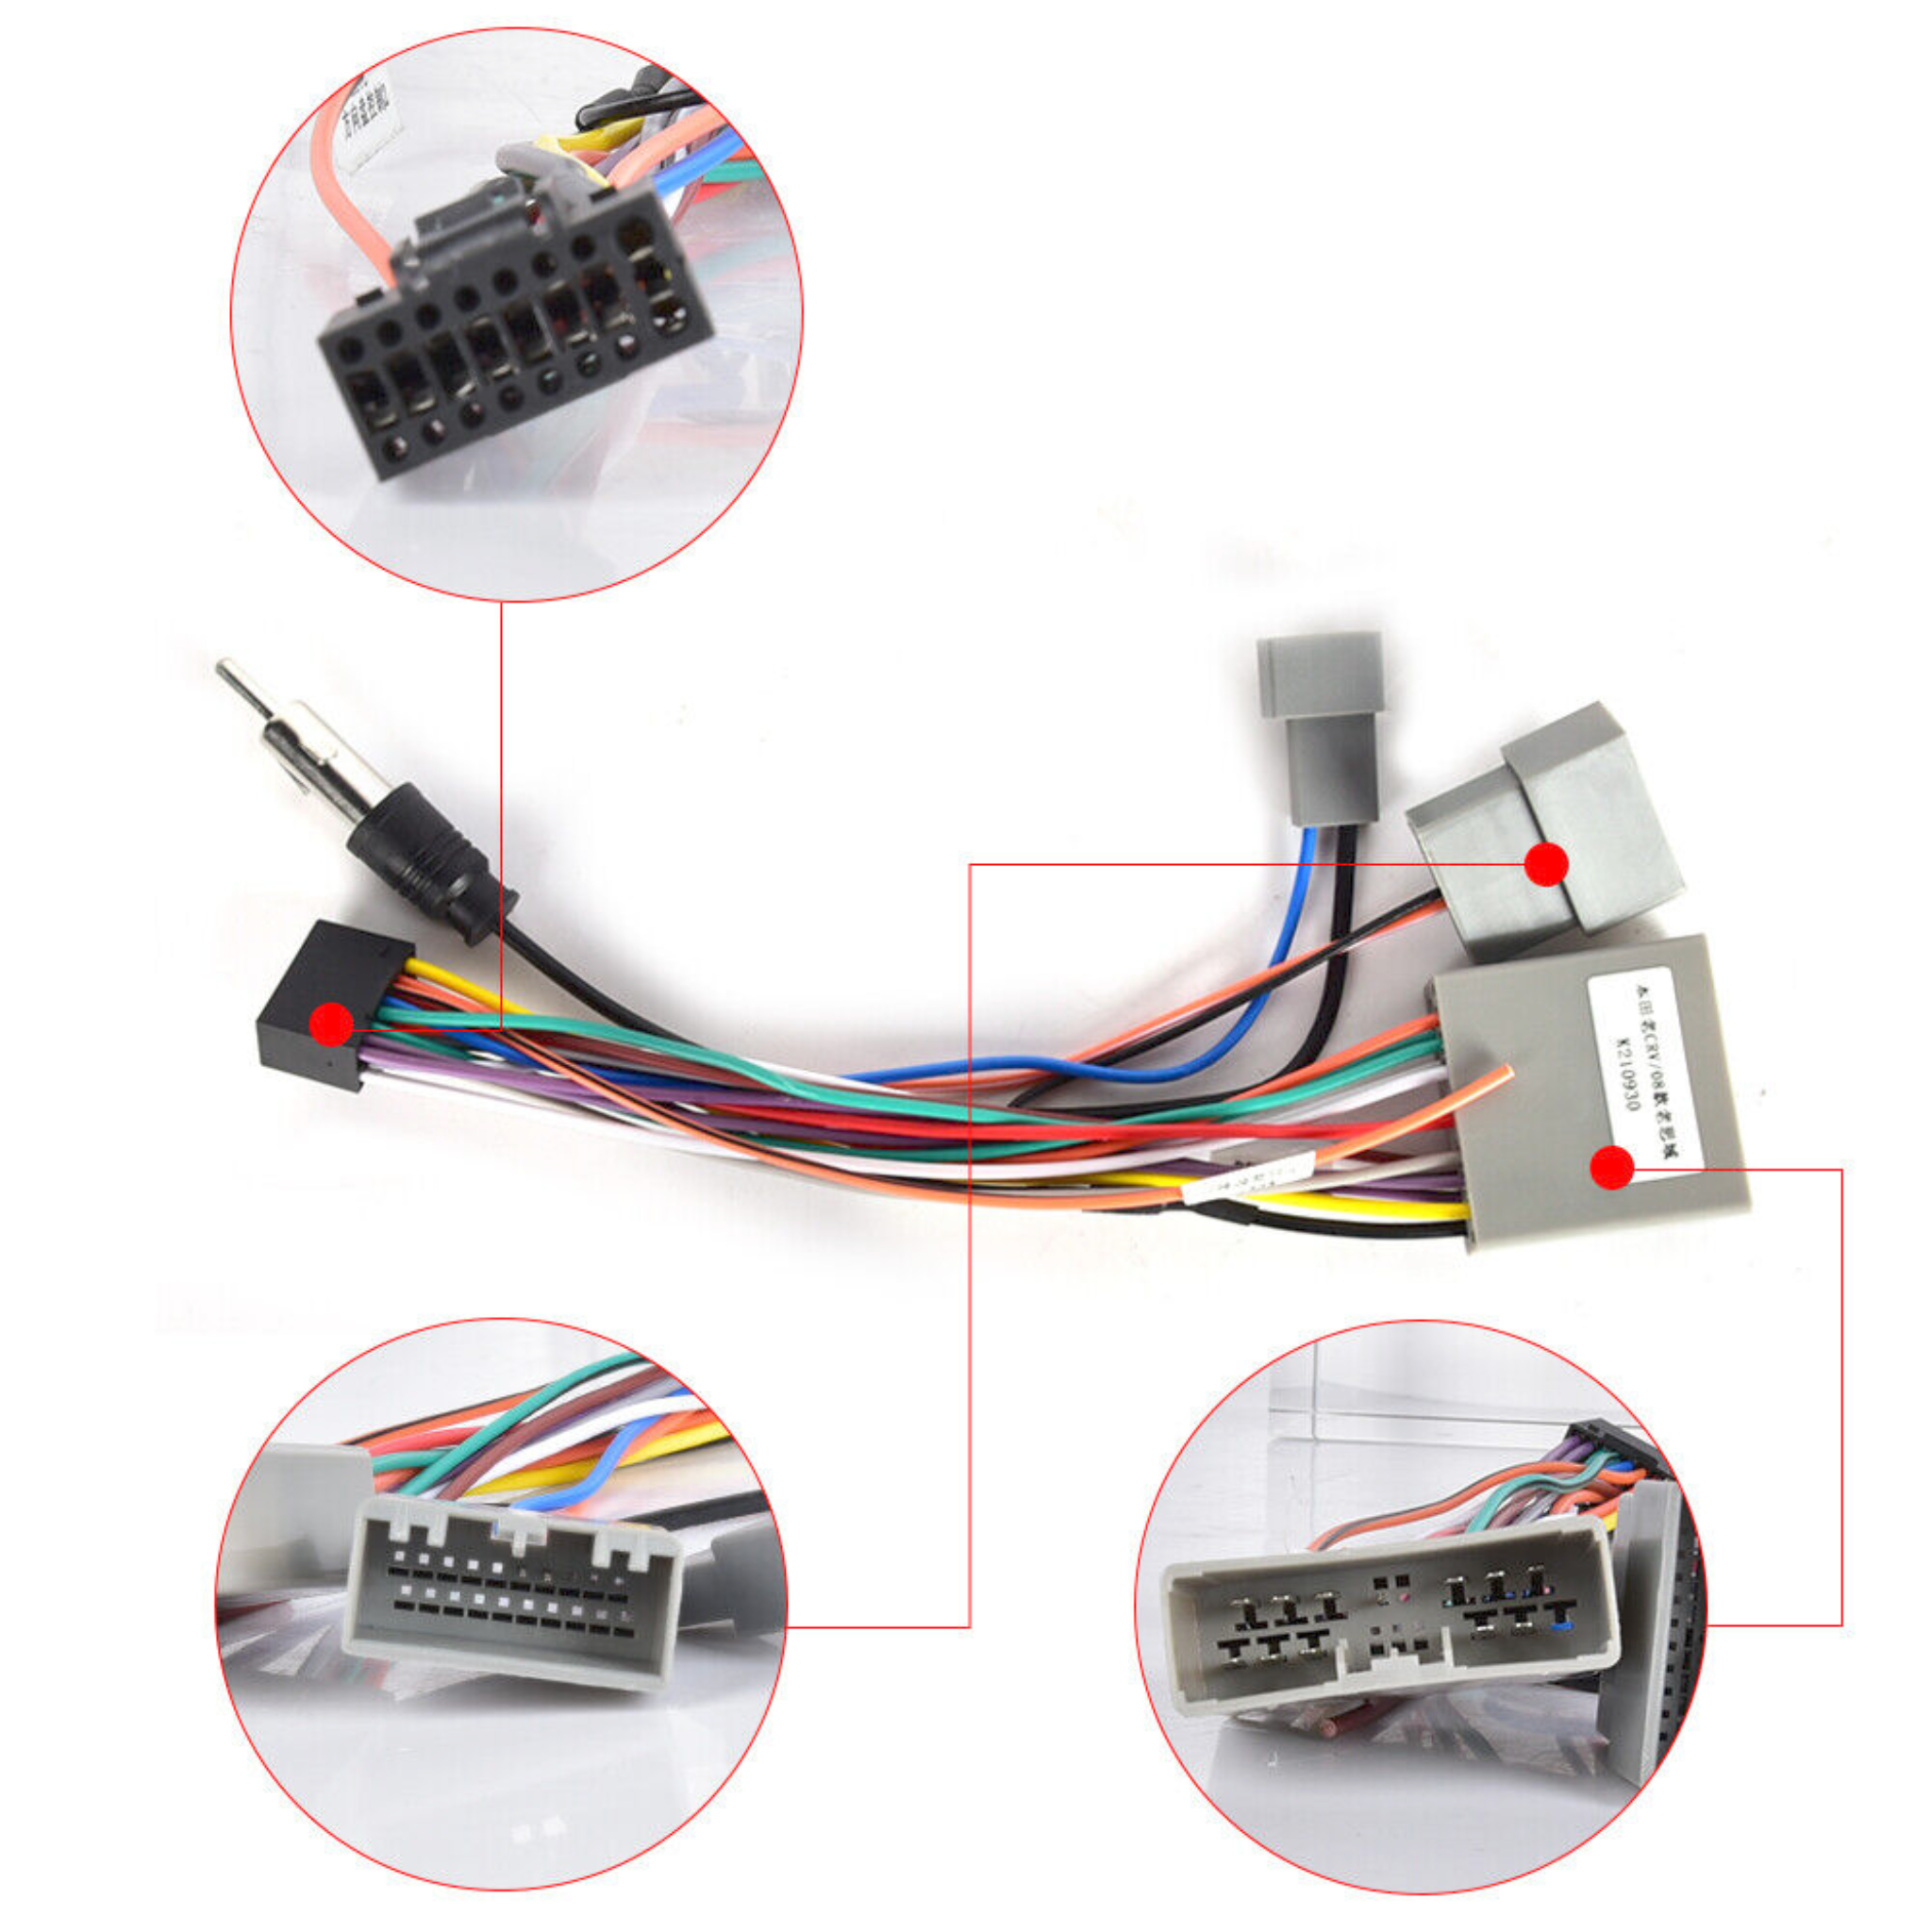
Honda CRV 2002-2006 Apple CarPlay and Android Auto Plug and Plug Head Unit Upgrade Kit
Sale price$299.00
Regular price$689.99
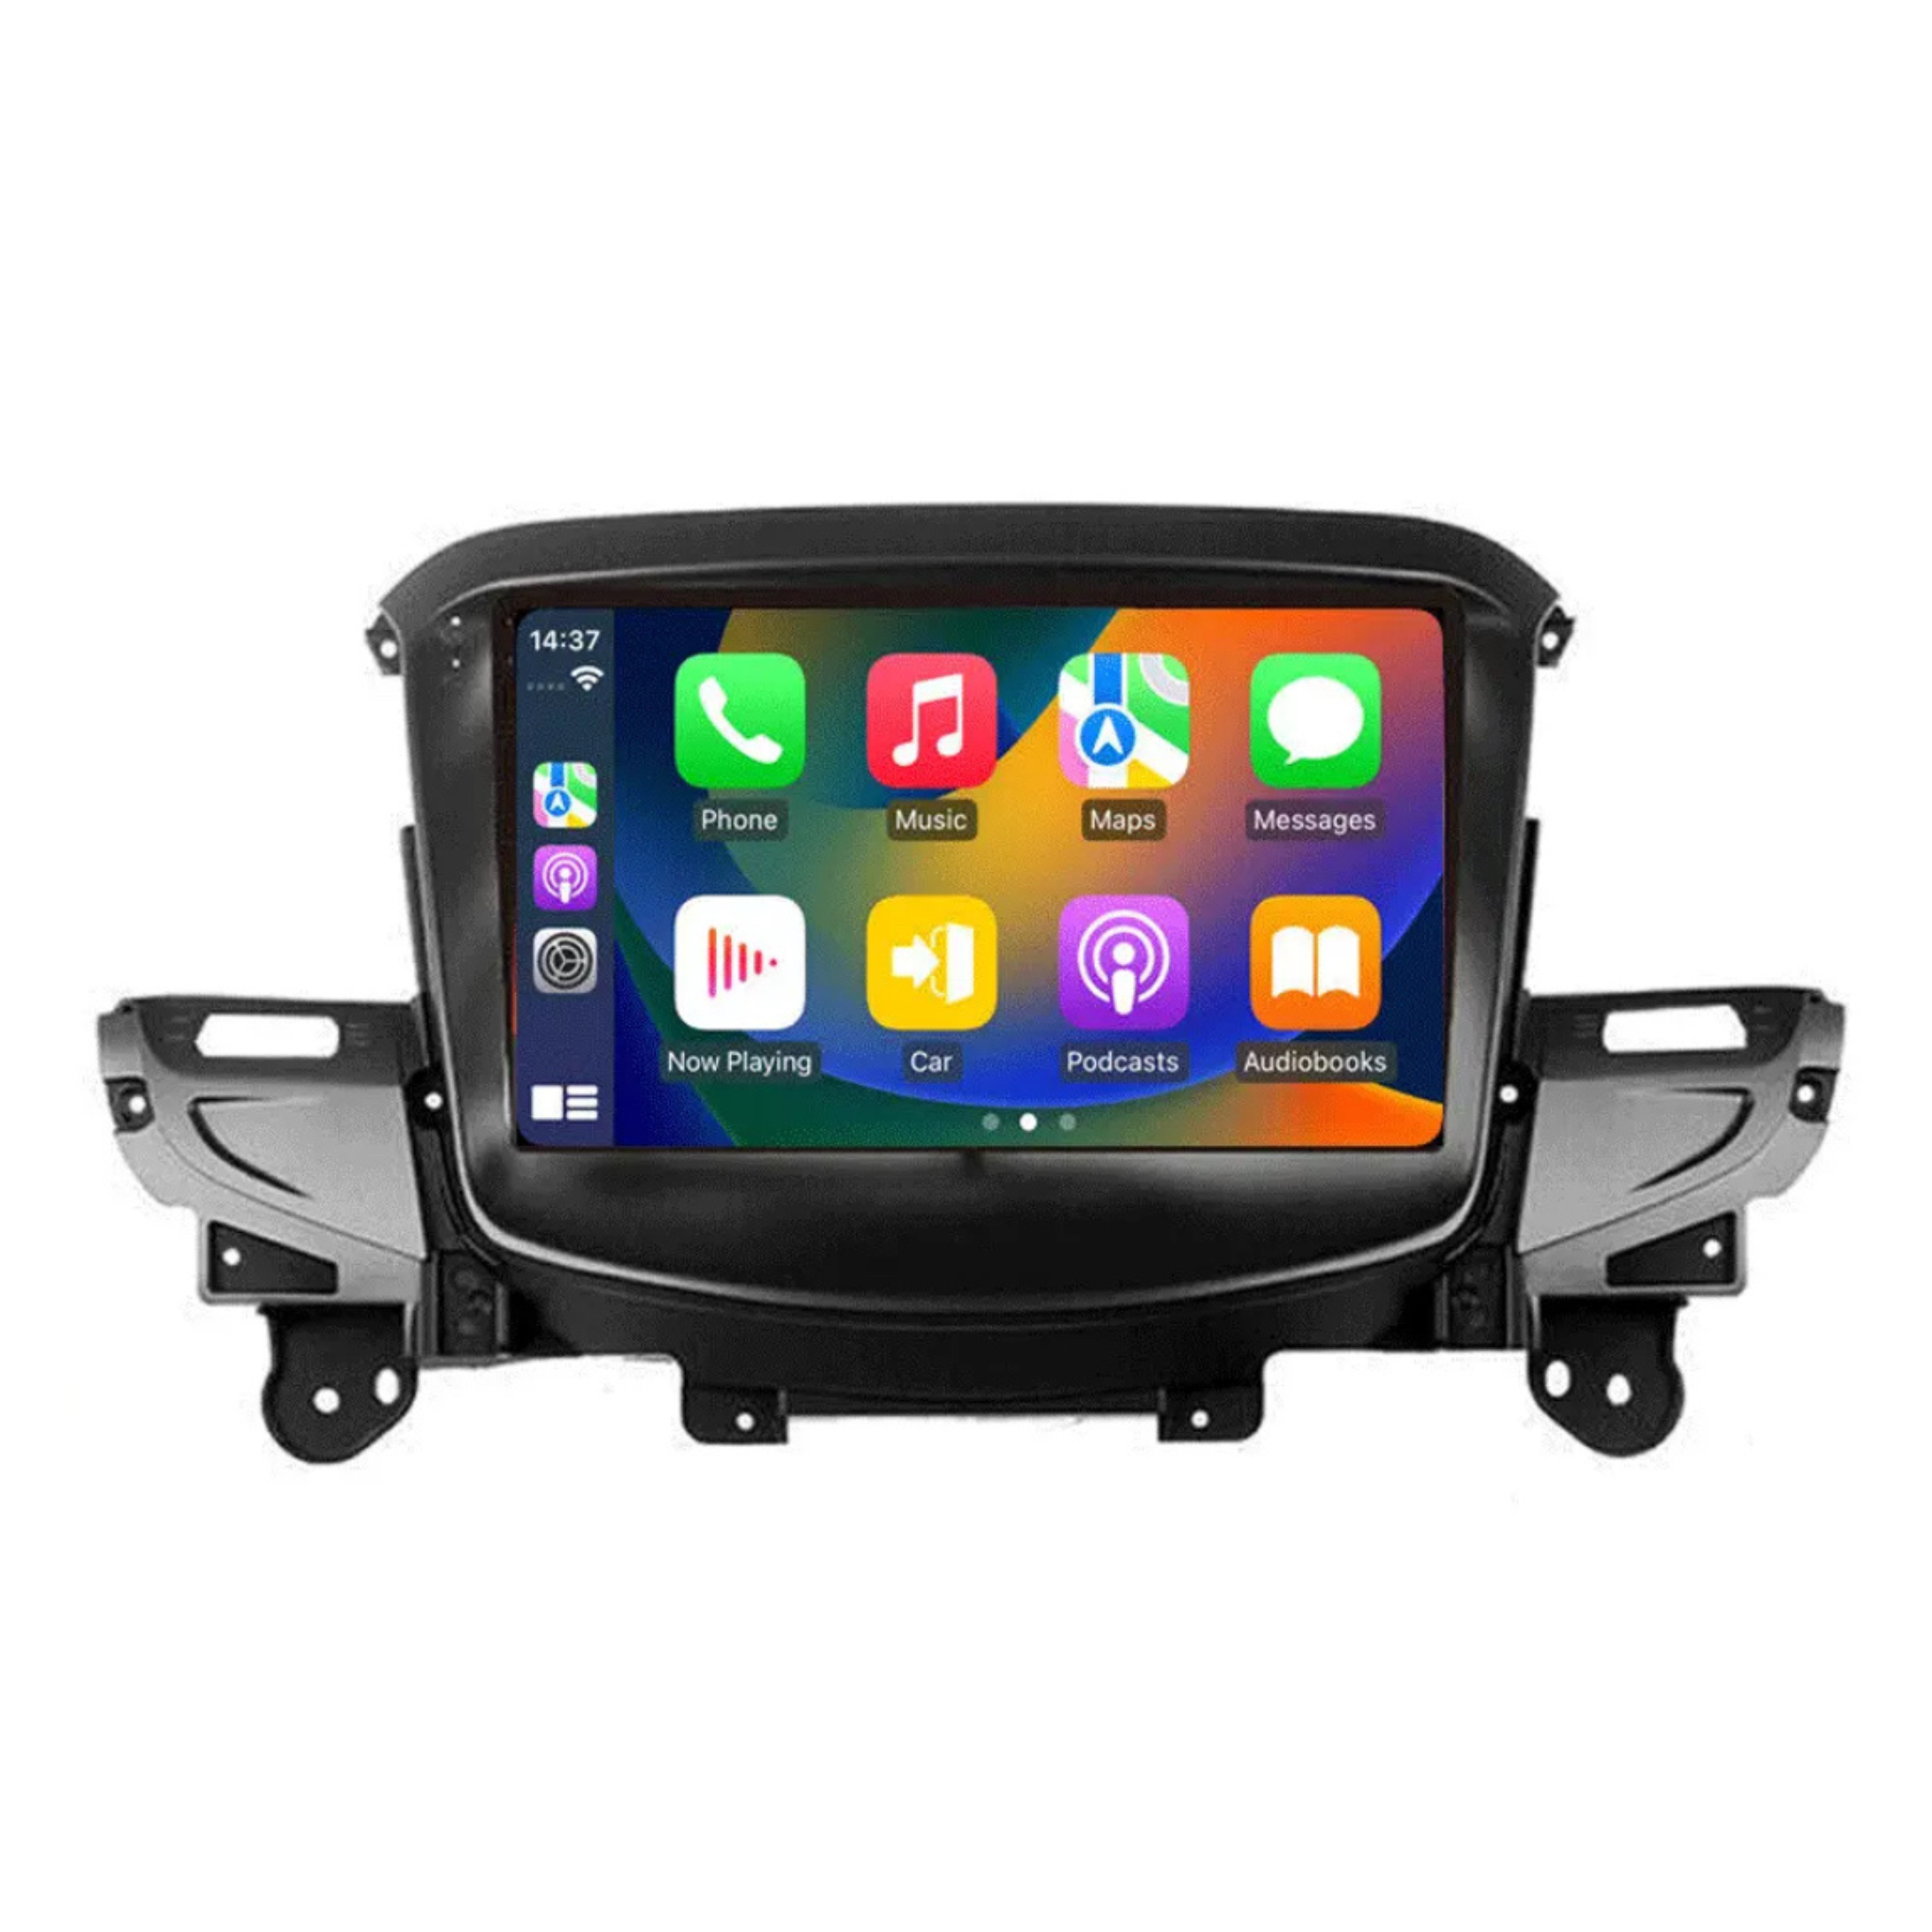
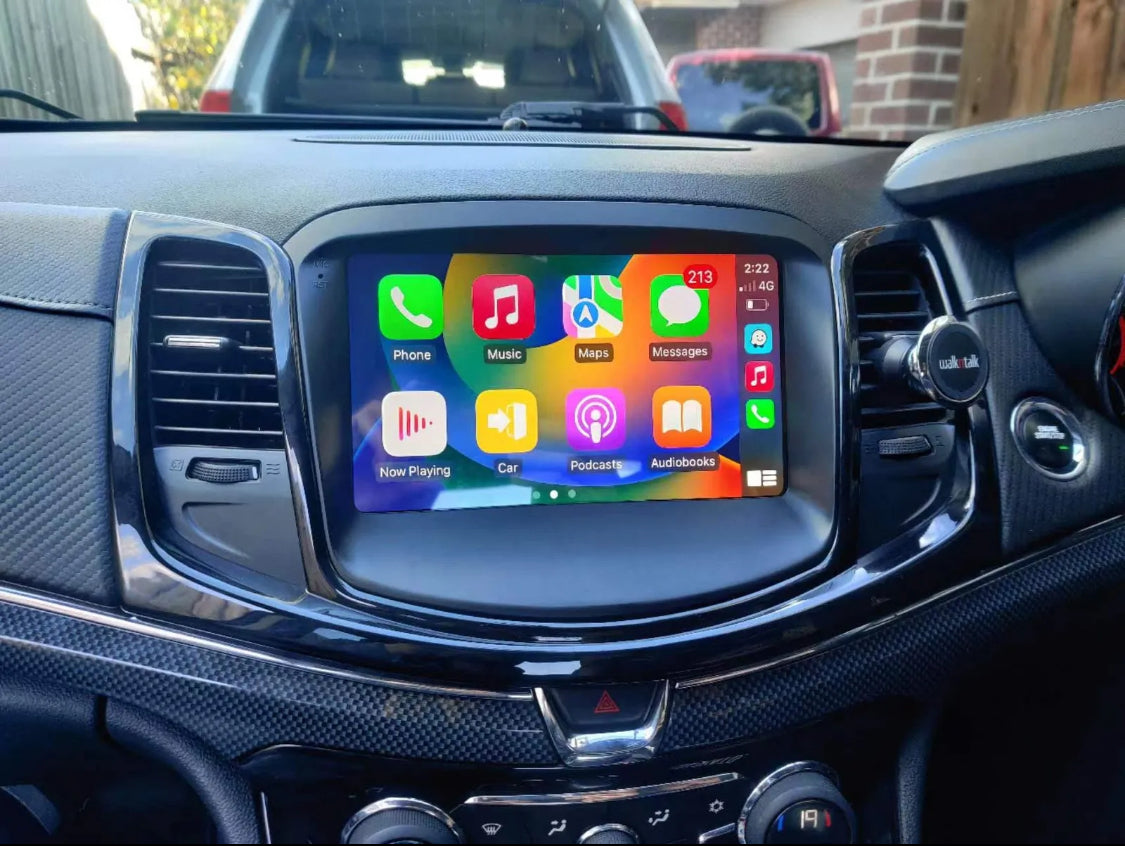
Holden Commodore VF 2013 - 2017 Apple CarPlay and Android Auto Plug and Plug Head Unit Upgrade Kit
Sale priceFrom $369.95
Regular price$599.95
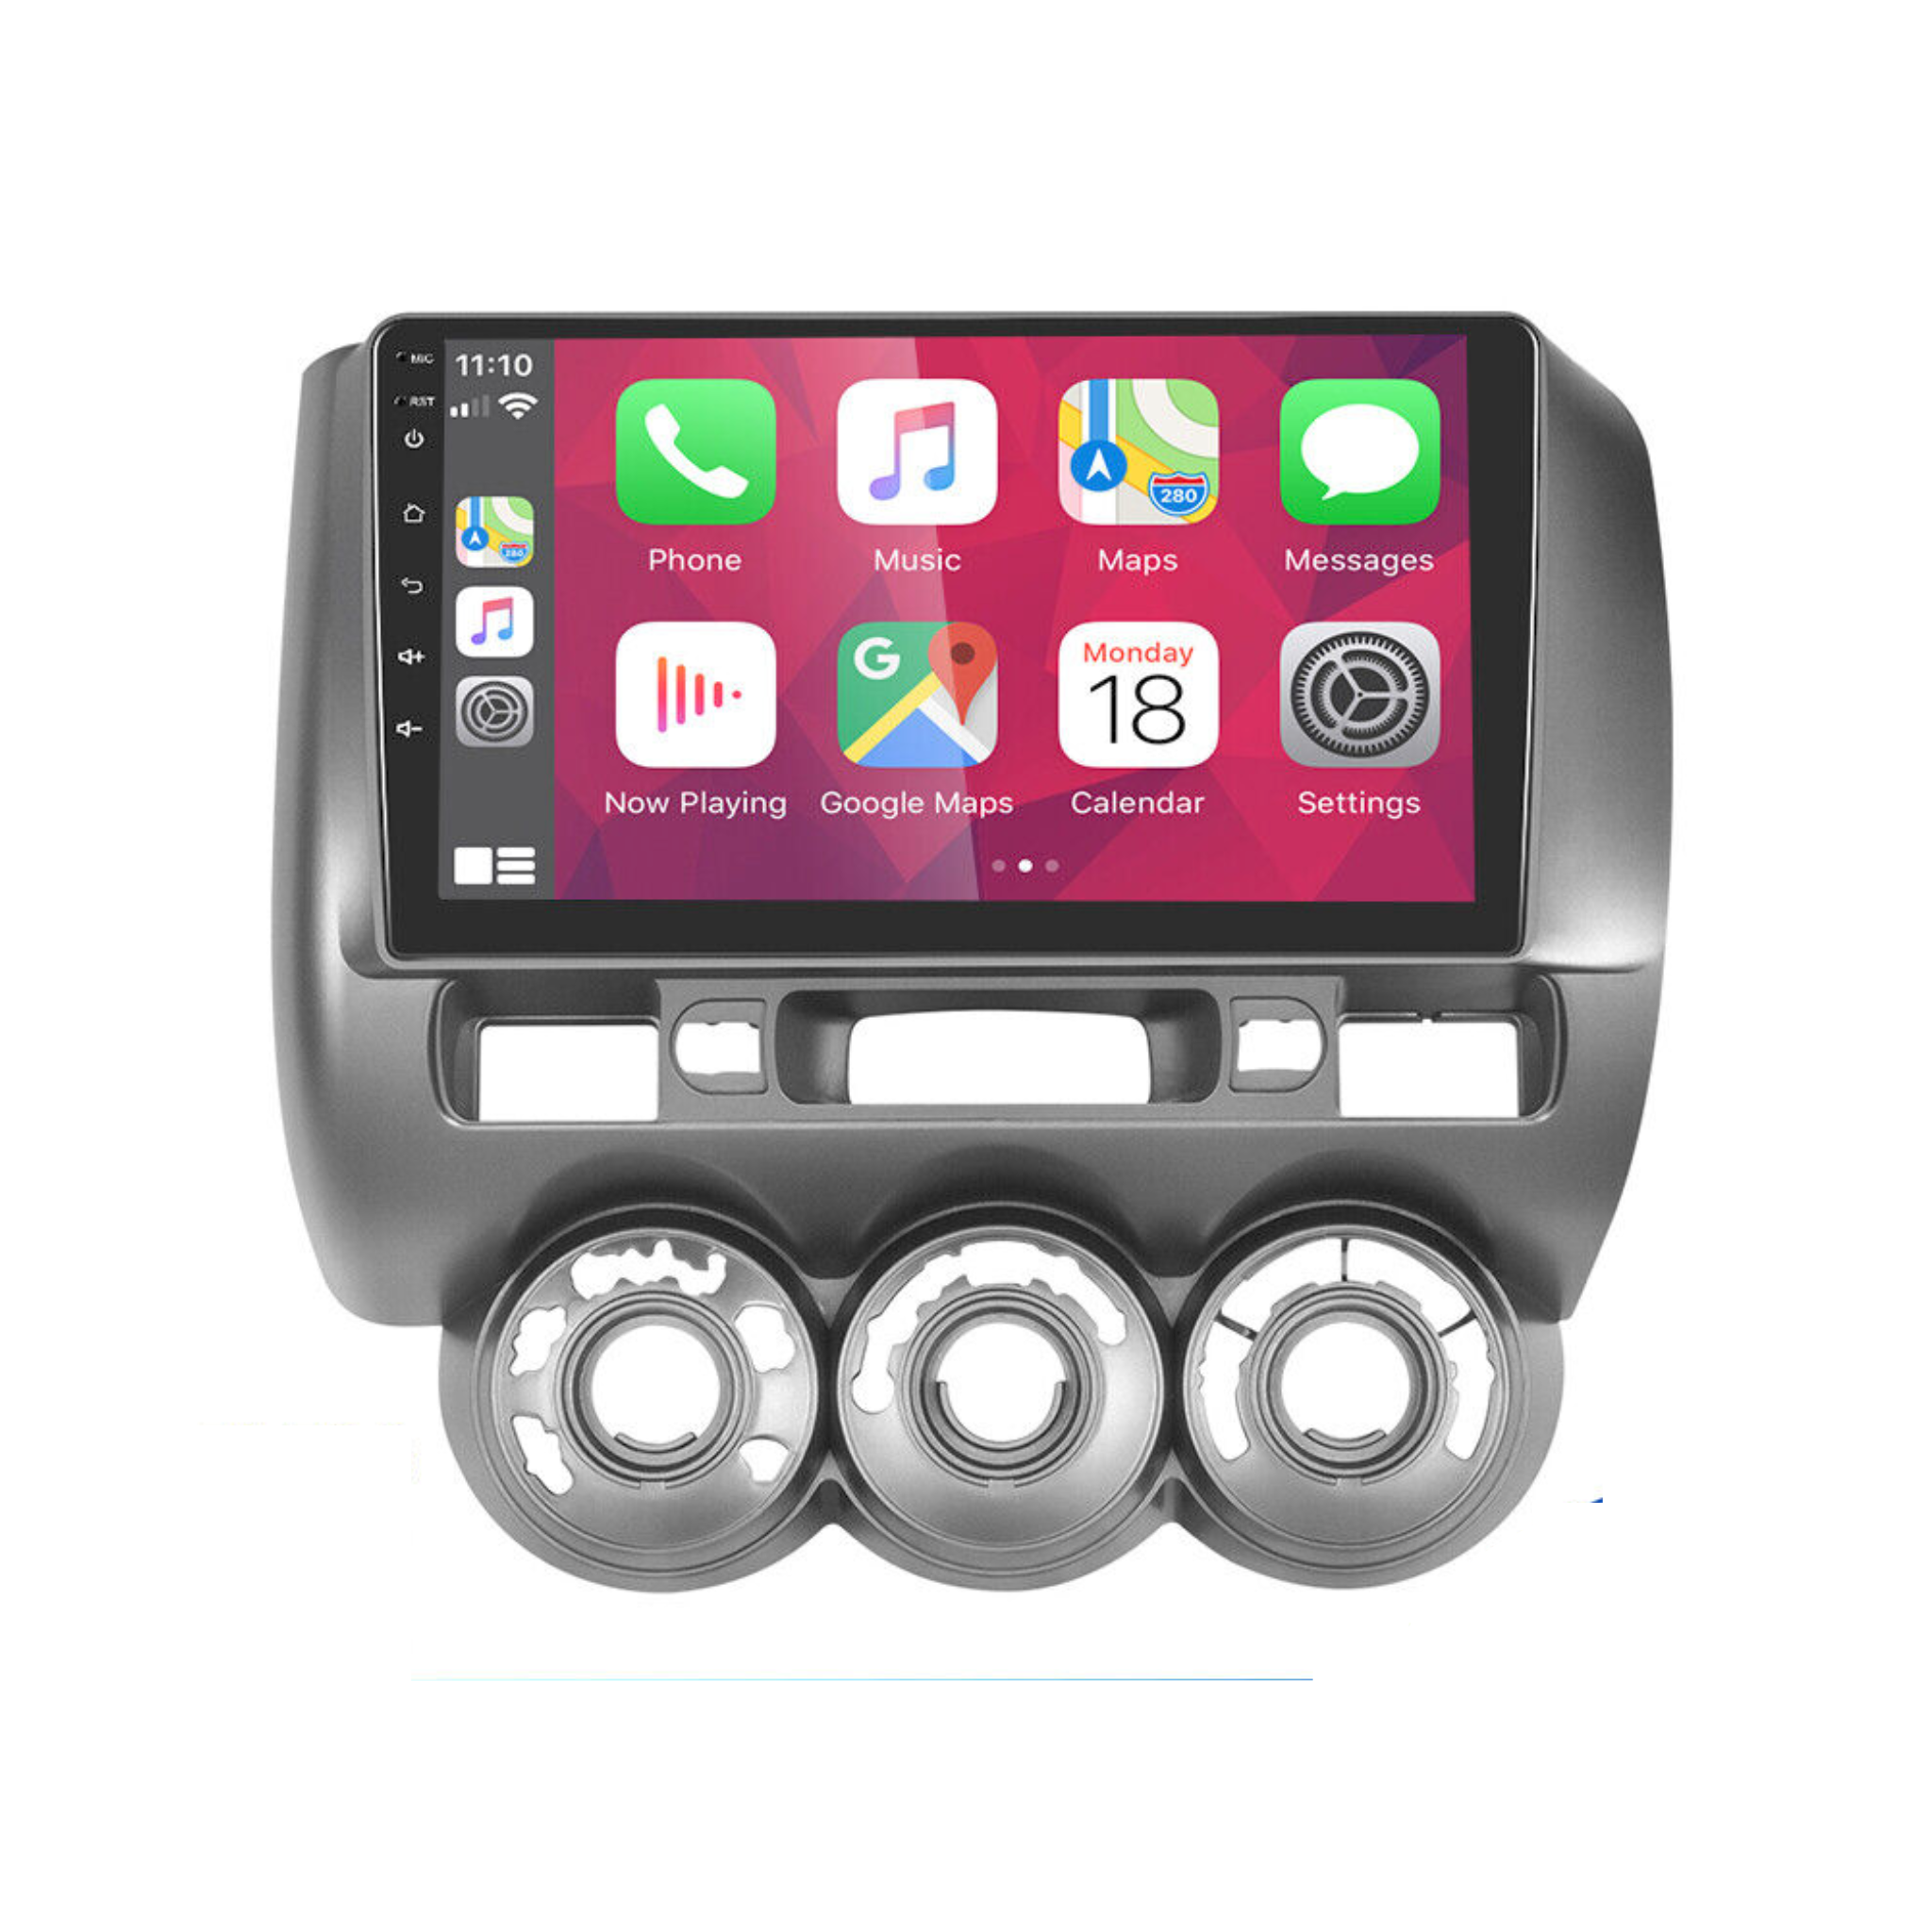
Honda Jazz GD 2002-2008 Apple CarPlay and Android Auto Plug and Plug Head Unit Upgrade Kit
Sale priceFrom $389.95
Regular price$545.99